On this page
Configuring recipient roles accurately is the backbone of a smooth e-signature workflow. With Sign Made Easy, the All Related Recipients feature removes manual entry by automatically pulling contact details from any related Salesforce record. Whether you’re sending contracts, agreements, onboarding forms, or compliance documents, this automation ensures every template is pre-filled with the right people – fast, consistent, and error-free.
This guide walks you through the exact steps to configure All Related Recipients inside a Sign Template, so your team can create transactions in seconds and maintain perfect data accuracy across every signing workflow.
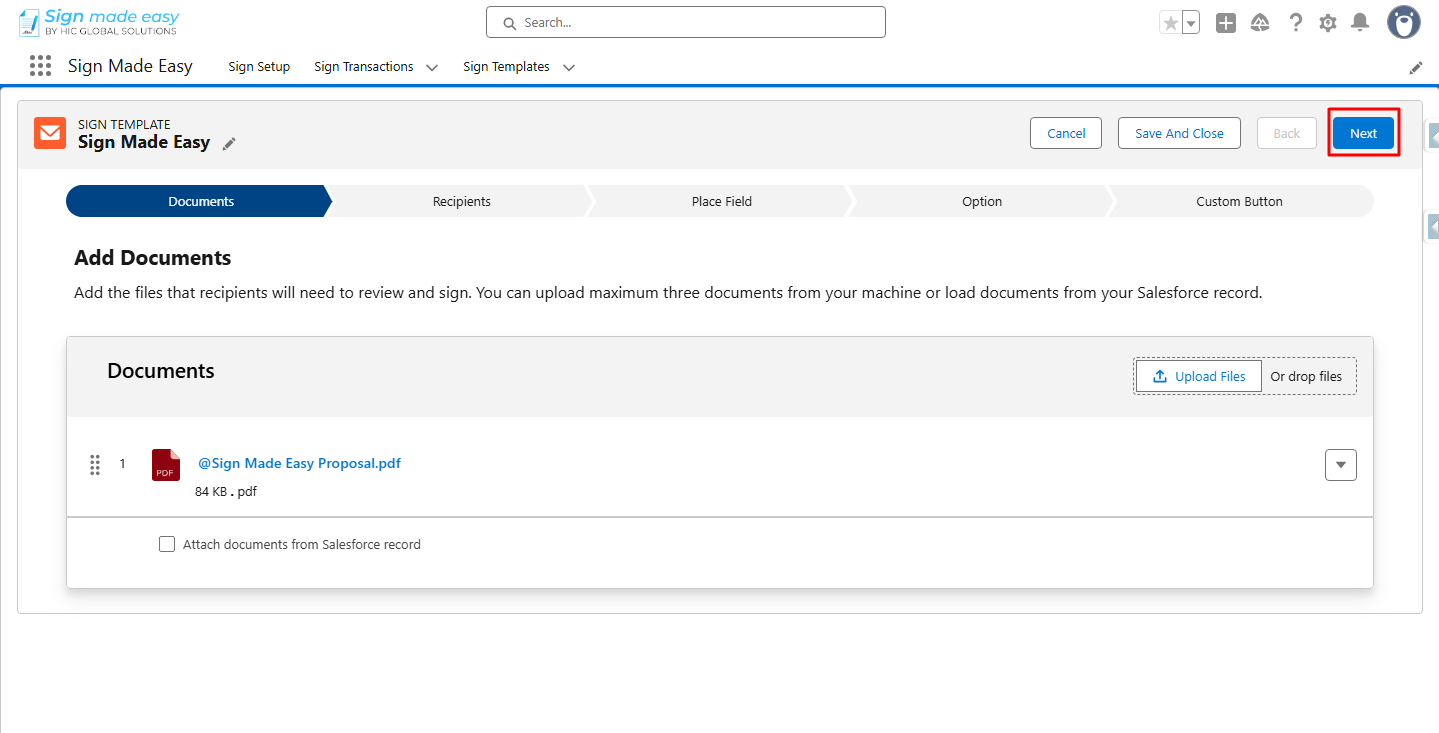
Step 1: Navigate to the App Launcher and open the Sign Template tab. Create a new sign template, add a document, and then click Next button.
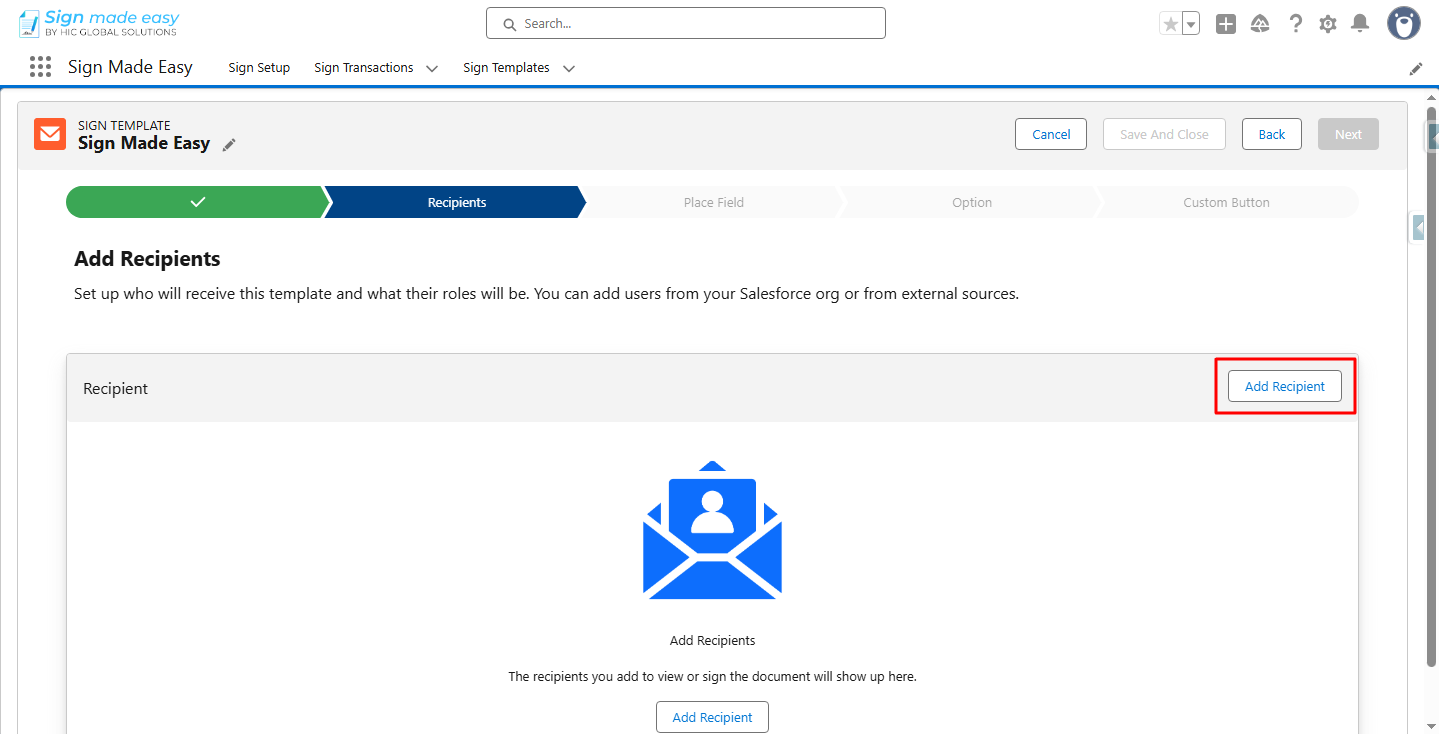
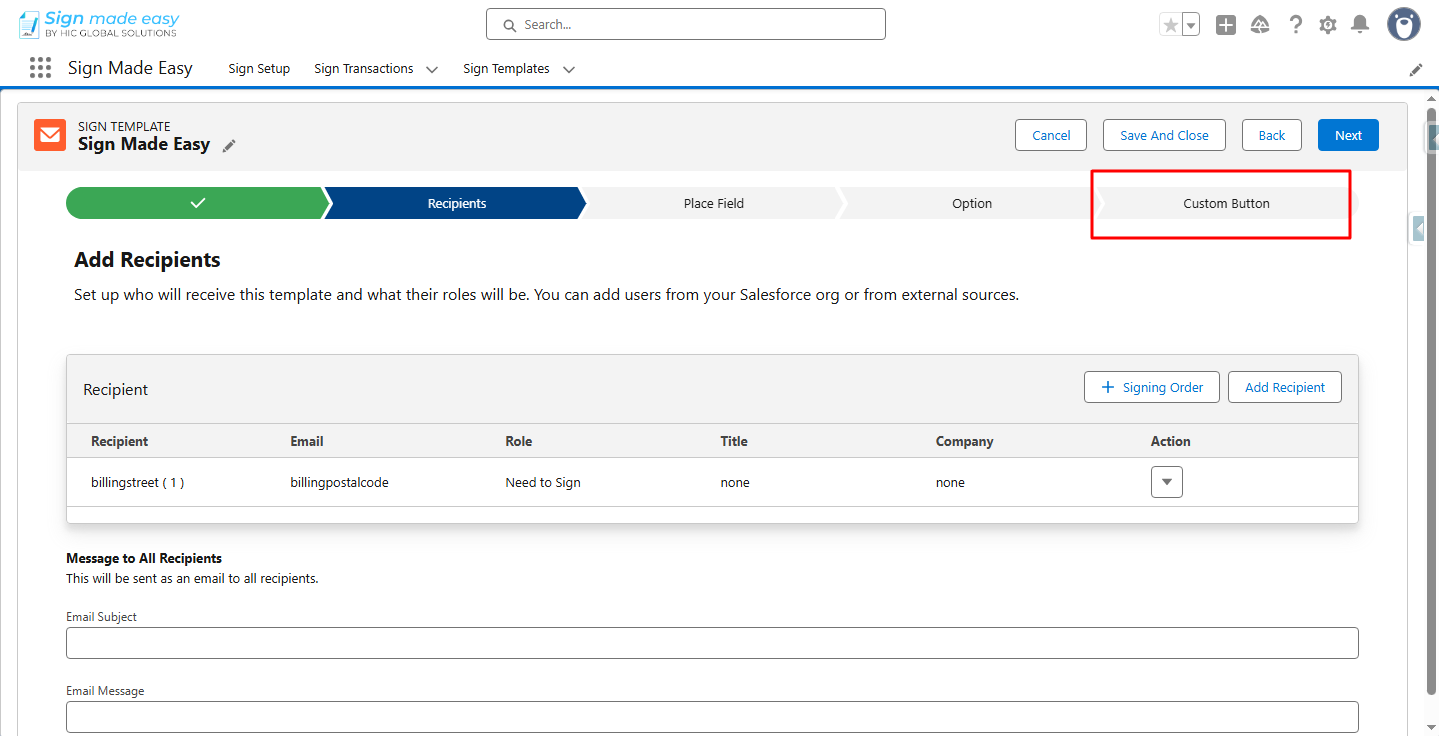
Step 2: Click Add Recipient to add a recipient.
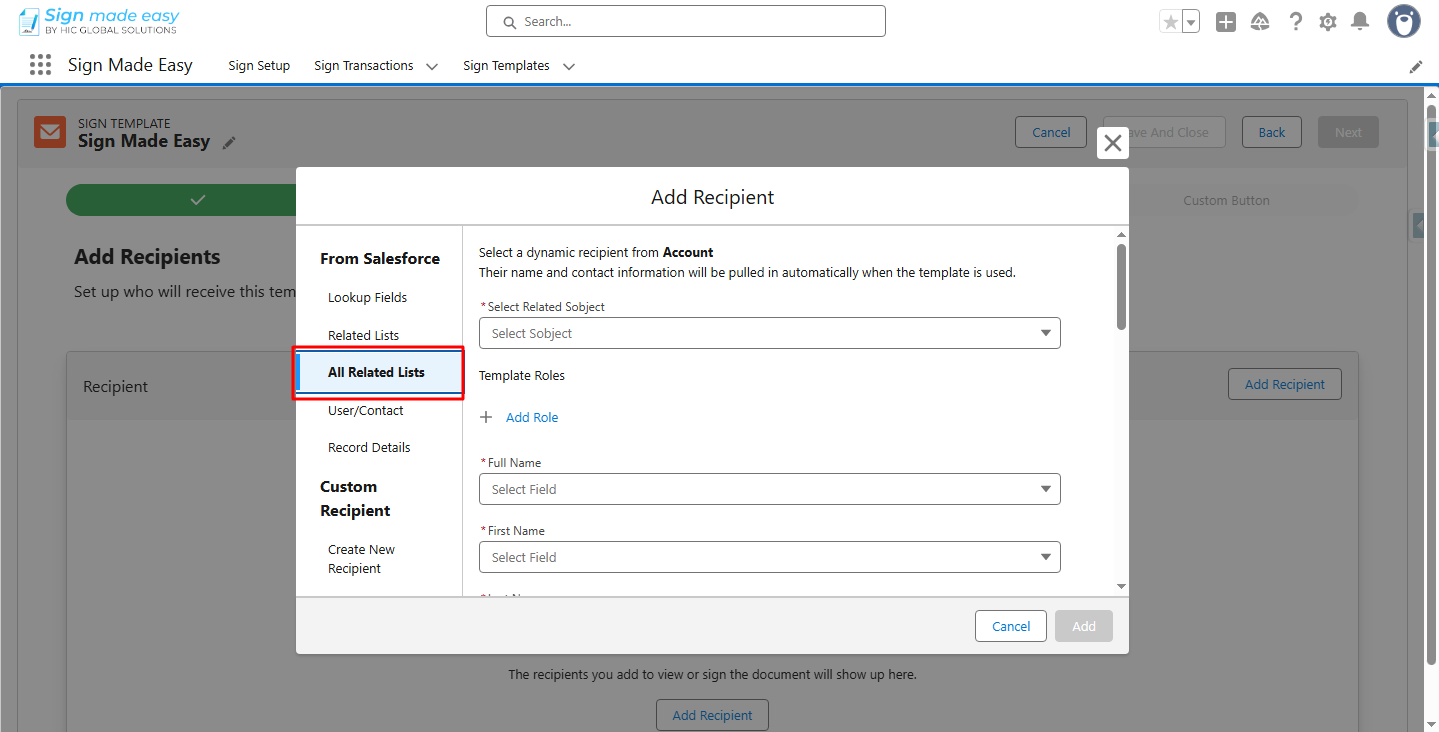
Note: “All Related Lists” lets you pull recipient details directly from any object related to the primary record, ensuring accurate, automated population of fields like name, email, company, and title. Mapping these attributes to Salesforce fields removes manual entry, enforces consistency, and guarantees each recipient role is correctly filled for e-signature workflows.
Step 3: Select ‘All Related Lists’ option ‘From Salesforce’.
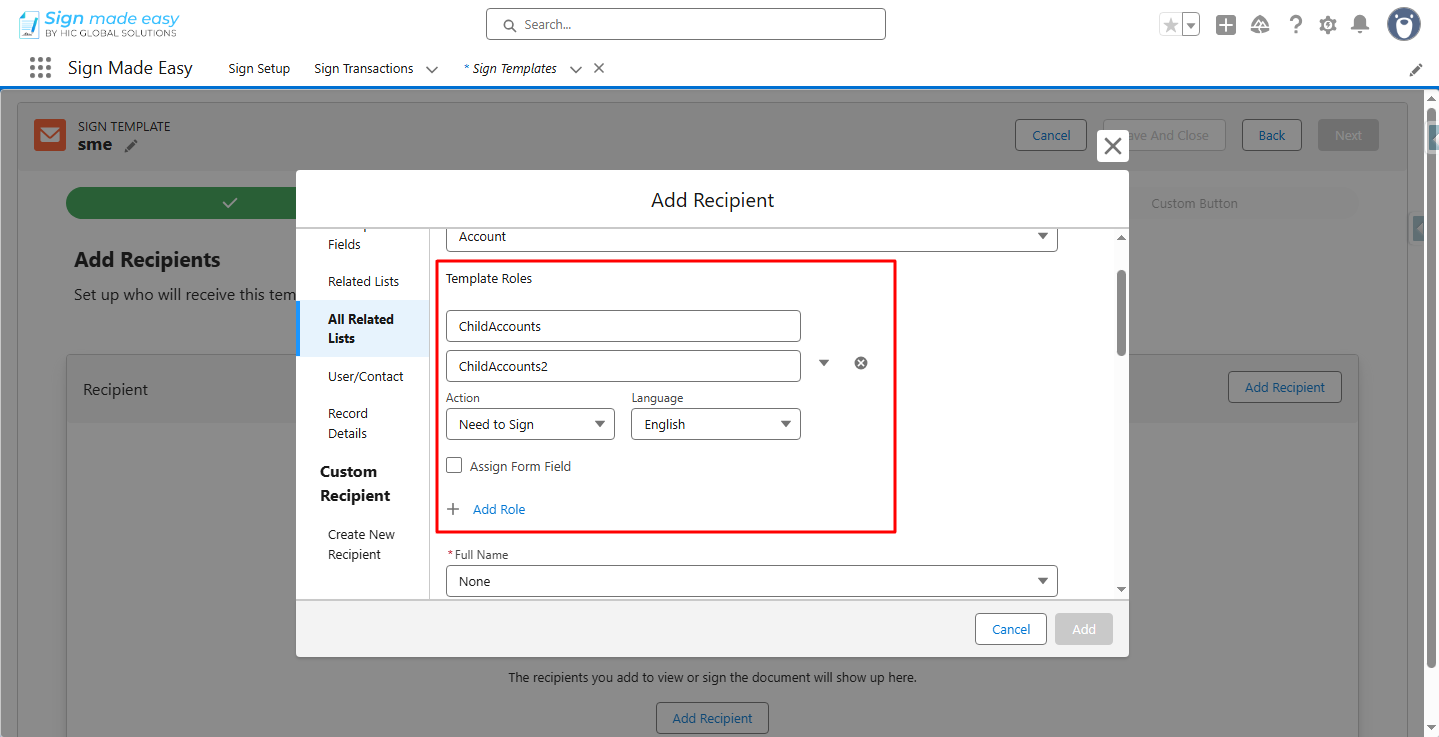
Step 4: Select the object in ‘Select Related SObject’ from the available options.
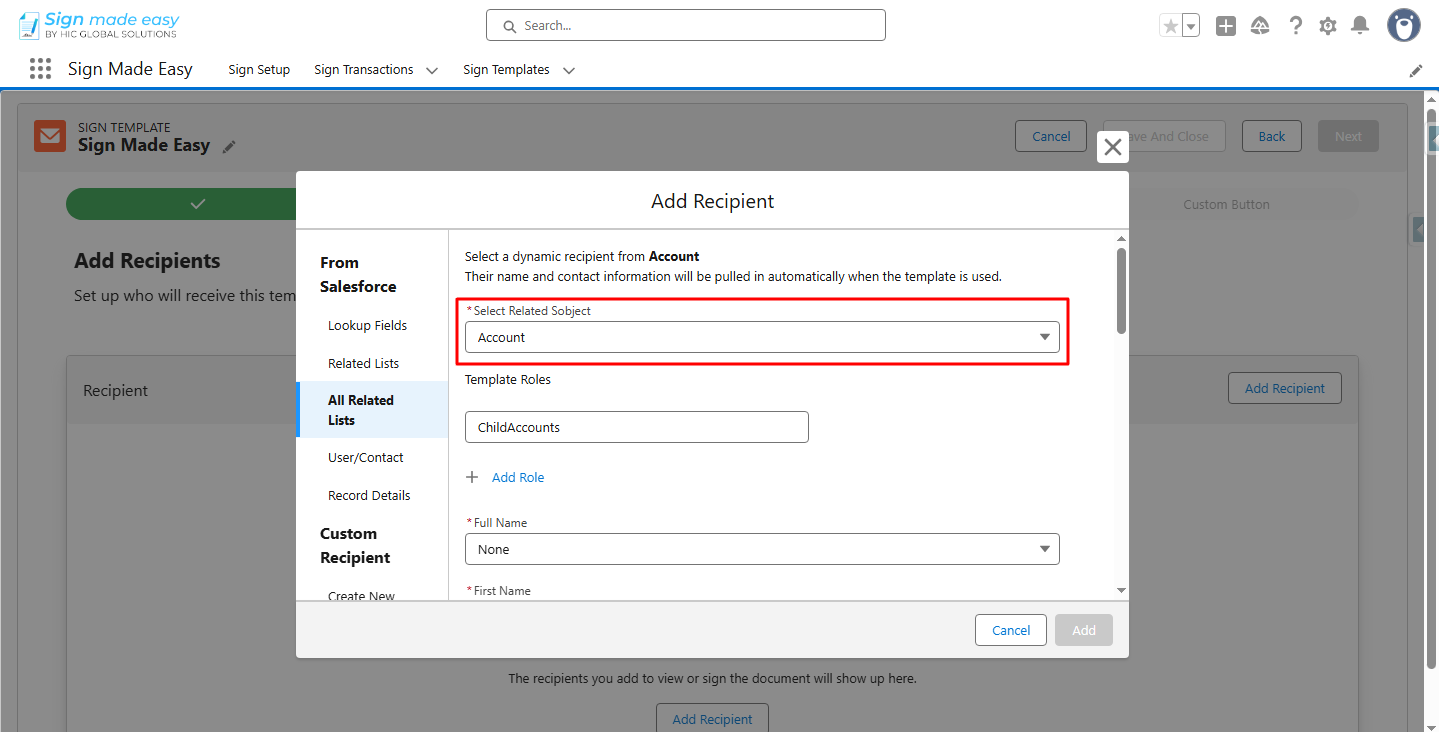
Note: Template Roles define placeholder recipients and their actions (e.g., Signer, In-Person Signer, CC) within a signing workflow. When the template is sent, these roles are assigned to actual recipients. They ensure a consistent process, correct routing order and reduce setup time for recurring documents. Use Add Role (+) to include additional roles.
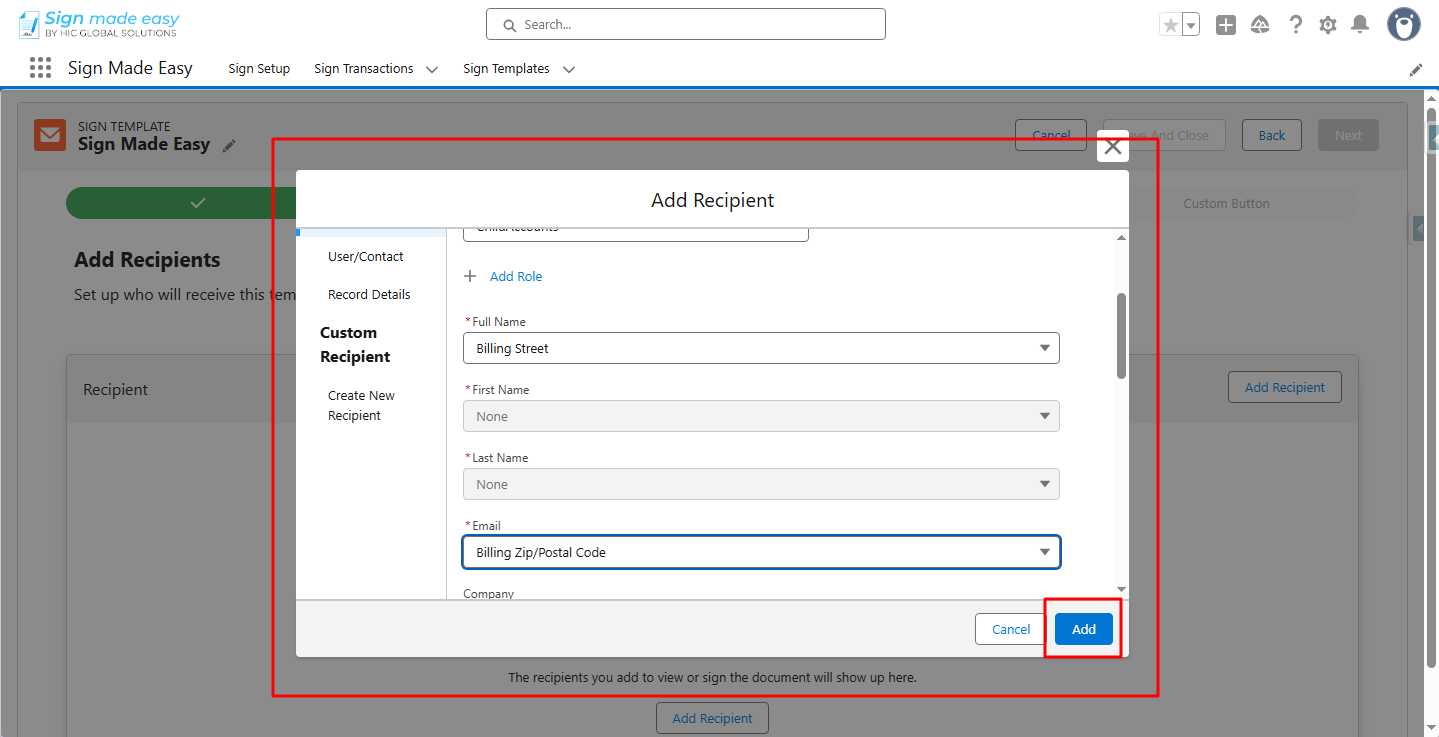
Step 5: Scroll down and provide the recipient’s full name (or first and last name) and email address.
These fields are mandatory, and the Add button will activate once they’re filled in.
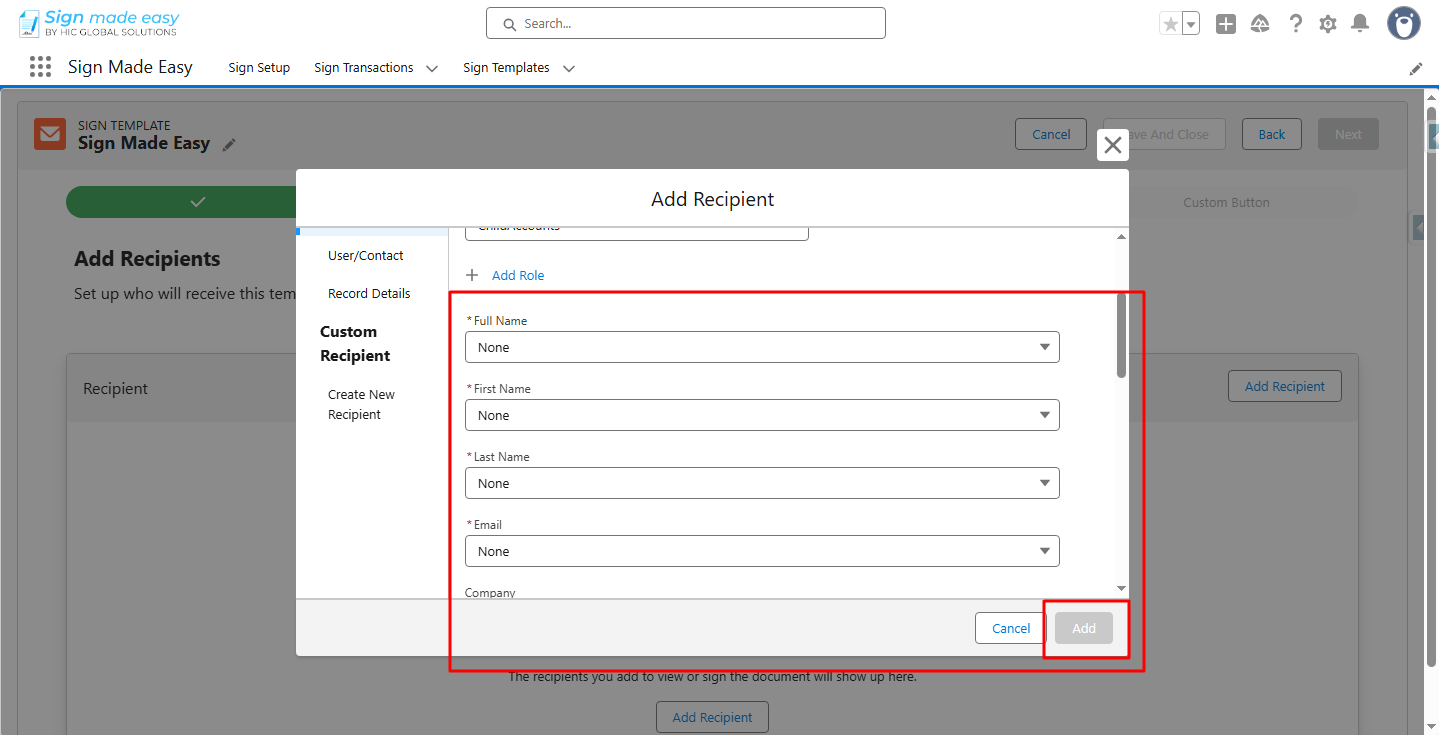
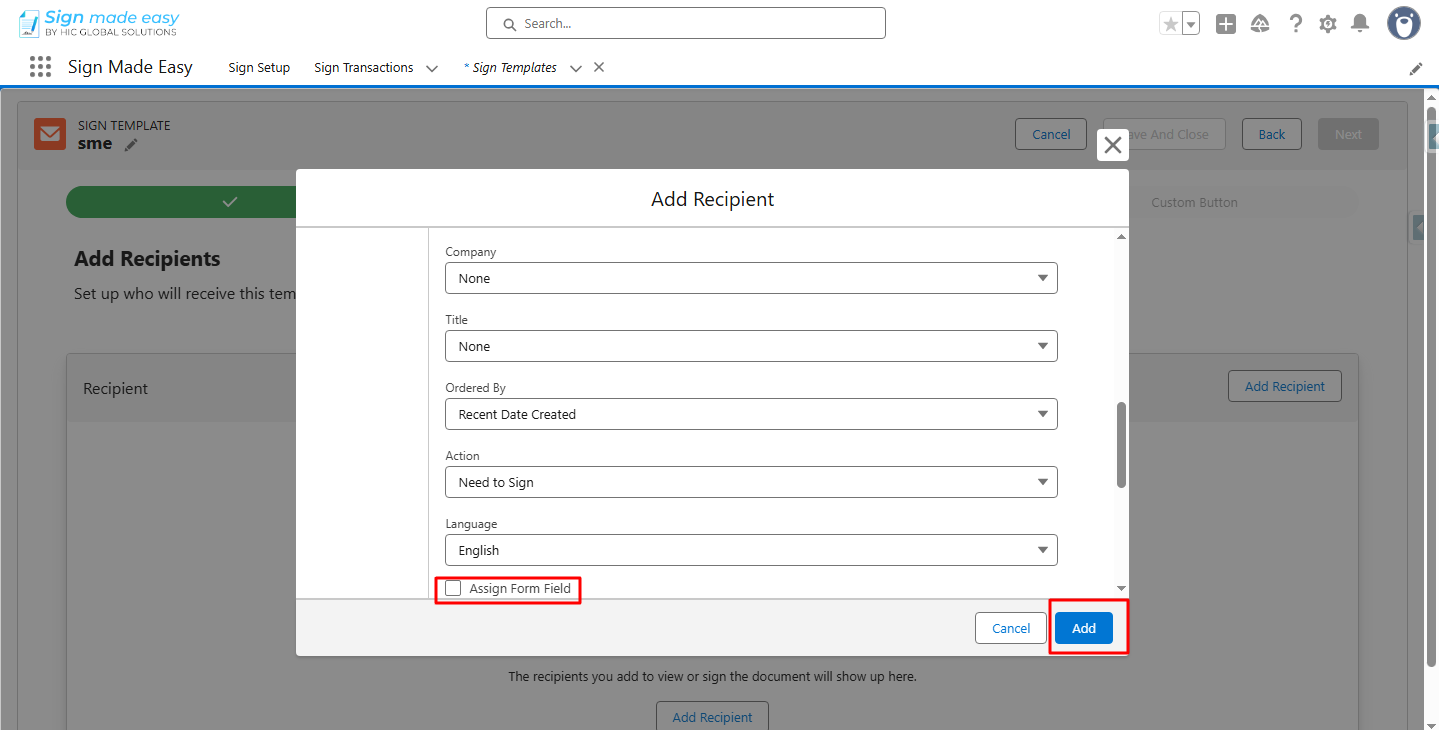
Step 6: Click Add.
Note: Select the “Assign Form Field” checkbox if you want this recipient to be automatically assigned the detected form fields from the uploaded PDF. Leave it unchecked if the fields should not be assigned to this recipient.
Step 7: All related lists’ recipients are added. If you want to add more All Related Lists recipient, repeat step [2-4].Click the Custom Button Option.
The sign template name is automatically populated in the Button Label Field.
Step 11: Click Save And Finish.
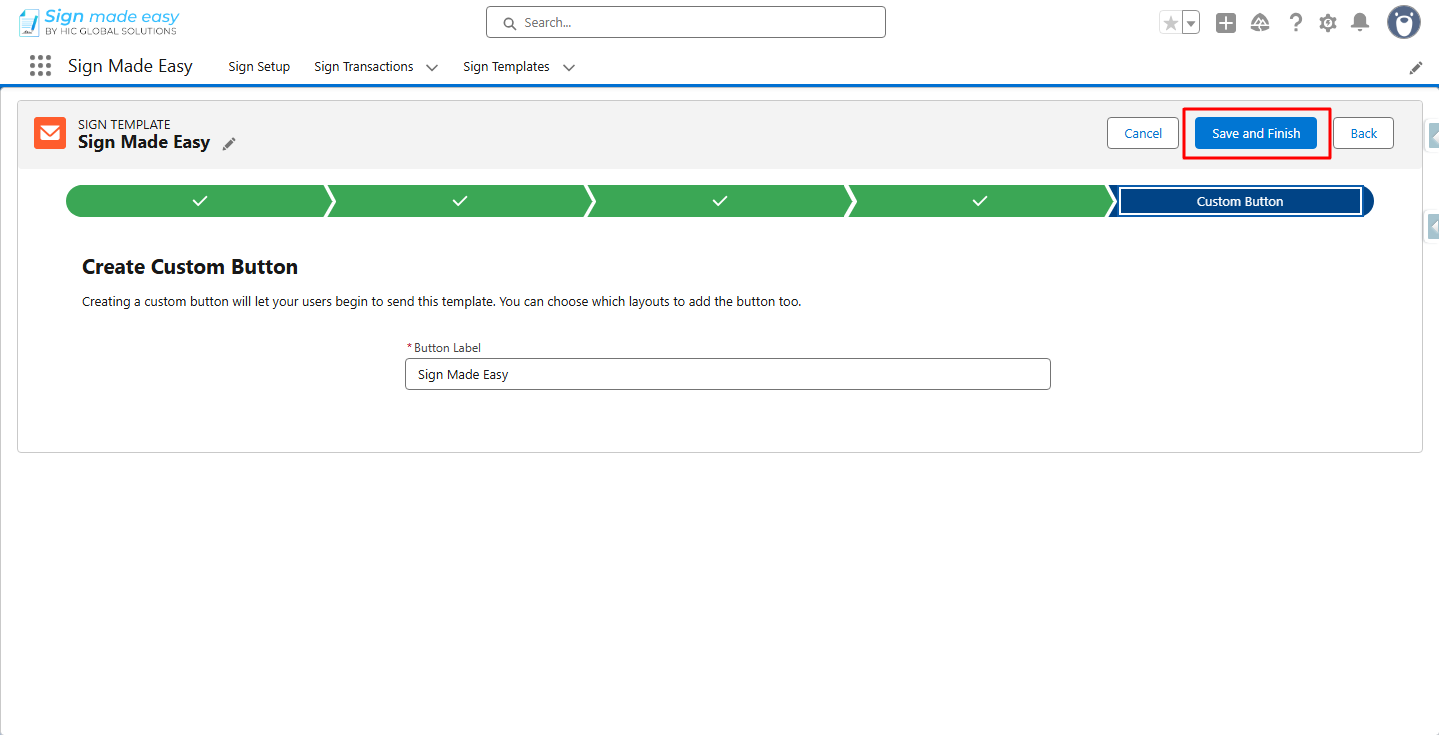
The Sign Template button is created.
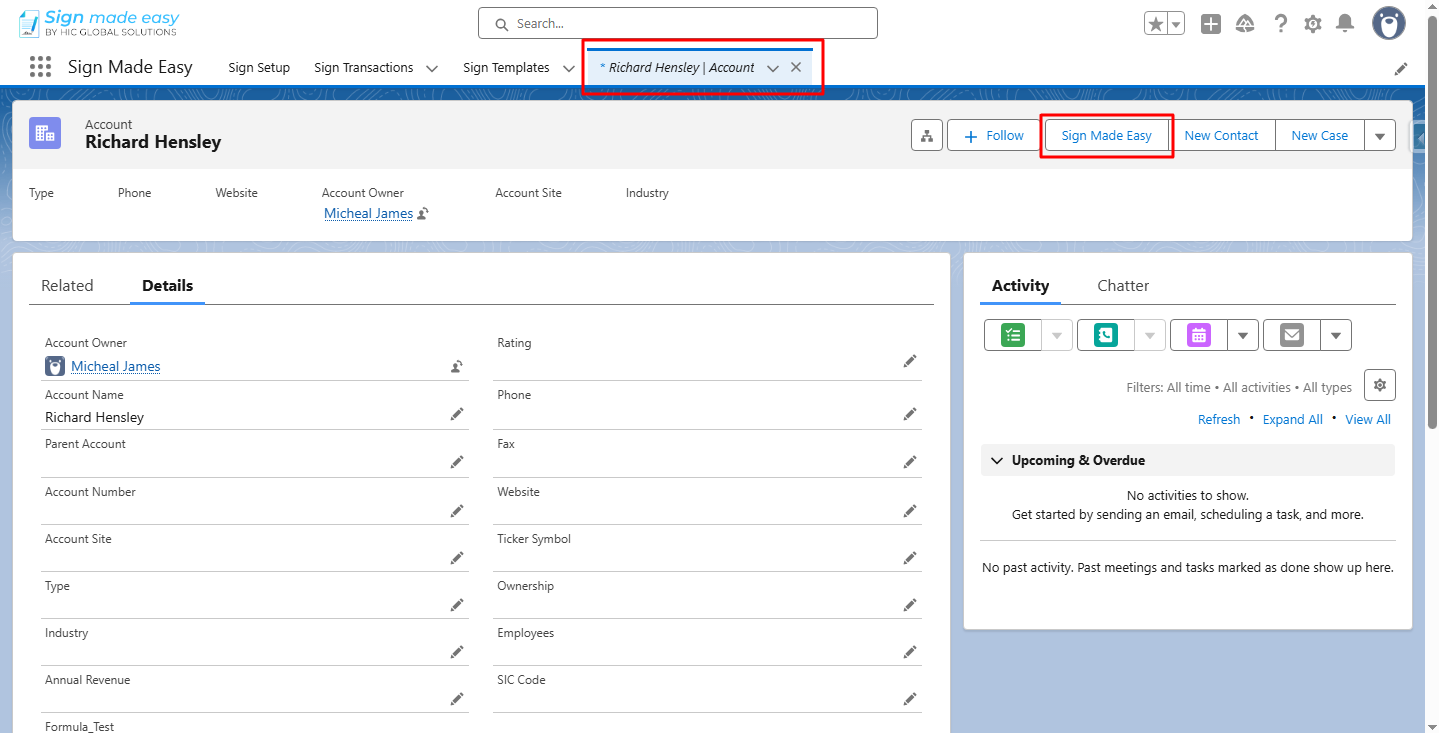
Step 8: Add the button to the page layout of the object on which the sign template is created.Then navigate to Record Detail Page of the Object for which Sign Template is created and Click the Sign Template button.
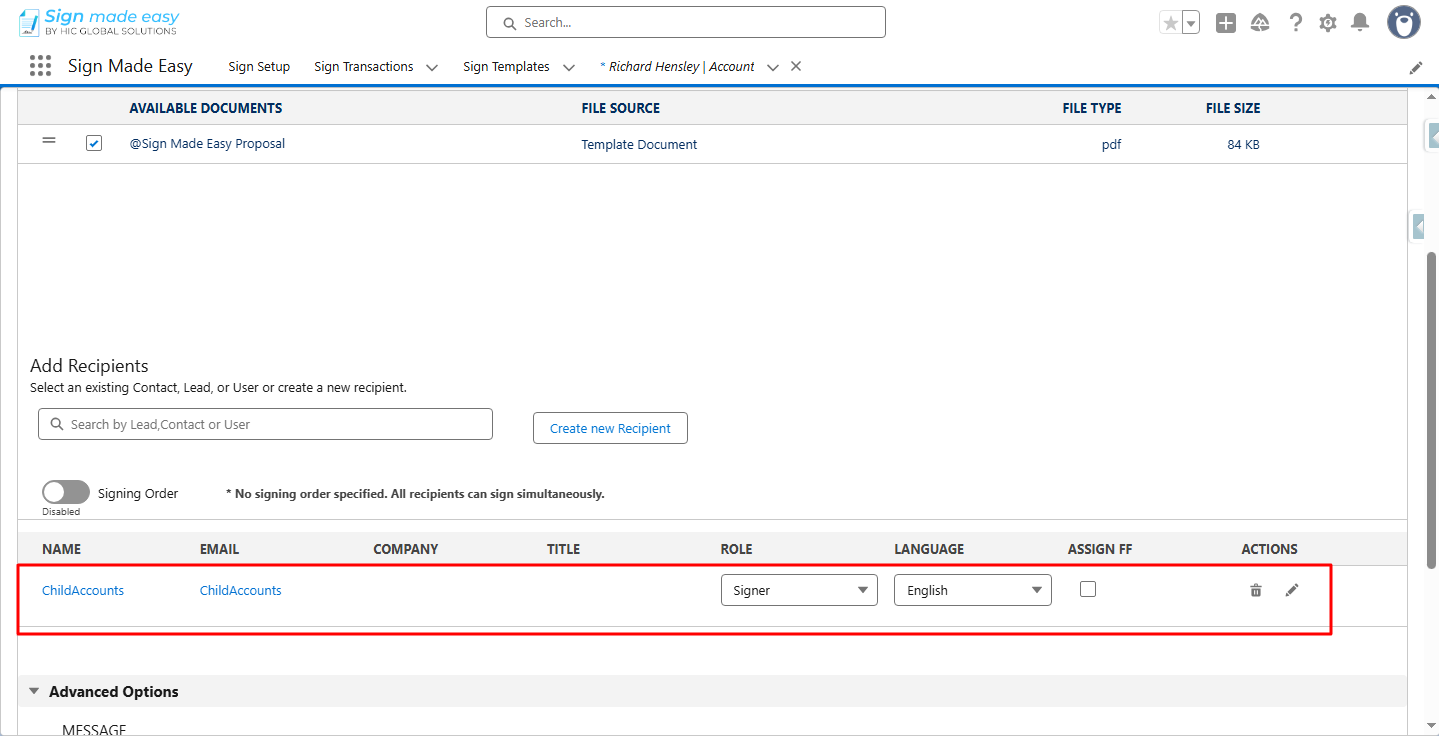
Create Transaction interface is opened with the All Related Recipient selected in the Sign Template.
Conclusion
Setting up ‘All Related Recipients’ in a Sign Made Easy template streamlines how your documents reach the right people. By leveraging related Salesforce records, predefined template roles, and automated field mapping, your signing workflows become faster, more accurate, and fully standardized across teams.
Once configured, every transaction launched from the Sign Template instantly loads the correct recipients; no extra clicks, no manual data entry, and no routing errors. It’s a simple setup that delivers enterprise-level efficiency for every e-signature process.