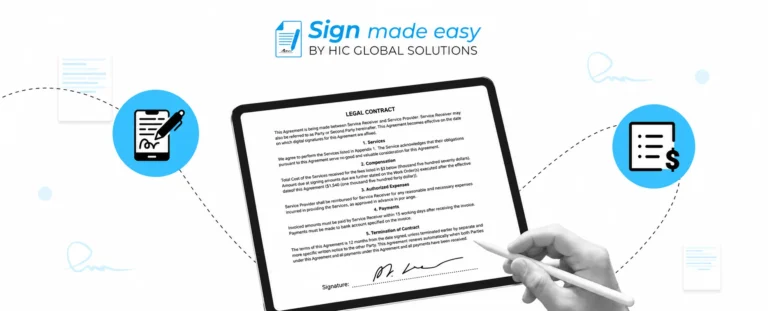


In today’s business scenarios where efficiency rules, time too is to be spent carefully. For a start, incorporating facilitation of the routine tasks, primarily the document signing, can be the reviving force in the operations. That is where Sign Made Easy comes in, filling this gap with a smooth, tablet-integrated solution that fits within the extended Salesforce ecosystem network and simplifies the process of signing documents.
You’ve probably already read our previous blogs about how to integrate Sign Made Easy with Salesforce and how to add documents for digital signature. We’re ready to move on to the next level of functionality, adding recipients. Before delving further into the process of adding eSignature recipients setup for a digital signature, allow me to explain Sign Made Easy. After that, we shall gradually learn about the functionality.
Unlocking Business Potential with the Benefits of Sign Made Easy
Sign Made Easy is not only a Salesforce cloud application but also it’s a potent application for transformation in how businesses handle document signing. The algorithm establishes the main of the long and complex process and can mark the provision of more as well.
Let’s check out all the fantastic things Sign Made Easy can do for its users.
- Enhanced Security – Provide security features that Sign Made Easy can base on sensitive documents to protect them. Your data is protected every inch of the way, from encryption to authentication. So, go ahead, embrace the benefits of digital banking, and sleep soundly.
- Improved Client Experience – Provide customers with a smooth and effortless signing experience as this is a reflection of your professionalism and how you move fast! Besides providing a Sign Made Easy means that your company will outshine other companies by giving you a better experience for the customers.
- Enhanced Productivity – With Sign Made Easy, your staff could get rid of toil on document signing, which could trigger uninterrupted workflow. No more tiresome to-ing and fro-ing; it’s just prompt, hassle-free executions that support your commitment to fast deals.
- Analytics and Insights – Knowledge of the vital details and sign information with Sign Made Easy Analytics. Keep track of your sign-off progress, spot logjams if any, and optimize your work methods for achieving desk efficiency.
- Save Paper, Save the Planet – Sign Made Easy fosters an environmentally friendly culture by minimizing the need for paper thereby making the environment clean. A part of the overall eco-conscious strategy is also to minimize the paper usage which would affect the paper expenses of the organization.
Access to Sign Made Easy
Please be sure to have access to Sign Made Easy before adding recipients or documents for the digital signing. Select the recipients category in the app, which will show you the list of available recipients.
Getting familiar with the fundamental components of Adding recipients for eSignature in Salesforce
When adding recipients in Sign Made Easy, you’ll encounter three role options:
- Sender
- Recipient, and
- CC
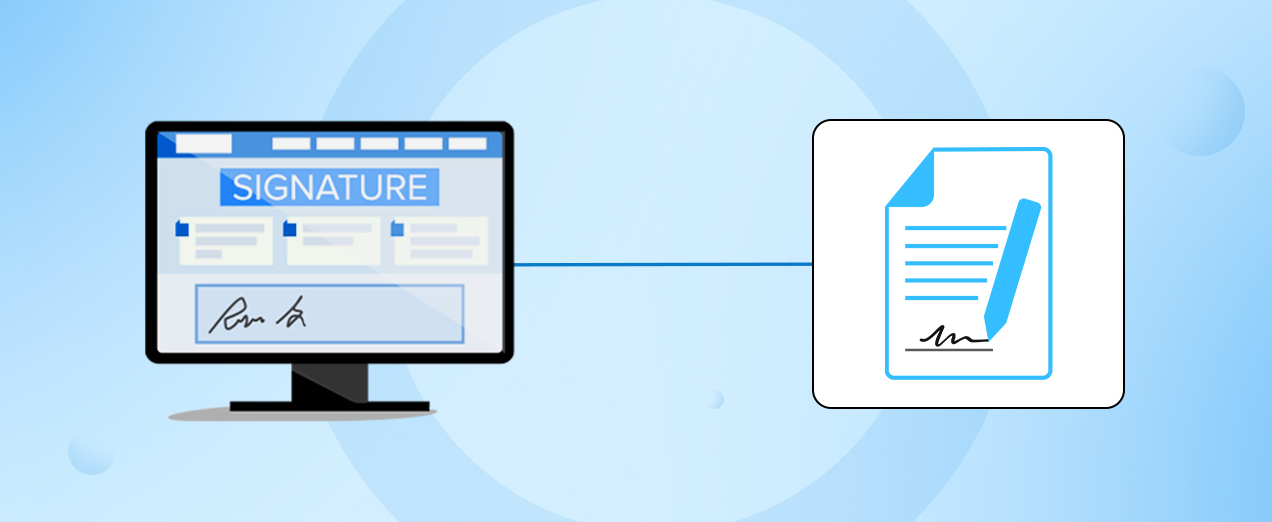
Signer – This job is described as the eSignature to be placed by the people who need to sign the document digitally. Unlike sending a paper via traditional mail, you can select several people to sign on and add signatures right on the document. Subsequently, the fully developed document that will have been developed will be forwarded through the channels of email communication so that the relevant people can sign it.
In Person – Choose this choice for real persons who will sign the documents with their own hands. You can practically imagine a role similar to the signer role, but after adding points of concern, they’ll be client visits for signatures. With in-person signing, the full sign email will be sent to the email account of the recipient where the end users can choose to sign.
CC – Due to this role, the audience engaged but not directly involved in the signing process of the document will be kept in the loop. Choose as many CCs as you want, but make sure there is at least one signed agreement or face-to-face signatory.
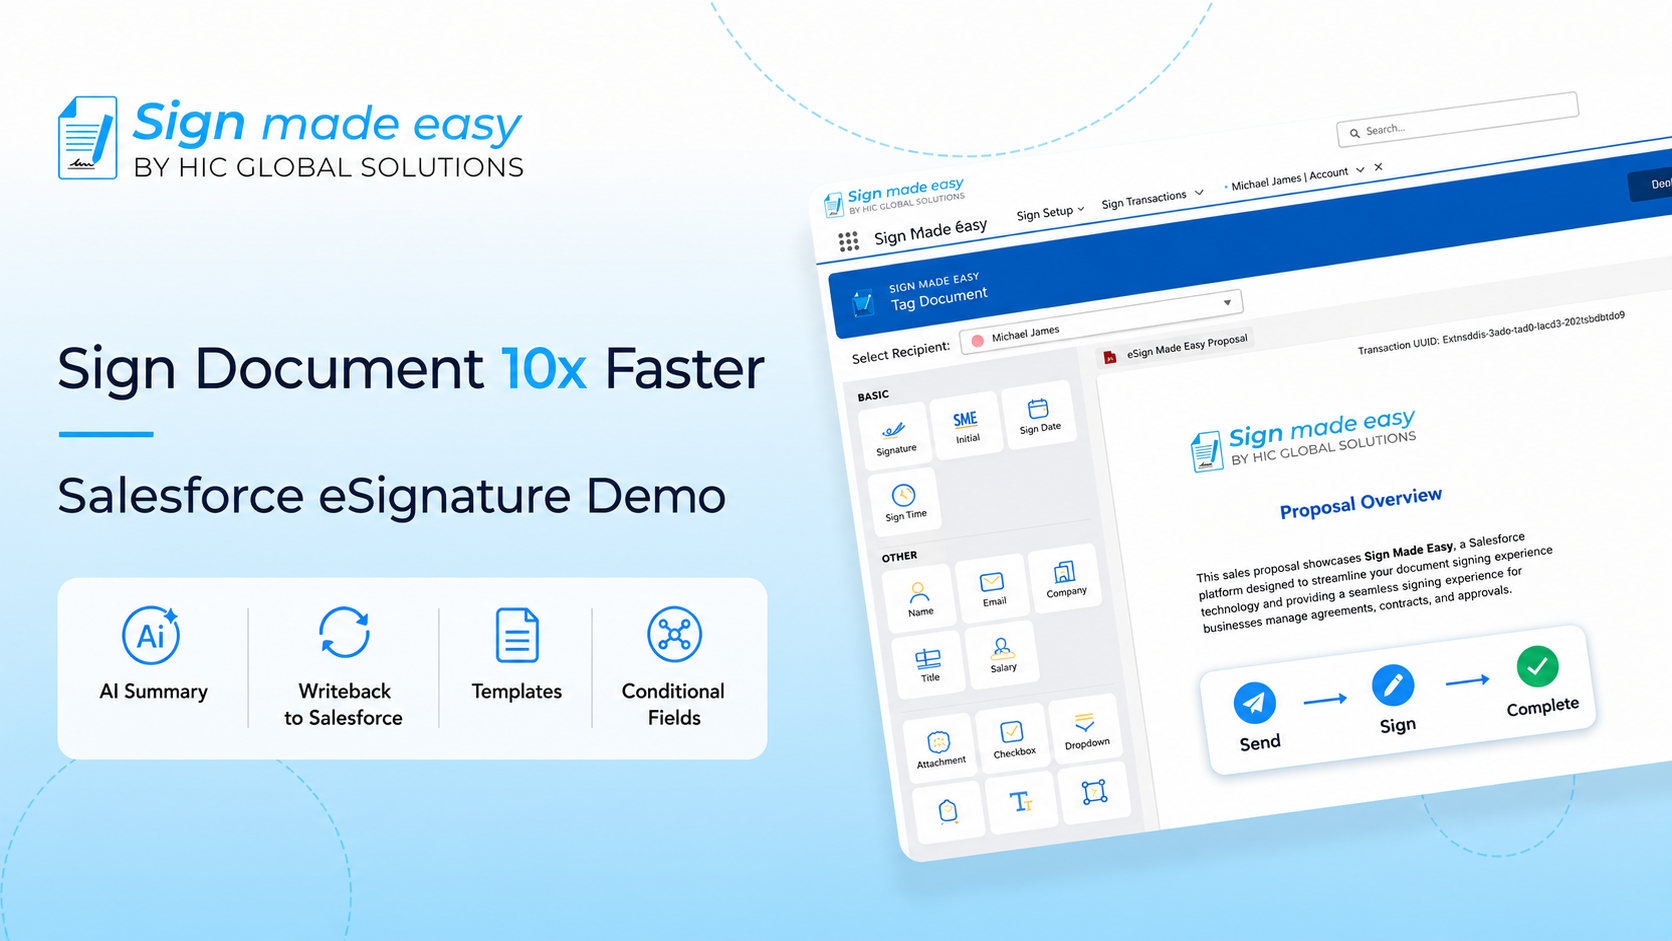
Step-by-Step Guide to Adding Recipients for eSignatures in Sign Made Easy
Step 1: Go to the Add Recipients dropdown in the top right corner
Inside the app Sign Made Easy, select the Recipients button. So, we normally begin with the Salesforce object “Contact.” look under the Salesforce tab, and you fill in fields, either by typing the names or by selecting a value from the pick list.
Step 2: Create the New Recipient (If It Is a Need)
If the contact is not already a Salesforce contact, you have the choice to create a new contact. Just fill out the required forms and you can complete the action effortlessly.
Step 3: Feature a beneficiary who exemplifies your nonprofit organization’s positive impact on their life
When you match the recipient, clarify whether they are singers, at the appointment, or CC, relating to their participation in the registration process.
Step 4: Preview Document
The next step on your part is to choose the unwind function. This function lets you review the document and recipient details.
Step 5: Add sequential signature tags. Tags: Instruction: Humanize the given sentence
For signers and in-person signers, sign the document and have the signatories. Add a signature block. They depict the places where the signatures or initials are to be written. Use as many tags as you think would best fit, moving them around to reposition where needed.
Step 6: Send Document
After all the roles and signature tags have been taken care of, the email can be sent. Click on the “send” button to start the signing procedure.
Step 7: Delete or Keep (Optional) Saving or discarding email drafts is optional
However, if you ever want to do that, you can reload the current activity or the last page by simply going back to it again. Alternatively, you can save the document as a drafted request within the Write-Off Transaction for future purposes.
Conclusion
Following the instructions below, you will be able to create a list of recipients yourself within Sign Made Easy, resulting in a smooth negotiation and signing process for everybody.
No matter the point, be it obtaining digital signatures or initiating the signing in person, Sign Made Easy makes it easier for you. Hence you can get the signings done within an acceptable period at your business. Go ahead, and try out the app today!