Sign Made Easy logo

Step-by-Step Guide to Send a Form-Field Compatible PDF Using eSignature for Salesforce

Share article via
Posted on November 25, 2025
By Team Sign Made Easy | 2 Mins Read
eSignature for Salesforce

On this page

    Sending a form-field compatible PDF using eSignature for Salesforce is simple when you have the right integration in place. By preparing your PDF with form fields, the signing process becomes faster, cleaner, and more accurate. 

    Whether your team relies on Salesforce digital signature tools or needs a secure Salesforce eSignature workflow, this method ensures every field is captured correctly and the signer has a seamless experience. 

    Therefore, this guide will dig deep into the steps of sending a Form Field compatible PDF for eSign using Sign Made Easy. 

    How to Send a Form-Field Compatible PDF for eSignature in Salesforce?

    Here are the steps you need to follow to complete the process of eSigning with the Form Field compatible feature. 

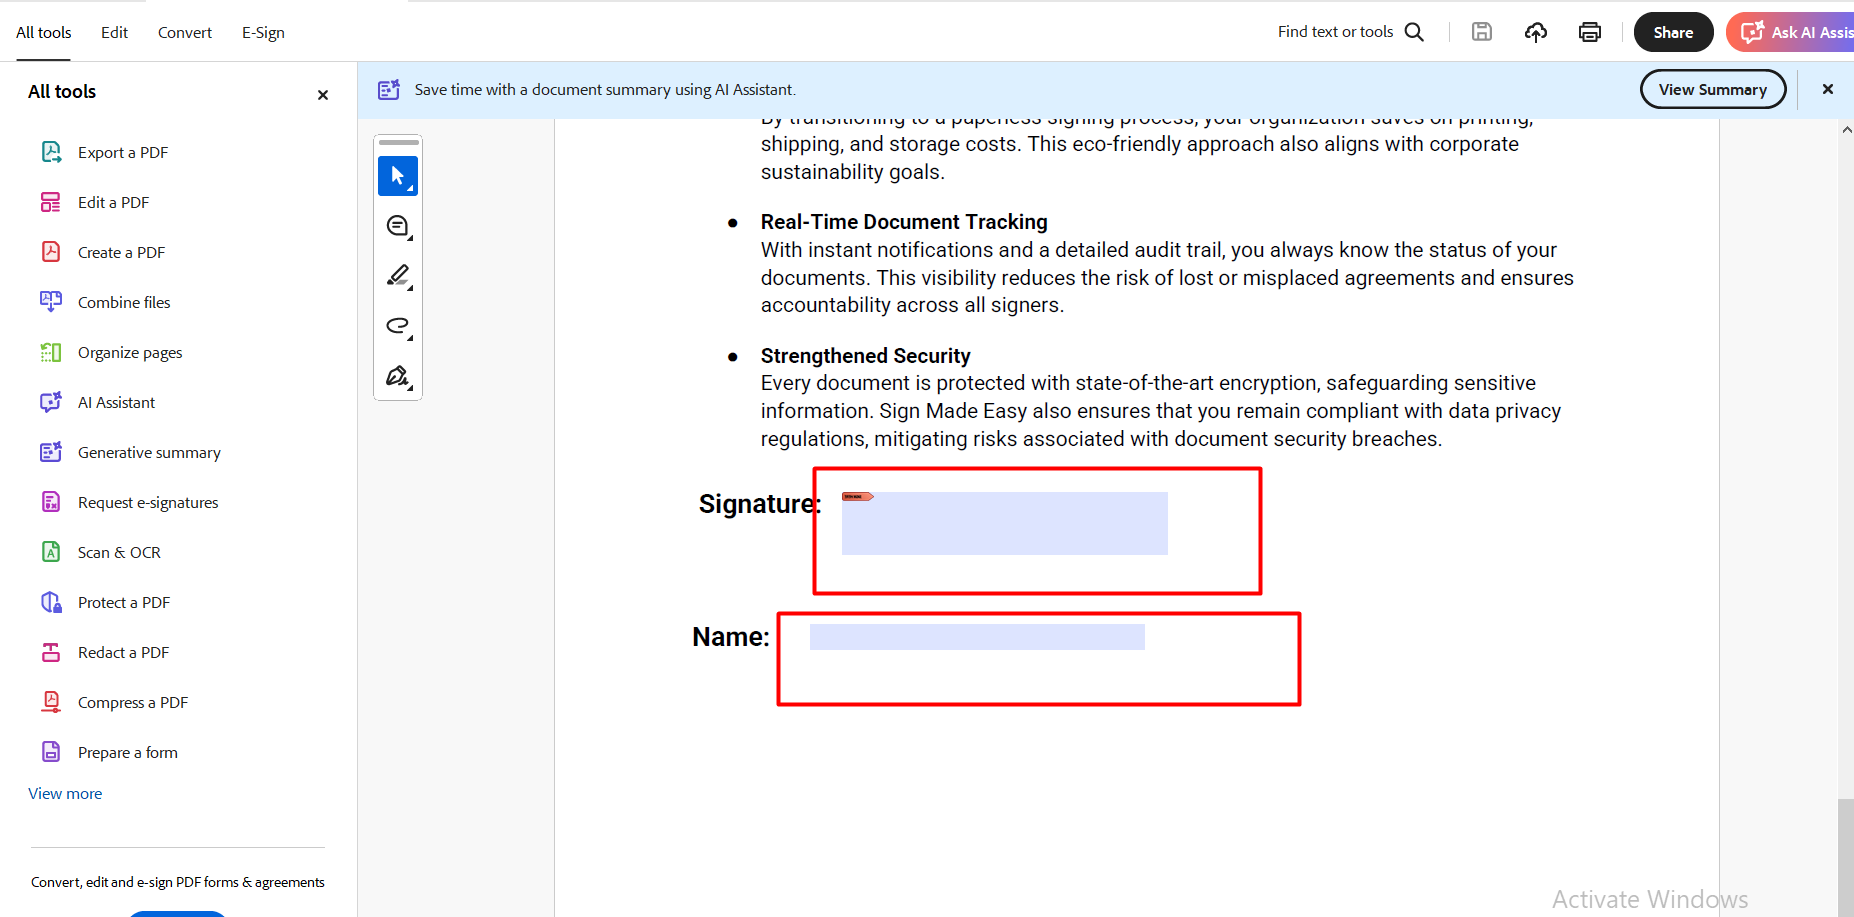
    Step 1:- Embed the form field into the PDF document.

    Note:- A form field in a PDF is a space that allows users to input information directly into the document.

    Embed the form field into the PDF document

    Note: In case the SME Button is not yet configured, navigate to the Button Configuration section of the Sign Setup page and create it prior to proceeding.

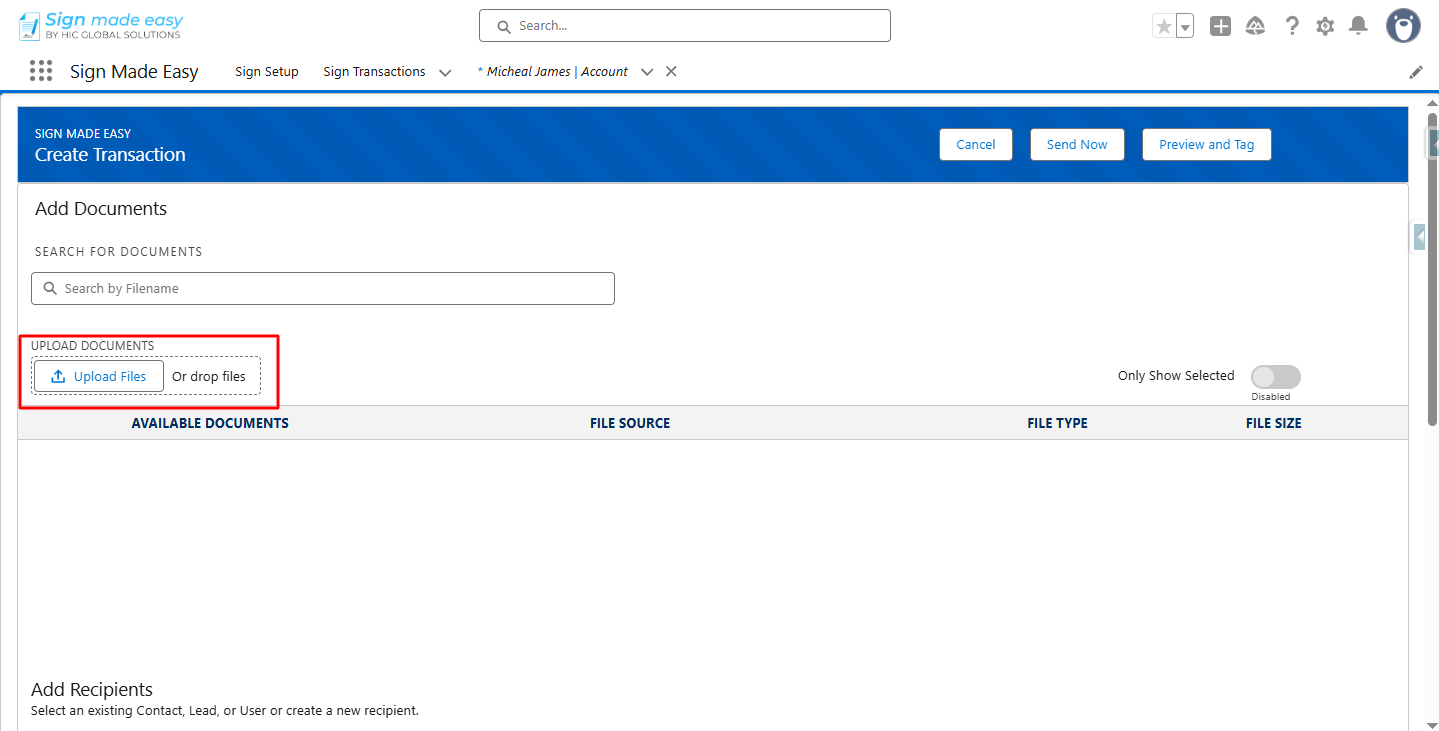
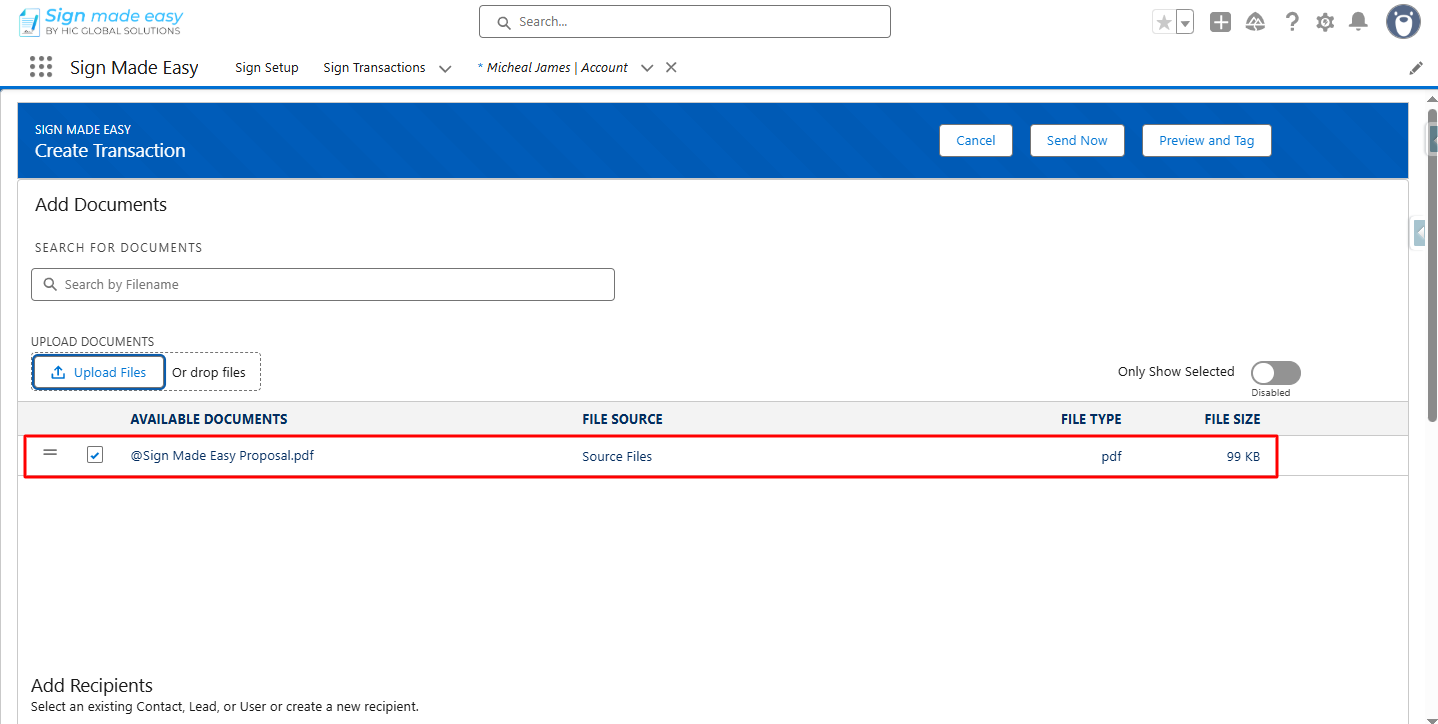
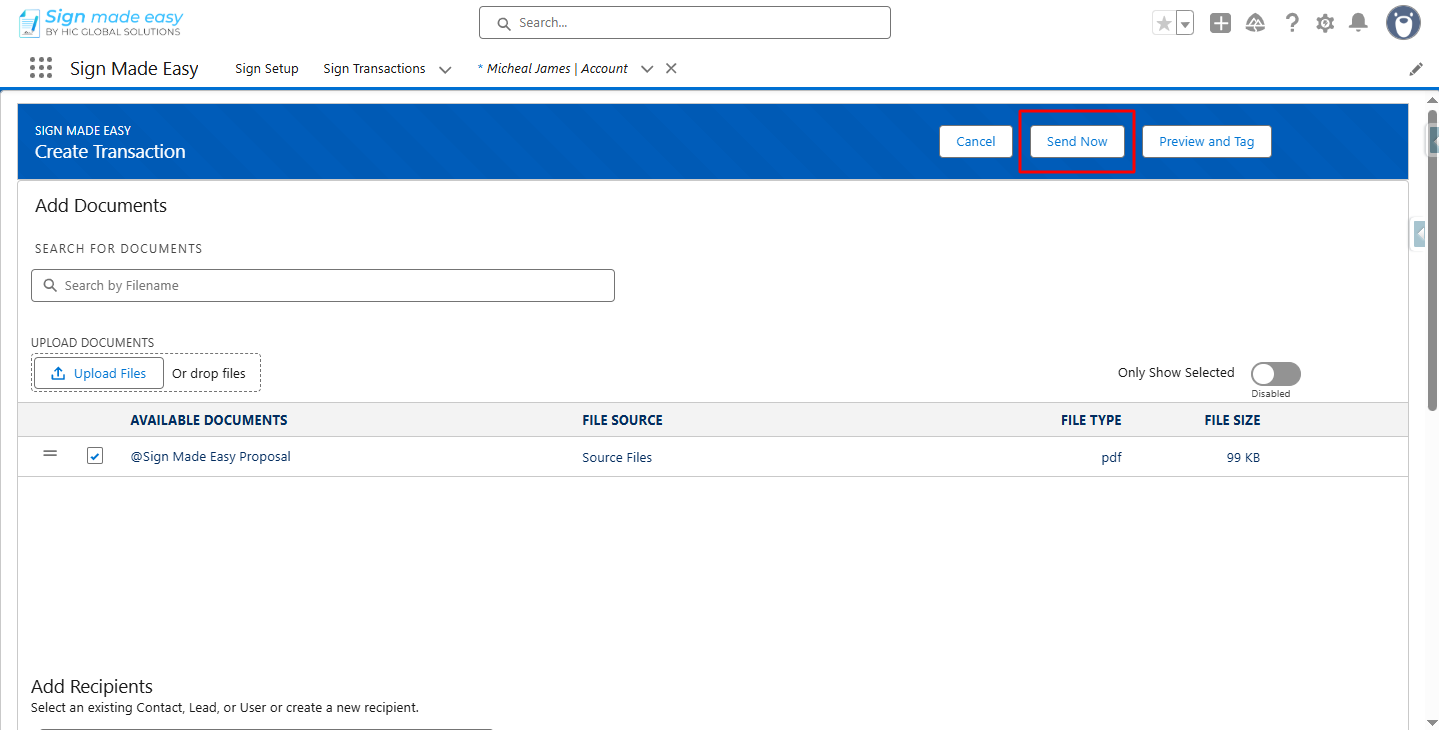
    Step 2:- Next, you have to upload the files.

    Next, you have to upload the files.

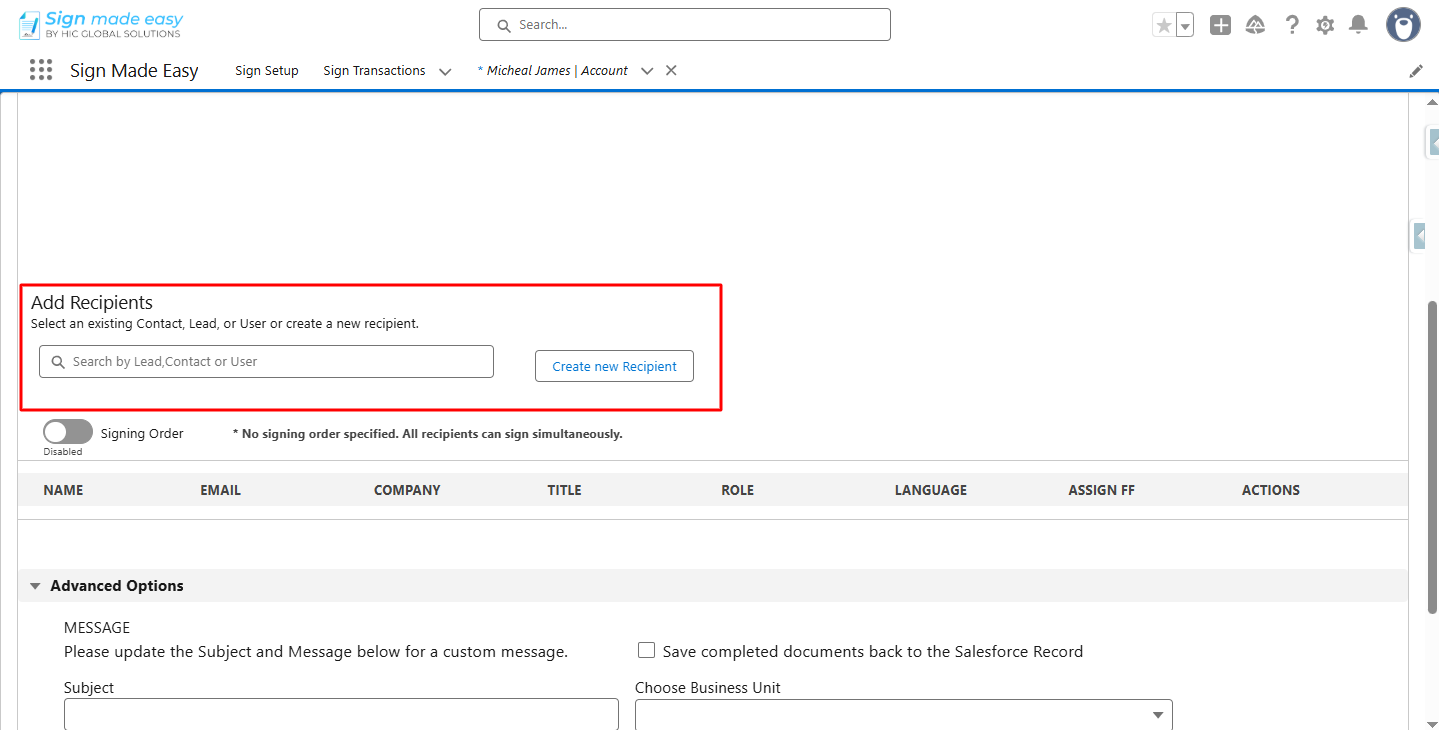
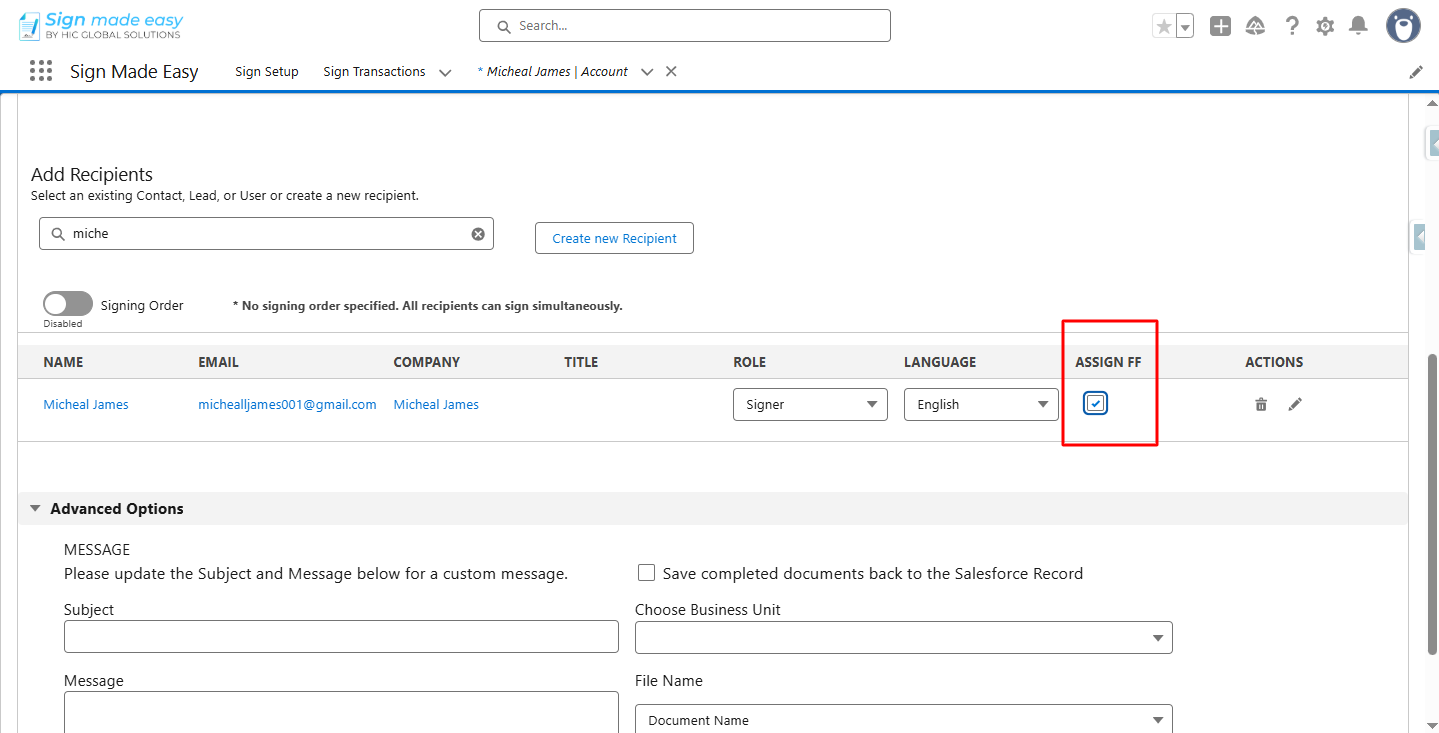
    Step 3:- Add Recipient.

    Add Recipient.

    Add Recipient 1


    Step 4:- Check
    the ASSIGN FF checkbox.

    Note:- If your PDF already contains form fields, they are automatically recognized and converted into SME tags, making the signing process seamless and efficient. 

    Assignee

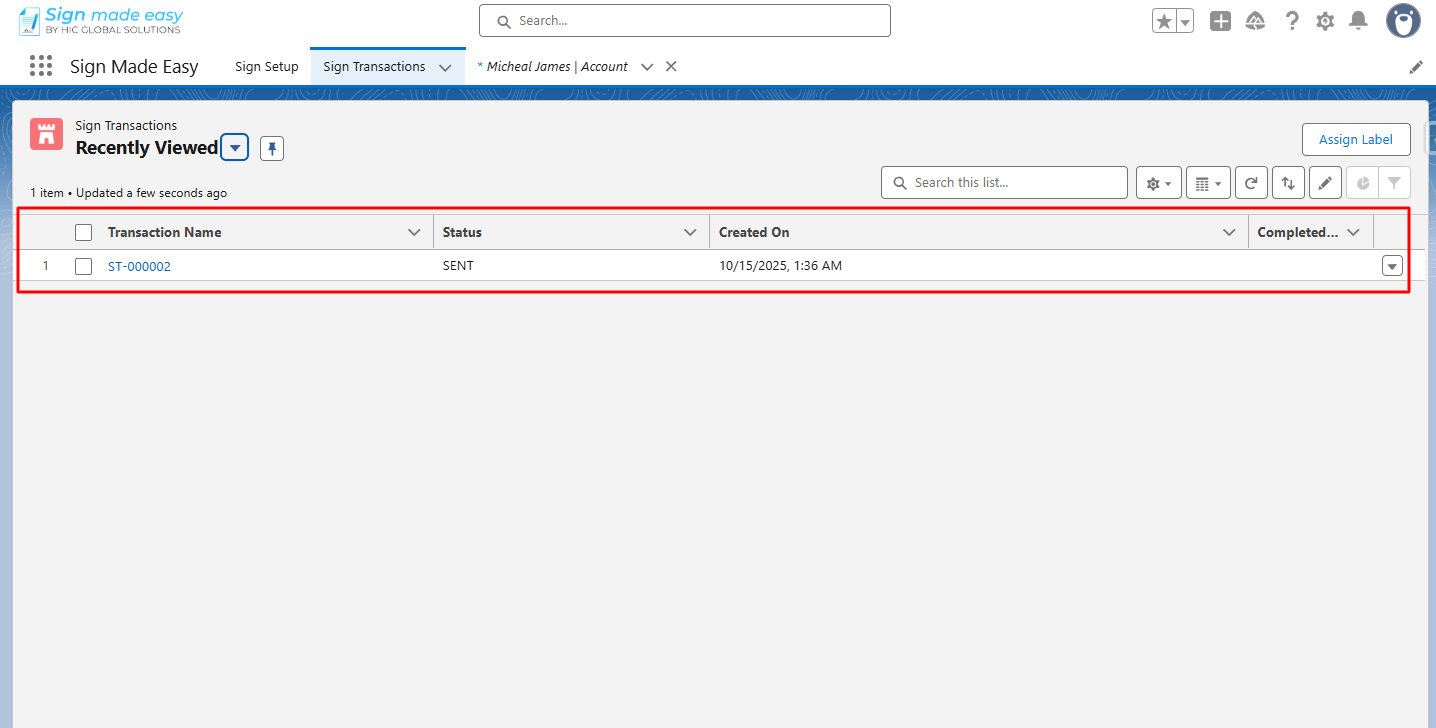
    Step 5:- Click the Send Now button to send the email to the recipient.

    Click the Send Now button to send the email to the recipient

    Click the Send Now button to send the email to the recipient 1
    Click the Send Now button to send the email to the recipient 2

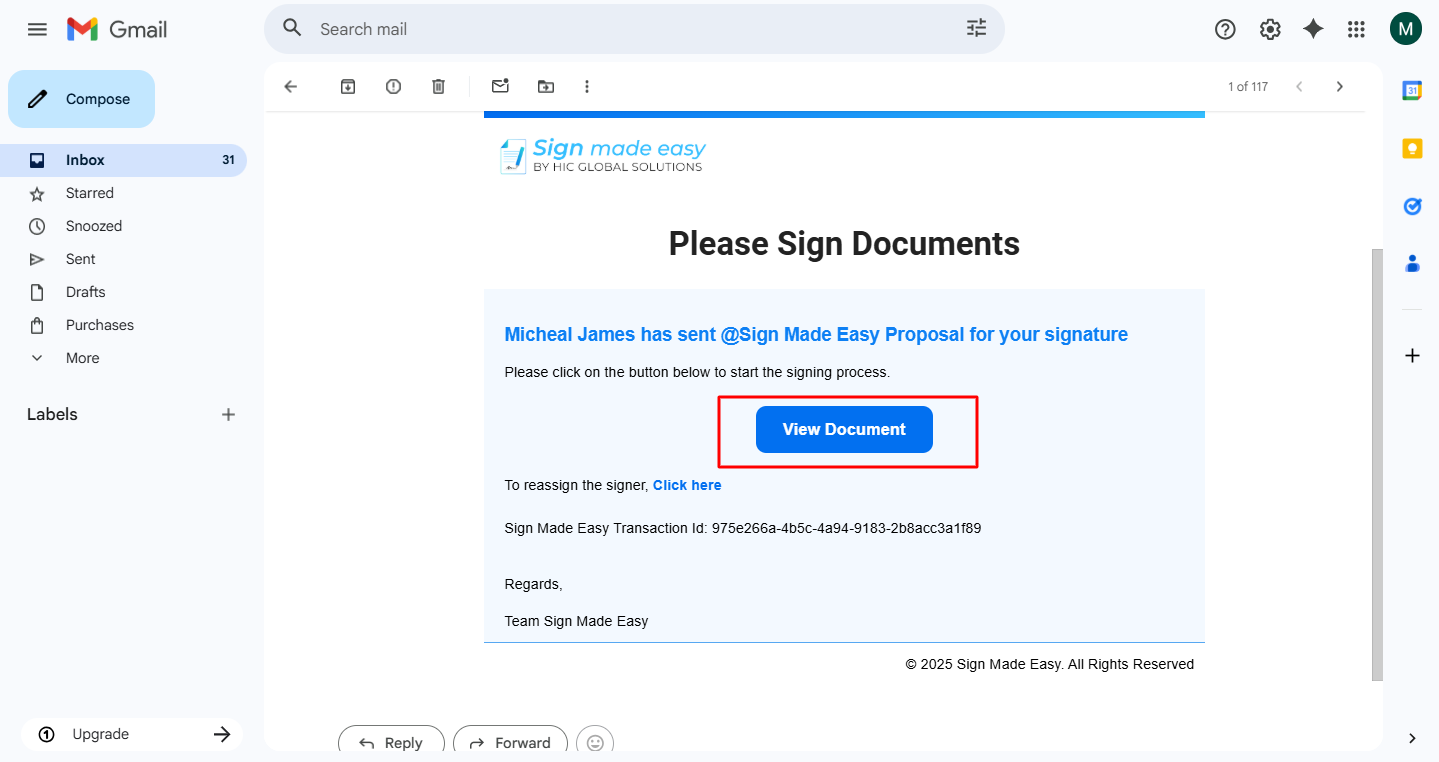
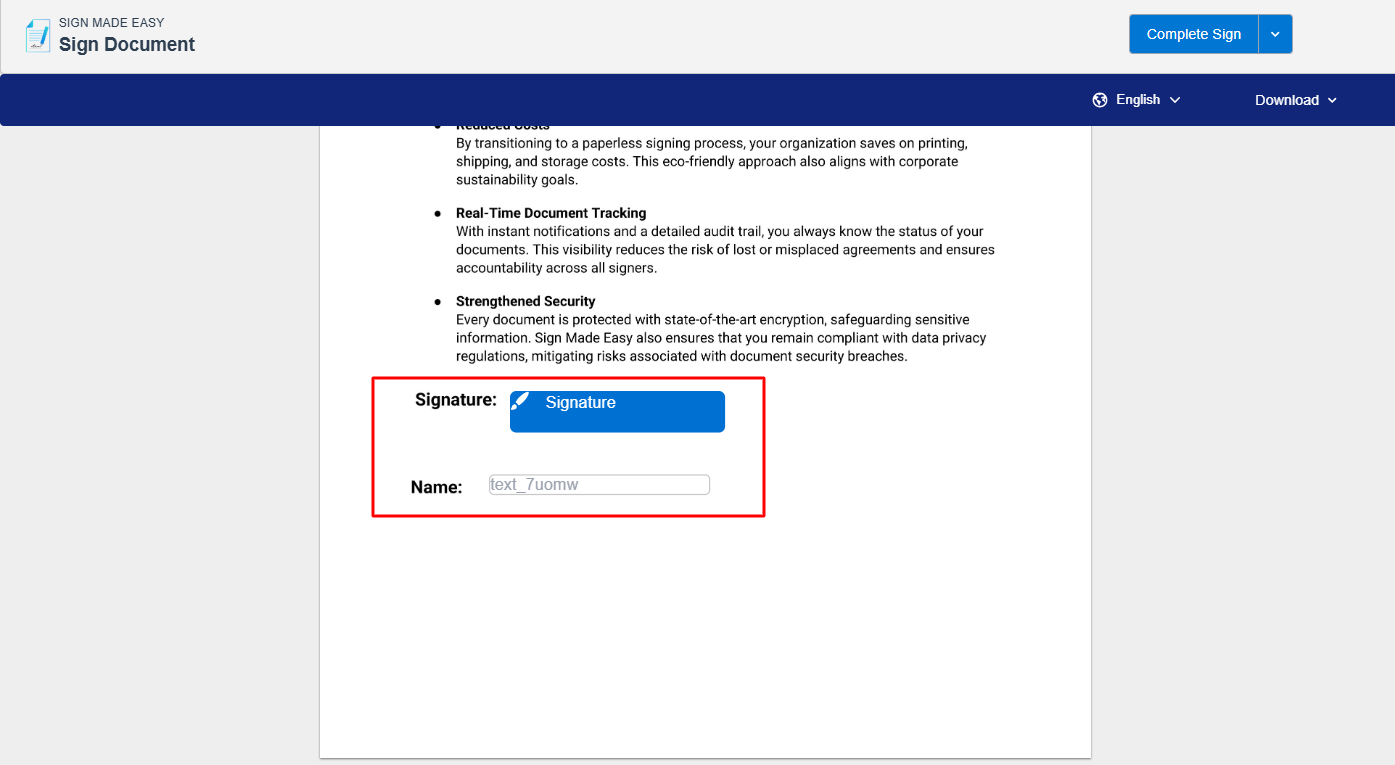
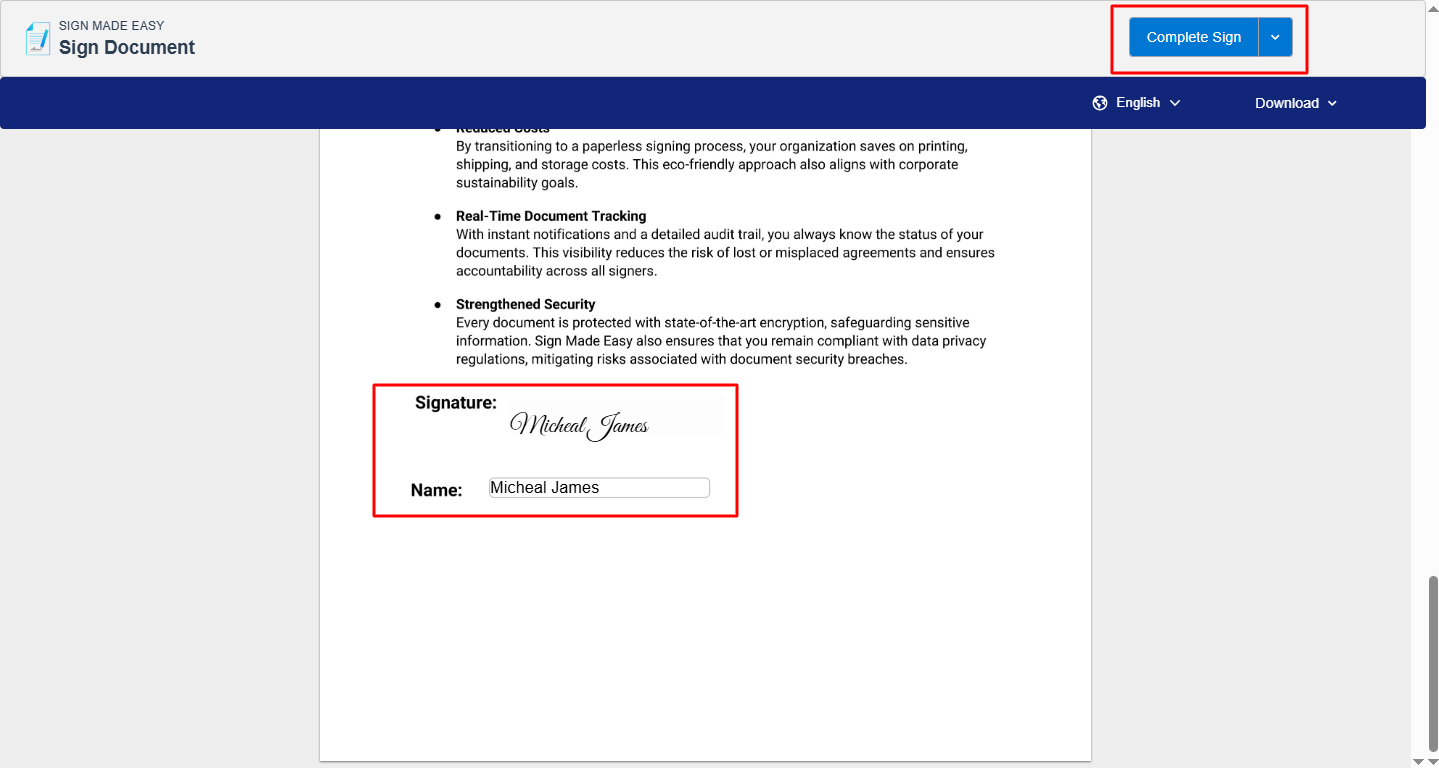
    Step 6:- To complete the transaction, click on each tag and enter the required information to complete the transaction.

    click on each tag and enter the required information to complete the transaction
    click on each tag and enter the required information to complete the transaction

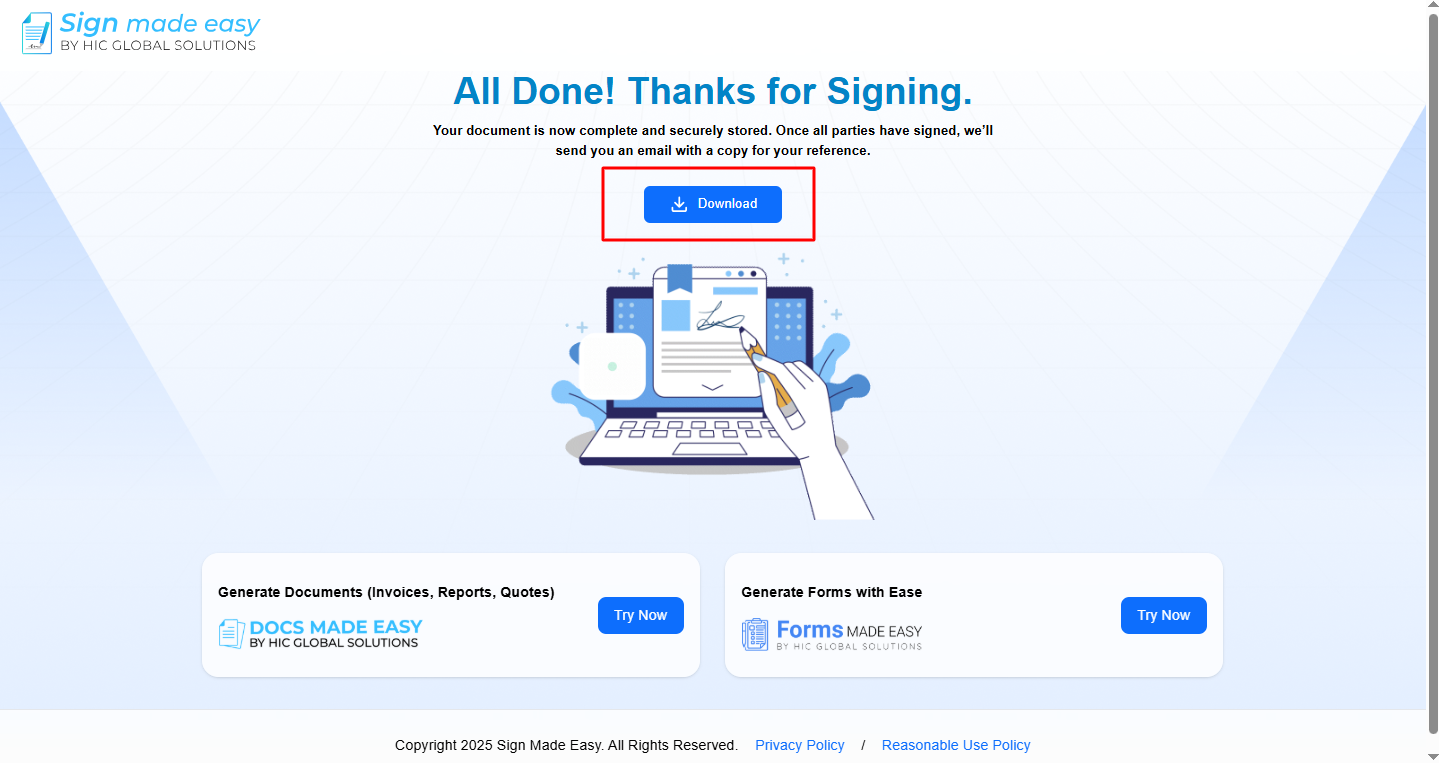
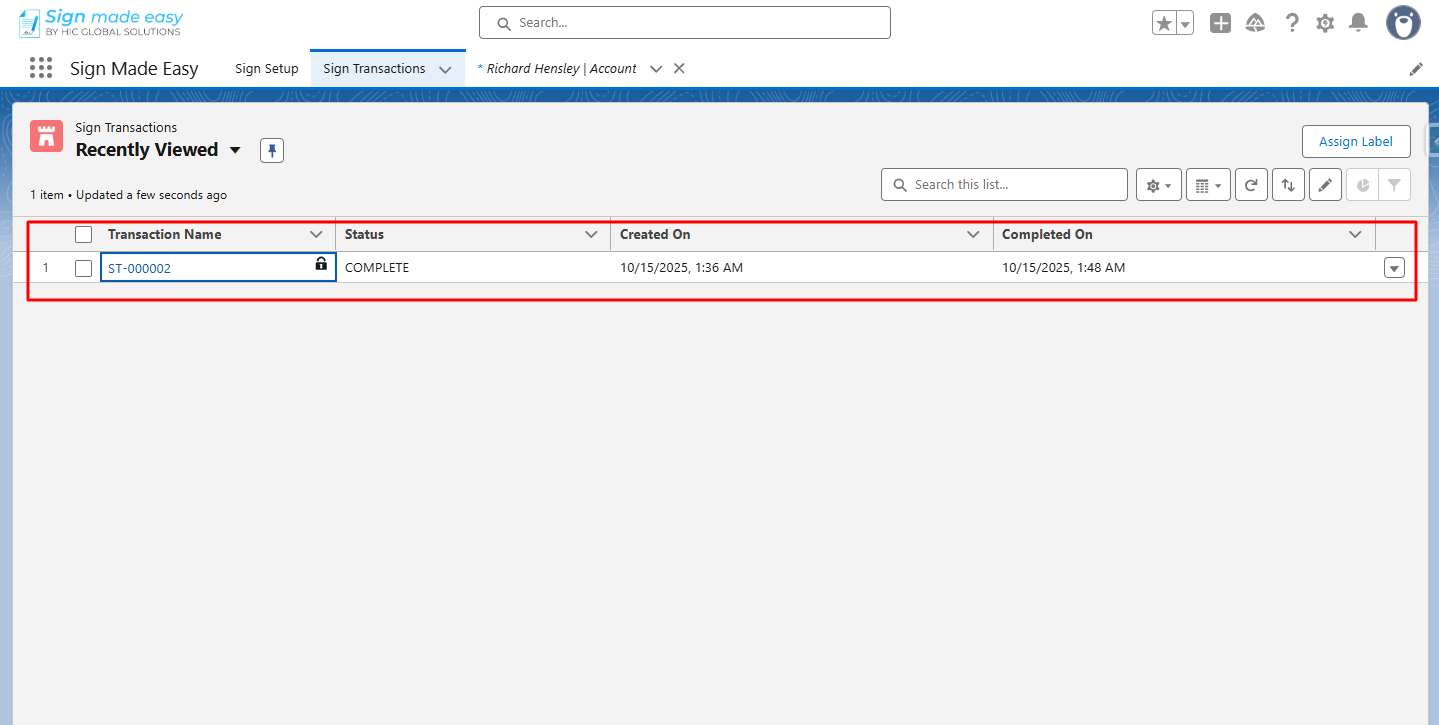
    Step 7:- Thus, the eSignature for Salesforce is completed, and now you can download the document by clicking on the Download button.

    now you can download the document by clicking on the Download button

    now you can download the document by clicking on the Download button 1
    Conclusion 

    With these steps, your form-field PDF becomes ready for a quick and accurate signing experience using eSignature for Salesforce. Since existing fields automatically convert into tags, the signer only needs to fill in what’s required – making the process smooth, reliable, and efficient.  

    Therefore, this approach not only strengthens your Salesforce electronic signature workflow but also ensures every document is completed without errors. Let your teams send, sign, and finish their transactions with confidence.

    Frequently Asked Questions

    A Form-Field Compatible PDF is a PDF document that already contains editable fields—such as text boxes, checkboxes, dates, or dropdowns. When uploaded to Sign Made Easy, these fields automatically convert into SME tags, making the signing experience smooth and error-free.

    Sign Made Easy automatically scans your uploaded PDF. If it contains form fields, the system reads them and converts each field into its corresponding SME tag. This means the signer sees all required fields automatically—no extra configuration needed.

    If your PDF already has embedded fields, no manual input is needed. All fields are auto-detected and ready for eSigning. However, if your PDF has no fields, you can still add tags manually within Sign Made Easy.

    No. If the SME Button is not configured yet, you must first create it from the Button Configuration section in Sign Setup. This enables document sending directly from Salesforce records.

    During Step 3, you simply enter recipient details in Sign Made Easy. You can add one or multiple signers, define their signing order, and assign roles as needed.

    The ASSIGN FF checkbox activates the Form-Field Compatible feature. When enabled, it ensures that your PDF’s existing fields are properly linked and assigned to the selected signer.

    Recent Posts

    Validation Before Sending Documents for eSignature in Salesforce (DS & DSM Parameters)

    Modern businesses rely on eSignature for Salesforce to automate approvals and close deals faster, but not every recipient should be…

    Read More
    CNX 2026
    Ultimate Guide to CNX 2026: Everything You Need to Know

    CNX 2026 is set to become one of the most anticipated Salesforce events 2026 professionals are preparing for. As the…

    Read More
    Top Salesforce Integration Apps at Dreamforce 2025 You Can’t Miss
    Top Salesforce Integration Apps at Dreamforce 2025 You Can’t Miss

    Dreamforce 2025 Overview Salesforce organizes its Dreamforce event every year, bringing together the global community to connect, learn, and celebrate…

    Read More