


In this in-depth guide, we’ll unveil the straightforward process of Sign Made Easy eSignature solution setup and seamlessly connecting your Salesforce Org for digital signatures. The procedure will be as simple and smooth as possible. From the initial setup till the end configuration of the permissions, we will visualize each step to achieve a smooth eSignature insertion and better document maintenance.
Sign Made Easy will equip you with a complete set of tools you need to satisfy all and any of your digital signature needs.
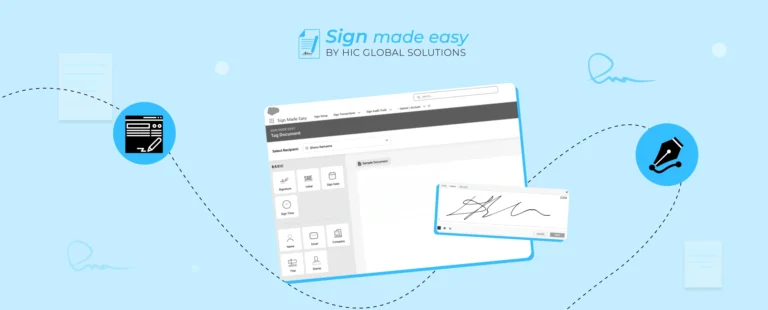
Sign Made Easy: eSignature solution for Salesforce
Sign Made Easy revolutionizes the way electronic signatures are obtained within Salesforce. Featuring a user-friendly interface and seamless integration, this solution empowers users to securely sign documents from any device. By eliminating cumbersome manual processes, Sign Made Easy enhances efficiency and productivity across your organization.
Enabling User Permissions
Before configuring eSignature set up and connecting your organization for digital signatures, it’s crucial to enable specific user permissions. These permissions include:
- API Enabled
- View Setup and Configuration
- Customize Application
- Modify all Data
- Modify Metadata through Metadata API
To activate these permissions for standard users, navigate to the user settings and select the appropriate profile. From there, locate the mentioned fields and toggle them to enable.
Getting Started: Configuring Sign Made Easy
Prerequisites:
- Supported in professional and group addition organizations.
- Permission Sets Required: Sign Made Easy business user/Sign Made Easy Admin User.
1. Accessing the Homepage: Start the Sign Made Easy journey by undertaking the step of adding the app to your device screen after downloading it through the homepage. The extension will assist you in connecting the dots to have a seamless implementation of the Salesforce eSignature mechanism from now on.
2. Org Configuration: Step into the “Org Configuration,” where you’ll encounter two important options:
- Configure SME: You can choose this option if you want to start the connection setup; it is the beginning of an effortless integration.
- Org-wide Address: By now, you will have the privilege of selecting either the existing org-wide address or creating your own which designates a unique email for working with the organizational system.
3. Connecting the App: The most important step should be carrying out the integral process of linking the app by selecting “Configure SME”. This serves as the starting block for bringing Sign Made Easy into your Salesforce system.
4. Setting Org-wide Address: Set up communications lines using the org-wide address configuration. Whether you selected a pre-existing address or created a new one, don’t miss to check that the address fits your web address requirements.
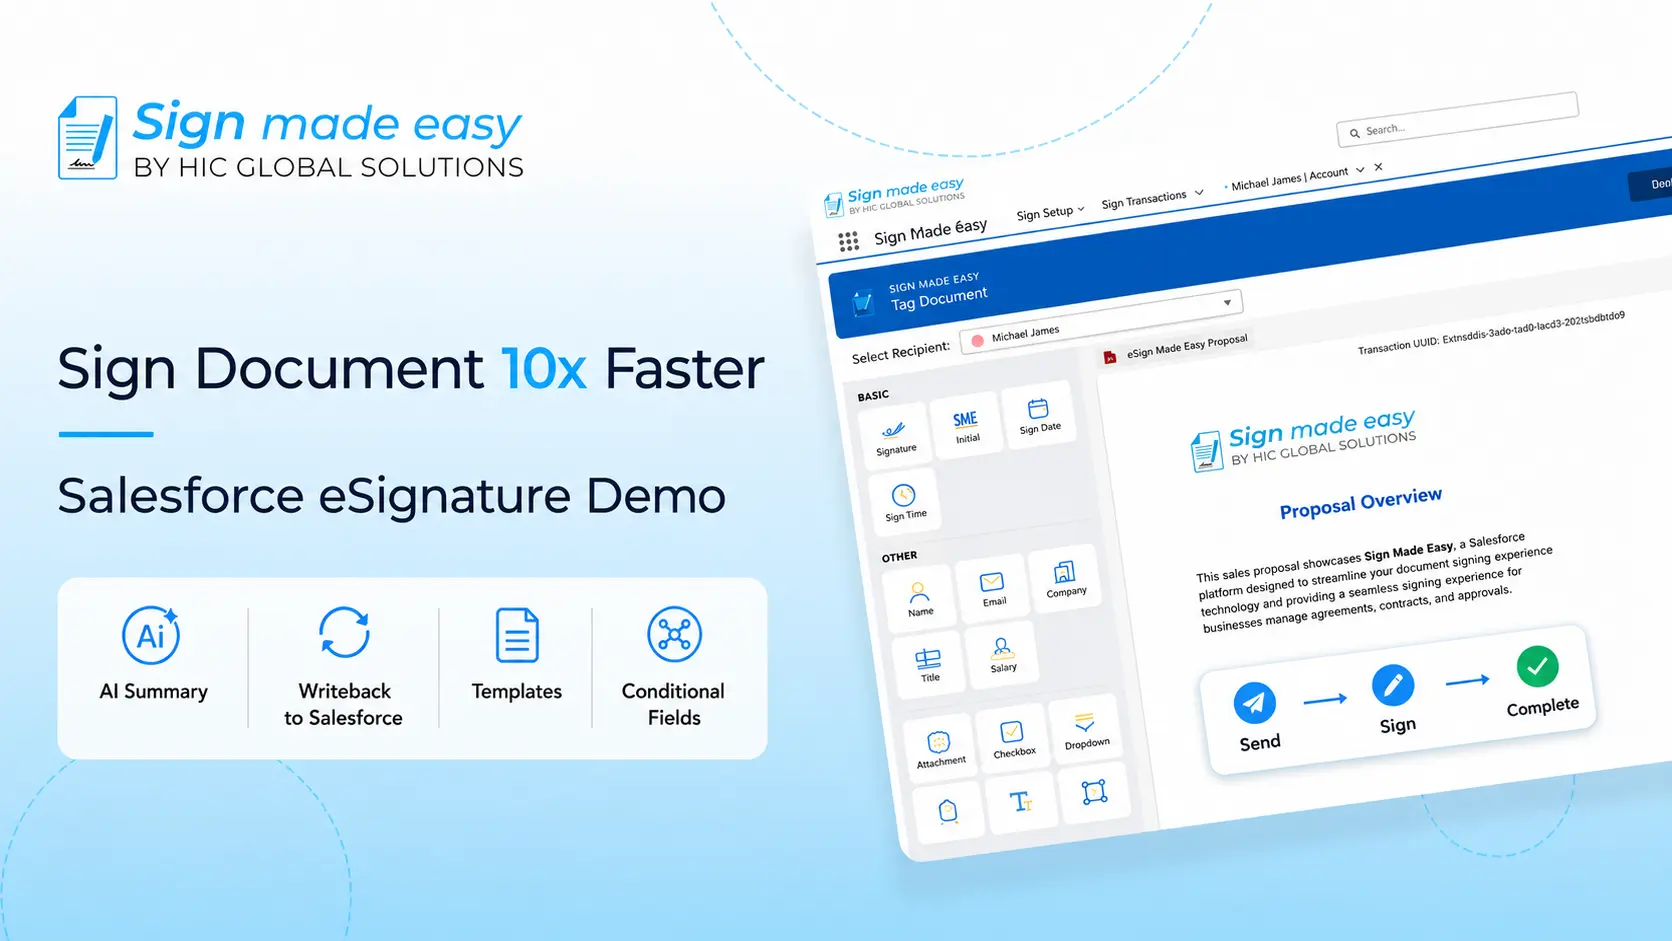
5. Basic Tag Configuration: Tailor your system according to your needs by creating either as-required or optional tags. Such arrangements increase the level of paperwork organization in addition to being simple to comprehend in the end.
6. Setting Up Object Relationships: Navigate through the Object Manager to forge essential connections. Search for “Sign Transaction” and create a new Lookup field to establish relationships between pertinent objects, facilitating seamless data linkage.
7. Write-Back Configuration: Fine-tune your settings by selecting an Object and choosing the necessary fields for write-back configurations. This step ensures data accuracy and consistency throughout the eSignature process.
8. Navigating Salesforce Setup: Delve into the Salesforce Setup menu and access the Accounts section. This pivotal step sets the stage for customizing account-related actions and functionalities.
9. Customizing Account Object: Take control of account management by customizing the Account Object. Navigate through the Object Manager, configuring link actions to streamline processes and enhance user experience.
10. Creating Custom Buttons: Elevate functionality by adding custom buttons tailored to your specific needs.
11. Adding Flows: Enhance the user experience by incorporating additional flows. Utilize the search functionality to locate and integrate relevant flows, ensuring a comprehensive eSignature solution within Sign Made Easy.
12. Page Layout Customization: Personalize your interface by accessing Page Layouts and selecting the Account Layout.
13. Saving Changes: Seal the deal by clicking save to apply the configured settings. This final step ensures that all adjustments and customizations are successfully implemented, and ready to streamline your eSignature processes within Salesforce.
14. Accessing Sign Made Easy: Seamlessly navigate to Sign Made Easy through the app launcher. Utilize the intuitive search functionality to locate accounts swiftly. Once found, effortlessly access the Sign Document button, initiating the digital signature process with ease. This streamlined approach ensures quick access to essential functionalities, empowering users to expedite document signing and enhance overall productivity within Salesforce.
In addition to the configuration and connection steps, there are additional tabs available for viewing, which can be easily enabled by clicking on the toggle button.
These tabs include:
1. Reassign the Signer: This functionality allows signers to transfer the responsibility of signing a document to another recipient. For instance, if a signer realizes that another individual within the organization is better suited to review or approve the document, they can utilize this feature to reassign the signature task.
2. Notify the User: This feature ensures that users are promptly informed about the actions taken by recipients regarding the document. For example, if a recipient signs the document or requests changes, the user will receive notifications detailing these actions.
3. Hide Audit Trail: Enabling this setting hides the audit trail link from the email template sent to recipients. The audit trail typically contains a record of all actions performed on the document, such as who accessed it, when modifications were made, and any approvals or rejections.
Conclusion
Sign Made Easy revolutionizes the way you handle eSignatures in Salesforce. With its intuitive setup process and user-friendly interface, you can streamline document workflows and accelerate approvals.
Say goodbye to paperwork delays and hello to efficiency with Sign Made Easy – your go-to eSignature solution for Salesforce.
Experience the power of seamless eSigning with Sign Made Easy today!