


Electronic signature is no longer a luxury but a necessity for modern business workflows. With remote work, digital contracts, and compliance requirements increasing, organizations need reliable methods to sign documents quickly and securely. Salesforce, as one of the leading CRMs, supports integrations and apps that enable eSigning directly in the platform. One such solution is Sign Made Easy, which simplifies signing Word (DOCX / DOC) documents without leaving Salesforce.
In this guide, we’ll cover how to eSign a Word document in Salesforce using Sign Made Easy, step by step.
How to eSign a Word Document in Salesforce
Step 1 – Access Sign Made Easy
- Log in to Salesforce.
- Open the Sign Made Easy app.
- Confirm you’ve done the configuration: permissions, custom buttons created, and the app connected under Org Configuration → Configure SME.
Step 2 – Use the Custom Button to Start eSigning
- Navigate to the record (Account / Contact / Opportunity etc.) where you want to send the document.
- Click the custom button you created (e.g. “Send for Signature” / “eSign Document”). This button should be present on the page layout after setup.
Step 3 – Upload the Word Document
You’ll have multiple ways to upload:
- Search for files already stored in Salesforce (.doc, .docx, .pdf)
- Drag & drop your Word document into the upload area
- Browse your local computer to pick the file manually.
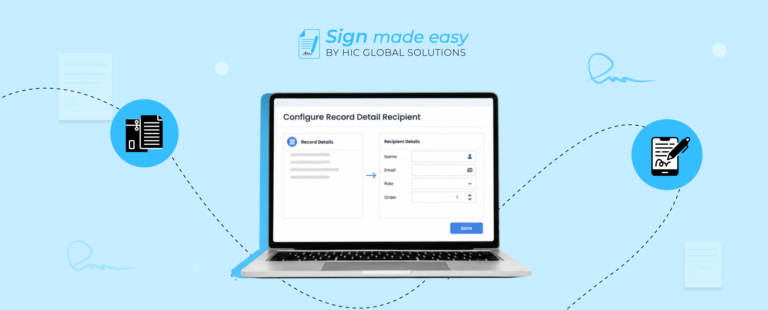
Step 4 – Select Document, Set Recipients, and Place Tags
- After upload, select the document(s) you want signed.
- Use the toggle/filter feature so you only see the selected ones.
- Add recipients: you can choose Salesforce Contacts, Leads, Users, or create external (non‐Salesforce) recipients.
- Set roles: Signer, In‑Person Signer, CC, etc.
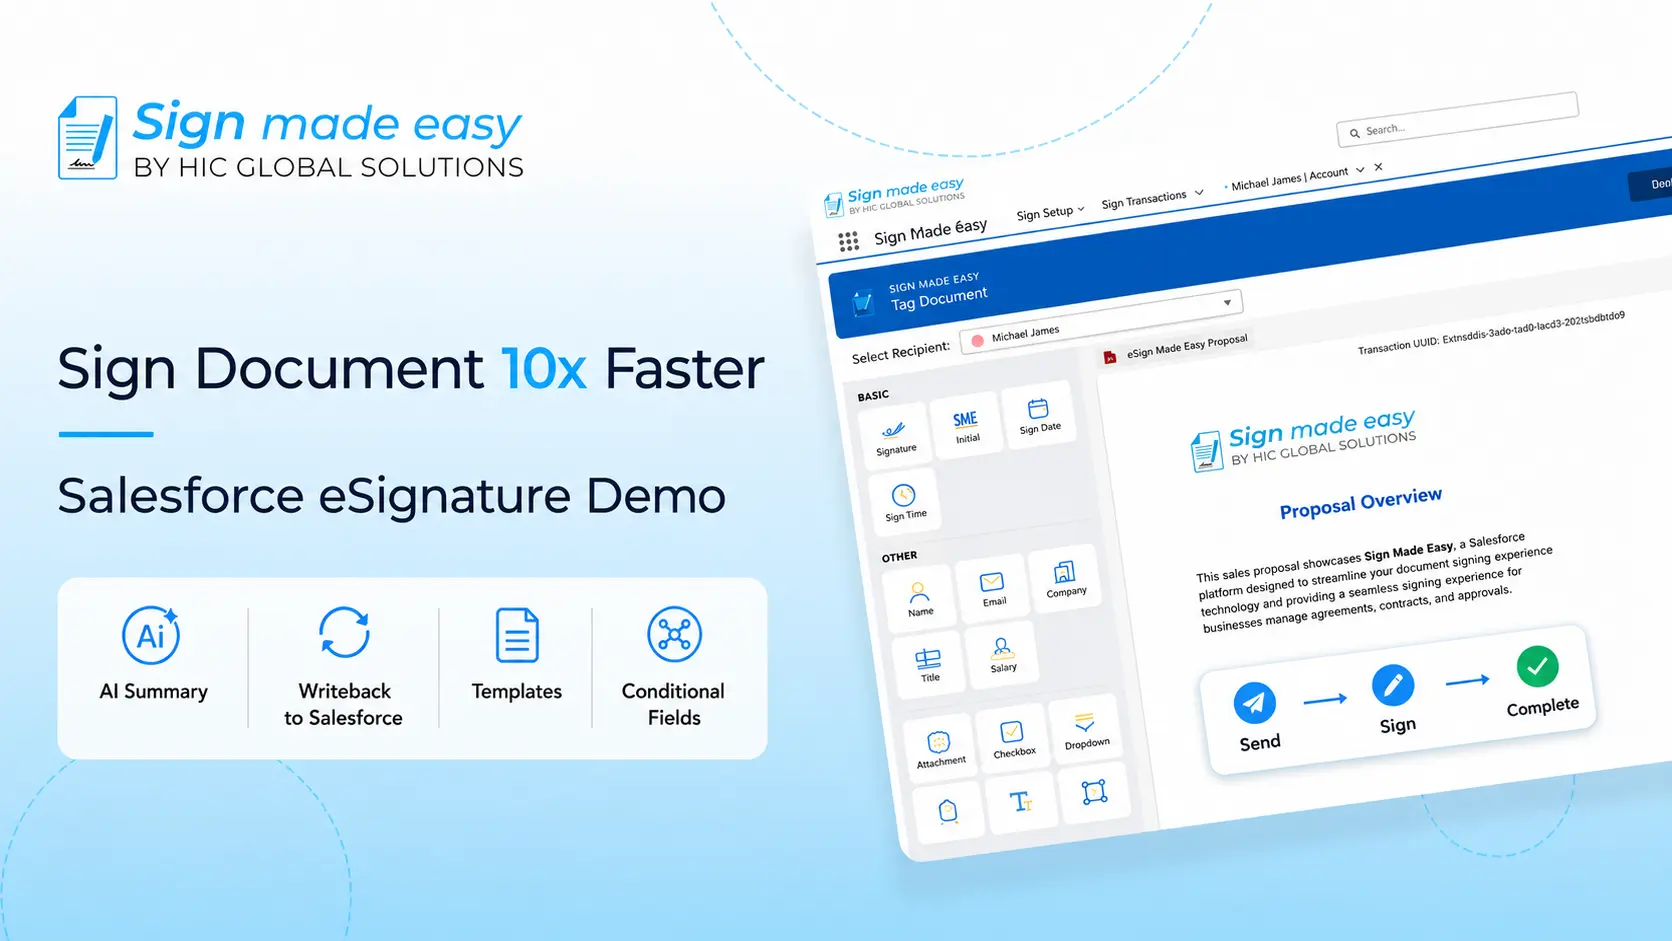
- Drag & drop signature tags into the document (for names, dates, initials, etc.).
Step 5 – Finalize, Review & Send
- Check all details: document version, recipients, tag placement, expiration reminders if any.
- Choose options like email notifications, business unit, “send now” vs “save draft,” etc.
- When ready, send the document. The recipient(s) will get a secure link or method to sign. Signed documents are returned and stored in Salesforce (Notes/Attachments or via Sign Transaction records).
Conclusion
eSigning a Word document directly in Salesforce via tools like Sign Made Easy streamlines contract workflows, reduces turnaround time, and enhances user experience. Whether you’re using Salesforce for sales, legal, HR, or operations, integrating eSignature capabilities ensures documents are processed faster and securely.
By following the steps above accessing the app, using the custom button, uploading the Word file, selecting documents and recipients, toggling selections, and finally sending you’ll be able to eSign a Word Document in Salesforce with minimal friction and maximum efficiency.