

Managing recipients efficiently is essential for a smooth eSignature workflow in Salesforce, especially when dealing with multiple related records. Instead of manually selecting recipients every time, businesses can use All Related Recipients in Sign Templates to automatically pull contact details from connected Salesforce objects.
This approach improves accuracy, reduces manual effort, and ensures a faster document automation process.
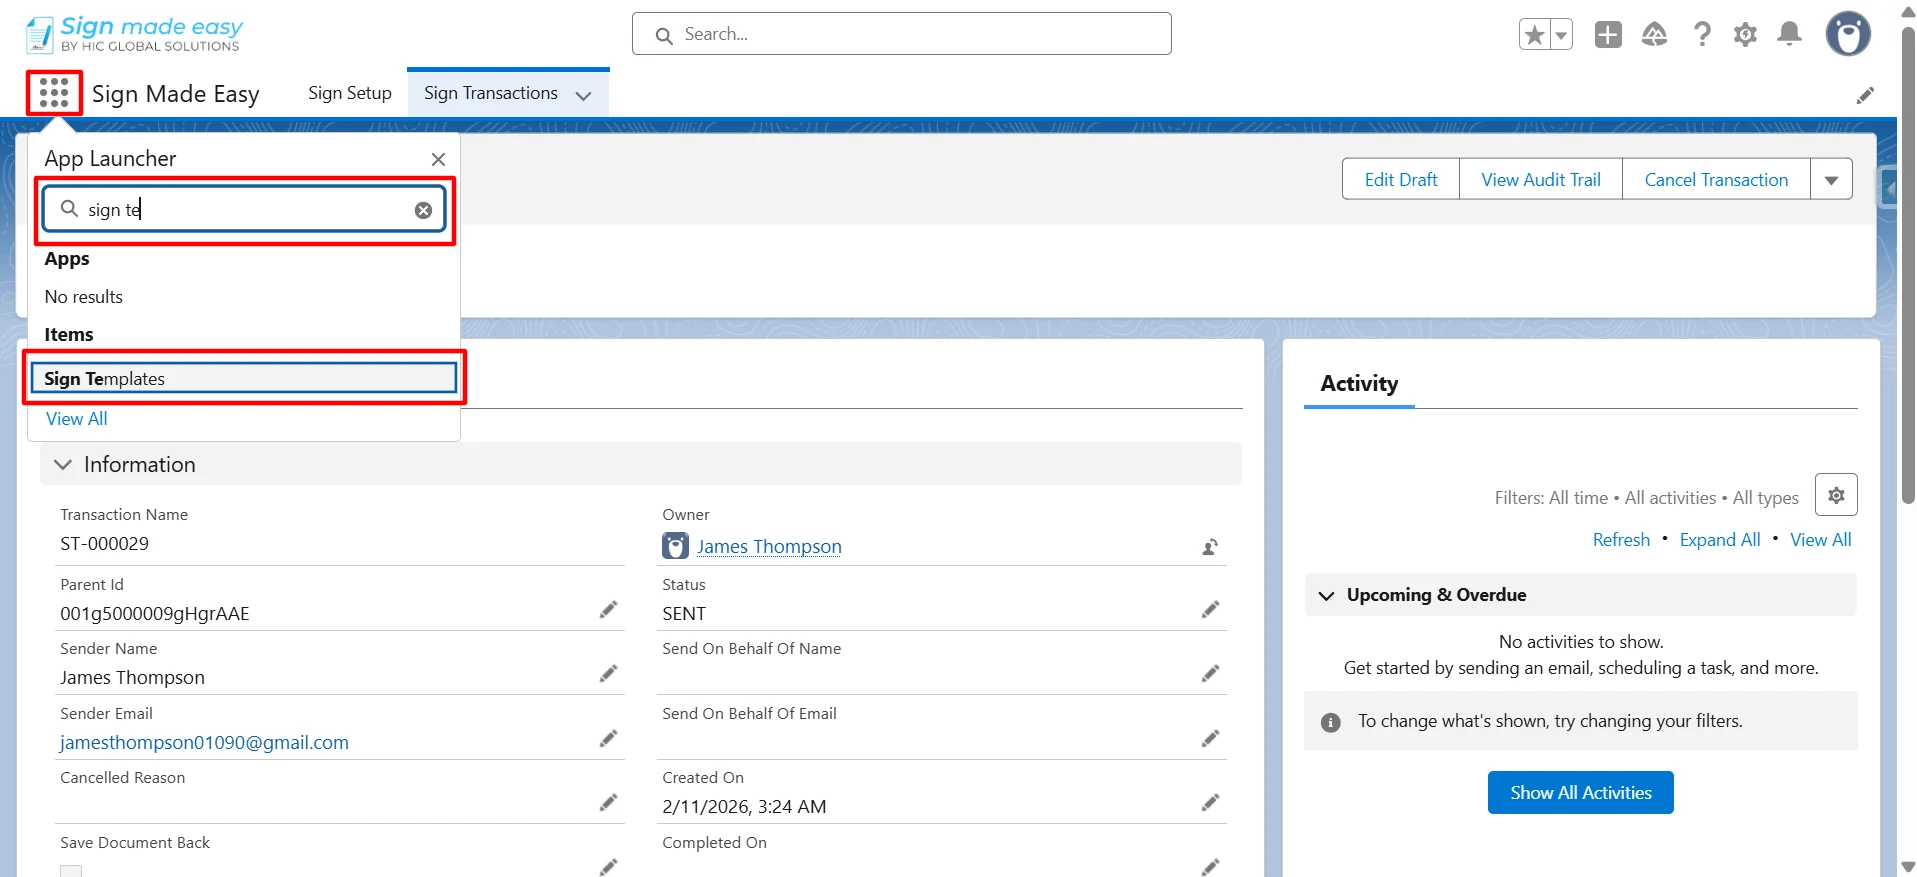
Step-by-Step to Configure All Related Recipient in a Sign Template
Step 1: Click on the App Launcher, search for “Sign Template”, and select it to open.
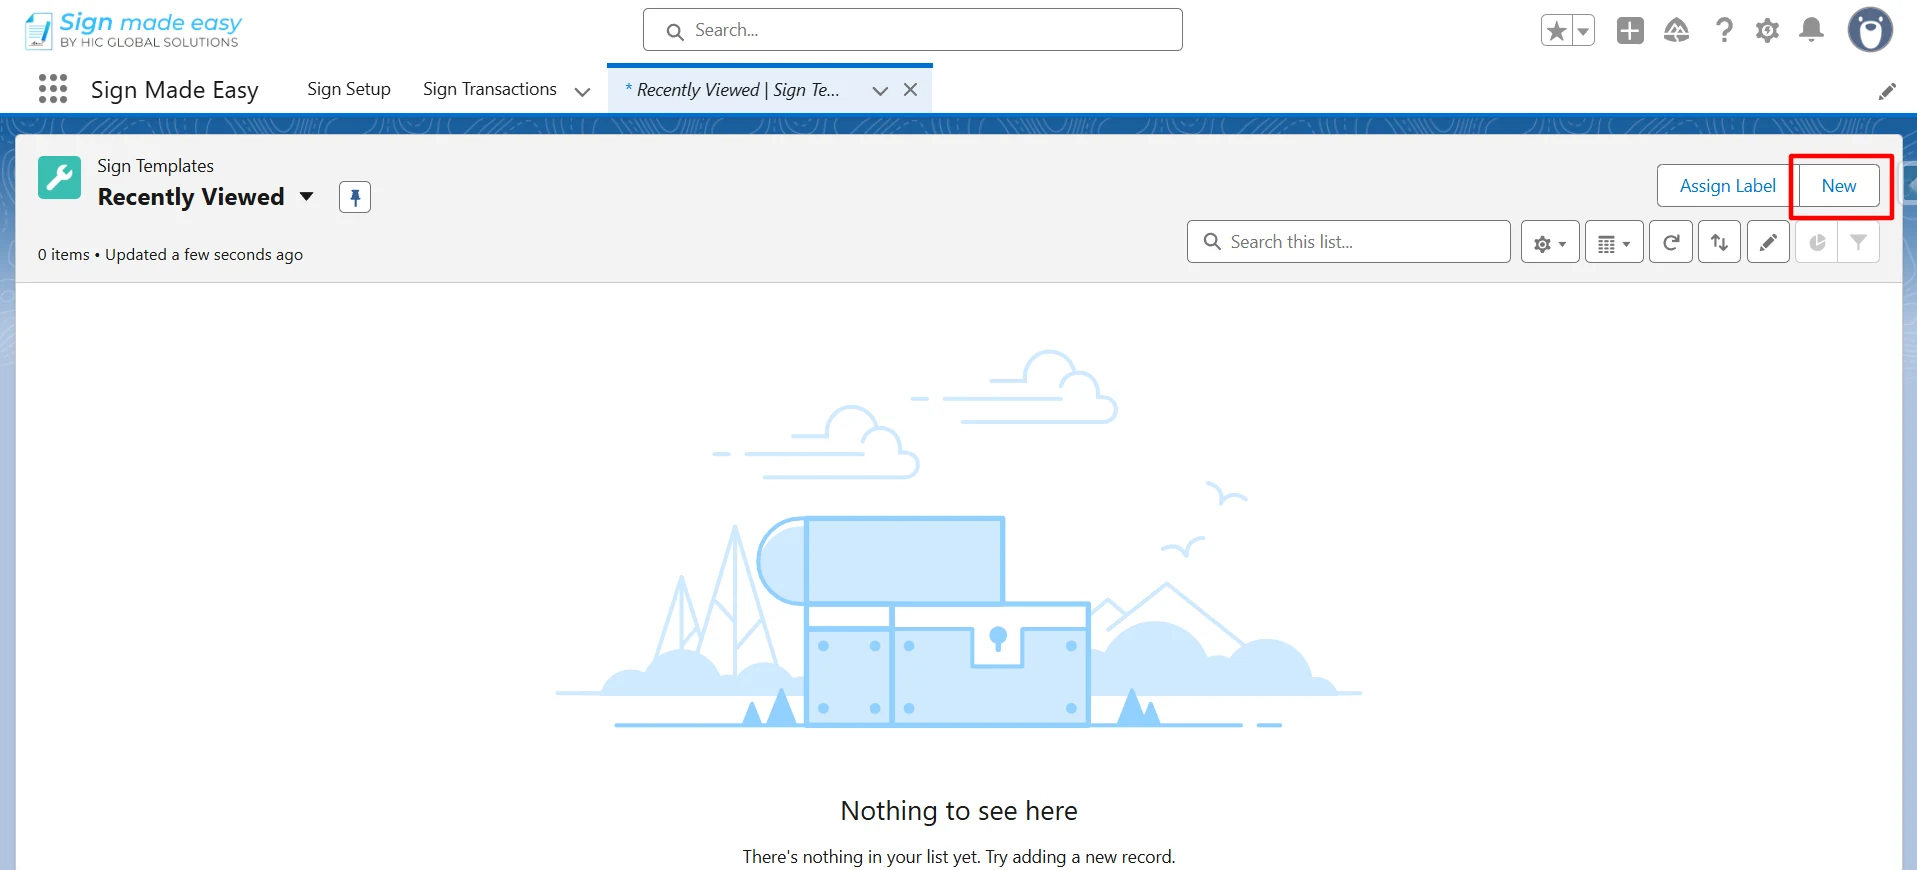
Step 2: Click on the New button to create a new Sign Template.
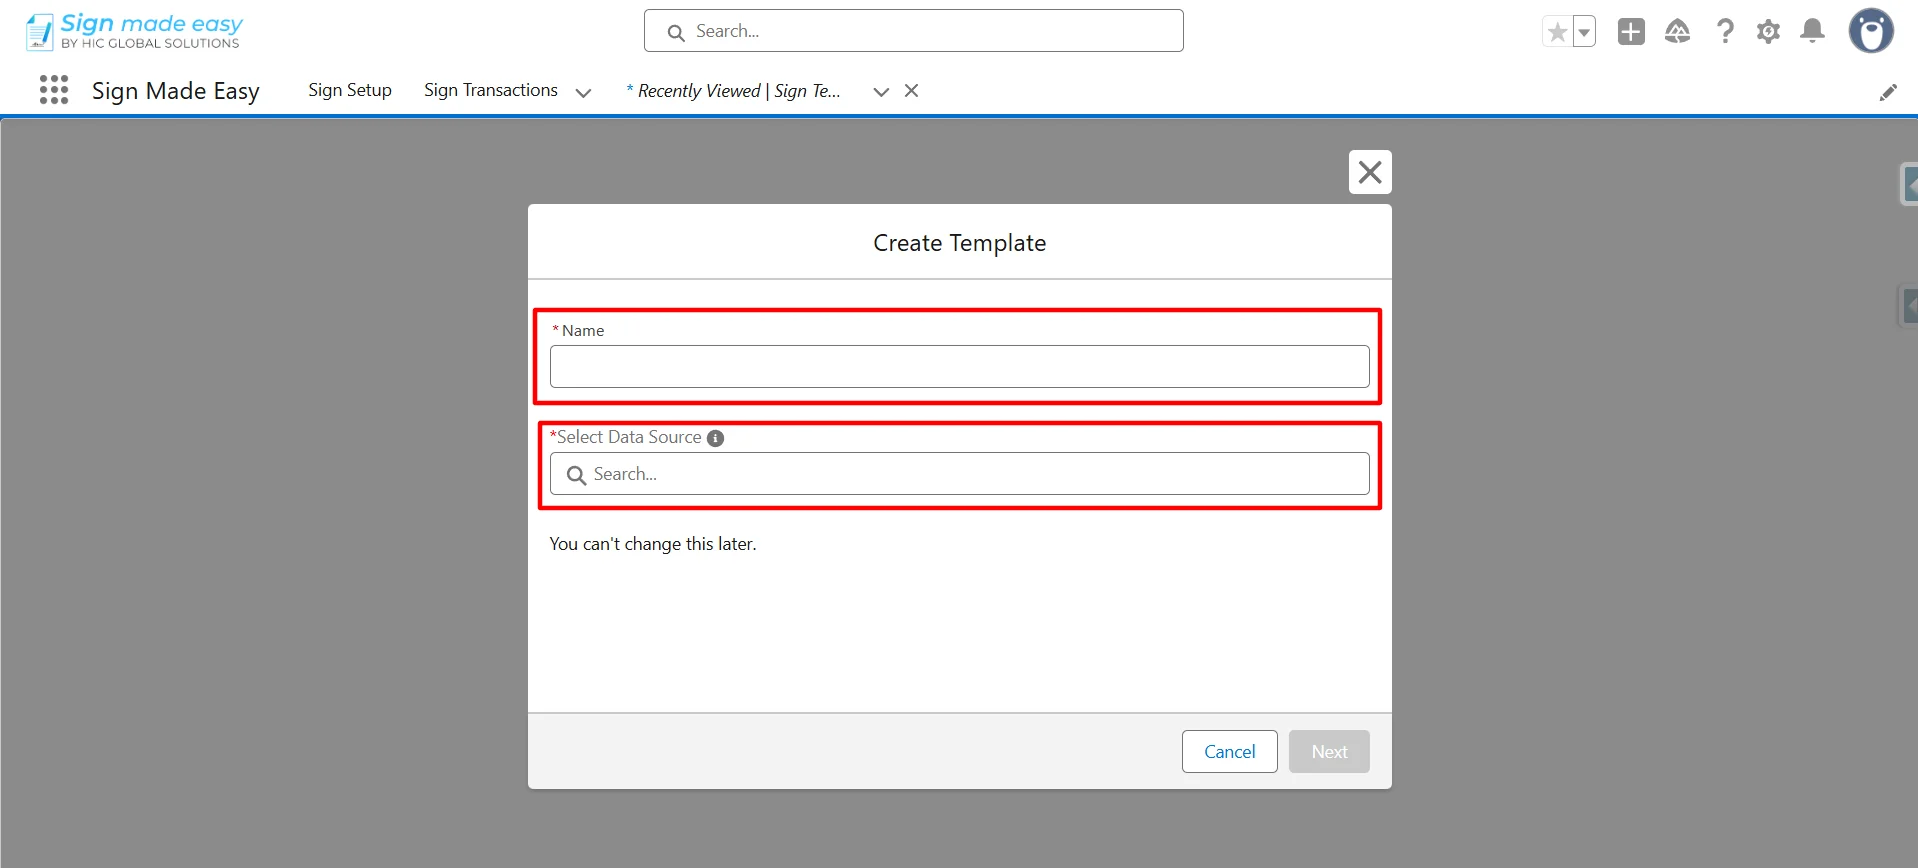
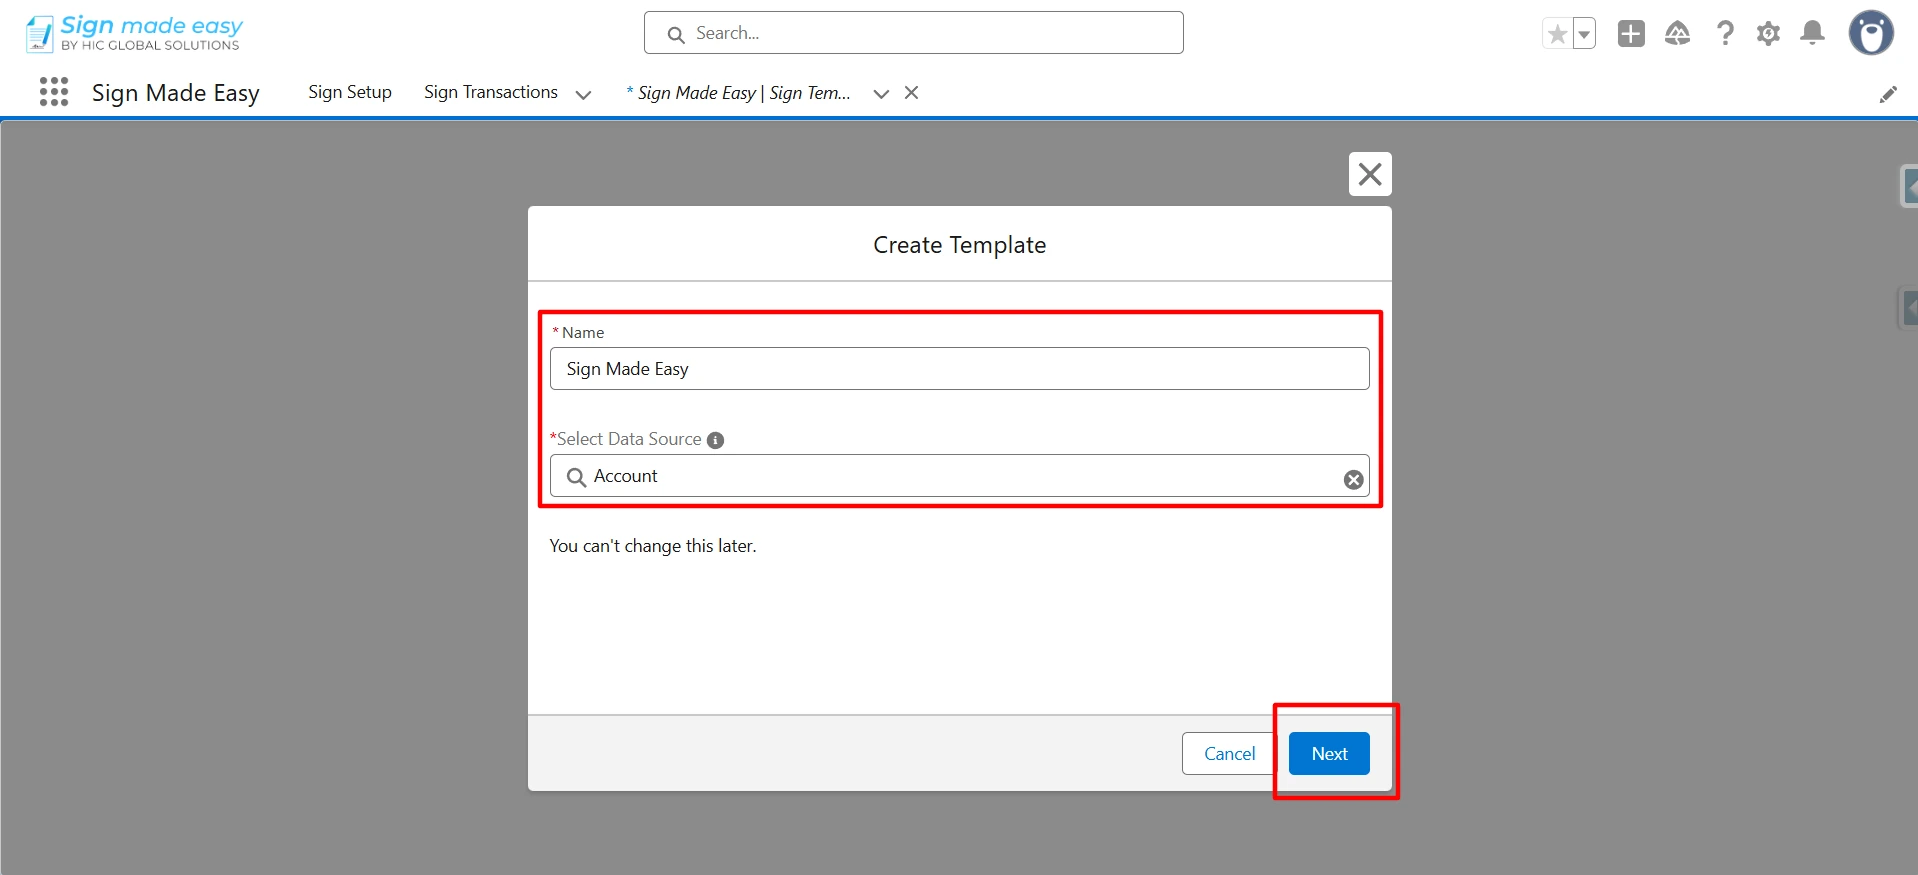
Step 3: Enter a Name for the template and select a Salesforce object as the data source. Then click the Next button to proceed.
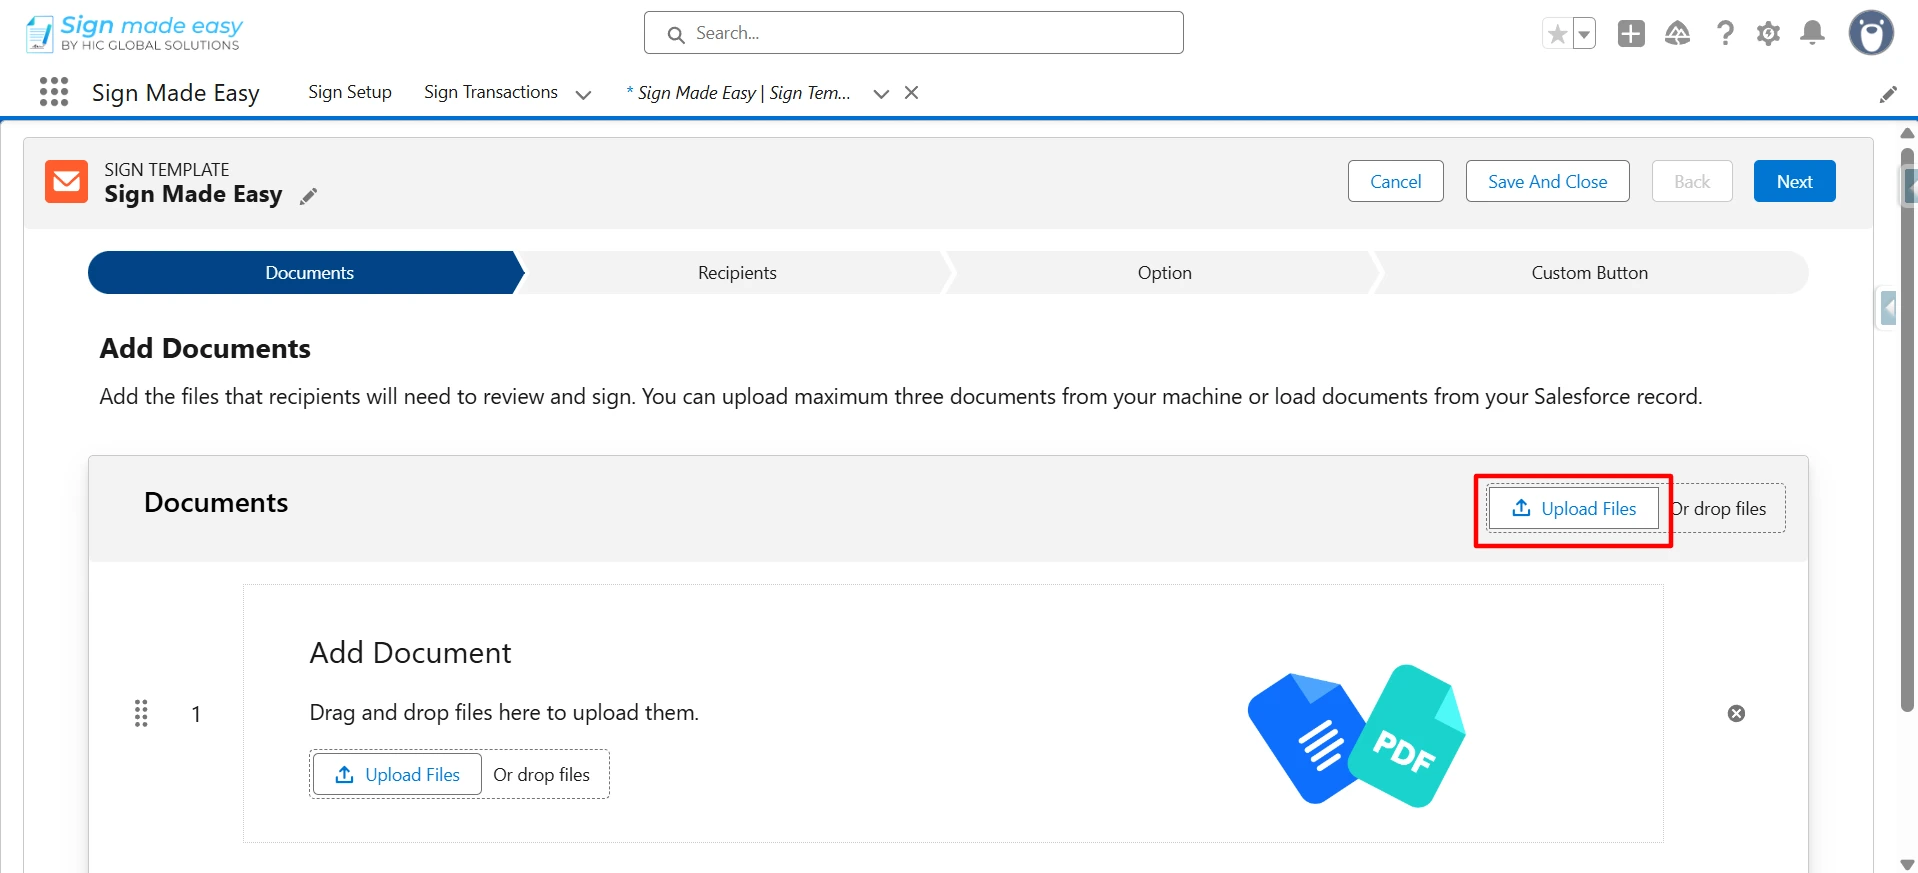
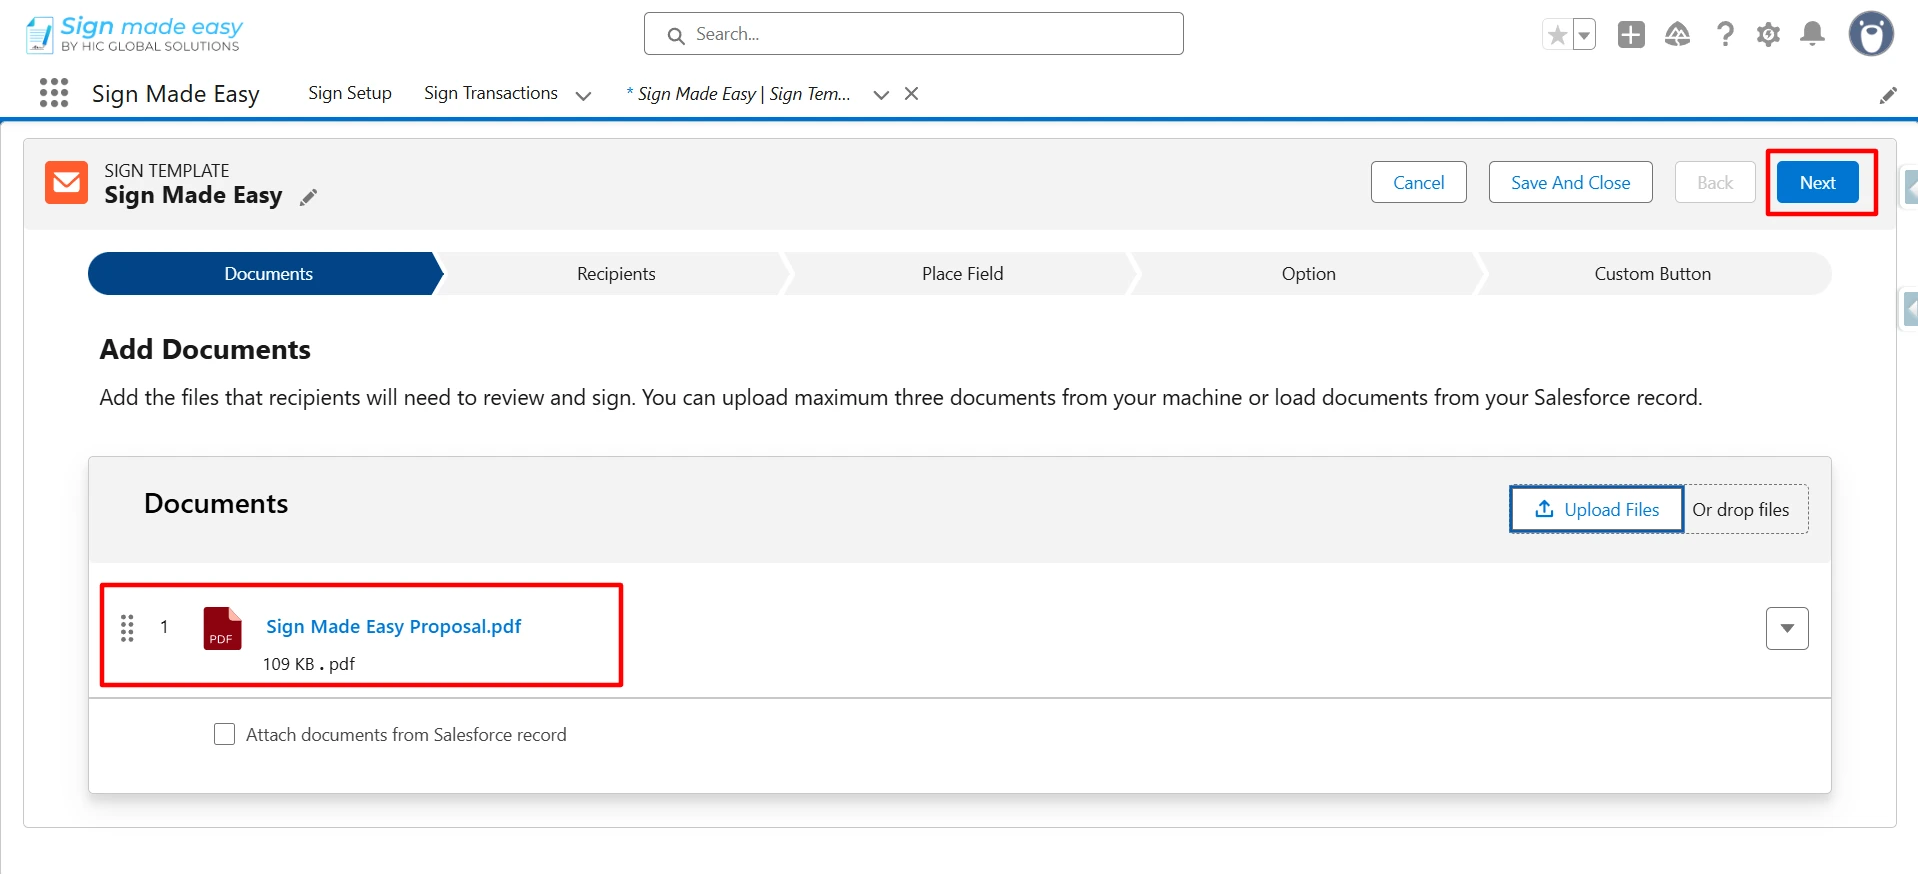
Step 4: Click Upload Files to add the documents that recipients will need to review and sign.
Step 5: Click Next to proceed.
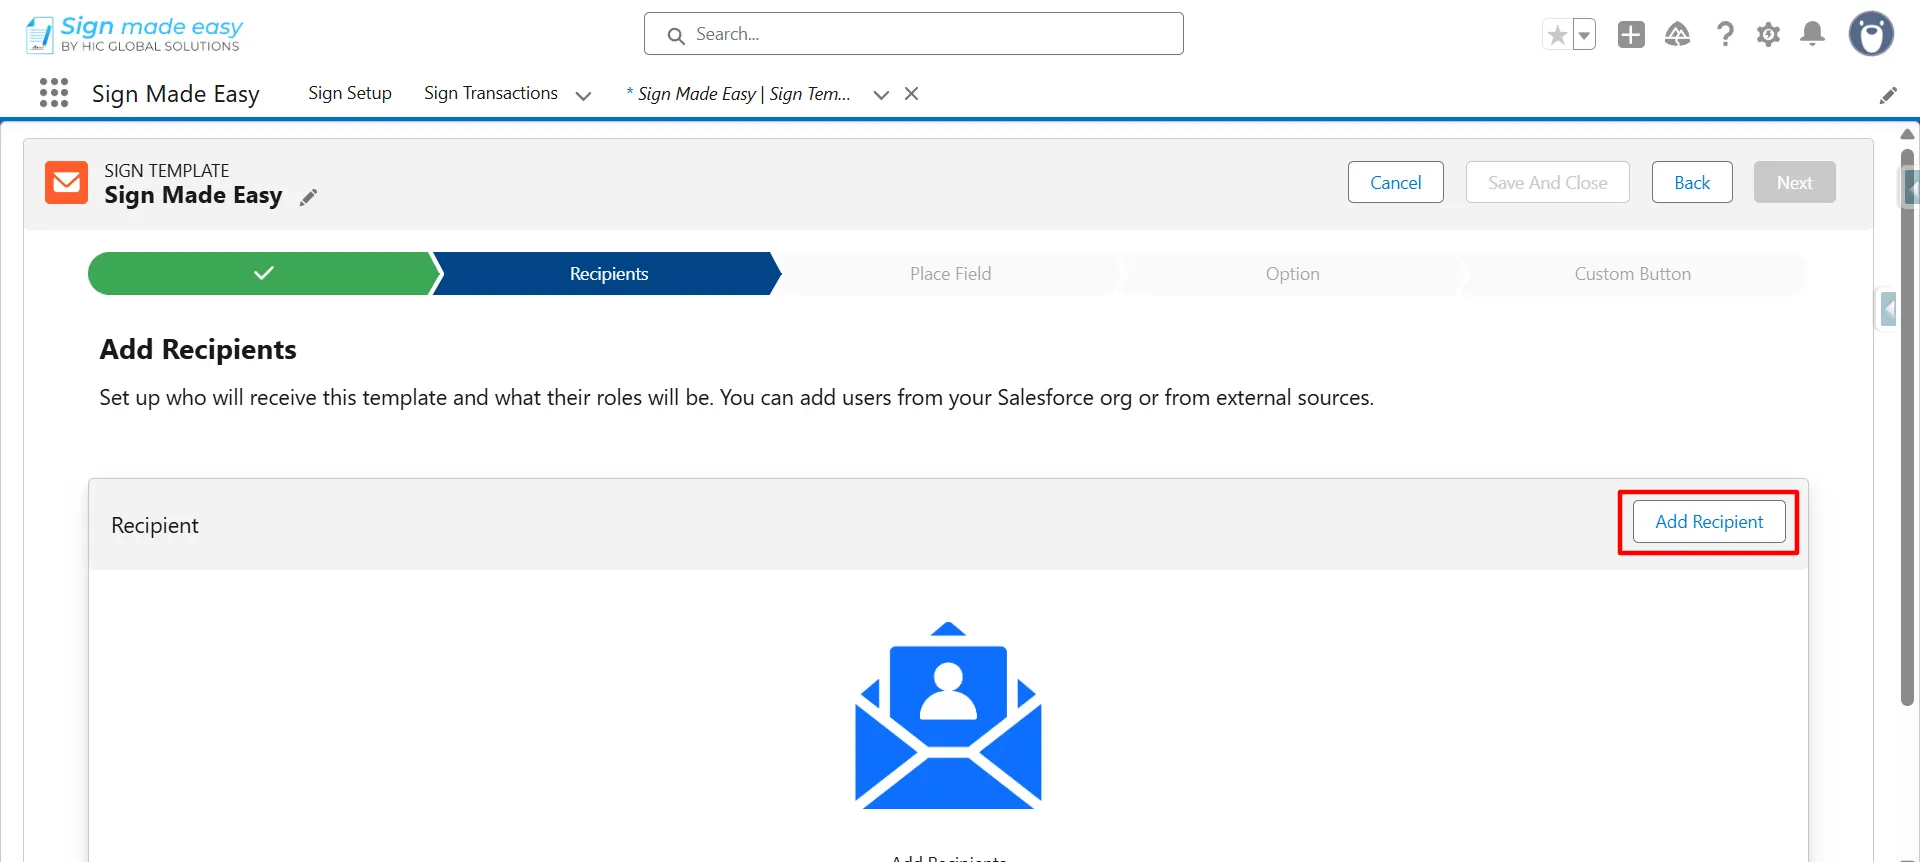
Step 6: Now, click on the Add Recipient button to add the recipients for sending the template for eSignature.
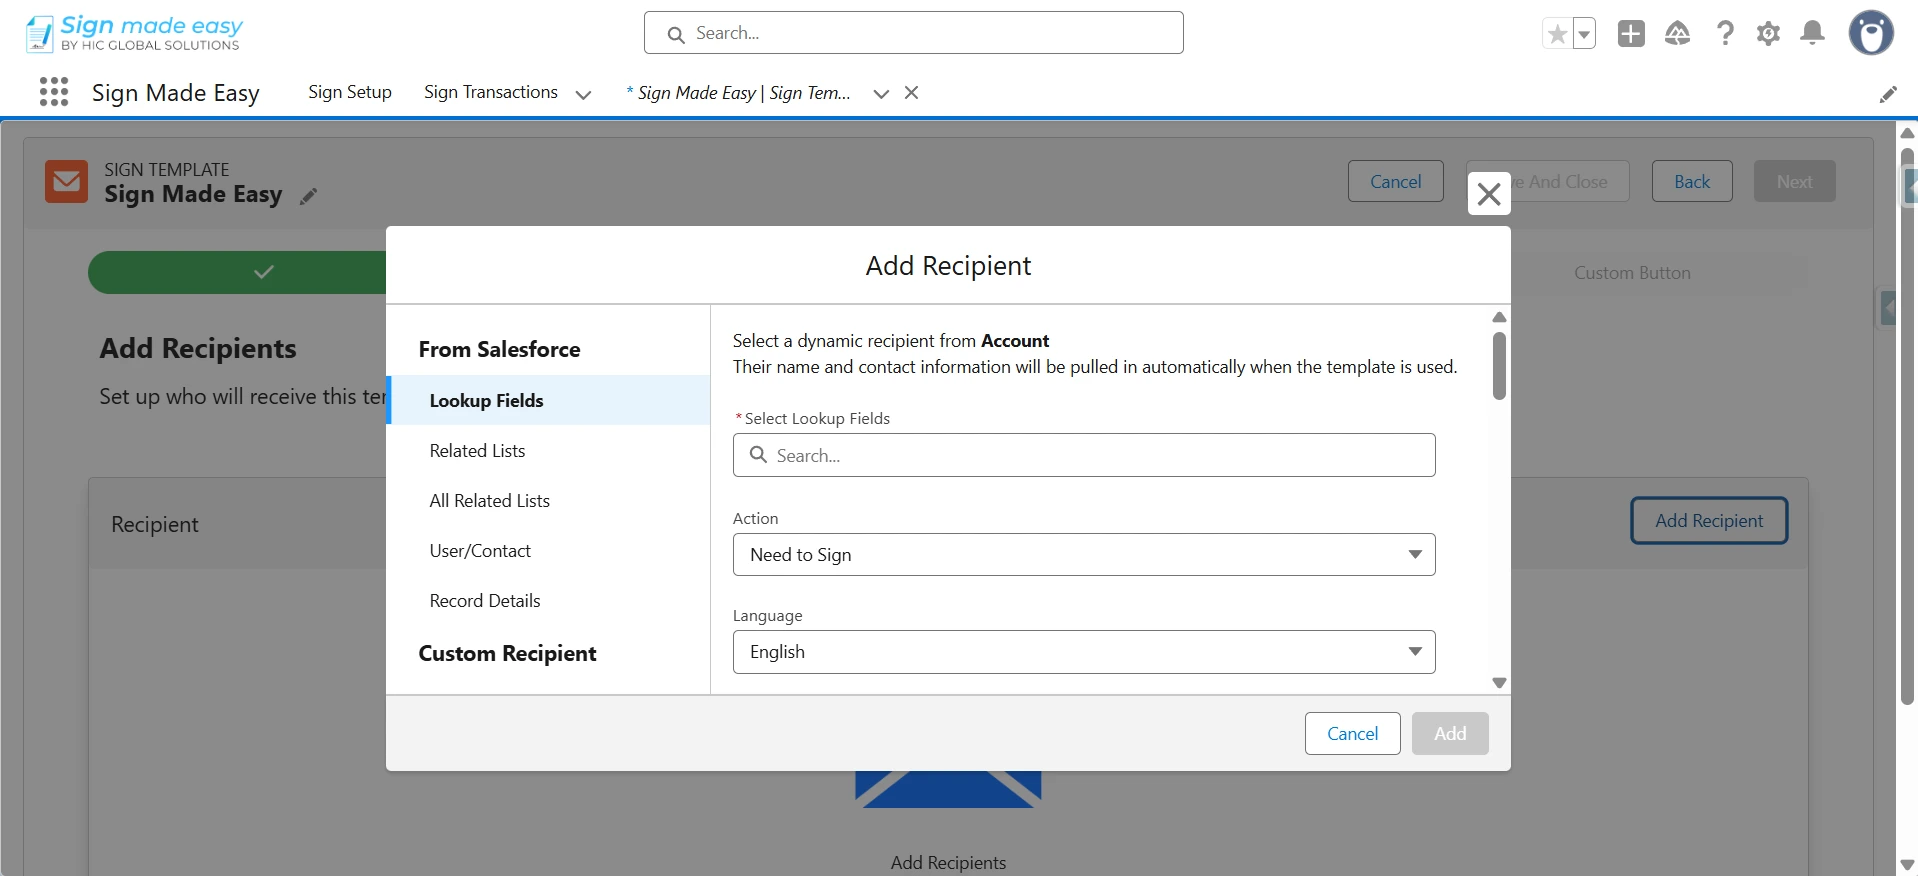
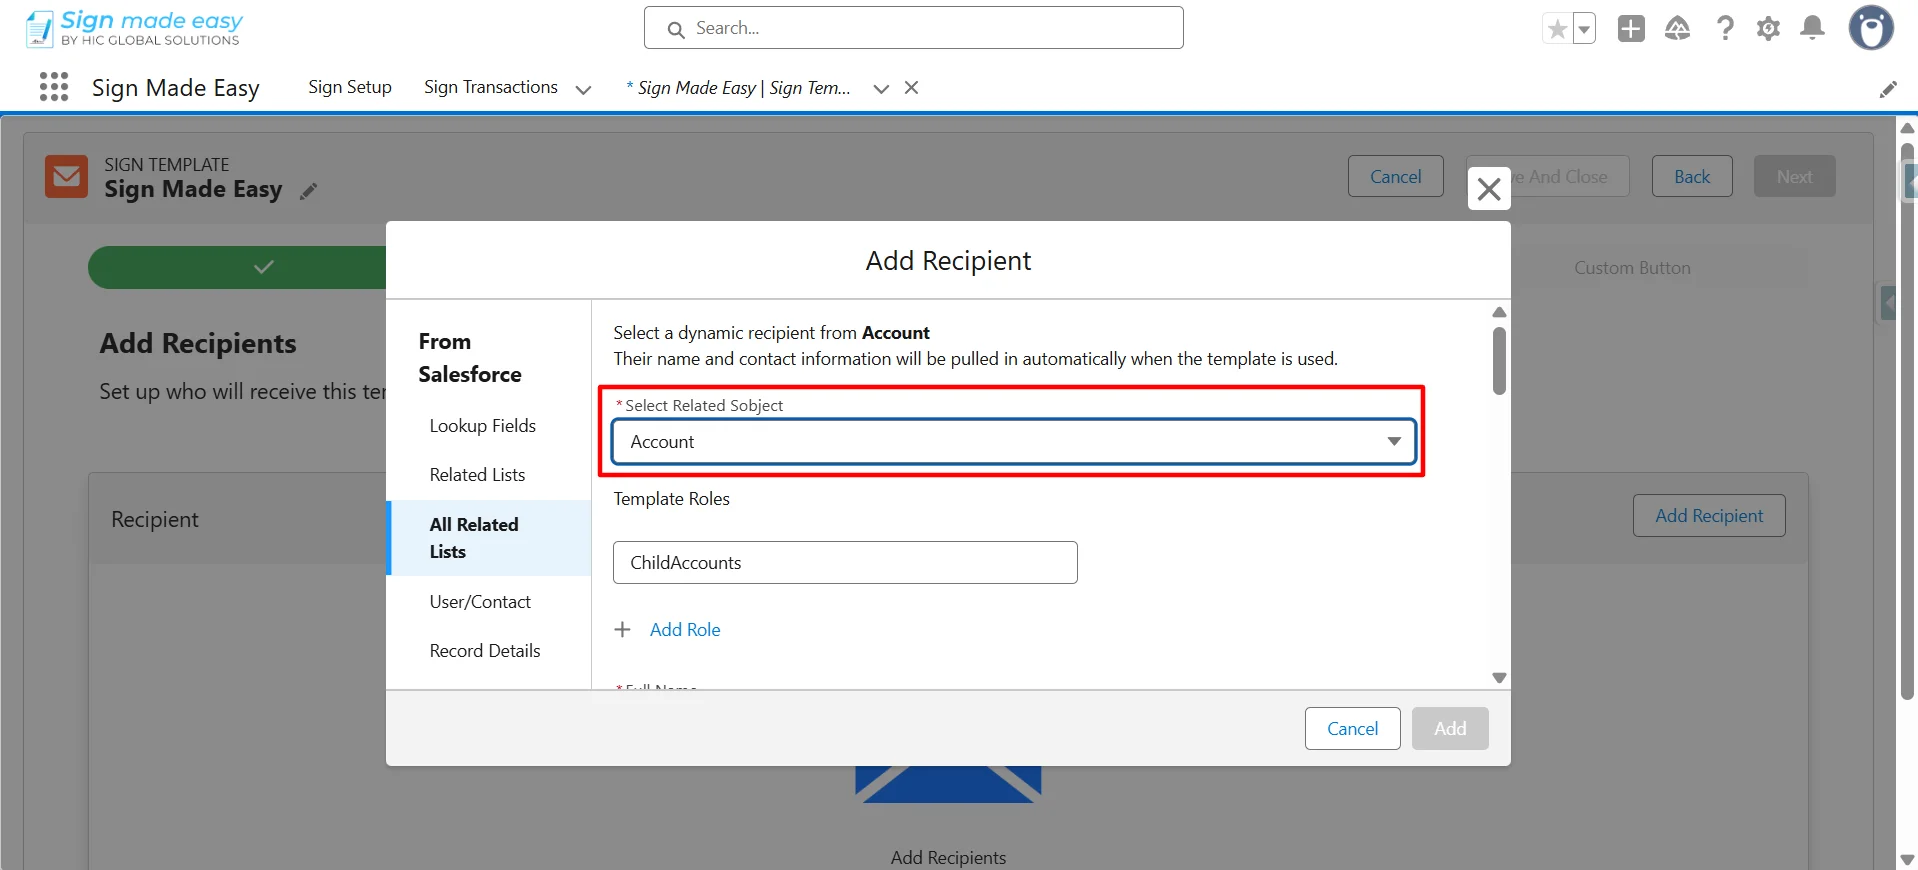
From Salesforce: Use these options when the recipient exists in Salesforce and you want Sign Made Easy (SME) to automatically retrieve their name and email when the template is executed.
It includes different options to select recipients from Salesforce; this section focuses only on All Related Lists, which let you choose recipients from all related Salesforce records.
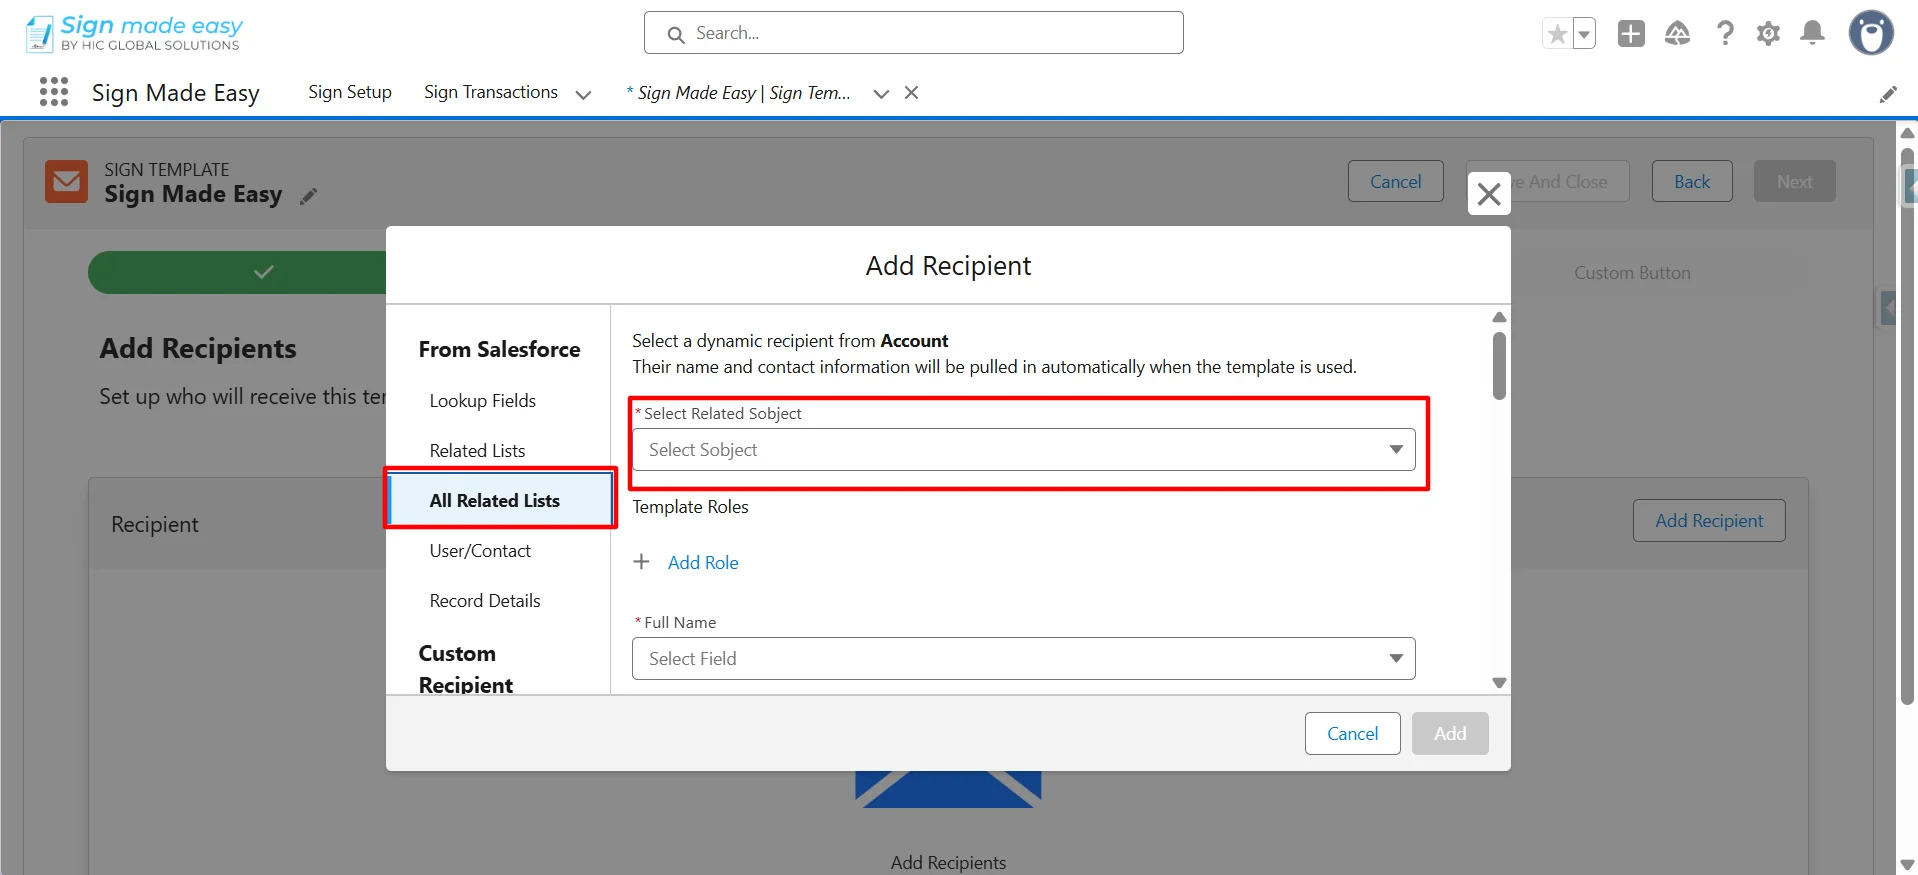
Step 7: Navigate to the All Related Lists section.
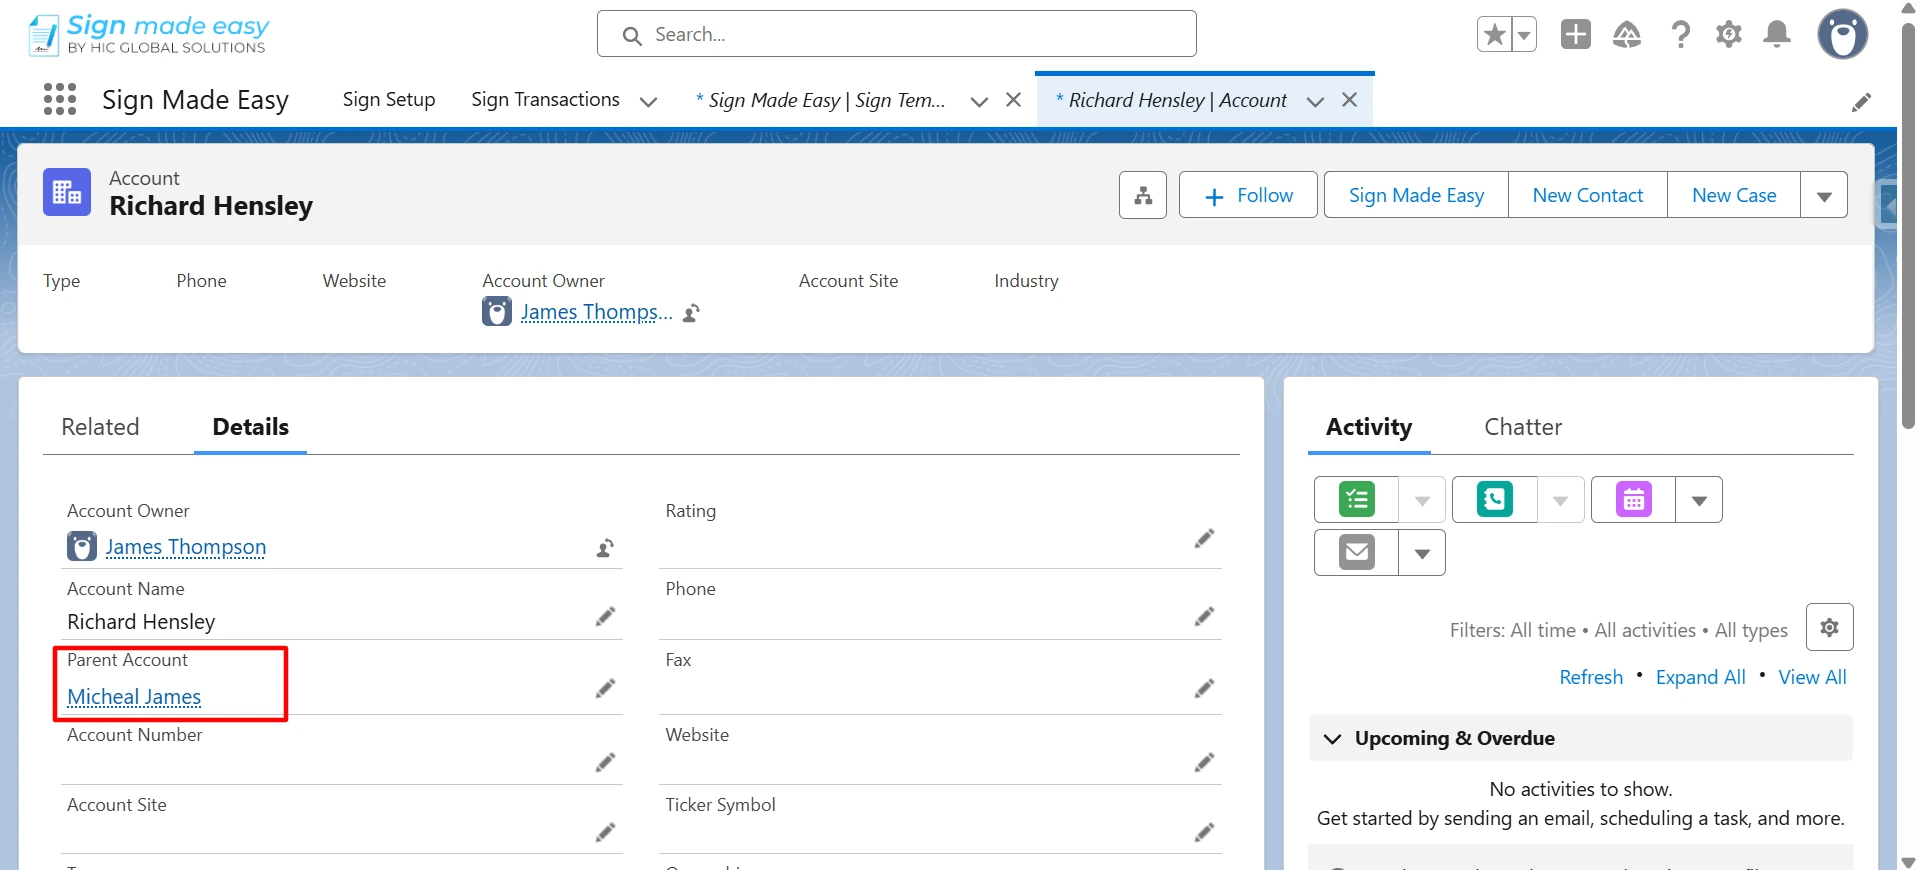
All Related Lists: This feature shows all the objects related to your selected record. You can choose recipients from any of these related objects like Contacts, Opportunities, or custom objects linked to your main record. When you send a document for e-signature, the system automatically pulls the recipient’s information (name, email, role, etc.) from these related records.
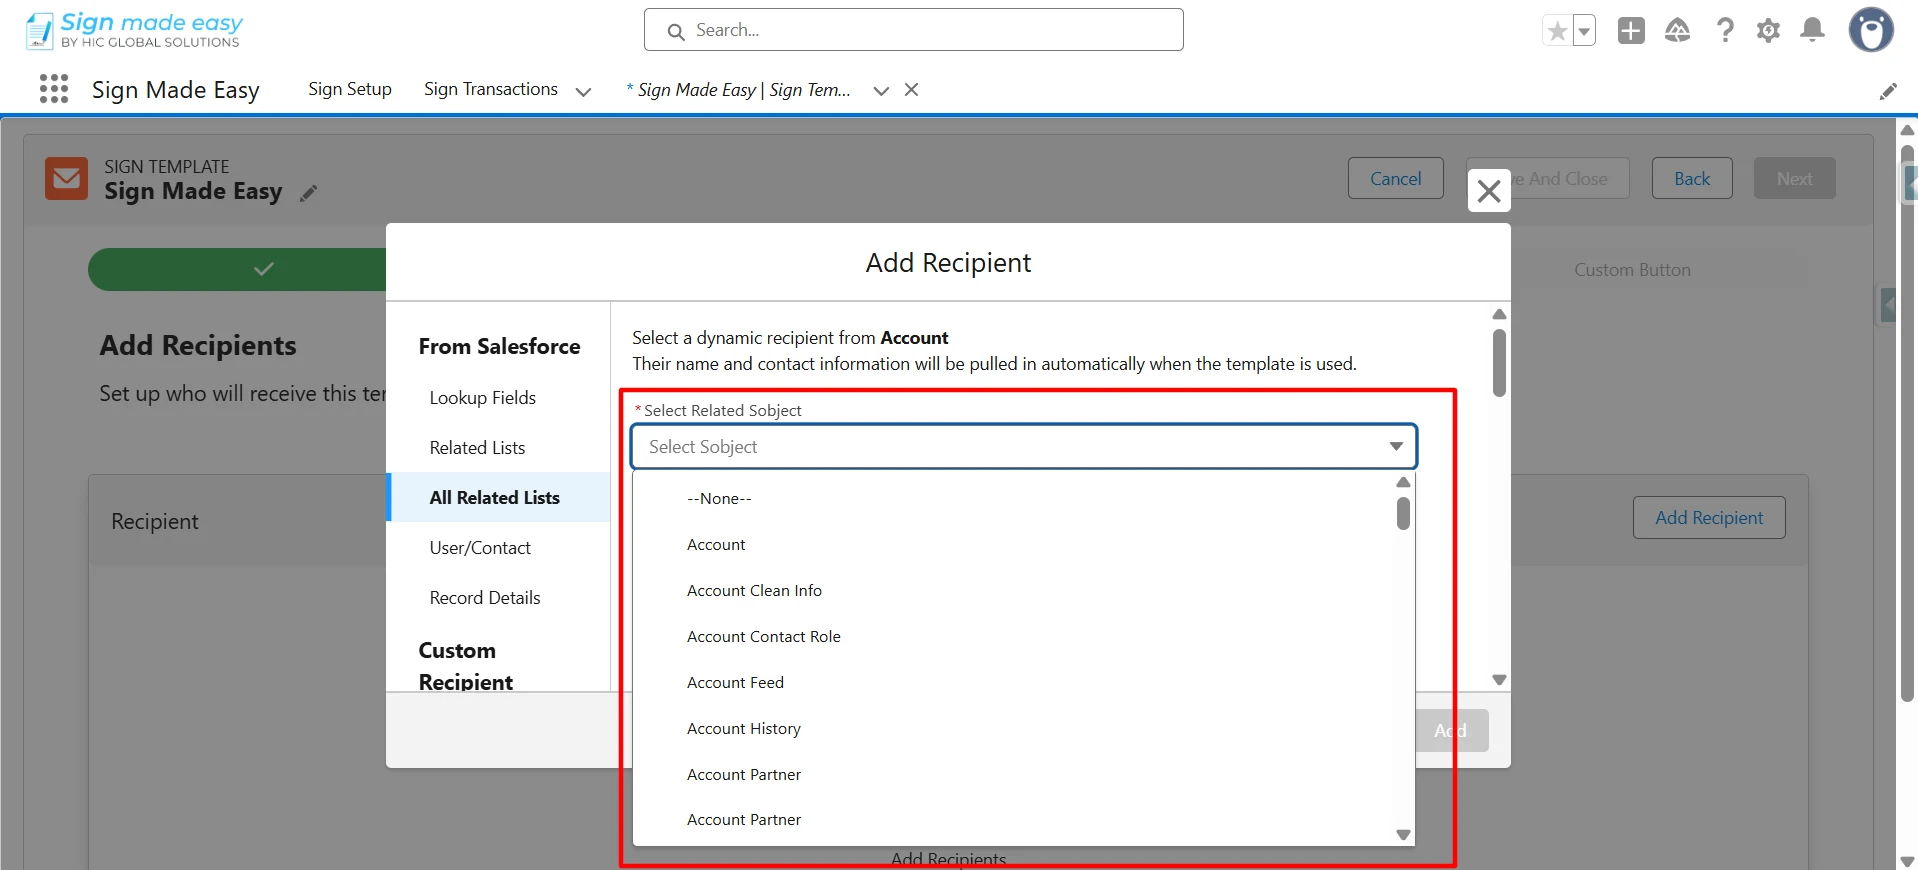
Step 8: Select a Salesforce object.
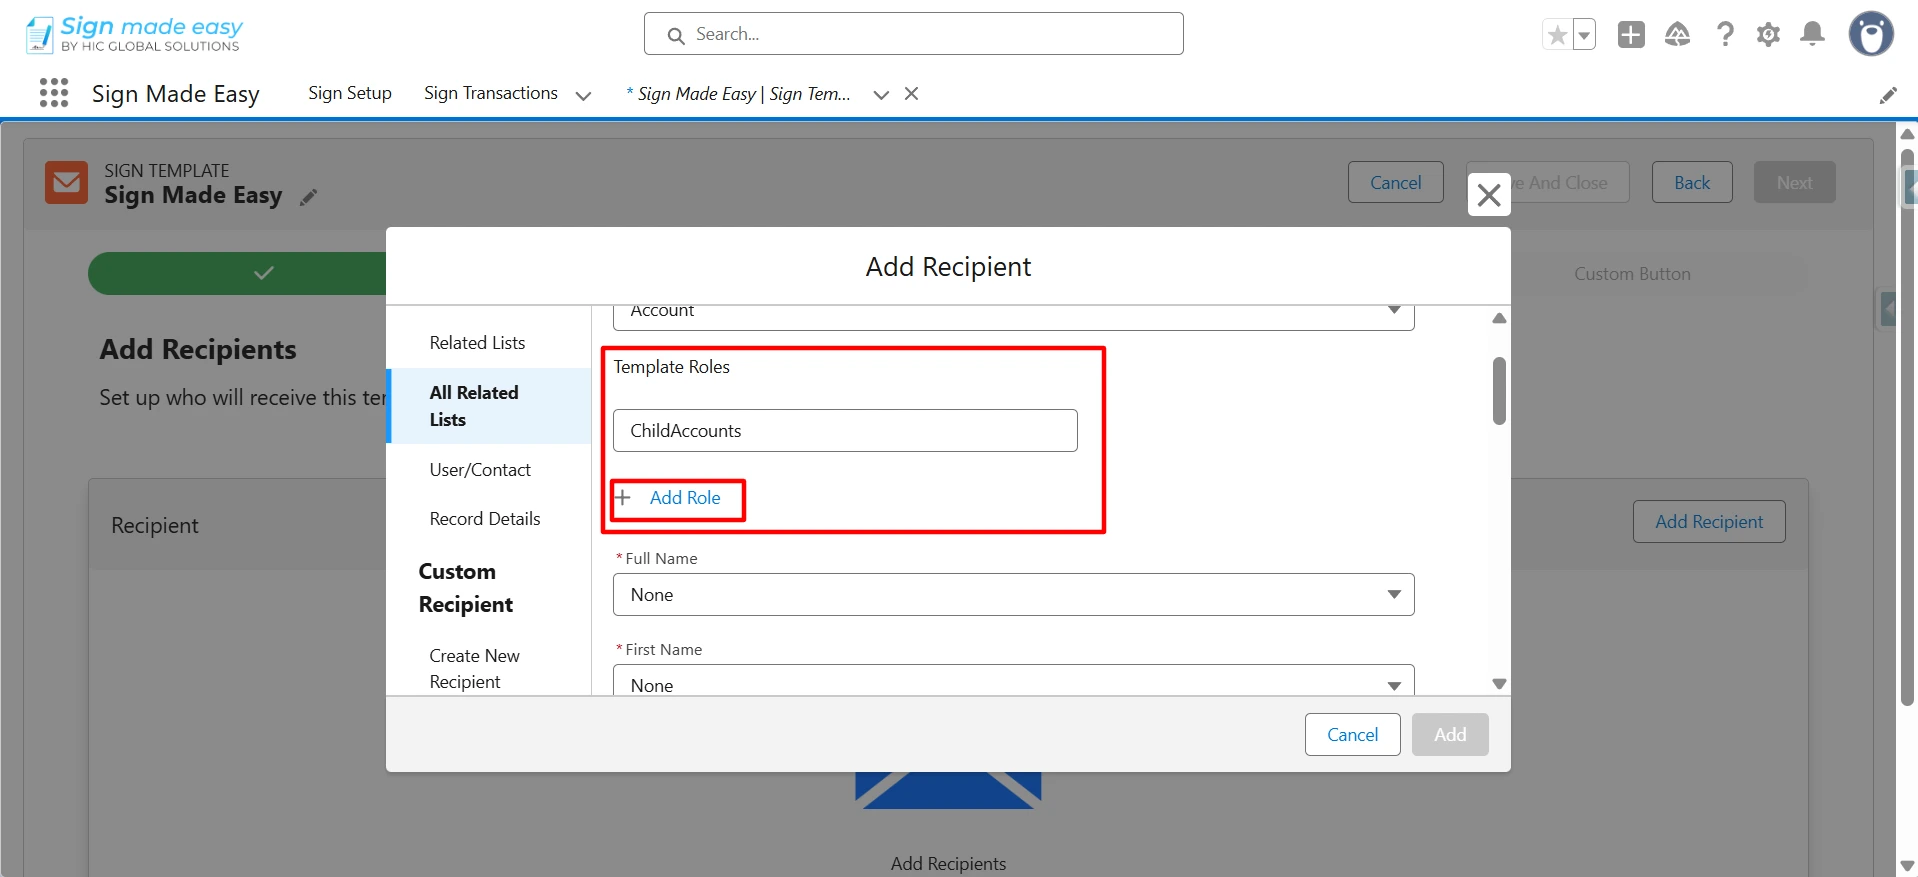
Template Roles determine what each person needs to do with your document. When you create a template, you set up roles like “Signer” or “CC” as placeholders. Later, when you send the document, you assign real people to these roles.
To add more roles, click Add Role and set up each one.
Step 9: Enter the field value.
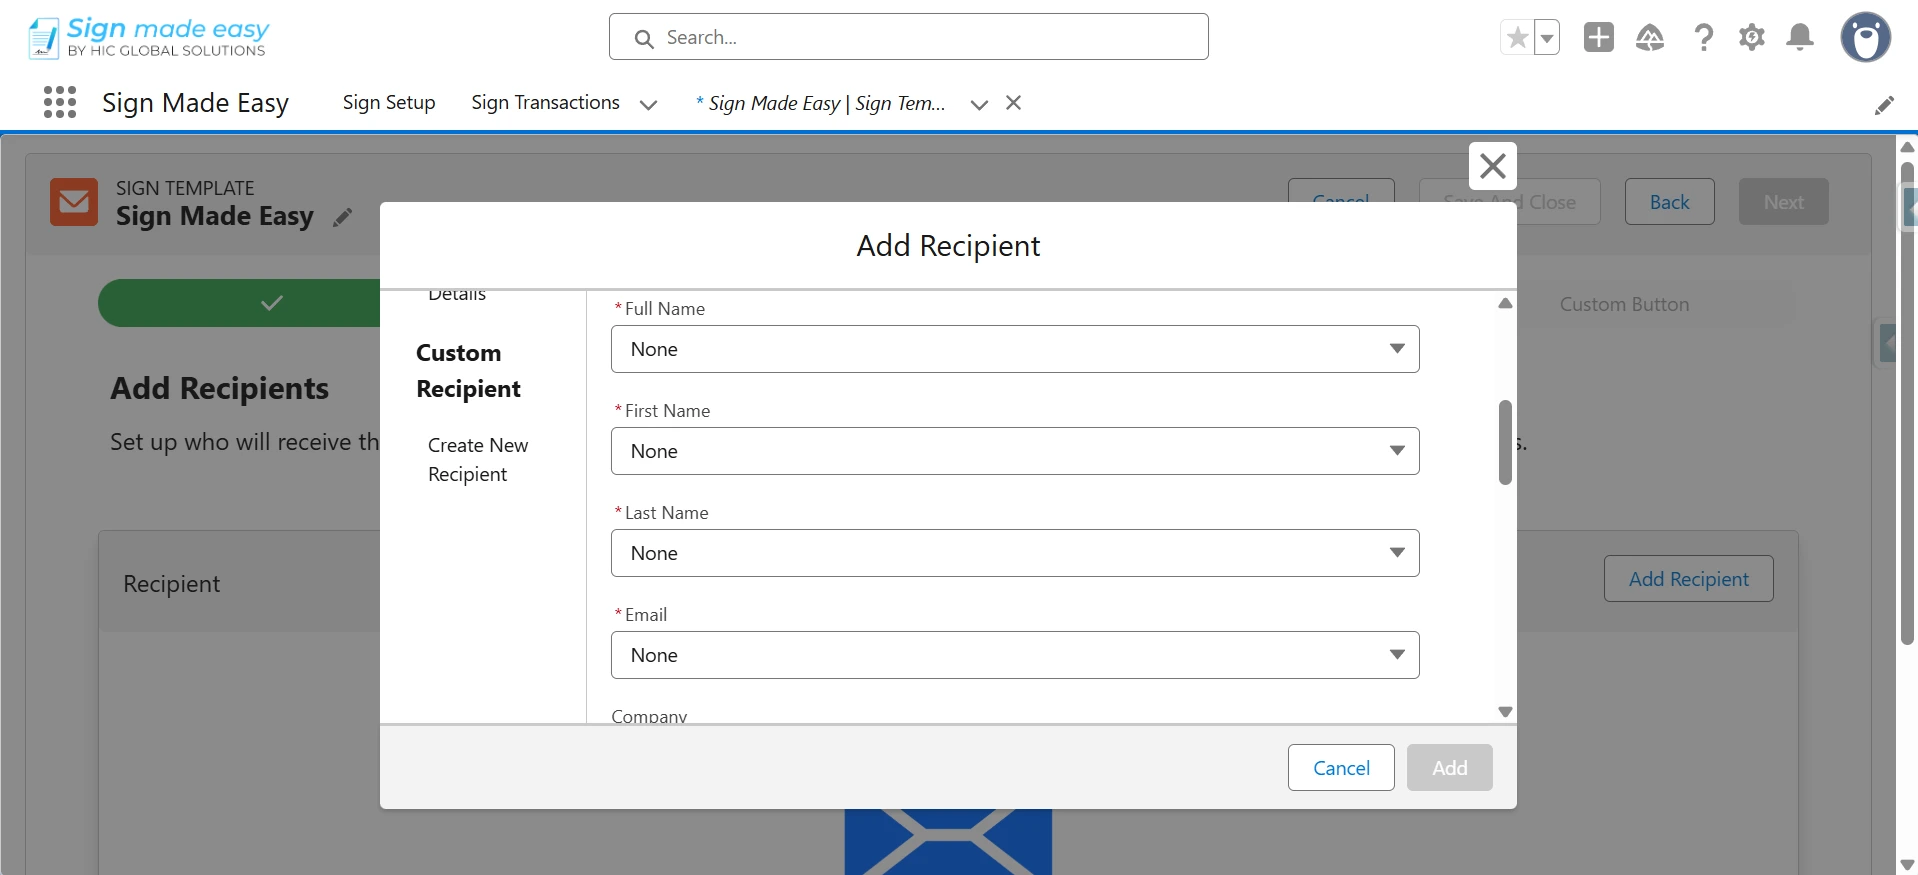
This links eSignature recipient information to Salesforce fields so details are automatically filled in when sending documents.
Fields:
-
- Full Name – Recipient’s complete name. Use either this OR First Name + Last Name.
- First Name – Required if the Full Name is not used.
- Last Name – Required if the Full Name is not used.
- Email – Required. Used to send signing invitations.
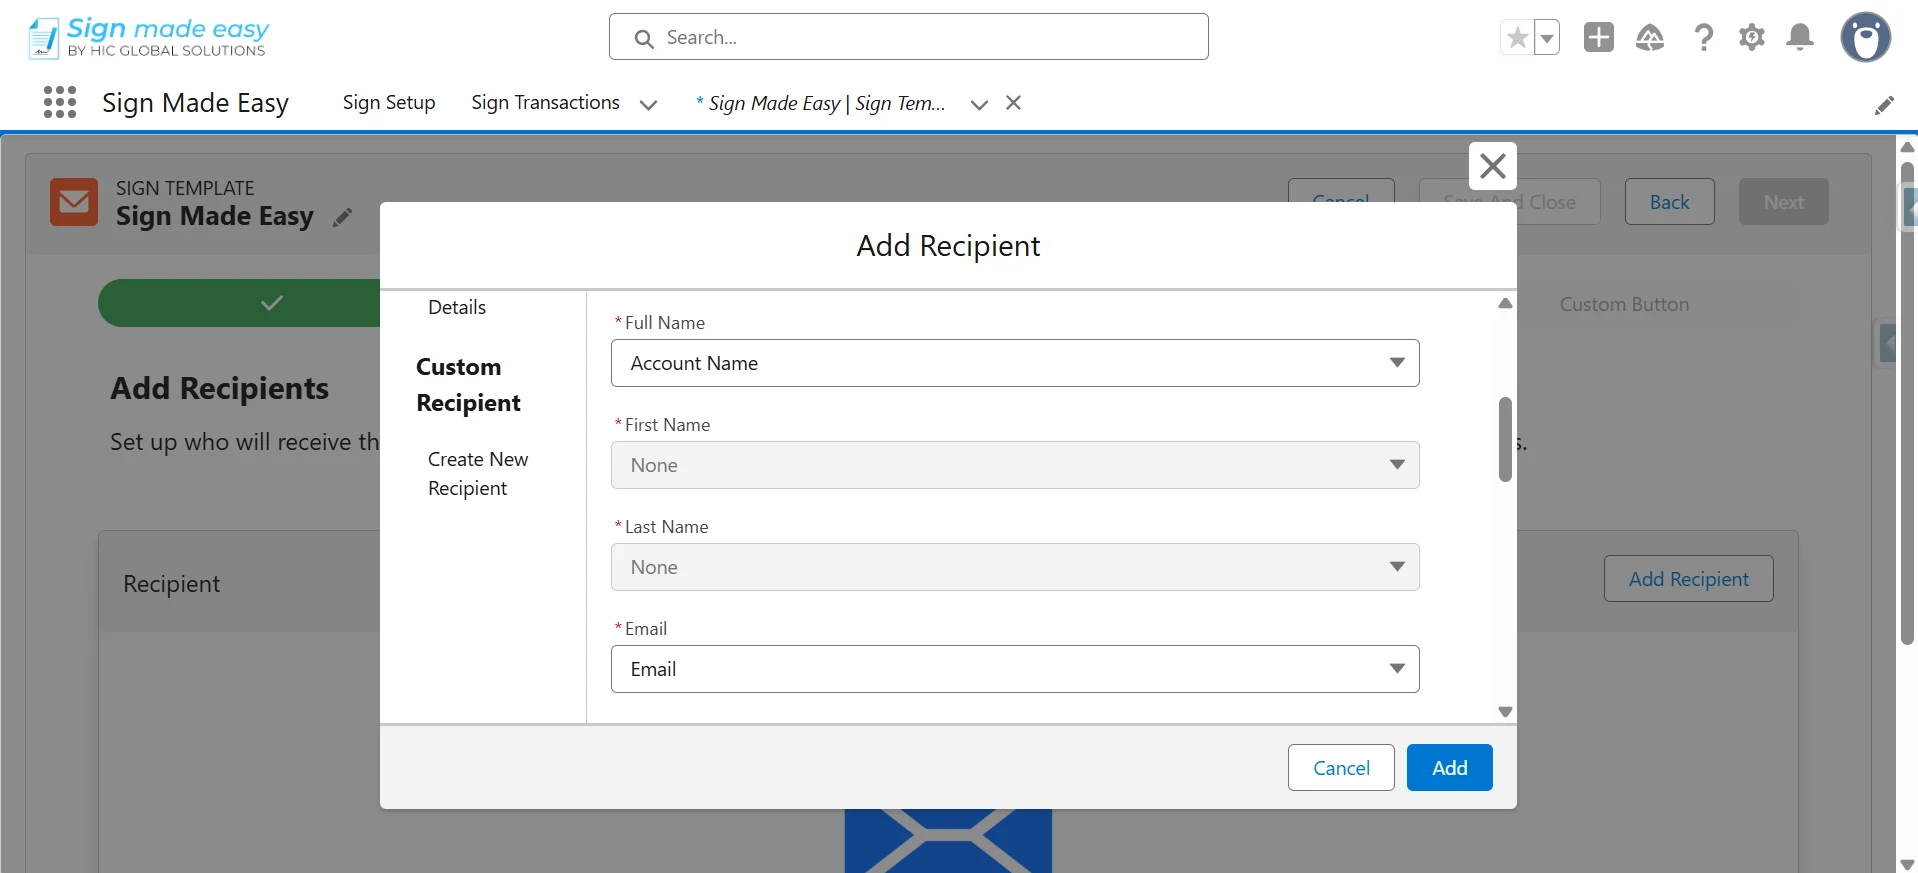
- Company – Optional. Recipient’s organization (usually Account Name).
- Title – Optional. Recipient’s job title.
Note:
Email is mandatory or the document won’t be sent.
Map either Full Name OR both First Name and Last Name.
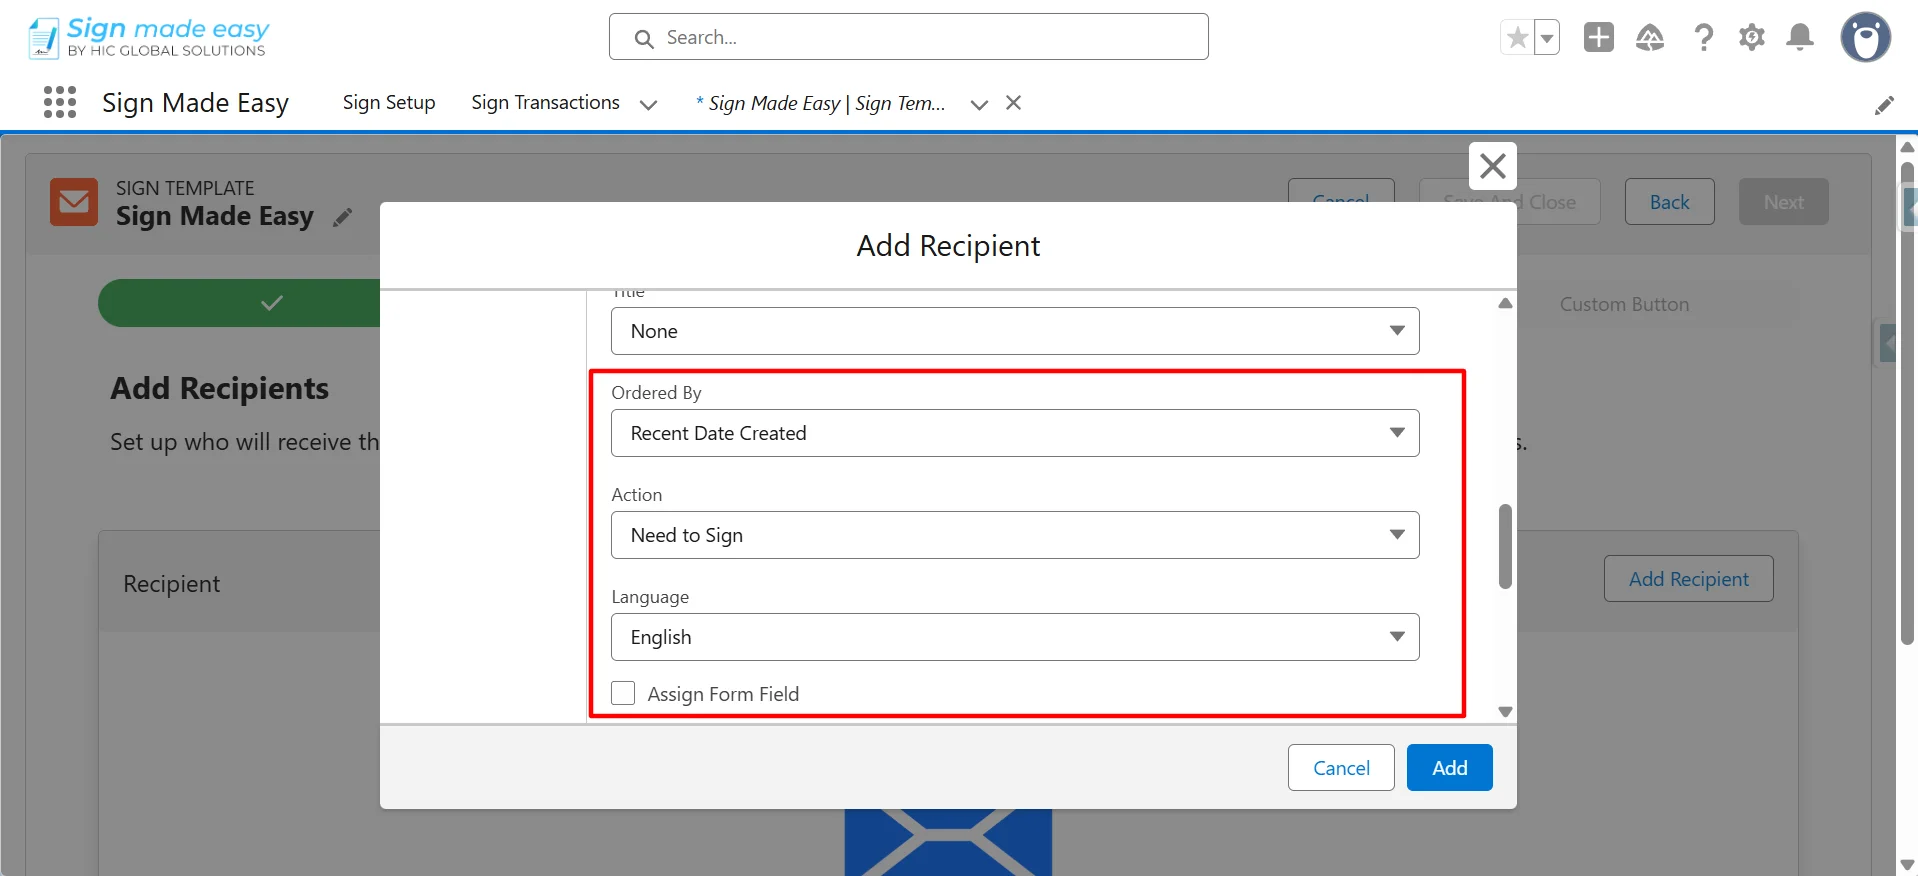
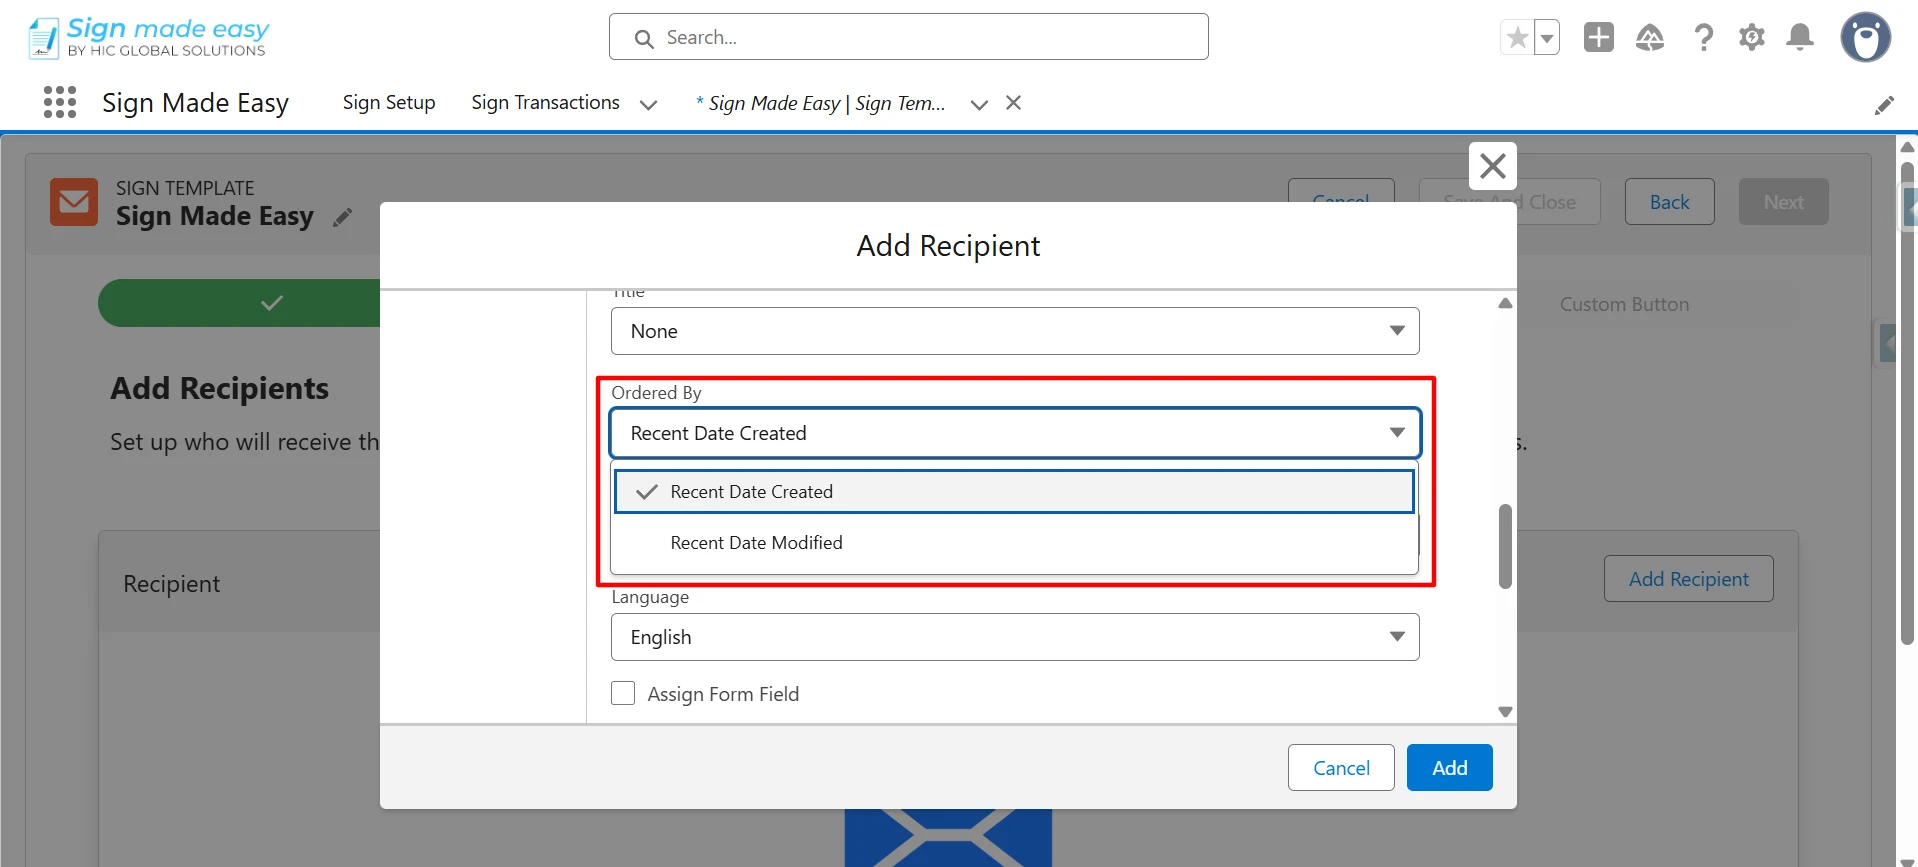
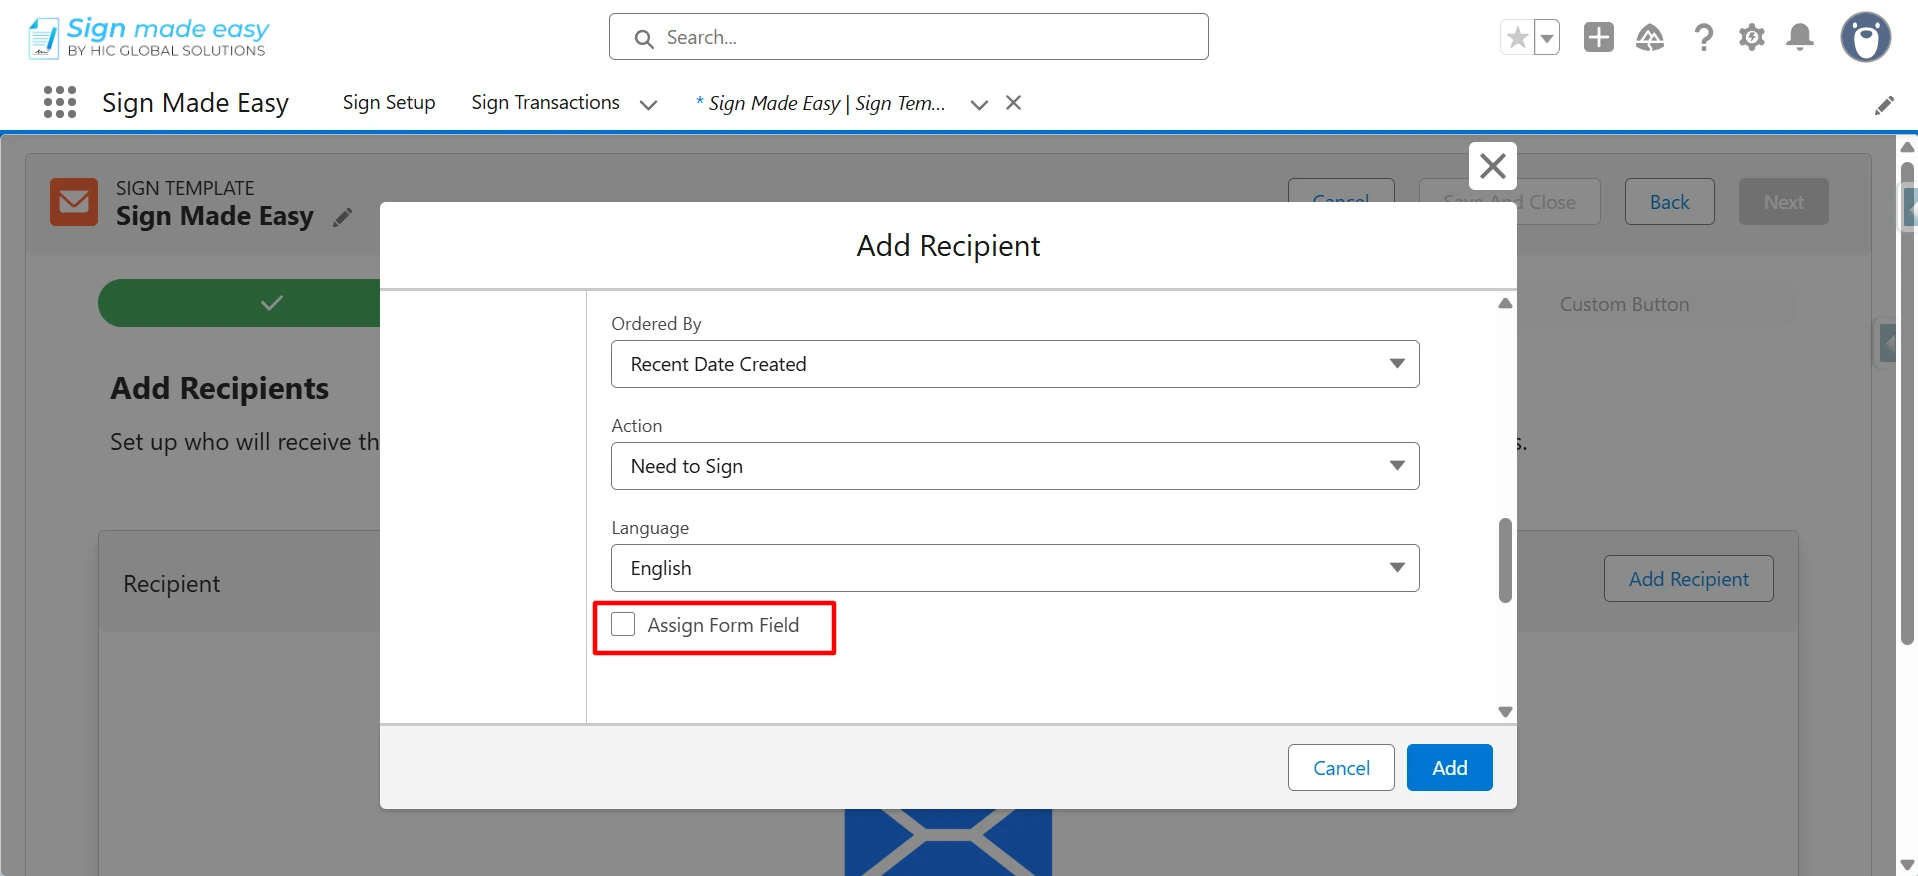
Ordered by: This setting determines which record gets selected when there are multiple options in a related list. You can choose between two options: Recent Date Created (picks the newest record added) or Recent Date Modified (picks the record that was updated most recently). This ensures the system automatically selects the most relevant recipient every time.
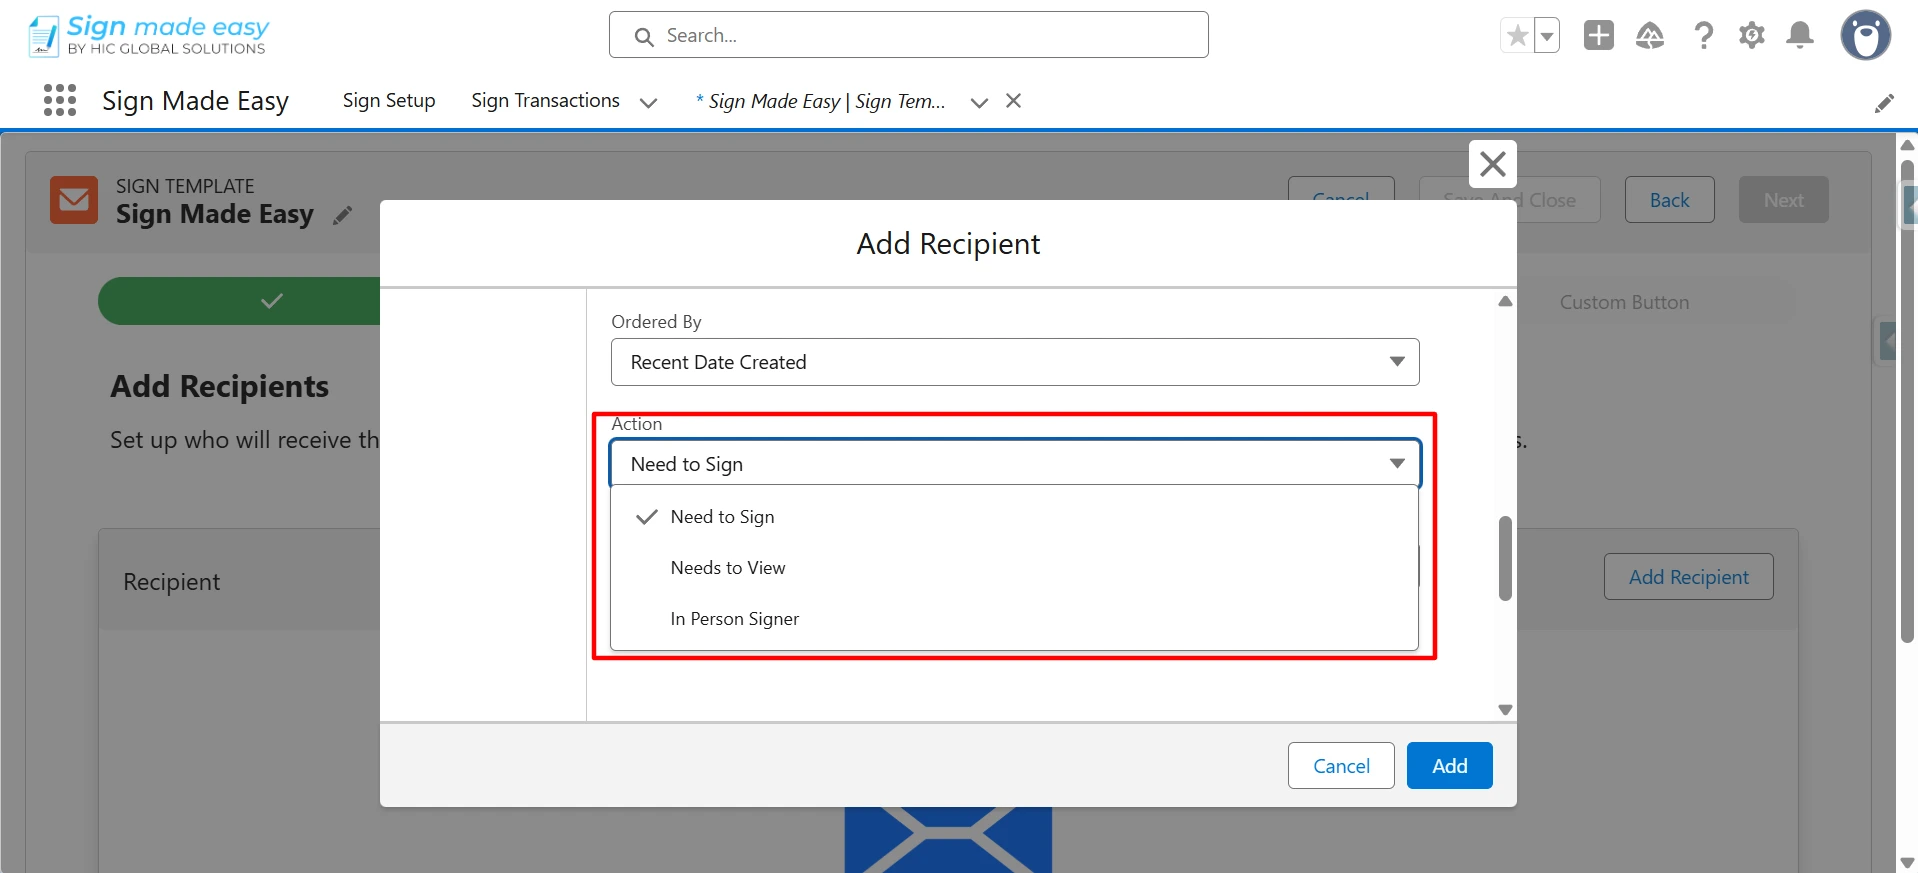
Action:- Recipient actions include the following:
Need to Sign (must sign to complete), Need to View (receives a copy but doesn’t need to sign), and In-Person Signer (signs in person with the sender present). You can add multiple recipients (Signers, CCs, In-Person Signers) to a template, but a maximum of five recipients is allowed per transaction. At least one recipient must have a signing action (Need to Sign or In-Person Signer) to send the document.
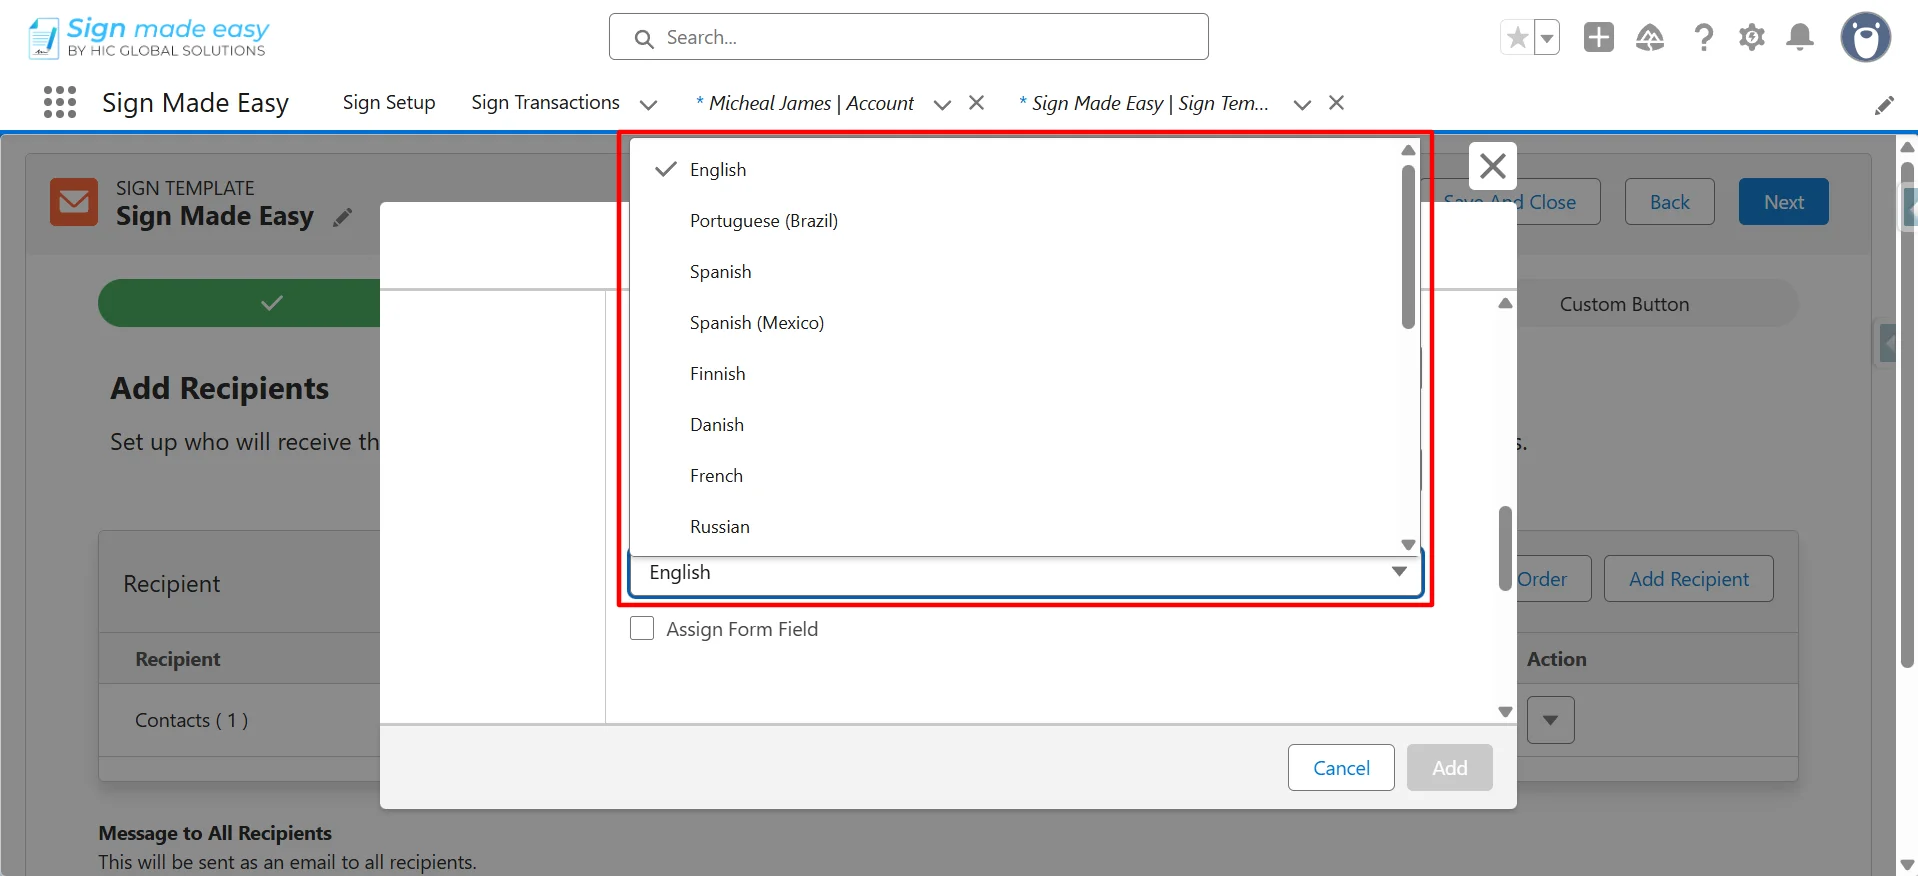
Multi-language support is available only in Sign Made Easy Pro. Upgrade to Pro by contacting the Support Team to unlock this feature.
Contact the Support Team to obtain the custom label translation files.
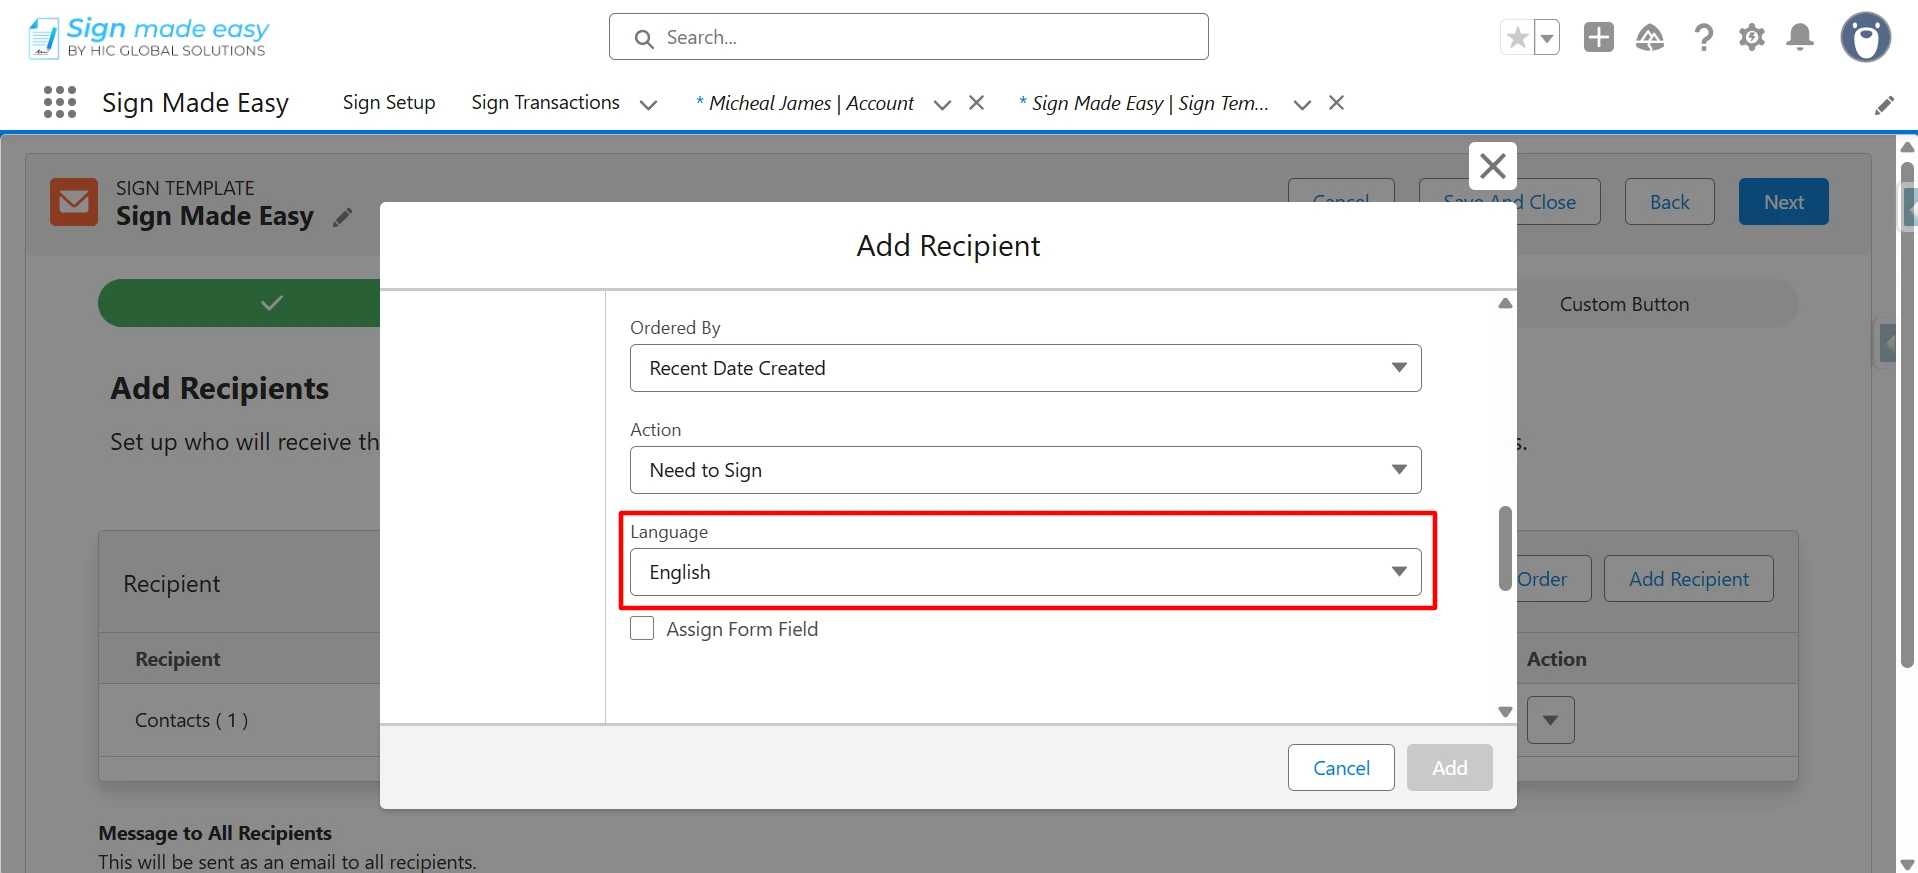
The Multi-Language feature lets users see labels, messages, and emails in their preferred language.
Sign Made Easy supports multiple languages, including English, French, German, Spanish, Chinese, Japanese, and more.
To send emails in different languages, translated custom labels must be set up in your Salesforce system. Please follow the document for configuring and using multi-language features effectively.
Assign Form Field: If you check the Assign Form Field checkbox, then if your PDF already contains form fields, they are automatically recognized and converted into SME tags, making the signing process seamless and efficient.
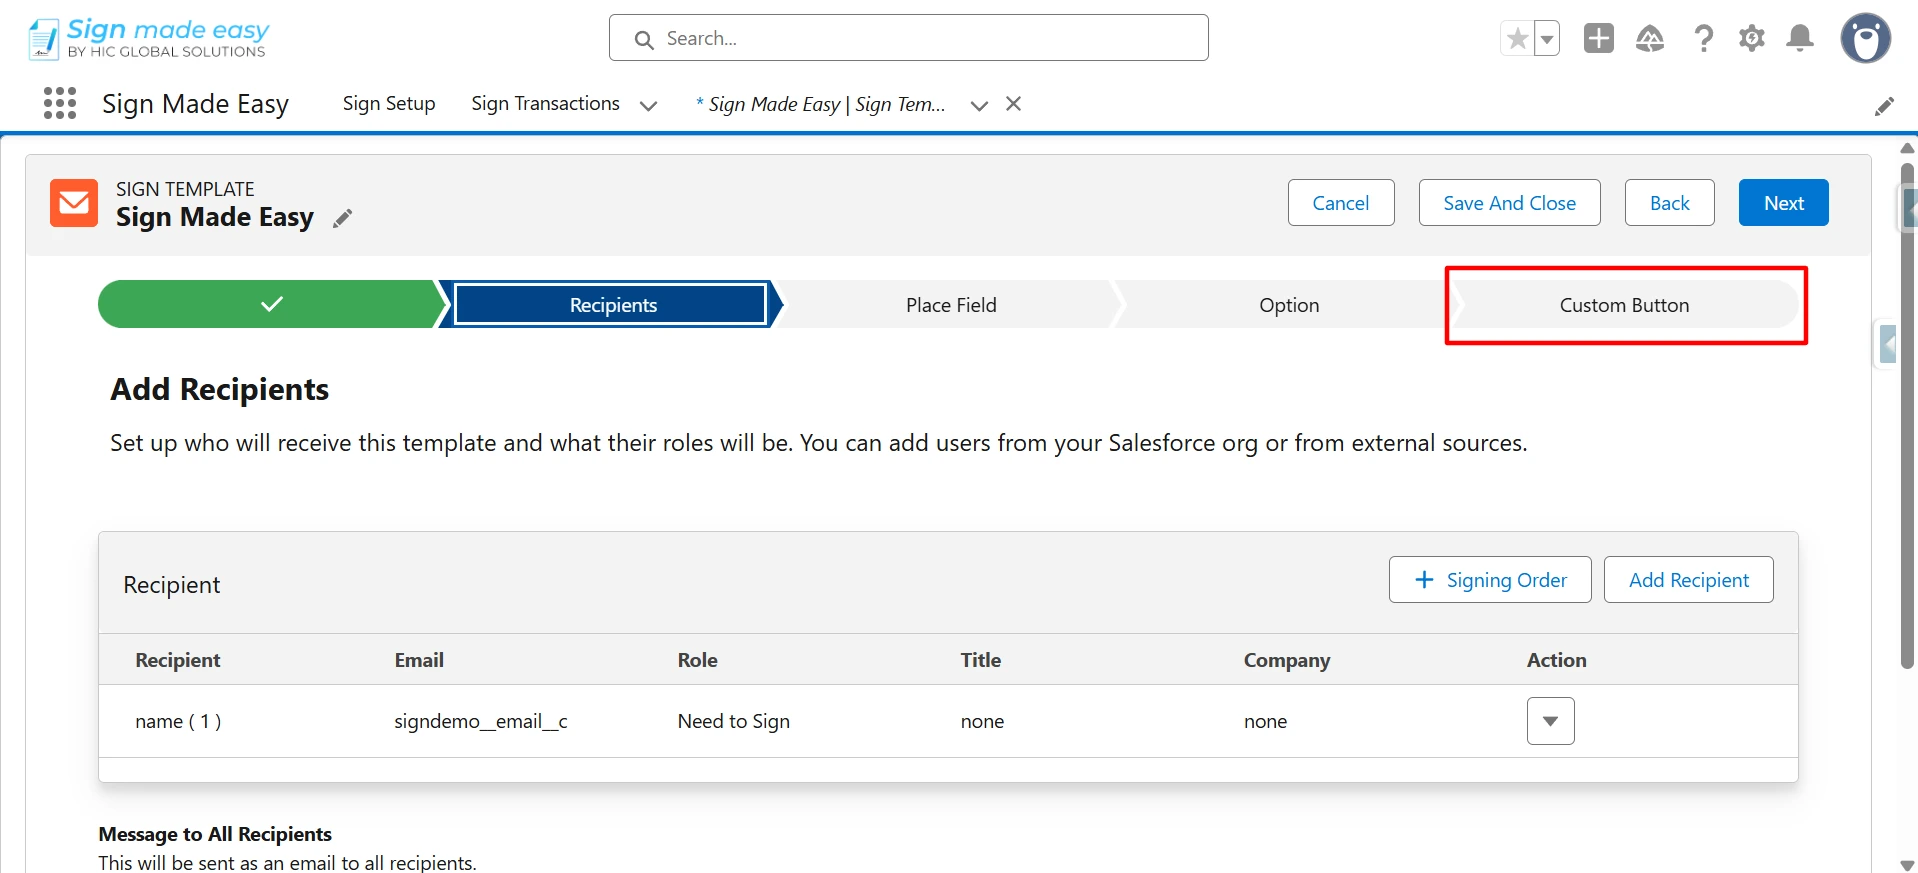
Step 10: Click the Add button to add recipient.

Step 11: Click the Custom Button Option.
So, the Sign Template name is automatically populated in the Button Label Field.
Step 12: Click on Save and Finish button.
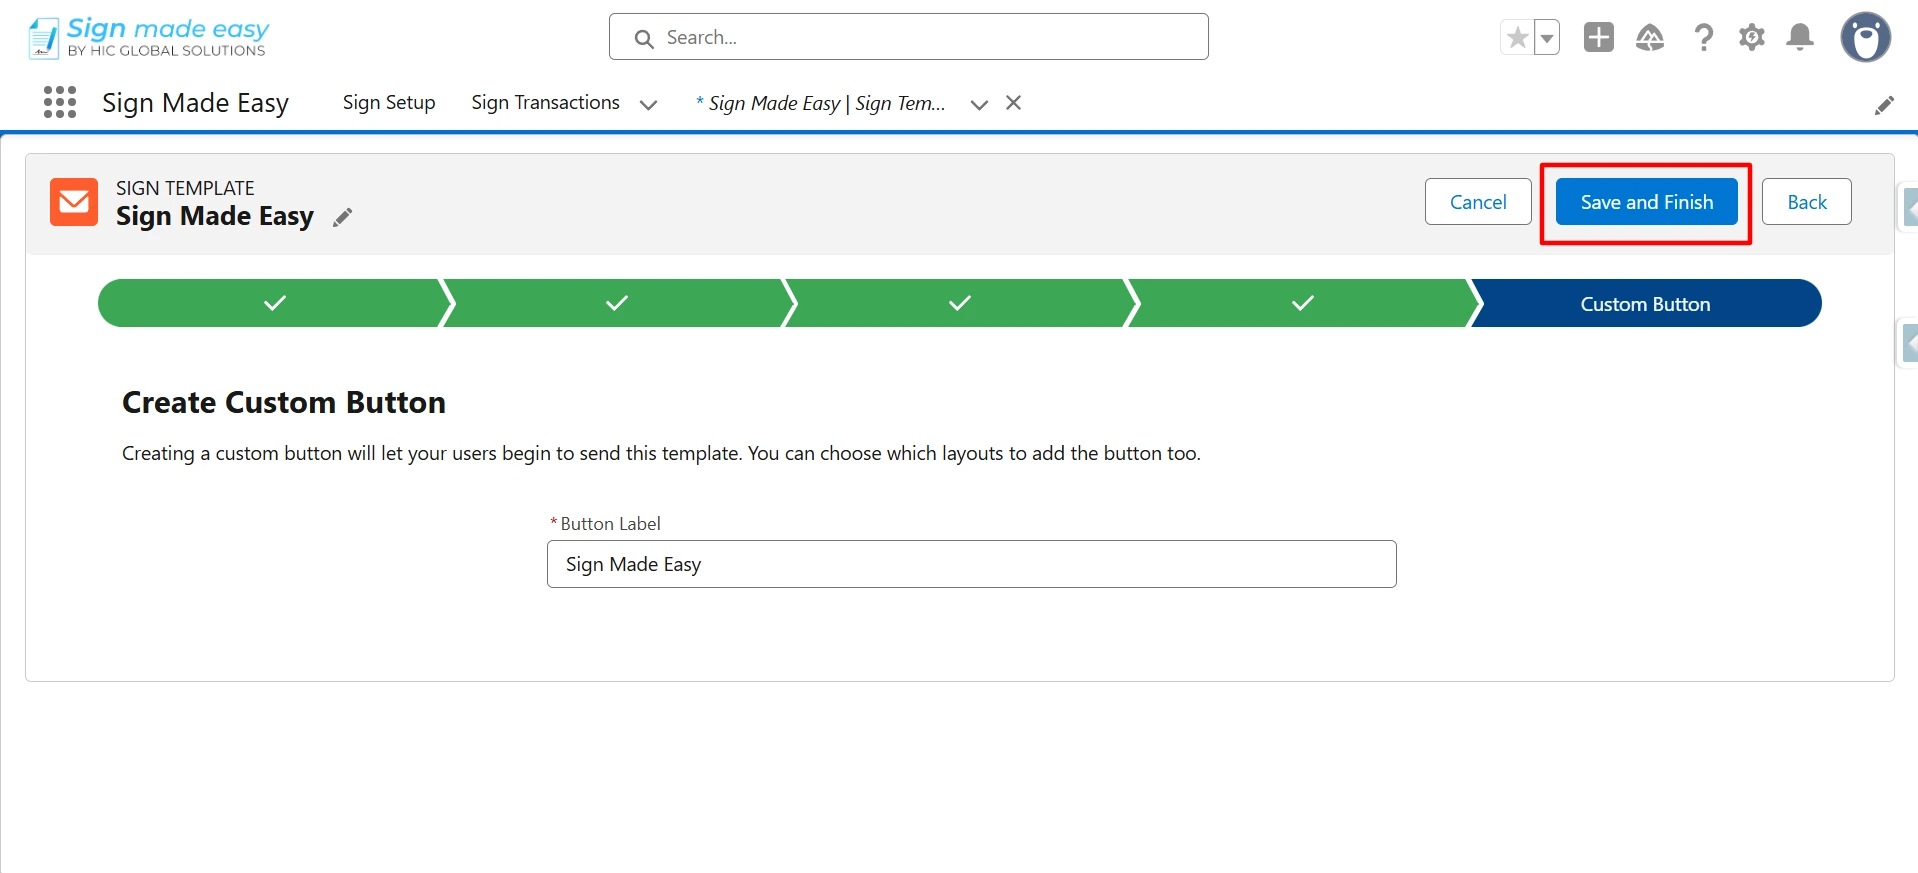
Your Sign Template configuration is now complete and ready to be used for sending emails to the selected or added recipients.
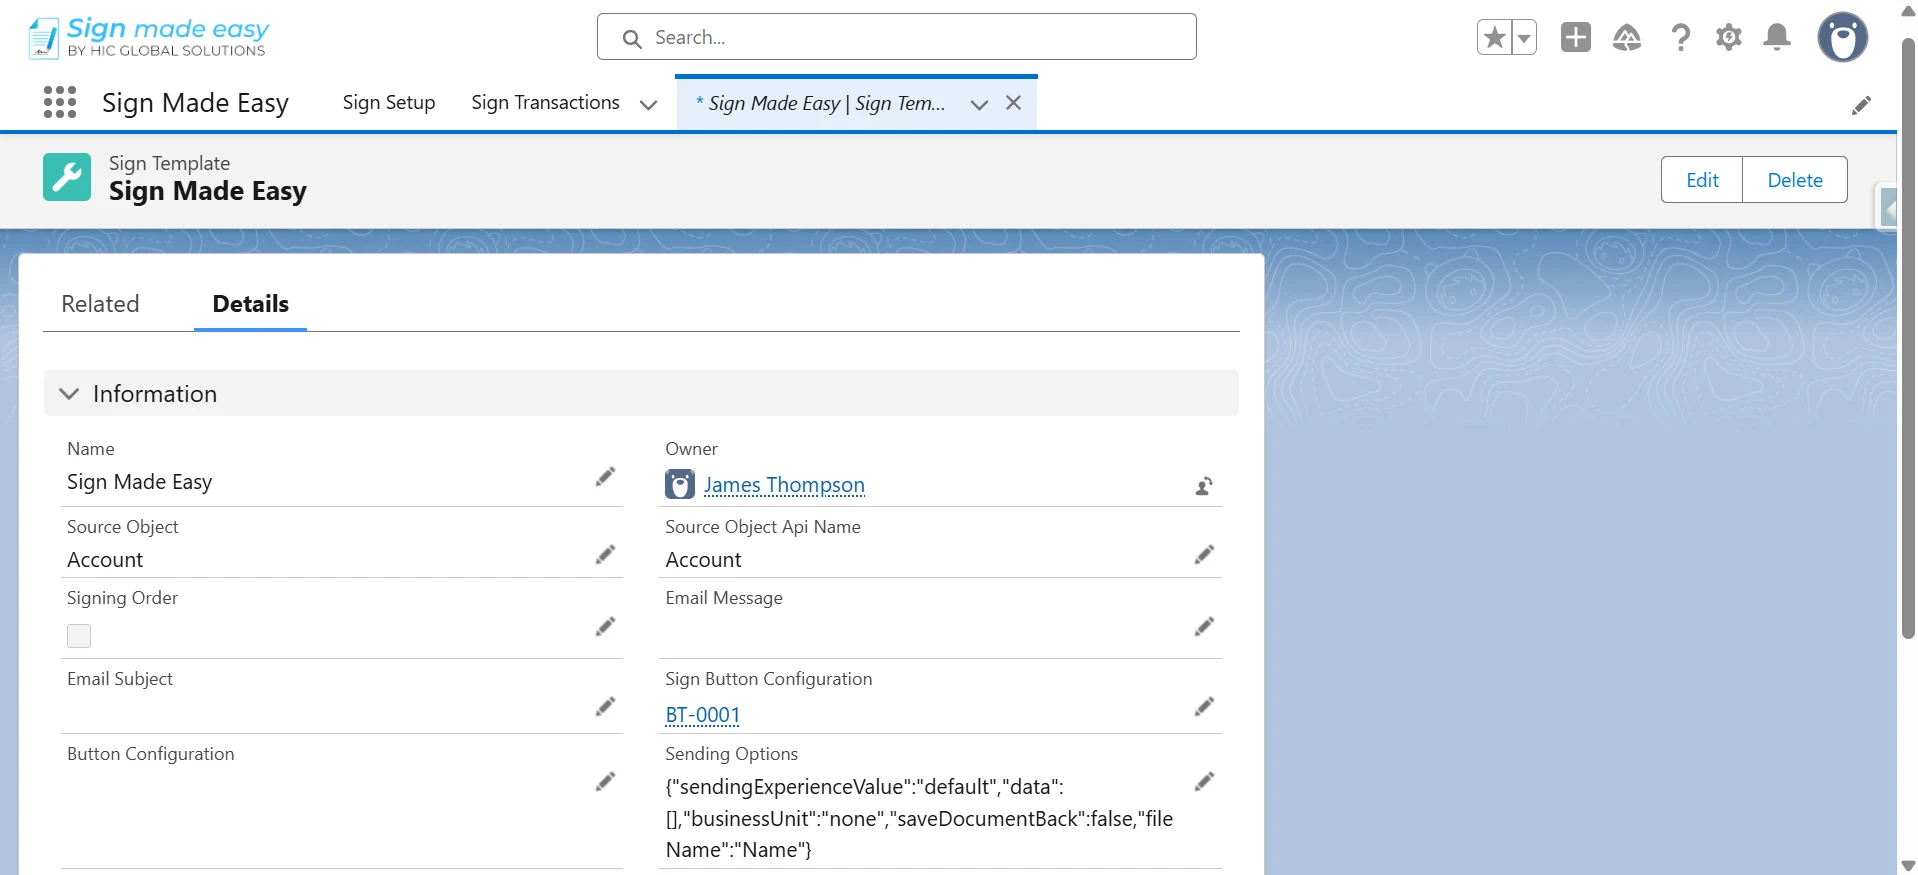
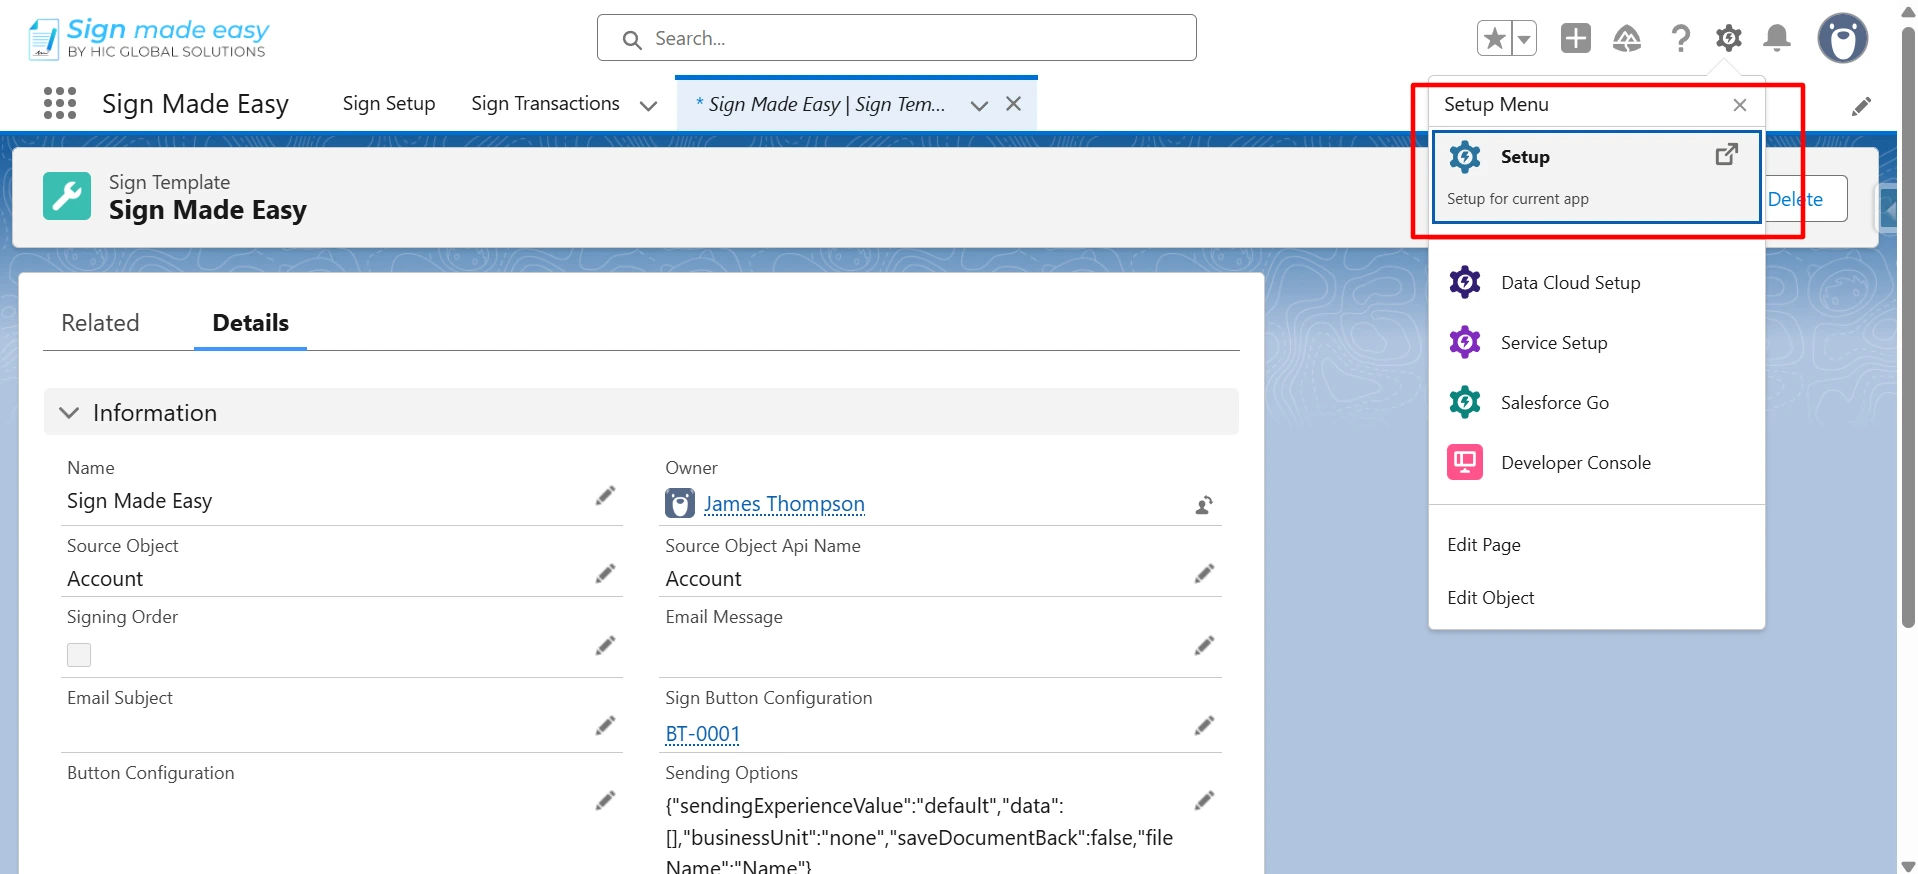
Step 13: Now, you need to add the Sign Template button to the page layout to proceed with the next steps.
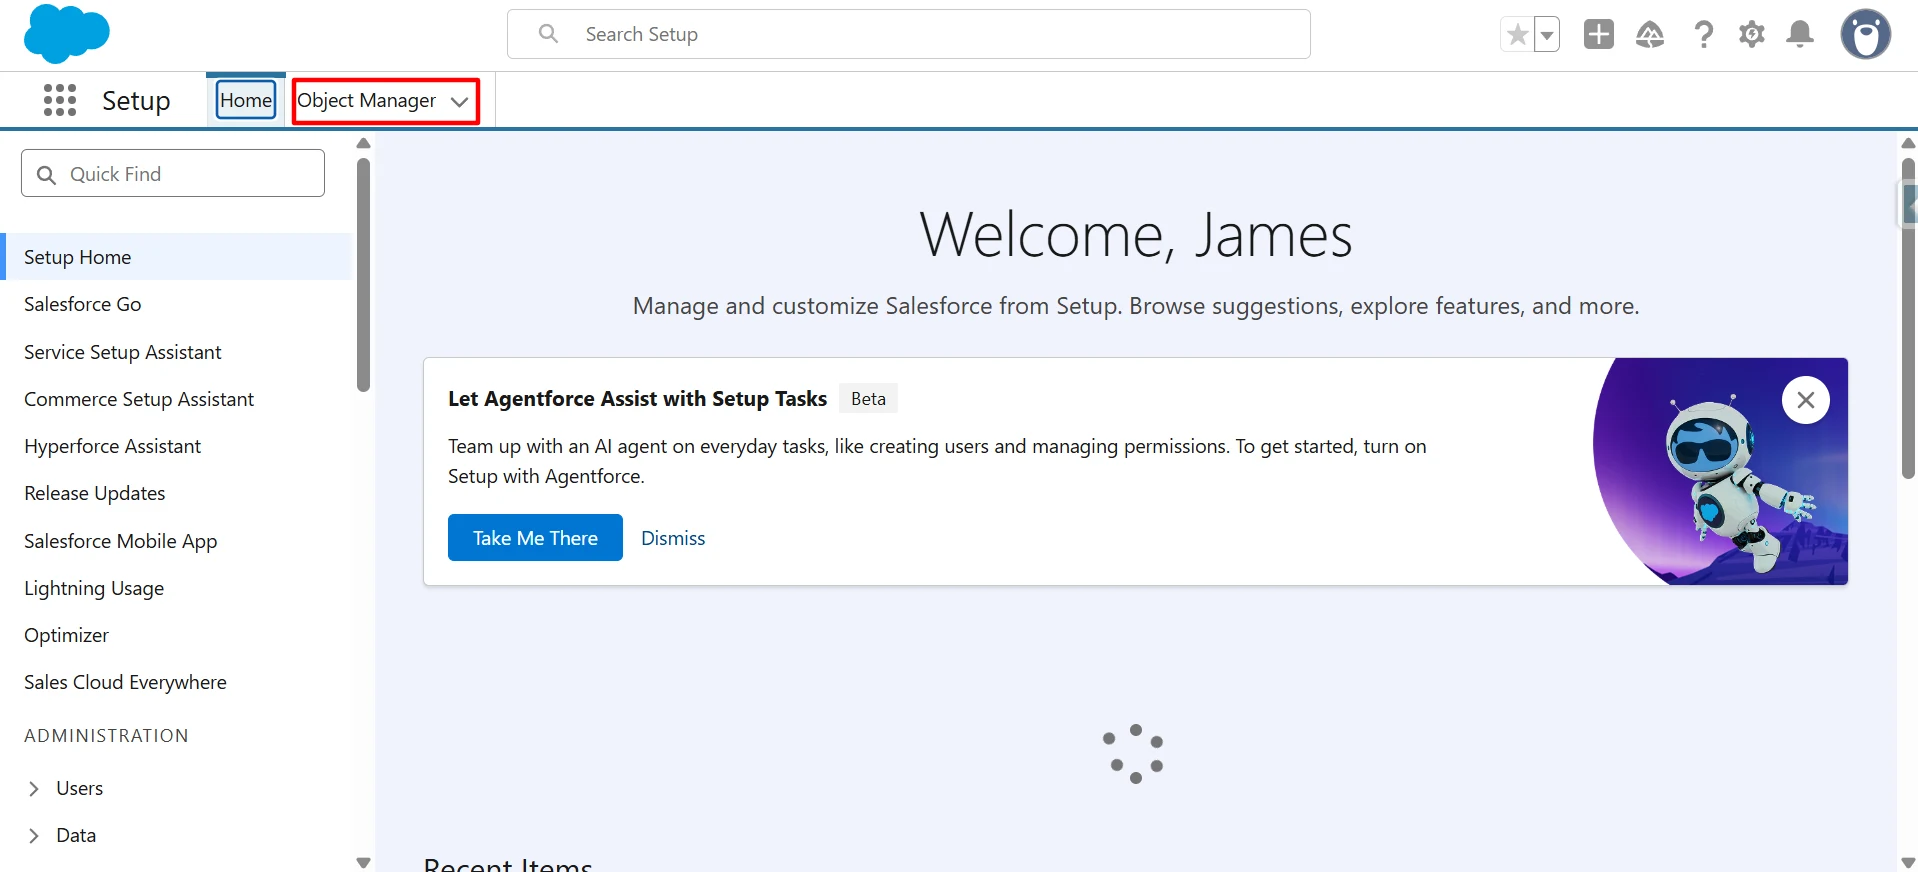
Go to Setup > Navigate to Object Manager > Search and select the object on which the Sign Template record was created.

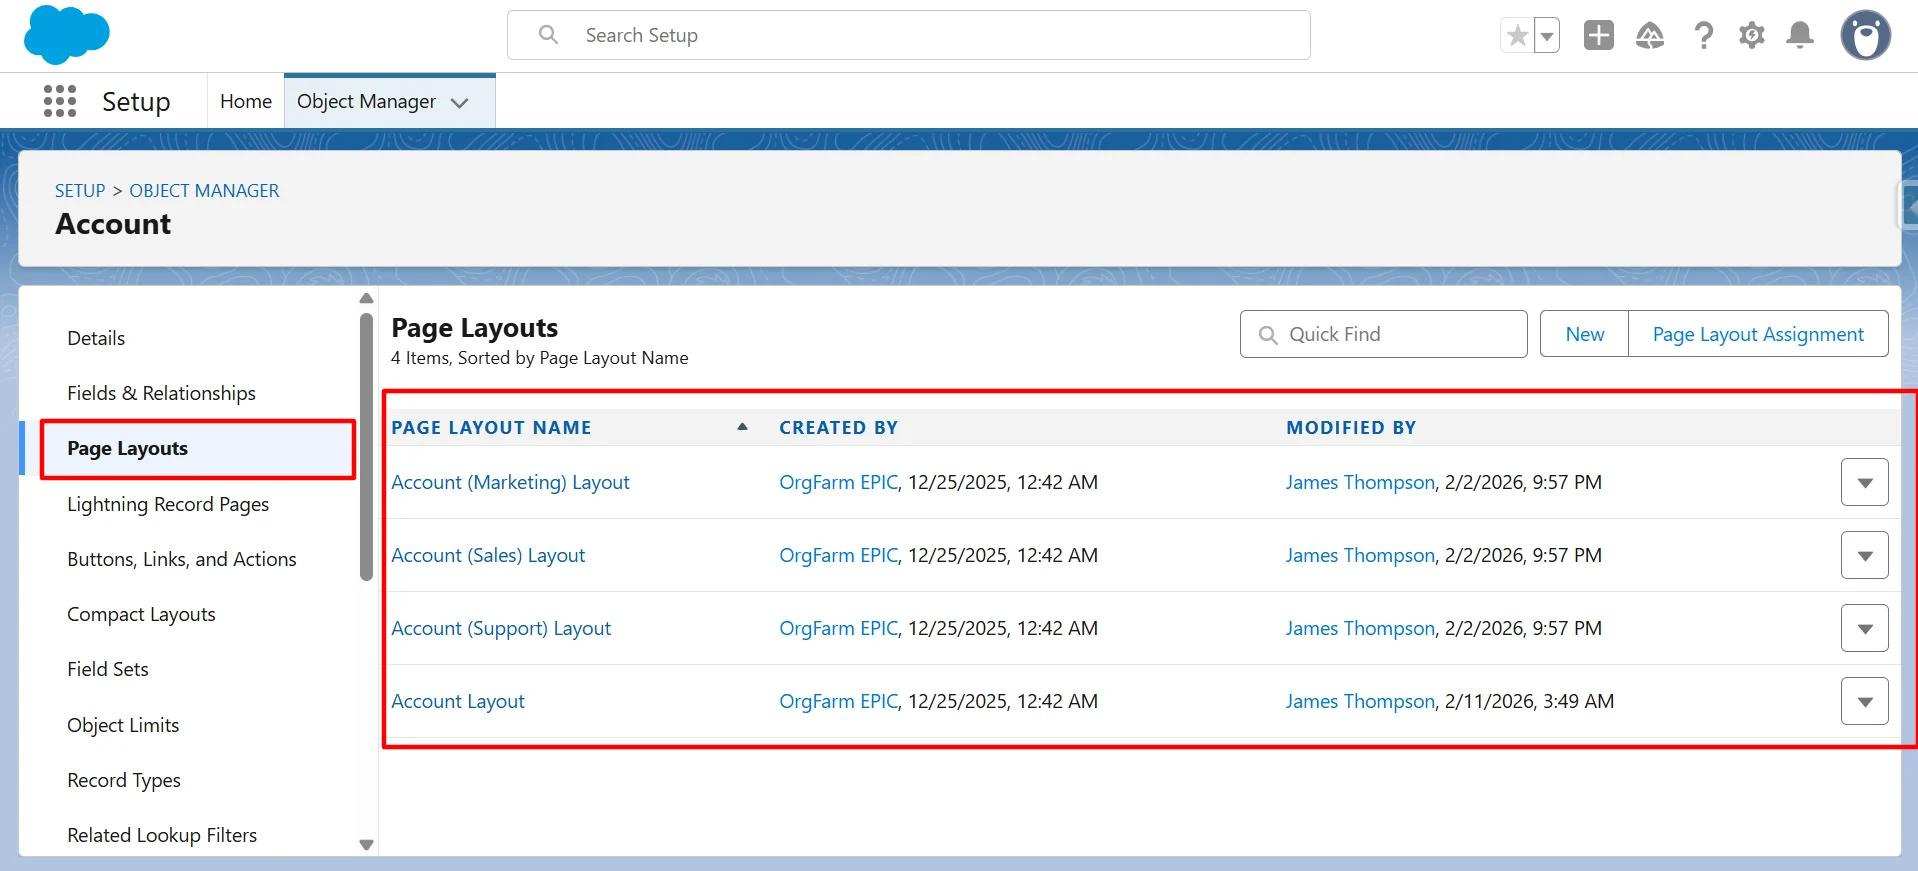
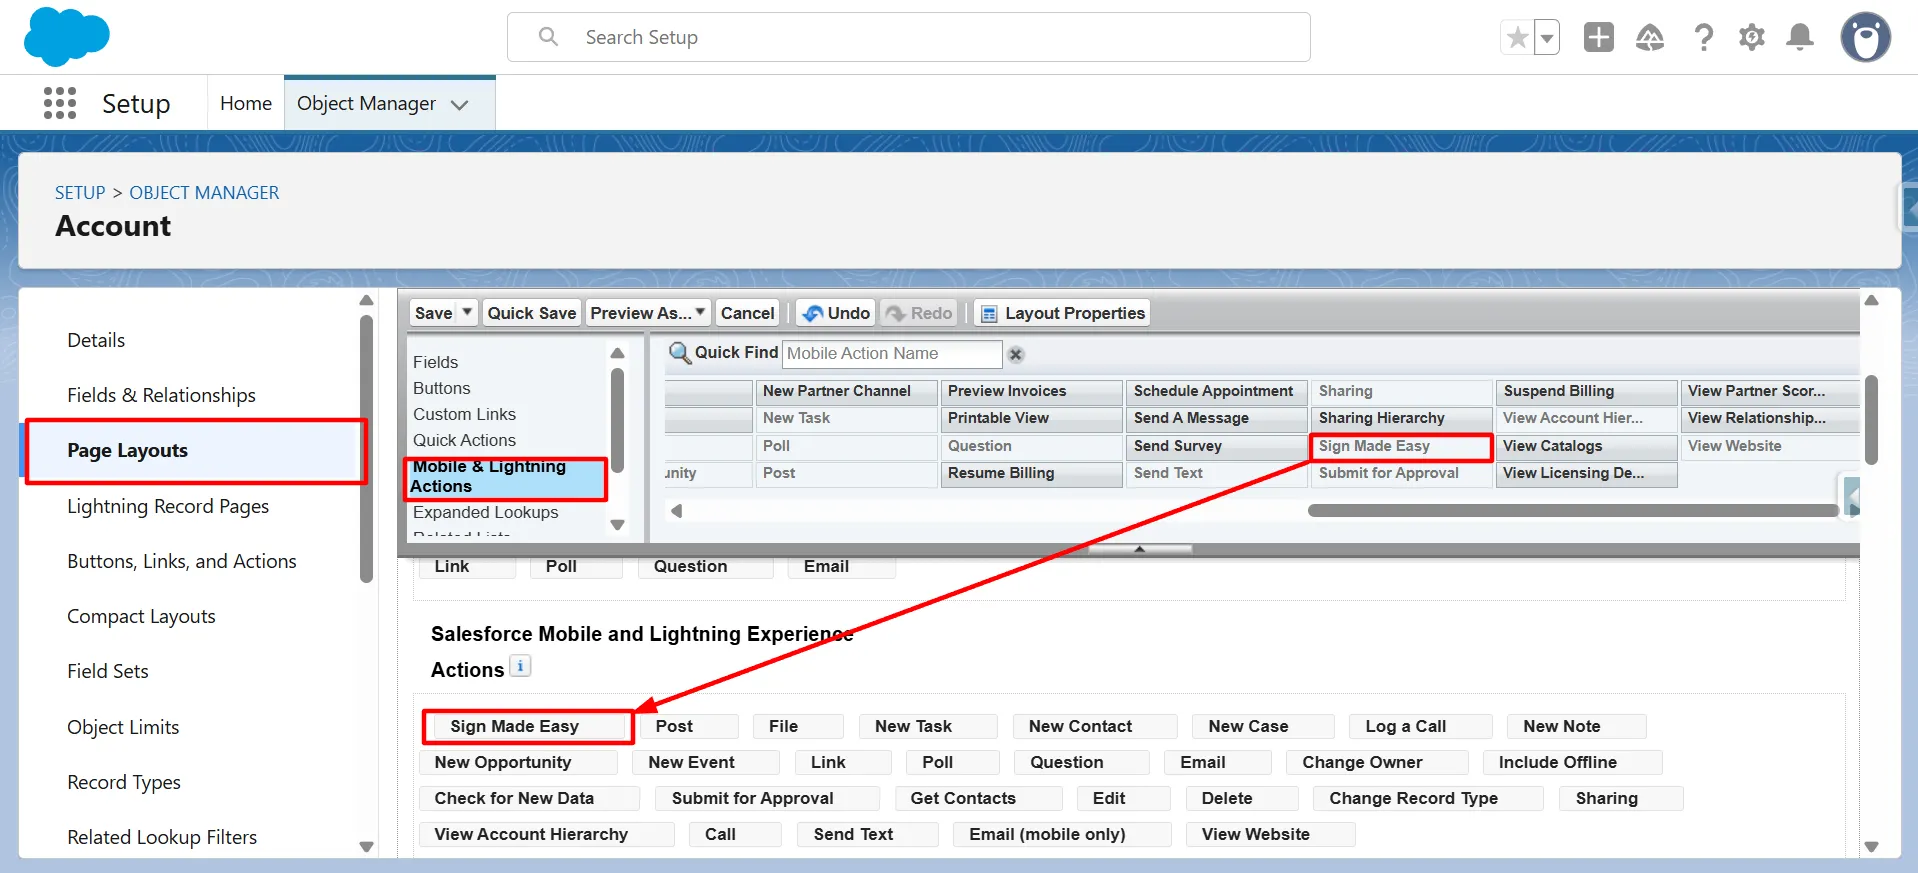
Step 14: Select the desired page layout where you want to add the sign template button. In the Mobile & Lightning Actions section, use Quick Find to locate the button, then drag and drop it into the Salesforce Mobile and Lightning Experience Actions section.
Finally, click Save or Quick Save to apply the changes.
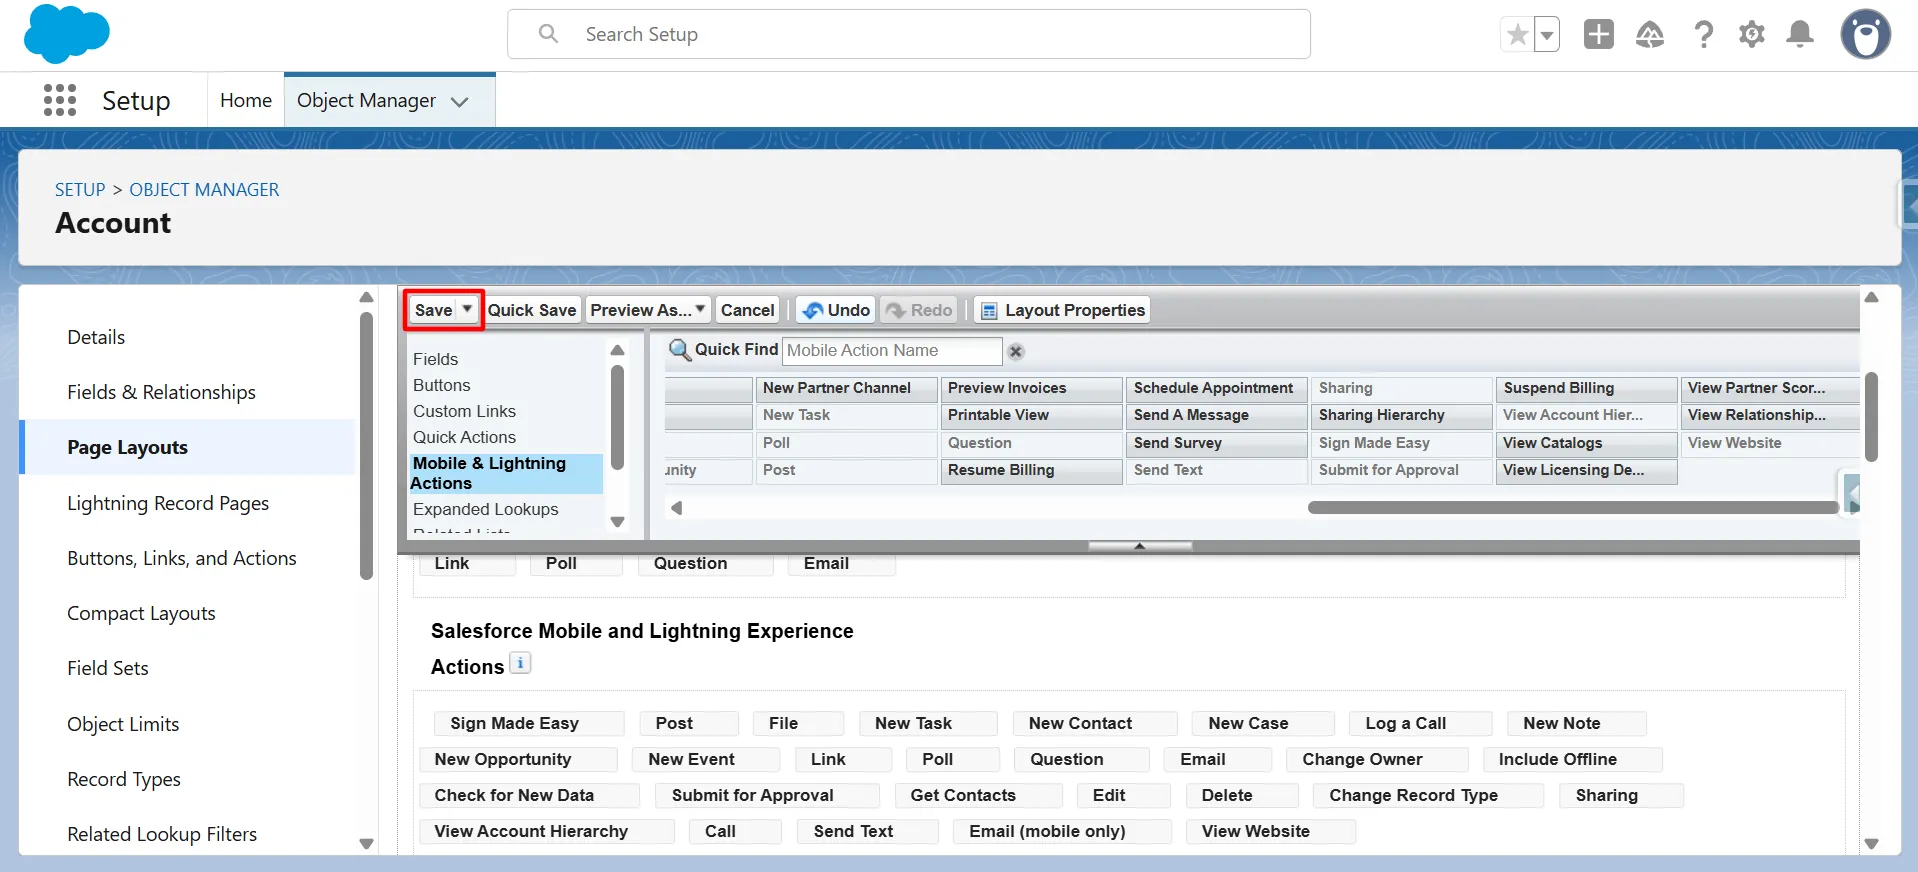
The Sign template button has been successfully added to the page layout. It is now available for use to initiate and send templates for electronic signature.
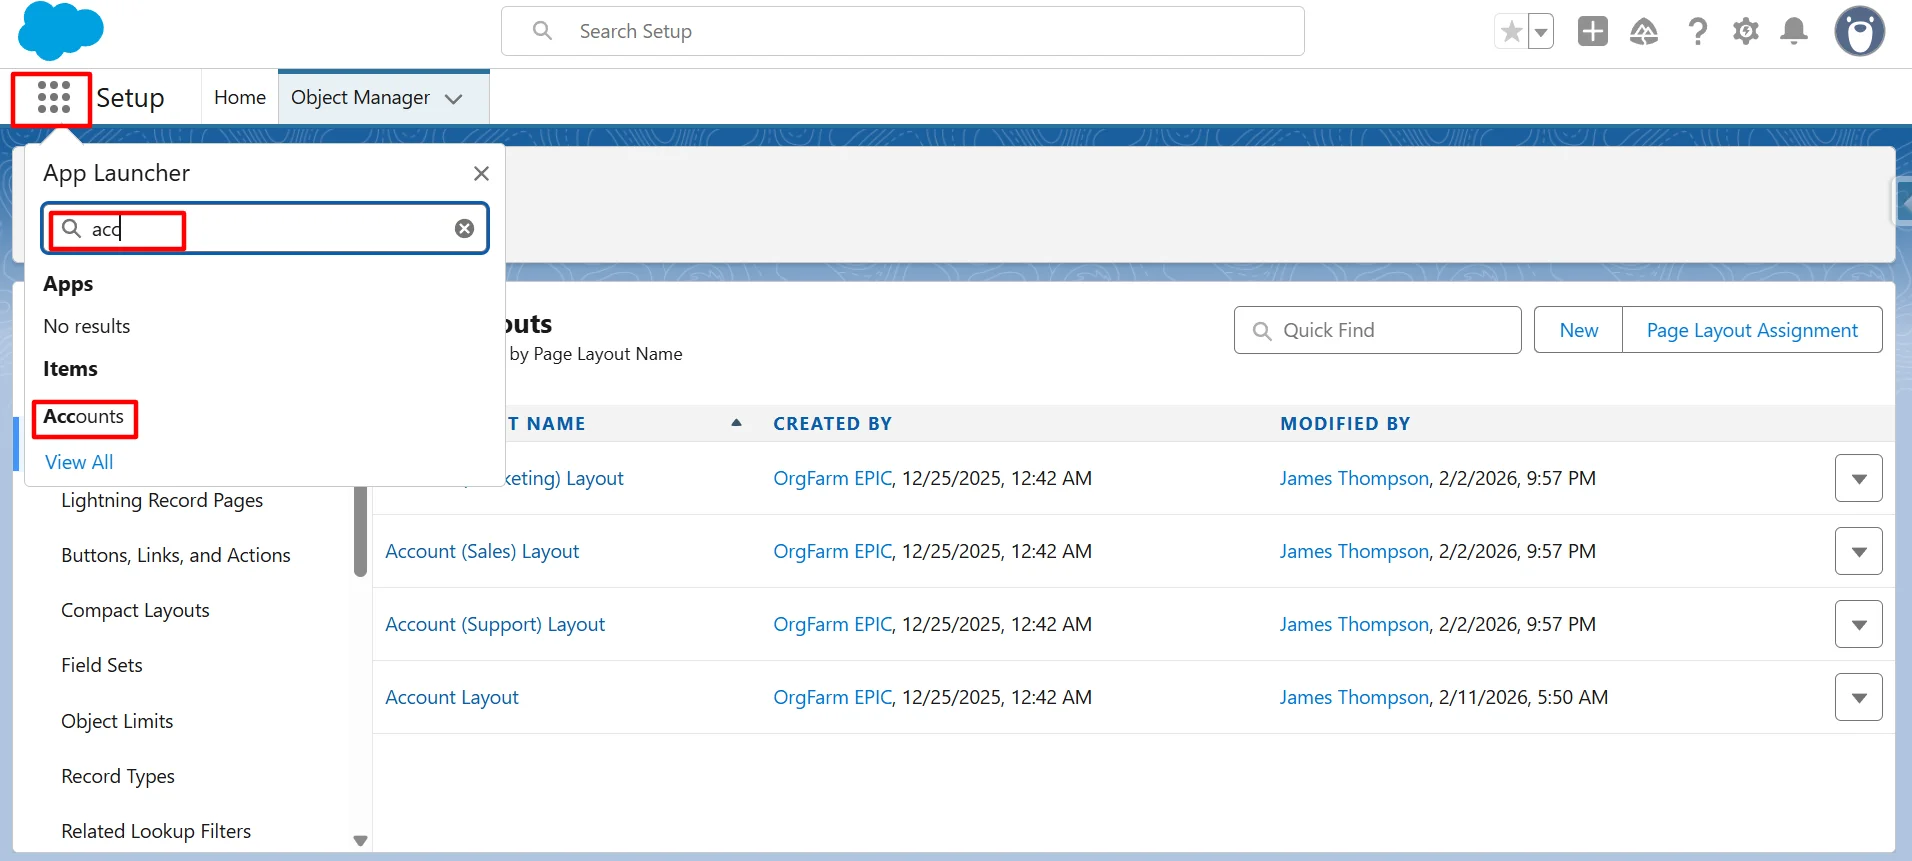
Step 15: Click the App Launcher, search for the object where the Sign template button was created, and open the object record to access the button.
Step 16: Now, click the button to send the email.
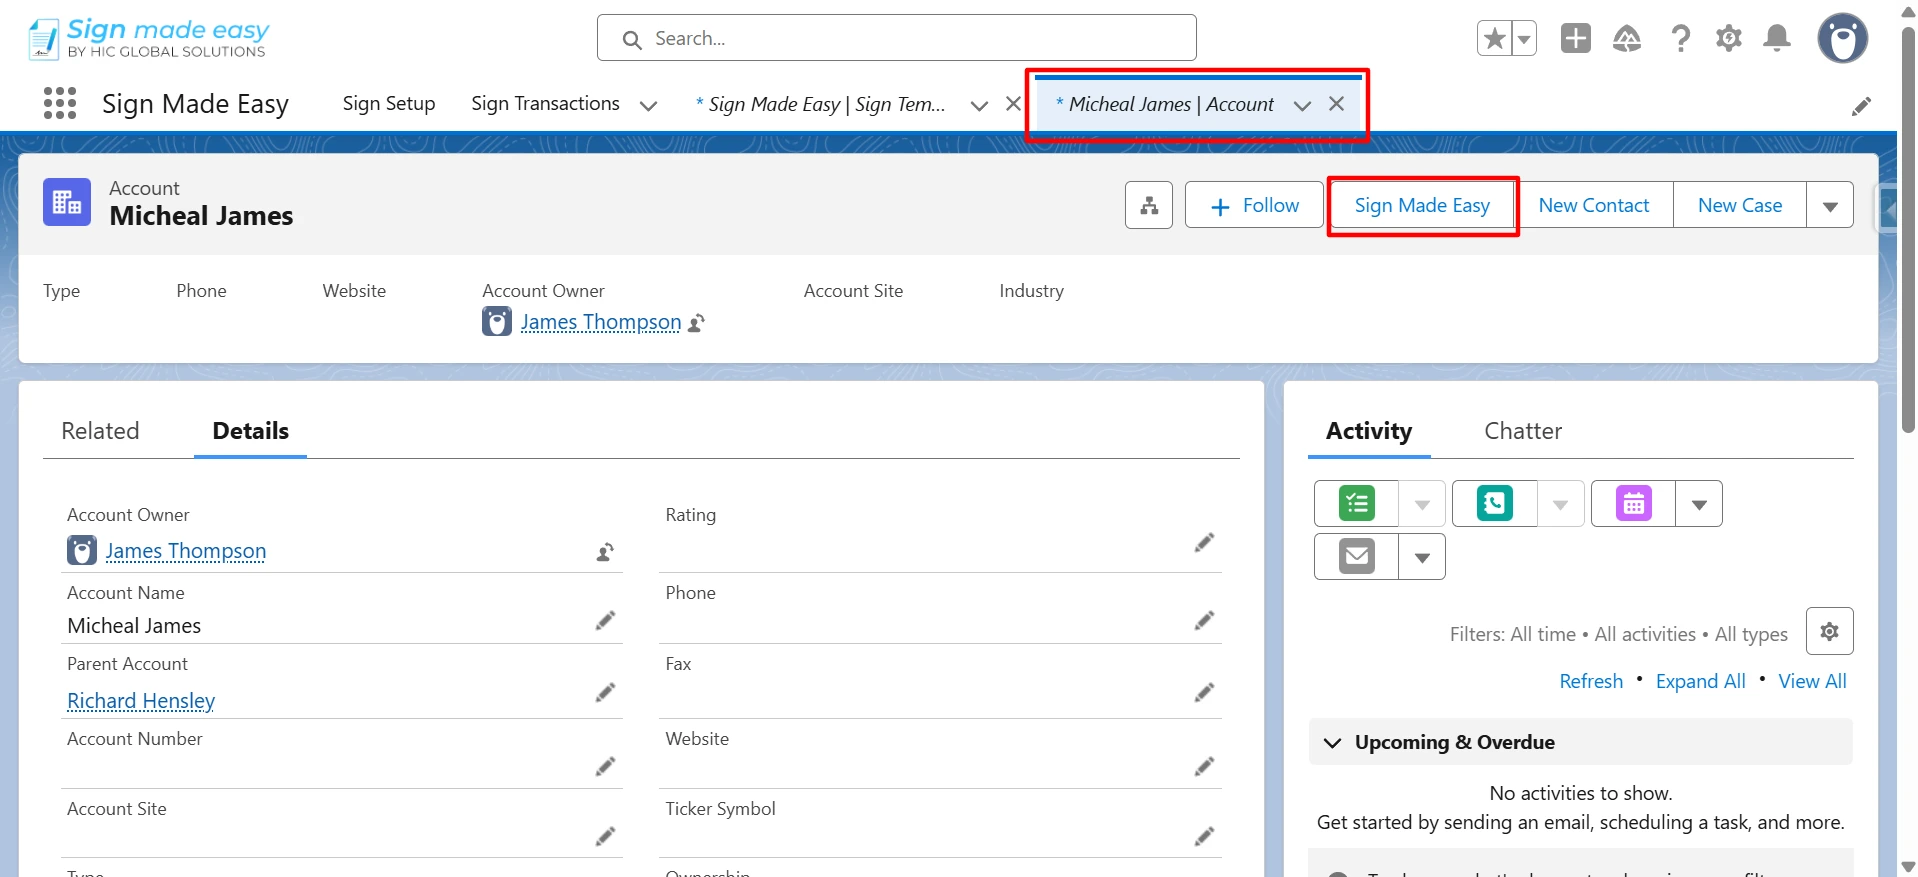
The selected recipient from All Related Lists is now available in the template.
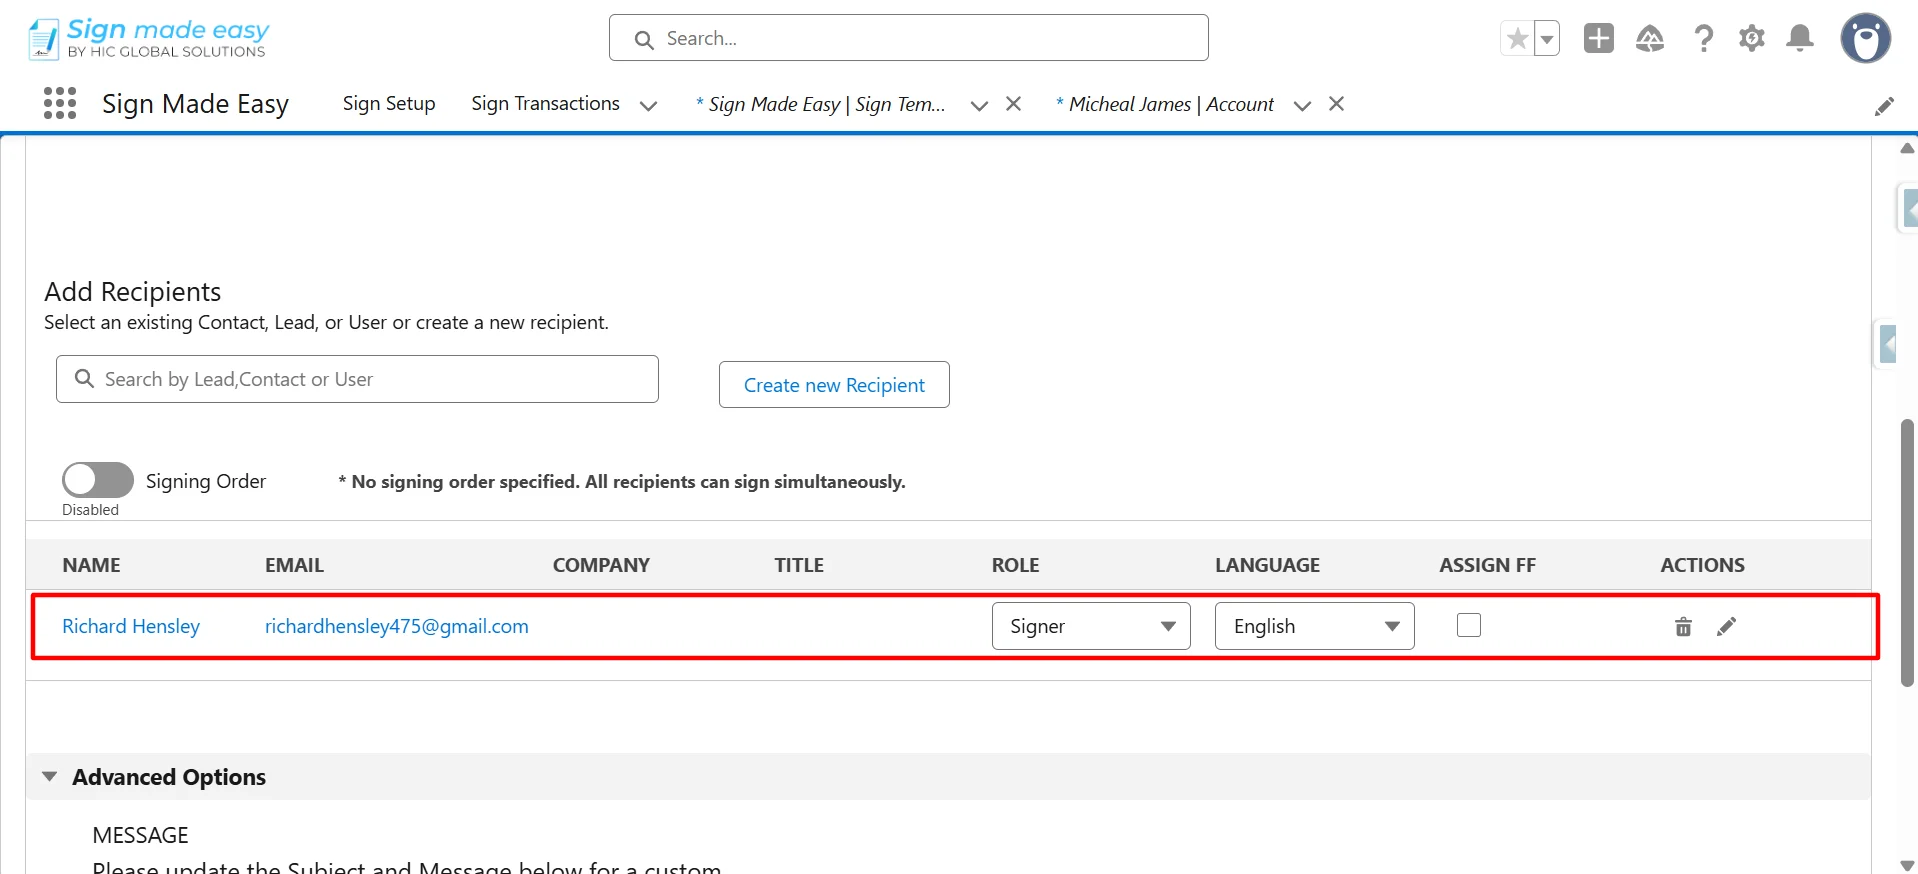
This is how ‘All Related Recipients’ are configured in Sign Template.
Conclusion
Configuring All Related Recipients in a Sign Template streamlines your eSignature process by automatically selecting the most relevant recipients from Salesforce data.
This not only saves time but also ensures consistency and accuracy across transactions. By leveraging this feature, businesses can build scalable, automated, and efficient Salesforce eSignature workflows with minimal manual intervention.