

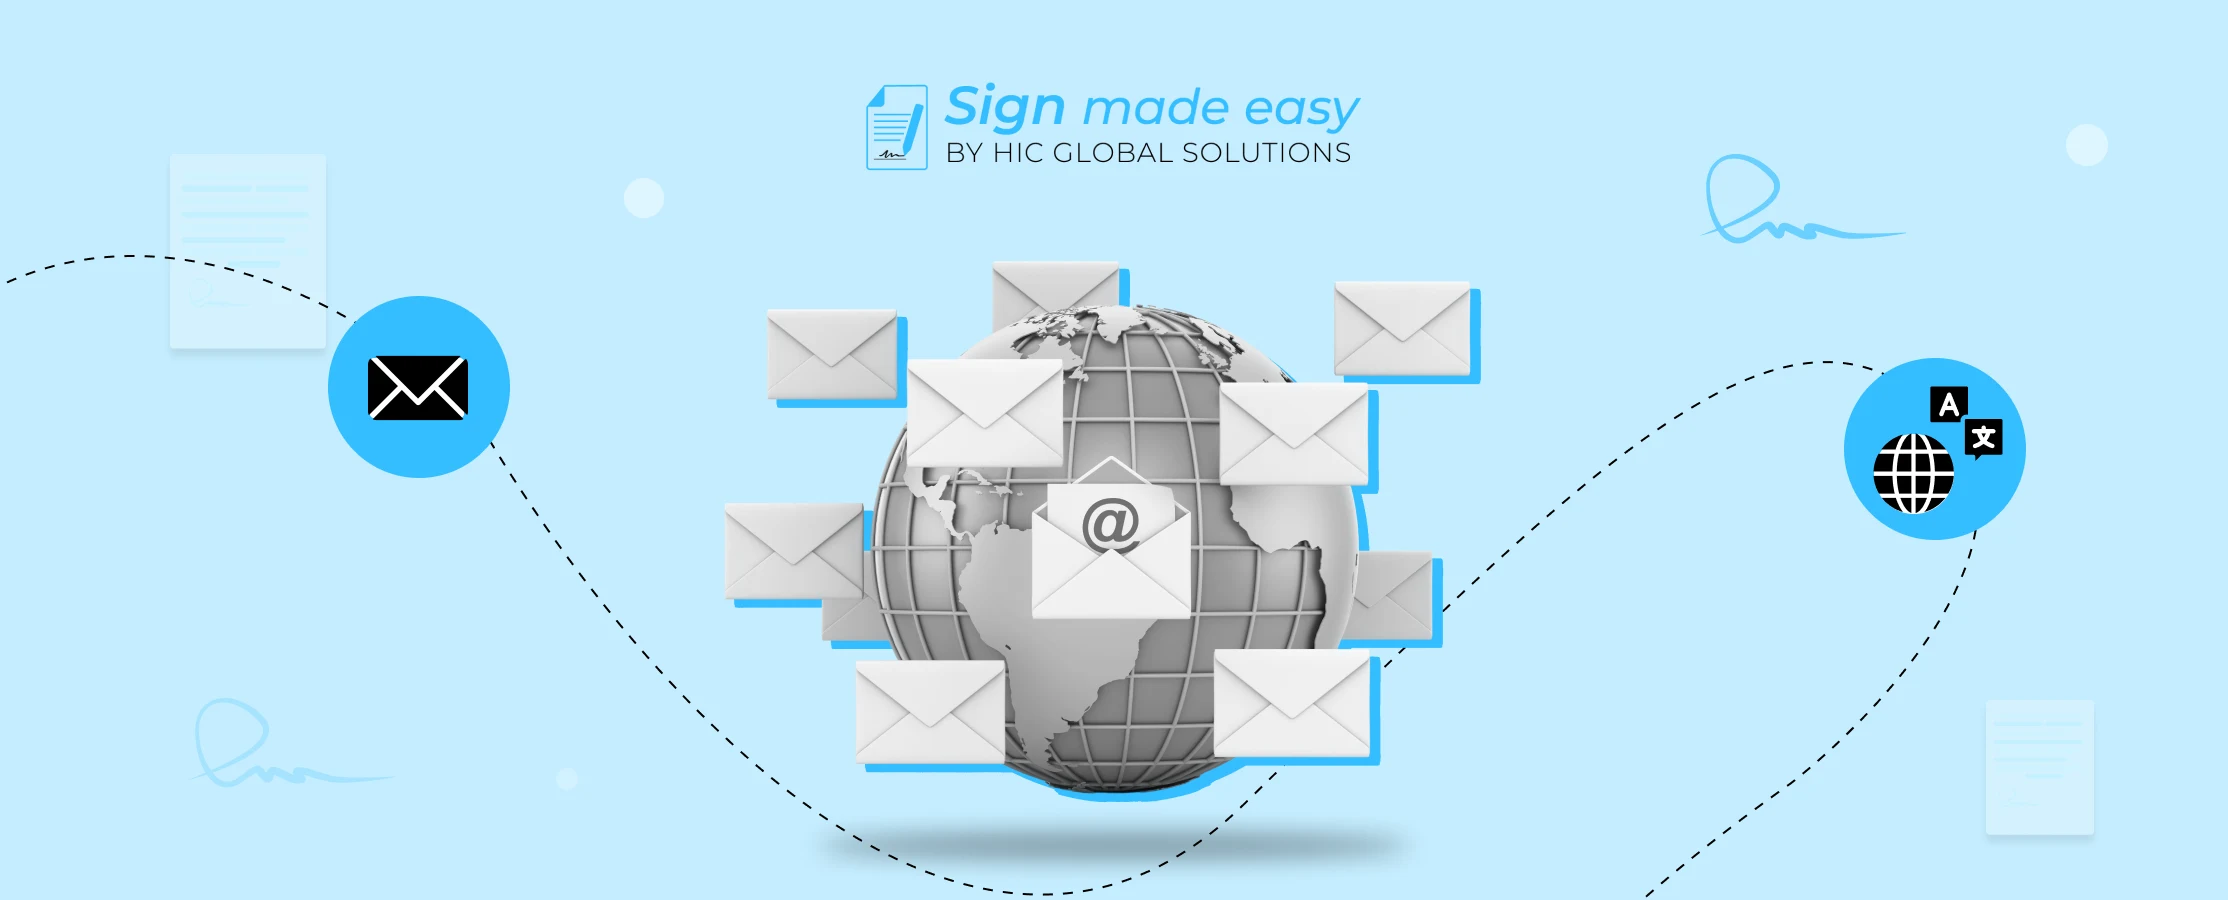
In this blog, we will explain how to send Multilingual Emails in Salesforce step by step. Sending emails in your recipient’s preferred language improves communication, builds trust, and increases response rates. If your business works with global customers, setting up Multilingual Emails properly becomes very important. So, let’s get started!
Note:
For sending emails in multiple languages to recipients, you must first deploy the required Custom Labels in your Salesforce org. If they are not already deployed, please follow the steps provided below to deploy the Custom Labels.
For sending emails in multiple languages to recipients, you must first deploy the required Custom Labels in your Salesforce org. If they are not already deployed, please follow the steps provided below to deploy the Custom Labels.
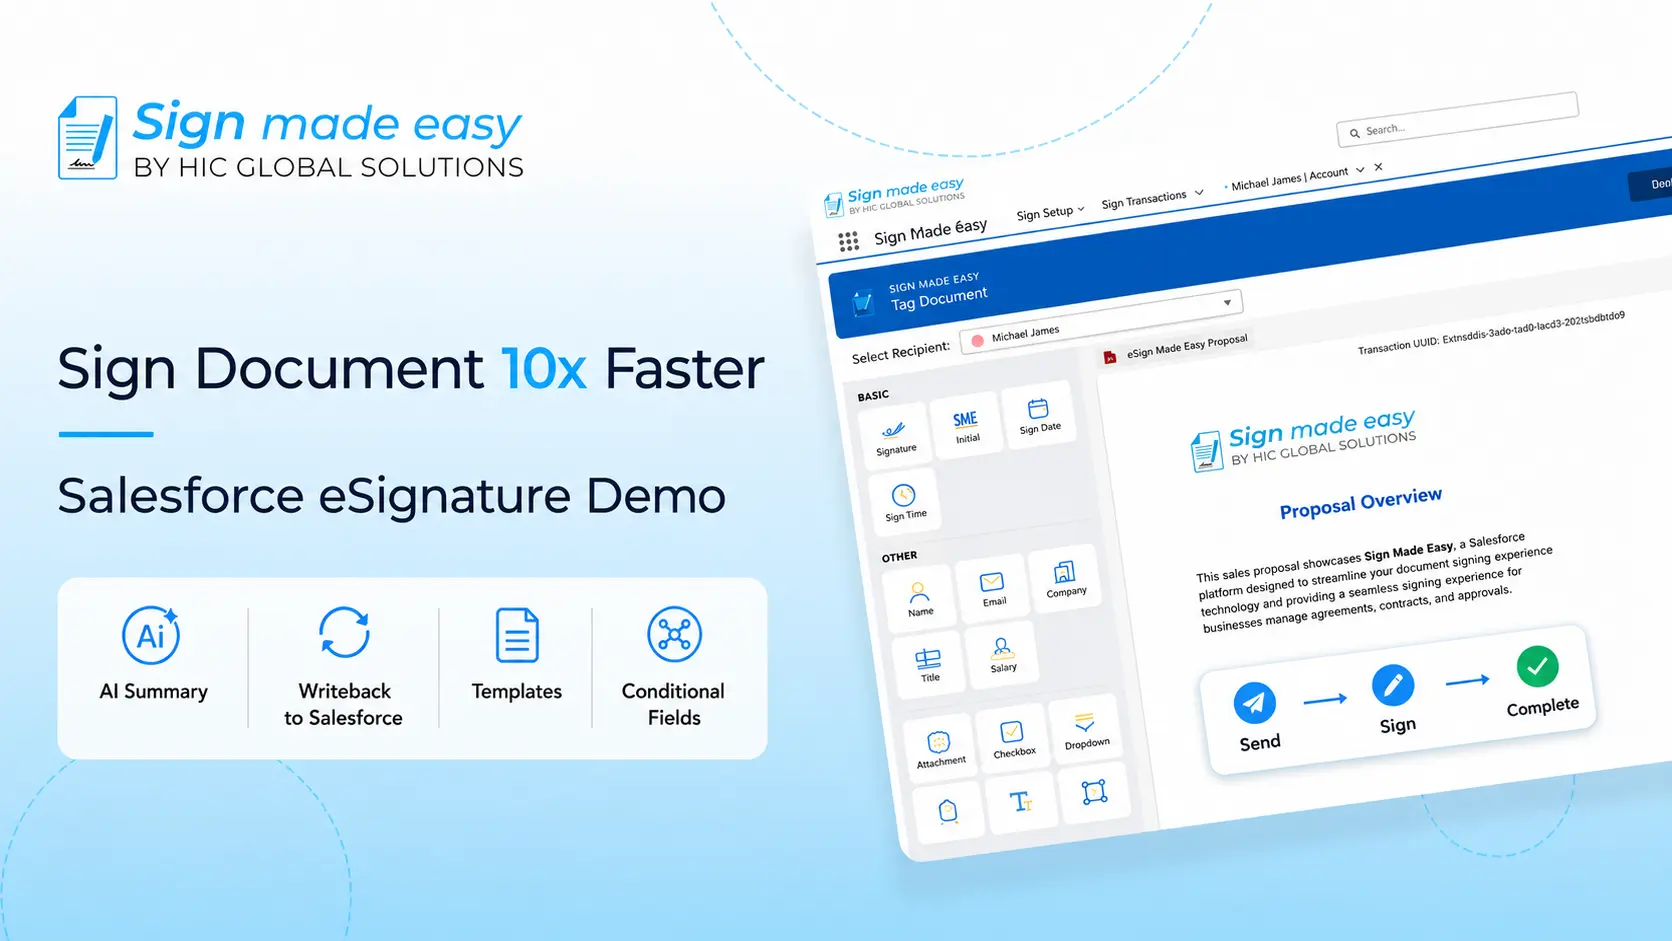
Steps to Send Multilingual Emails in Salesforce
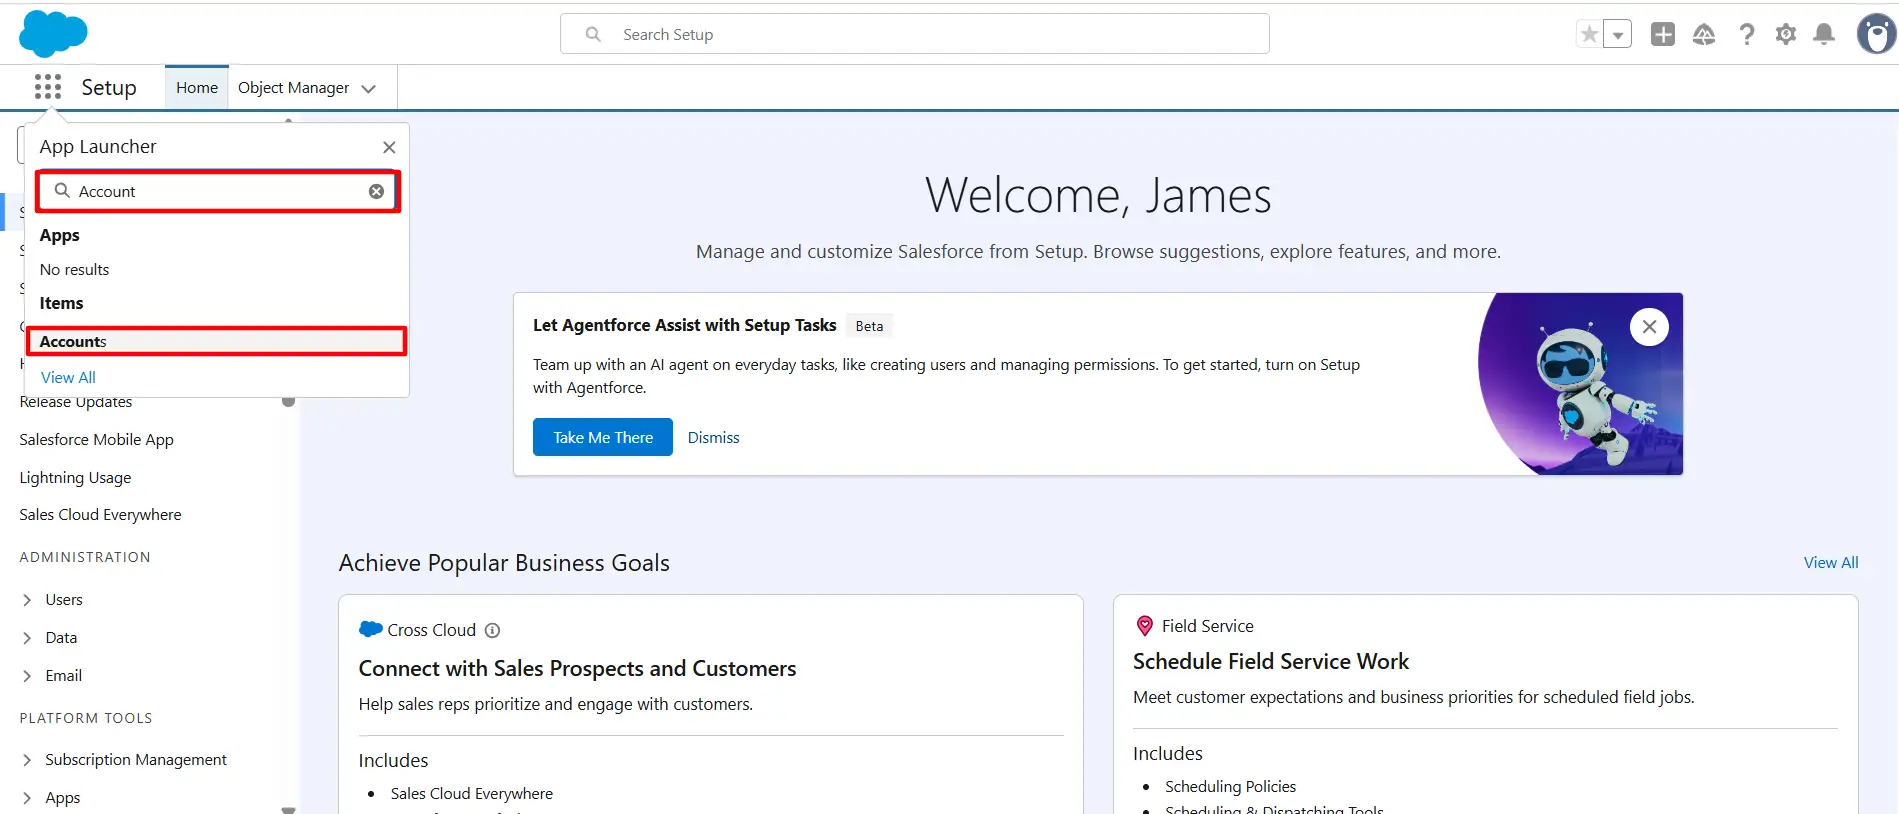
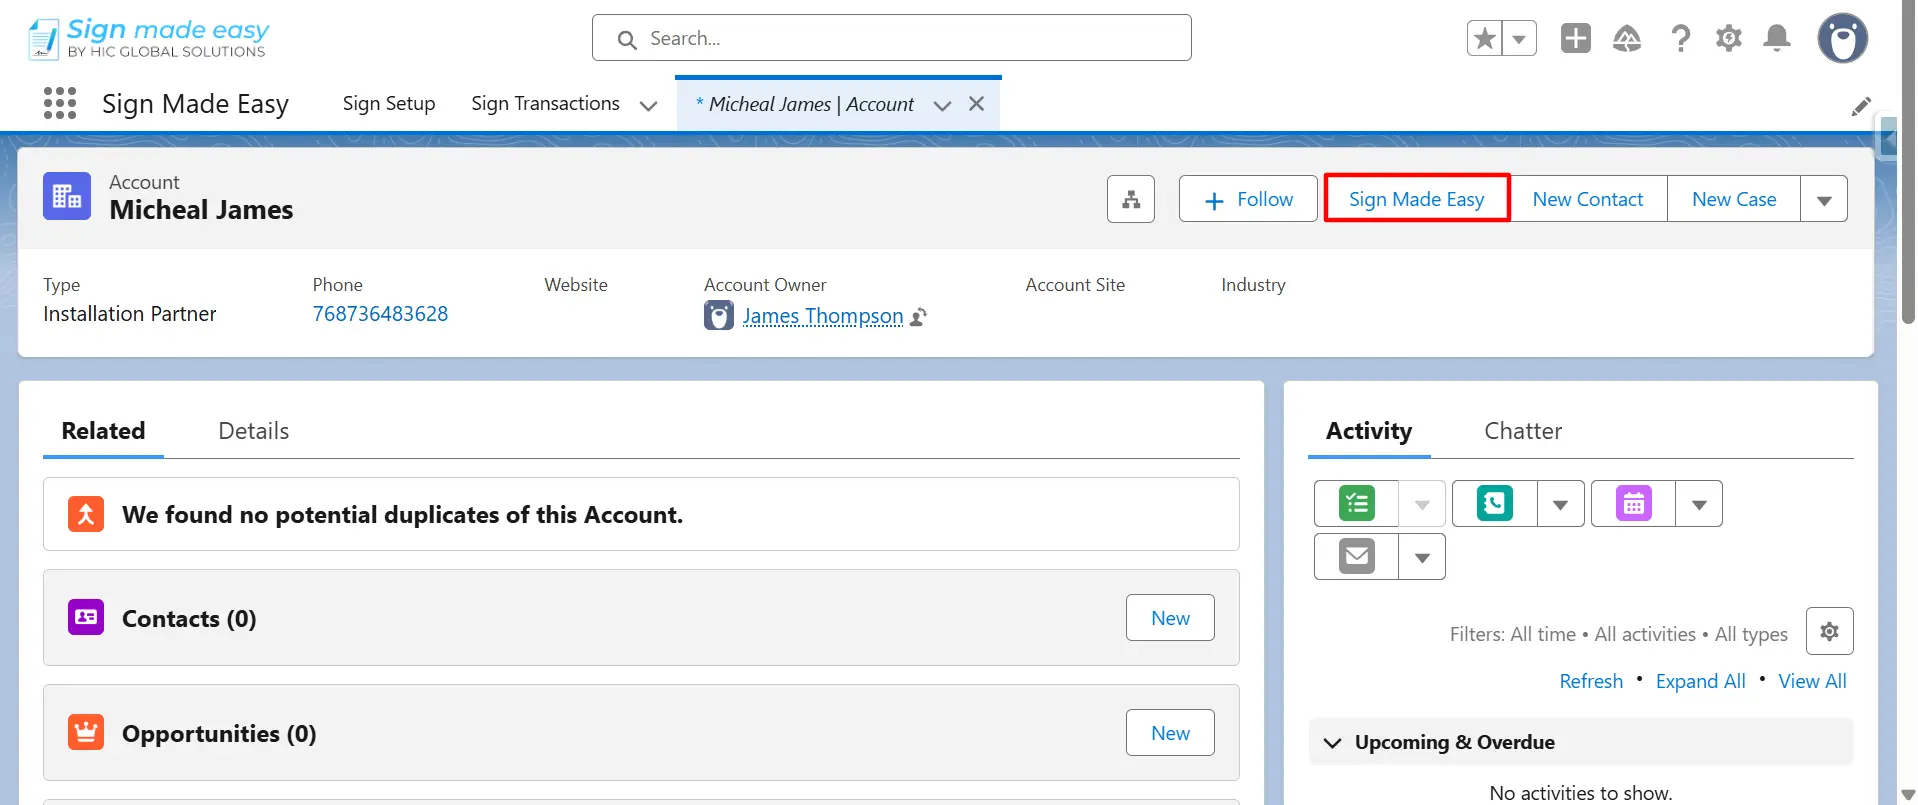
Step 1: Open the App Launcher, search for the object where the SME button has been created, and select it to proceed. If the SME button has not been created yet, Click Here for instructions on creating the SME button.
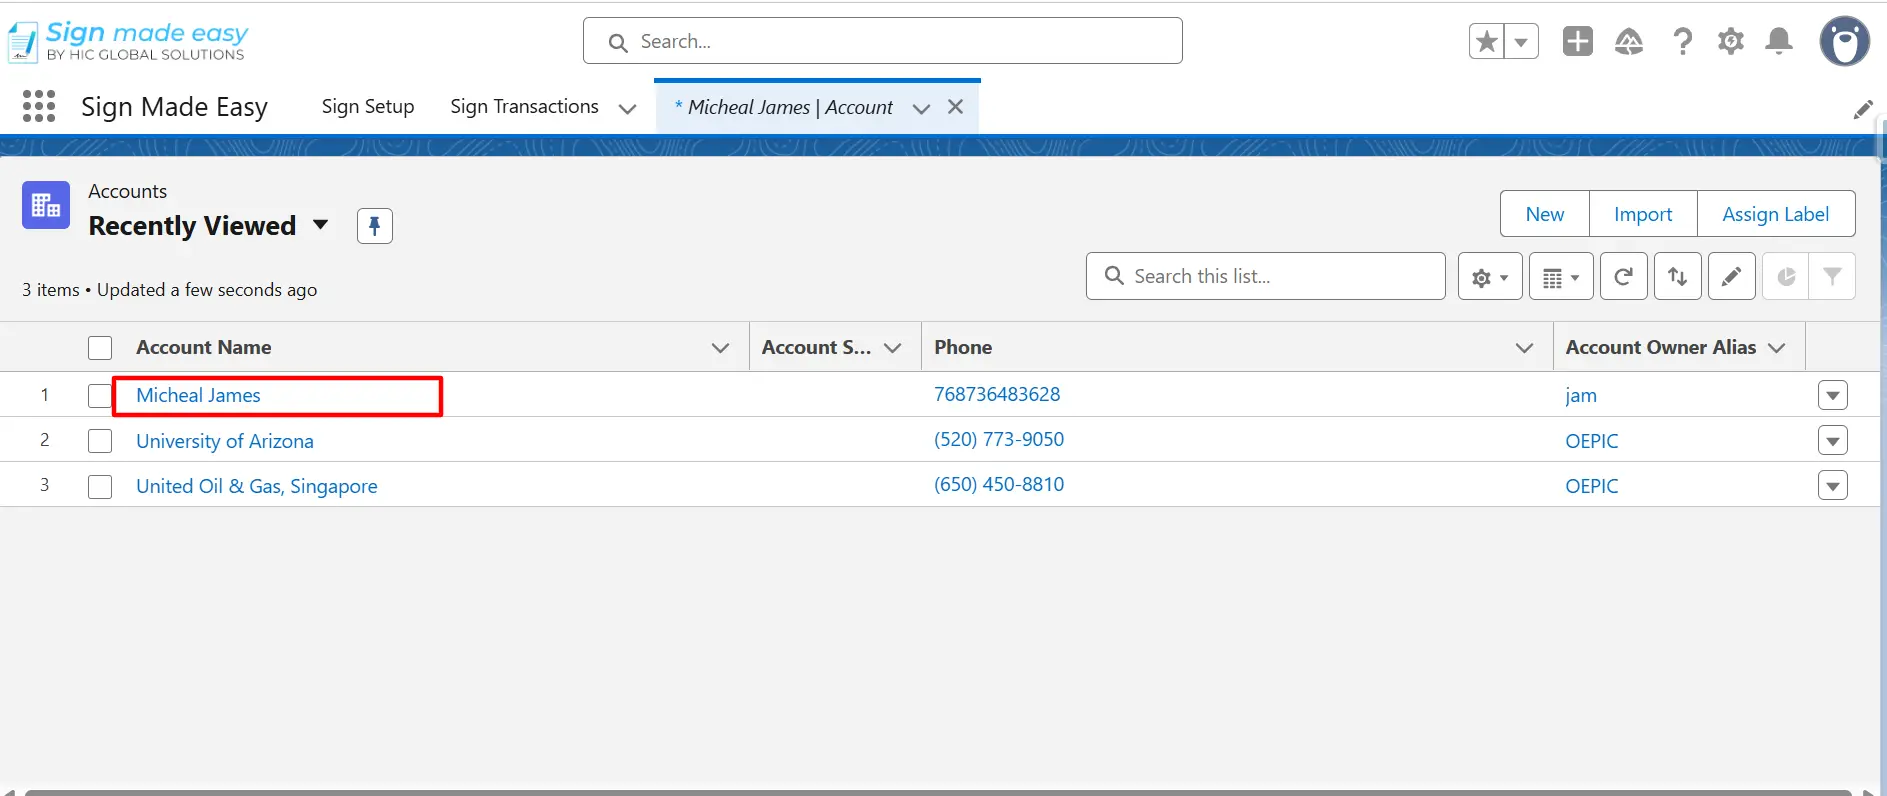
Step 2: Navigate to the record page of the selected object from which you intend to initiate the SME process. If no record exists, create a new one by clicking the New button before proceeding.
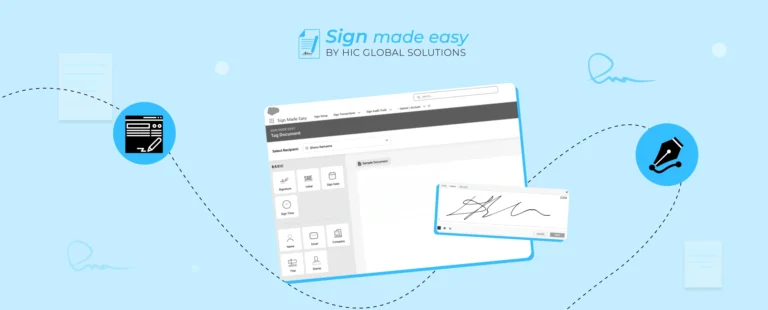
Step 3: Click on the Sign Made Easy button that you created earlier to start a sign transaction.
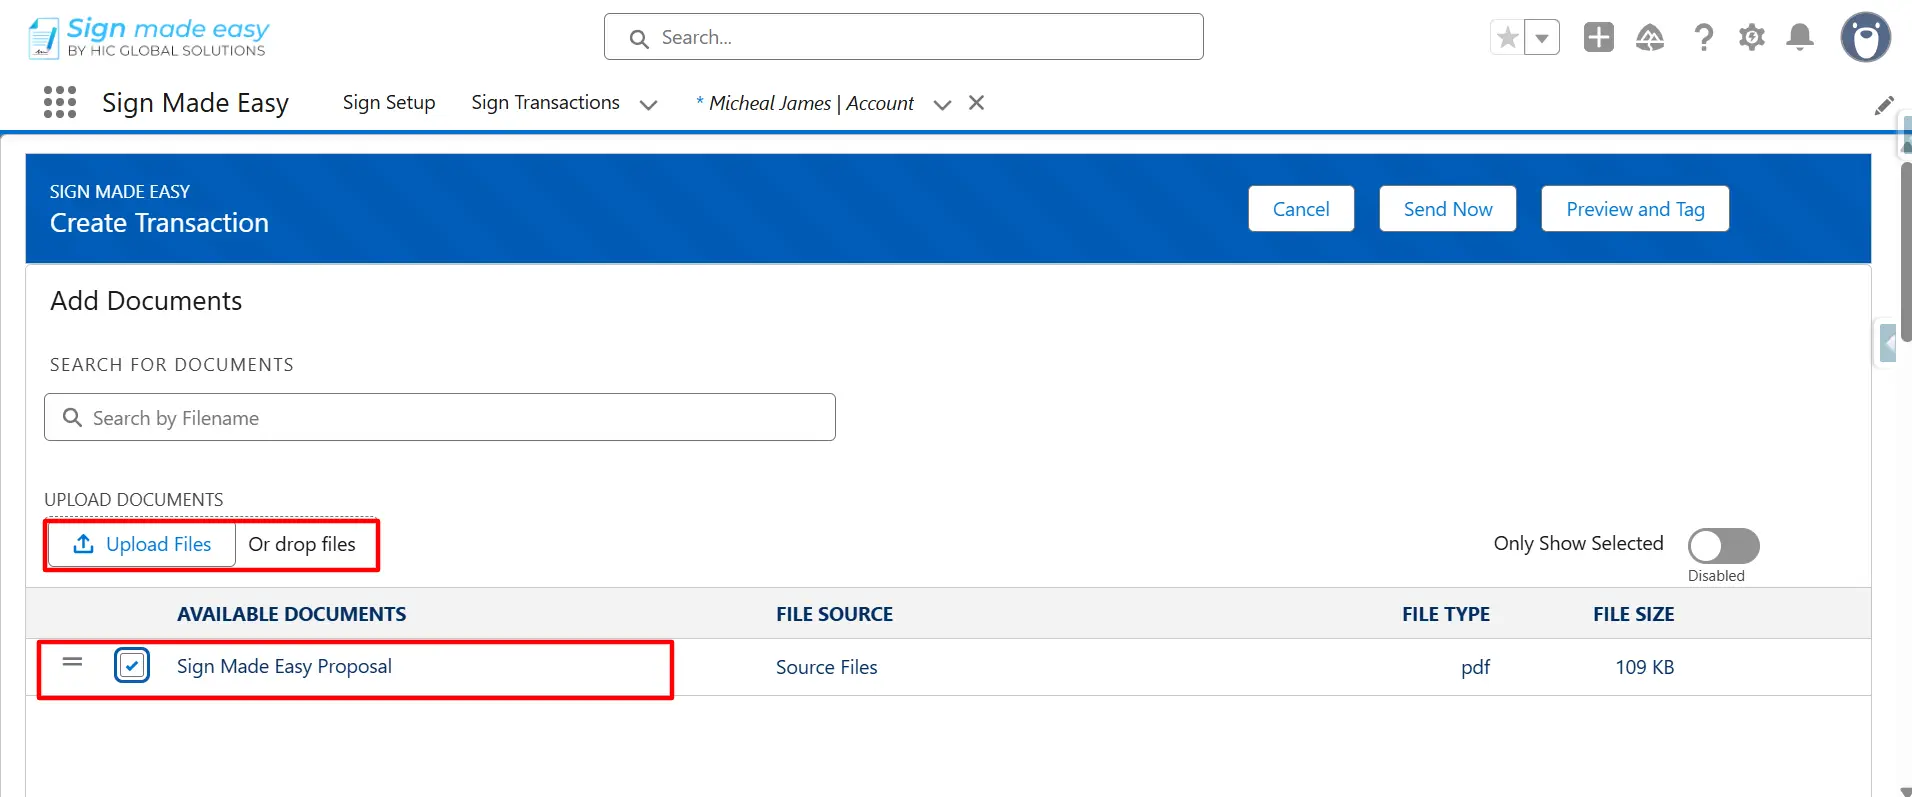
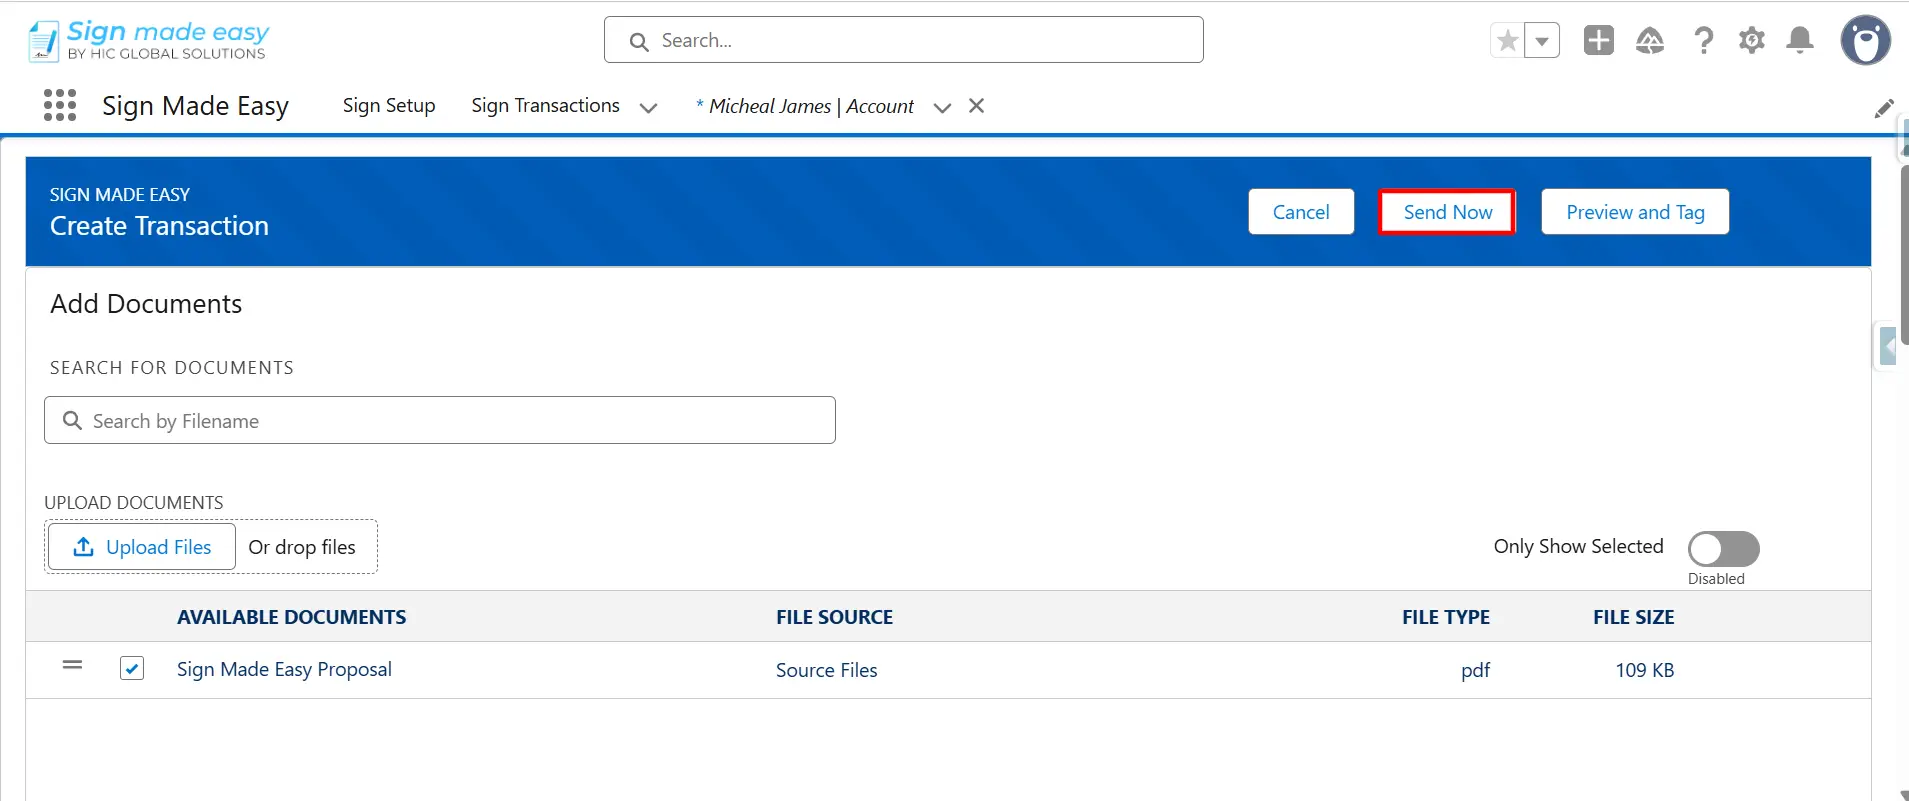
Step 4: Select an existing document or use the Upload Files option to upload a new document.
Step 5: Select the recipient from the Salesforce object (Lead, Contact, or User) or use the Create New Recipient button to add a custom recipient.
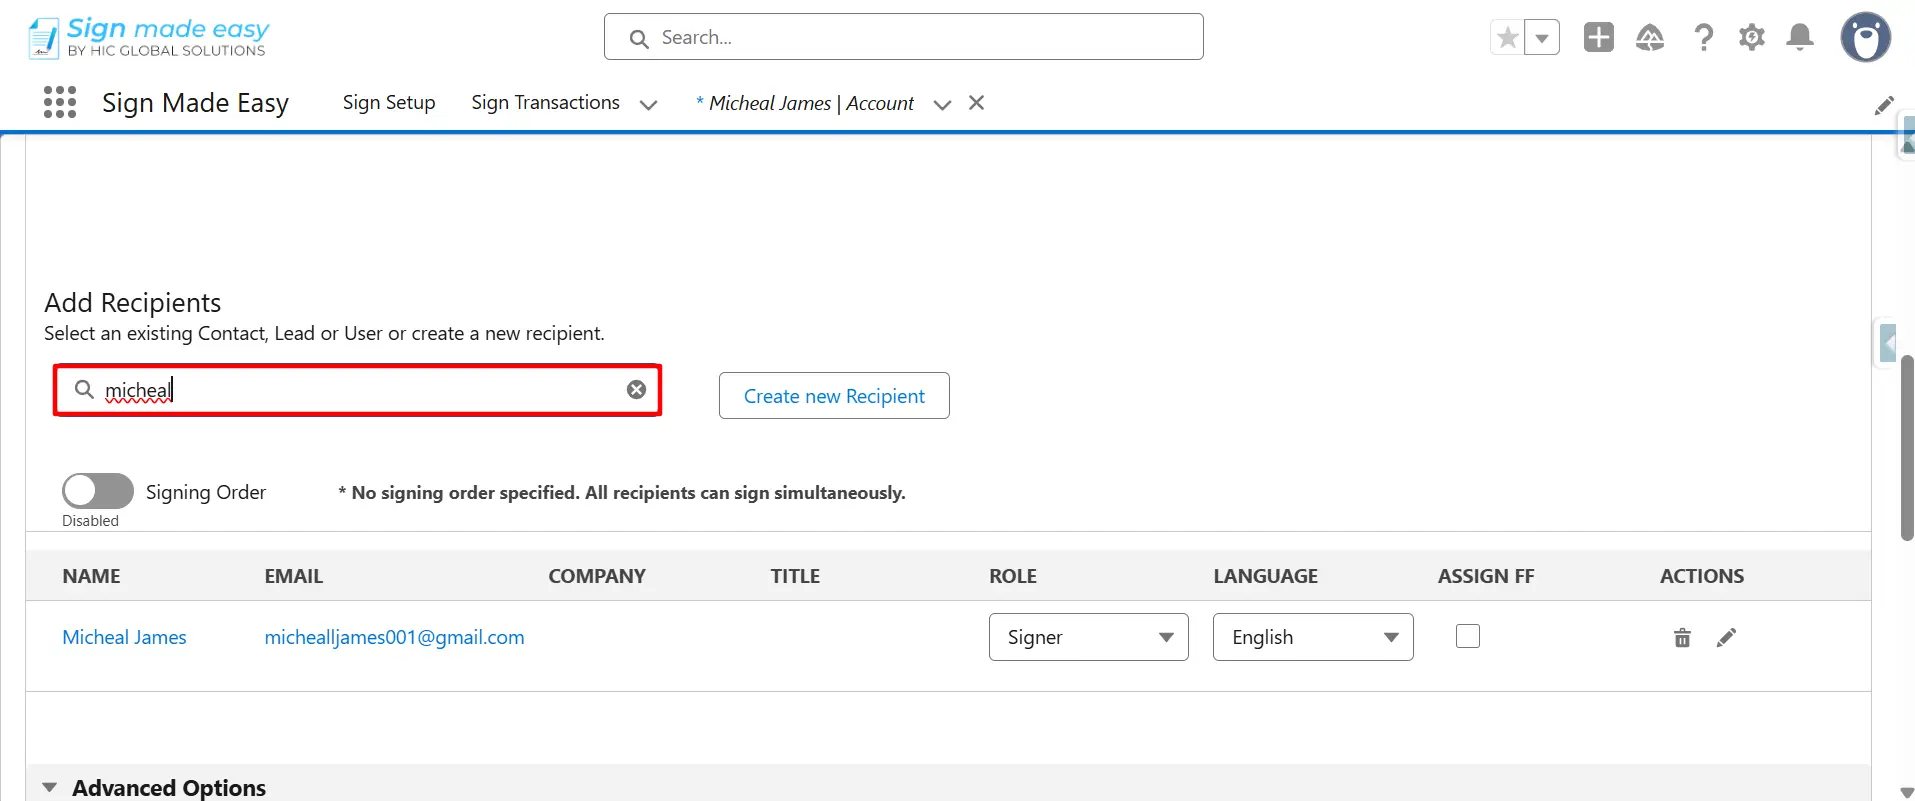
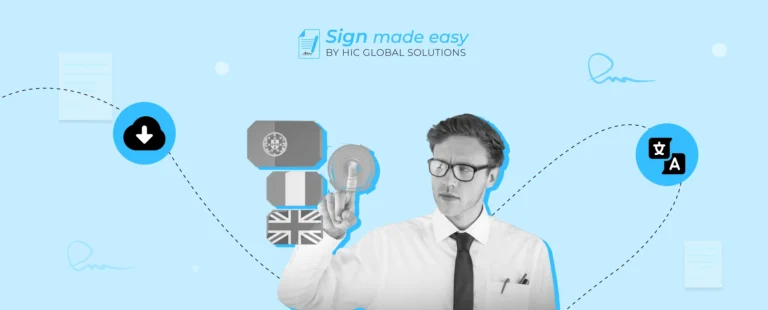
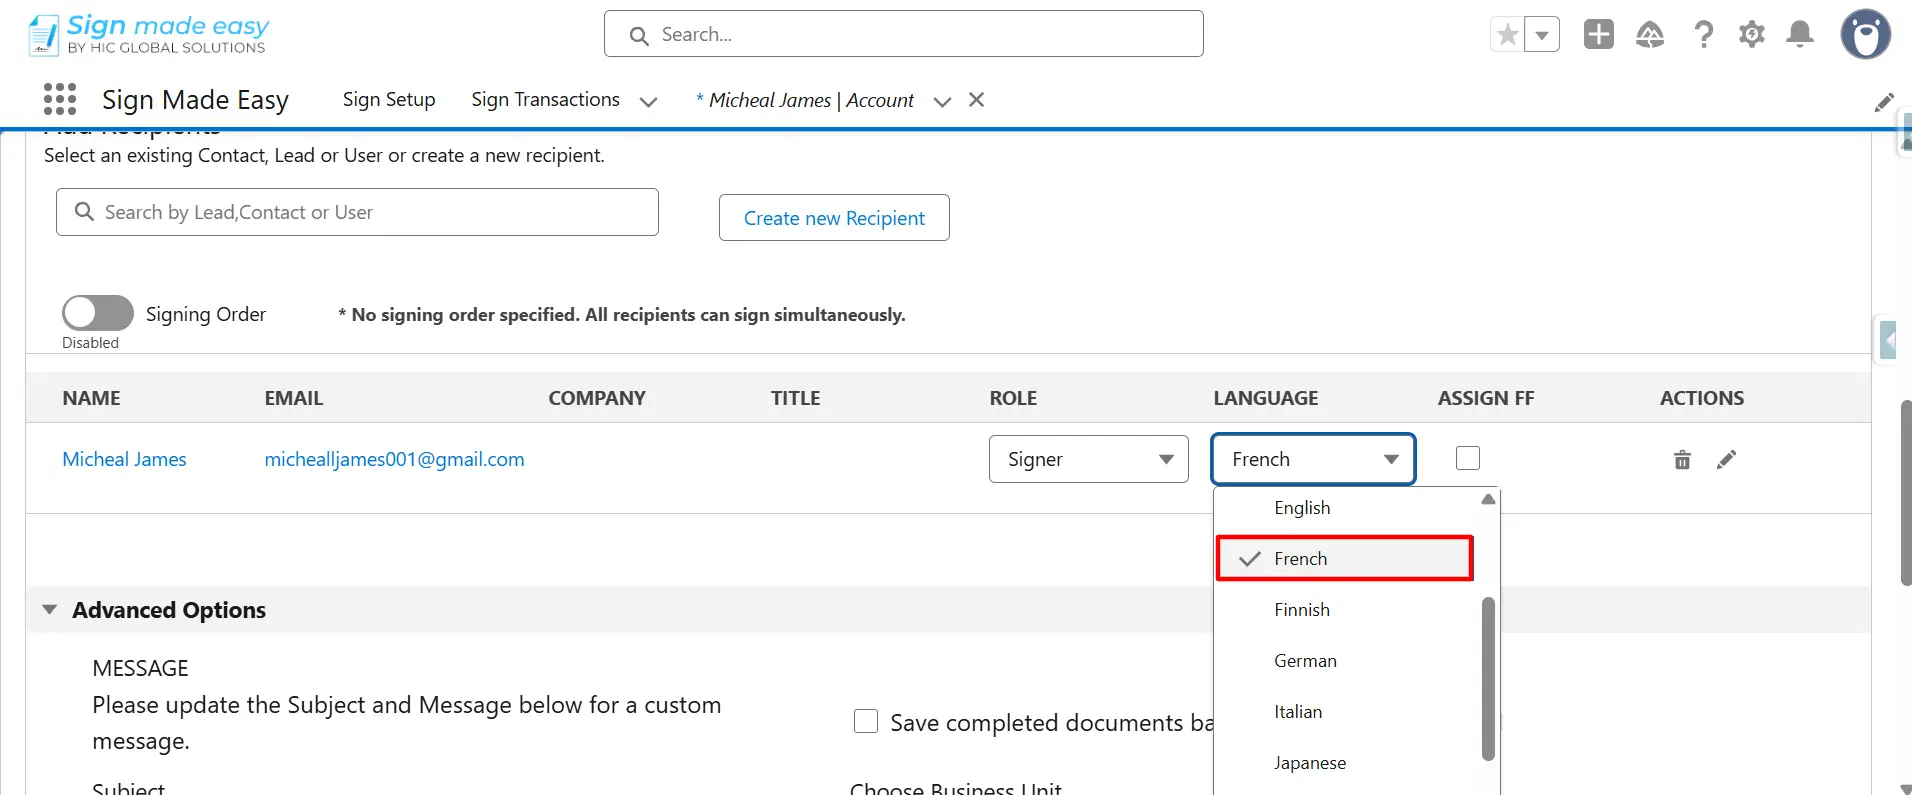
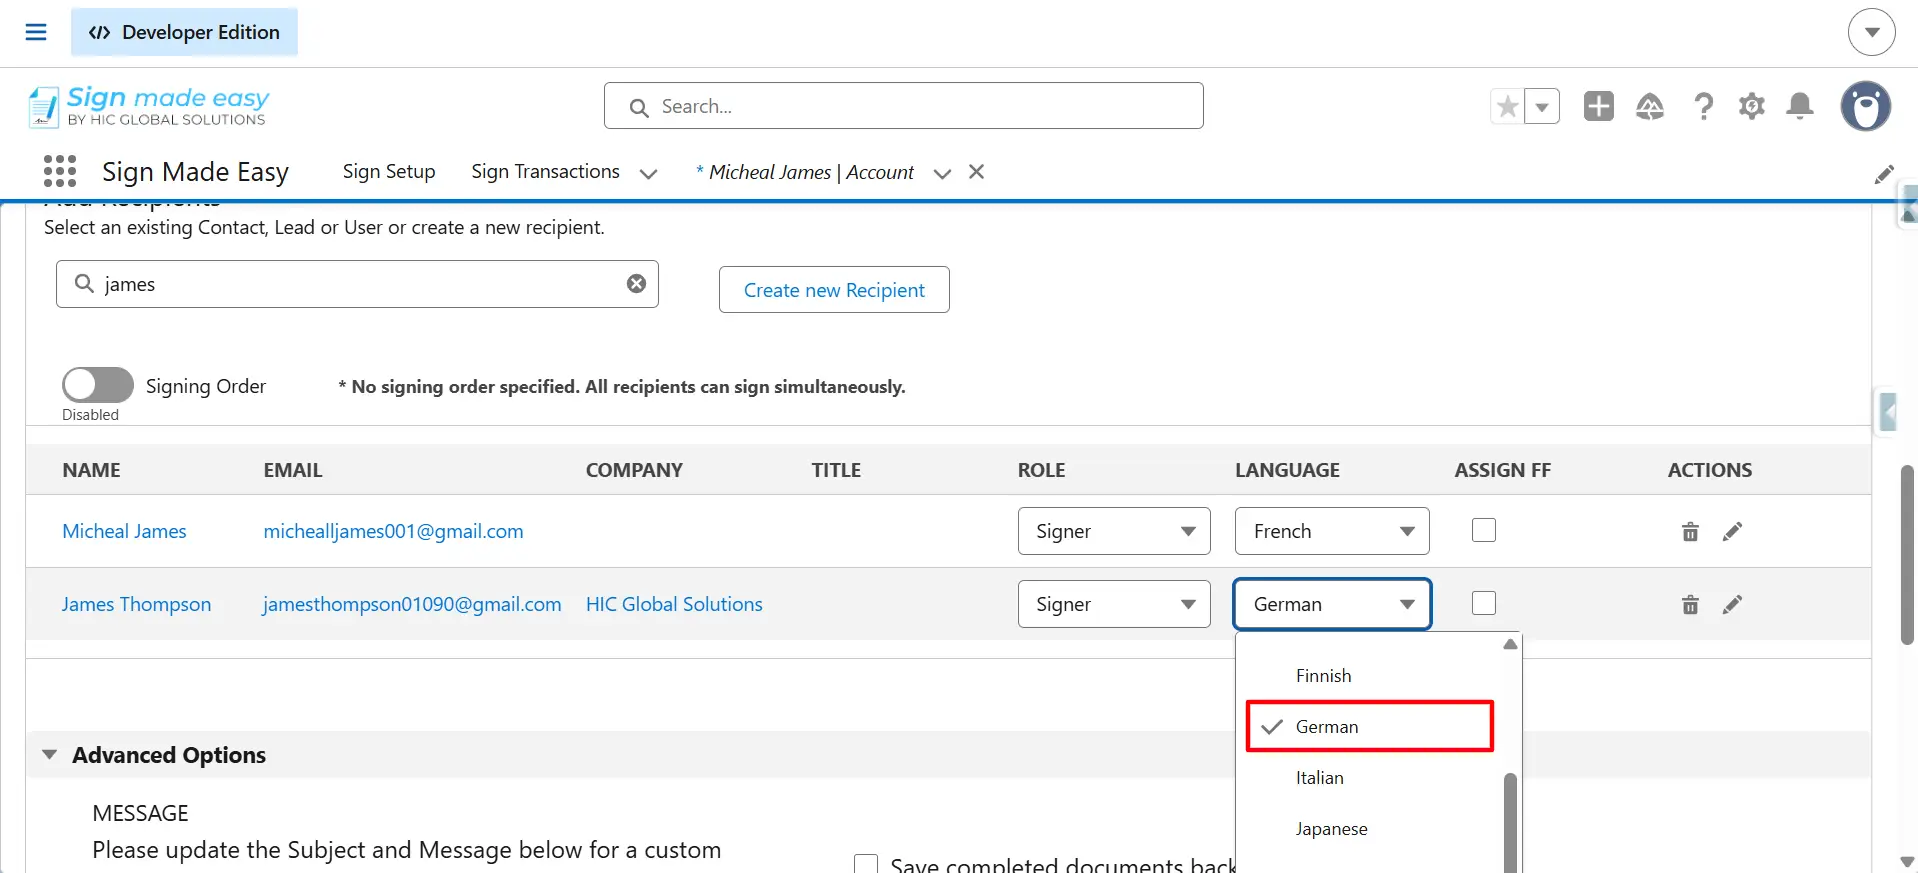
Step 6: Choose the preferred language for sending the email to the first recipient.
Note:
You can select a different preferred language for each recipient within the same sign transaction.
You can select a different preferred language for each recipient within the same sign transaction.
Step 7: Add another recipient using the Salesforce object (Lead, Contact, or User) or create a custom recipient by clicking on the Create New Recipient Button.
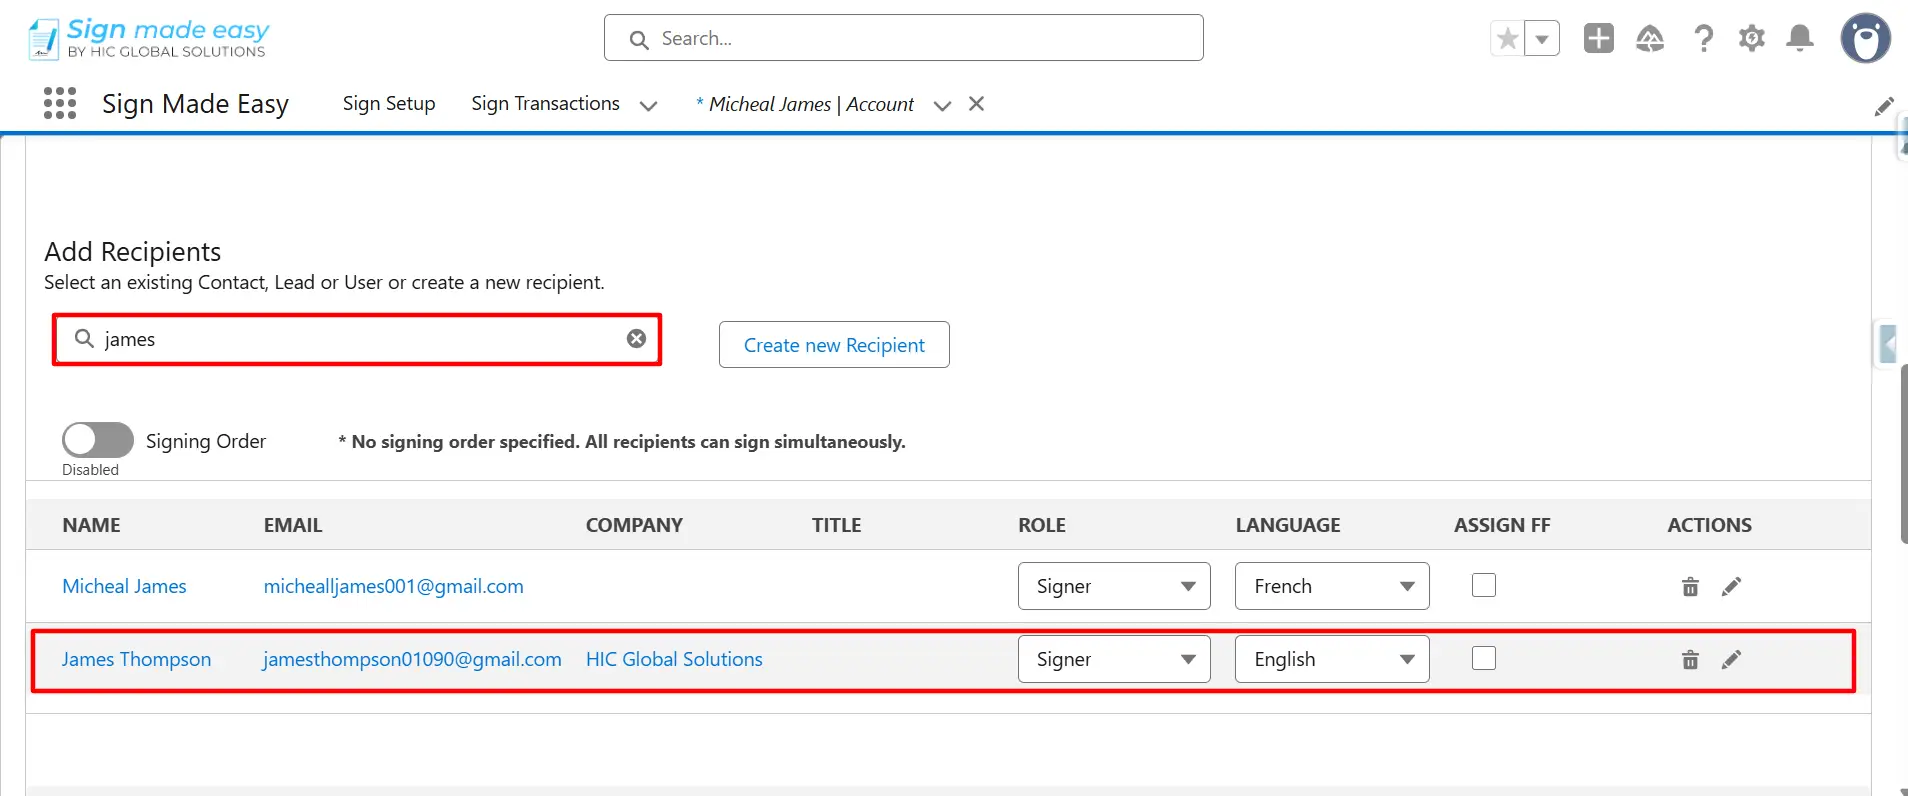
Step 8: Select the preferred language for the second recipient.
Step 9: Use the Send Now button to send the email directly to all selected recipients.
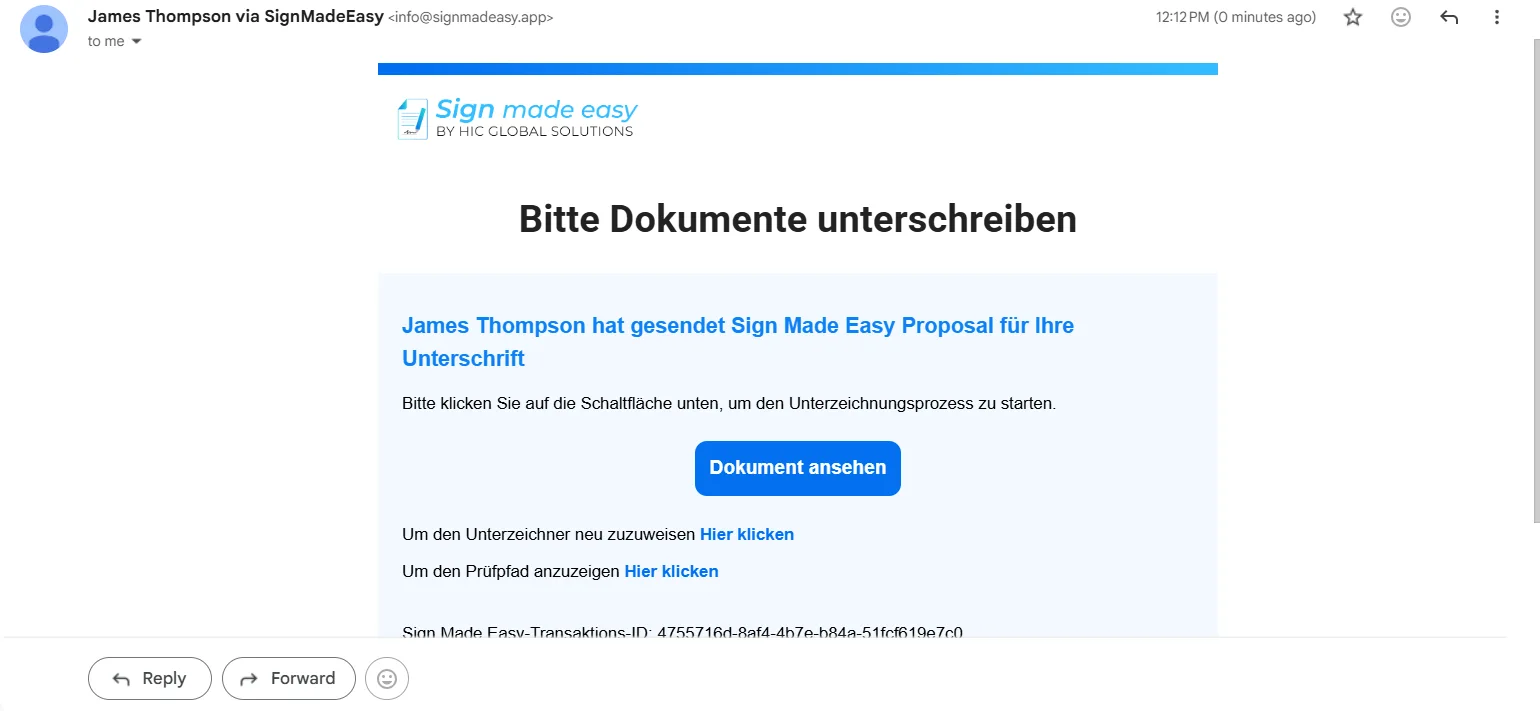
Step 10: Once the documents are sent, recipients will receive the email notification in their selected language. The first recipient will receive the e-signature email notification in German to complete the signing process.
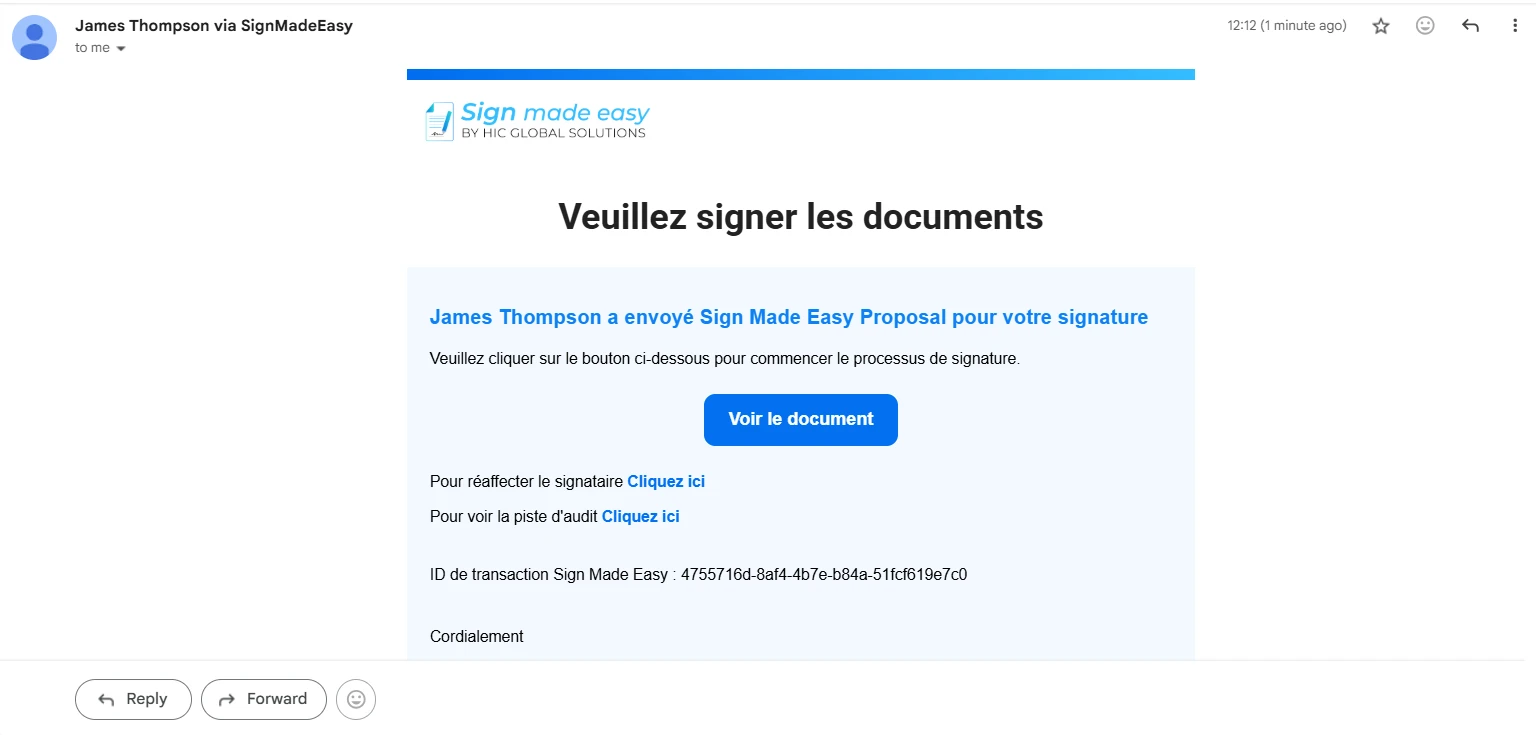
Step 11: The second recipient will receive the e-signature email notification in French to complete the signing process.
Conclusion
Setting up Multilingual Emails in Salesforce helps you communicate more effectively with global customers and ensures recipients receive notifications in their preferred language.
We hope you have completed the setup successfully with the provided screenshots. If you need further help, please contact our Support Team.