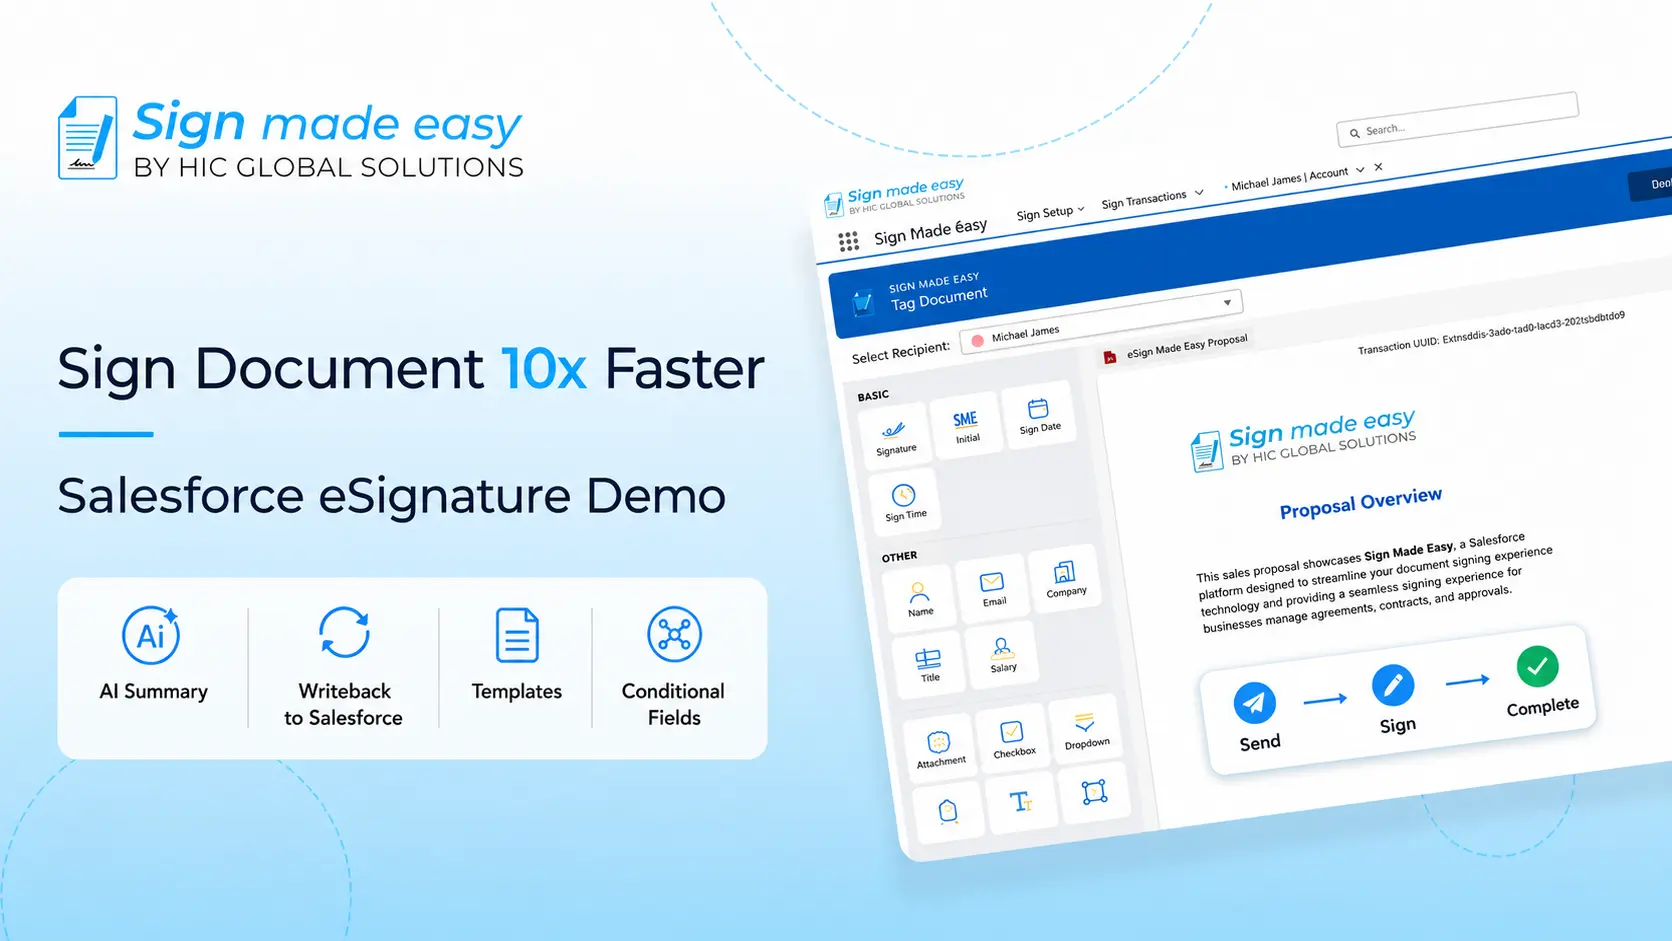







Passcode authentication for eSignature adds an extra layer of security to the document signing process. It allows the sender to set a unique passcode that the recipient must enter before accessing the document and completing the signing process.
This helps ensure that only the intended recipient can access and sign the document, especially when handling sensitive information. In this step-by-step guide, we will explain how to configure passcode authentication for eSignature and use it for secure document signing in Salesforce.
How to Enable Passcode Authentication for eSignature
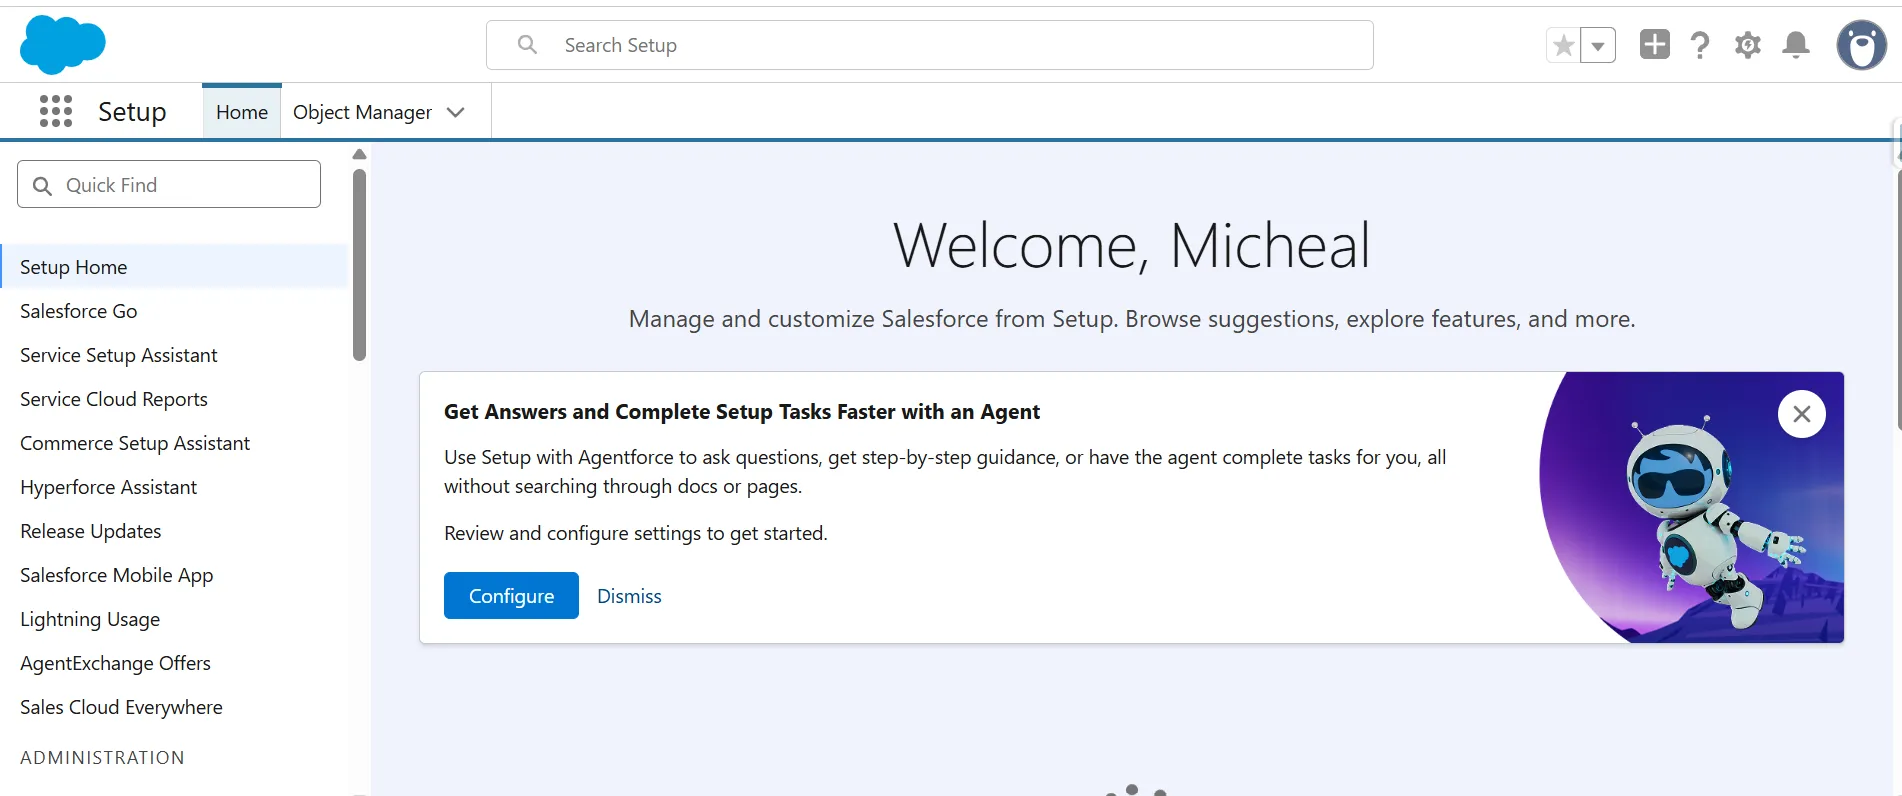
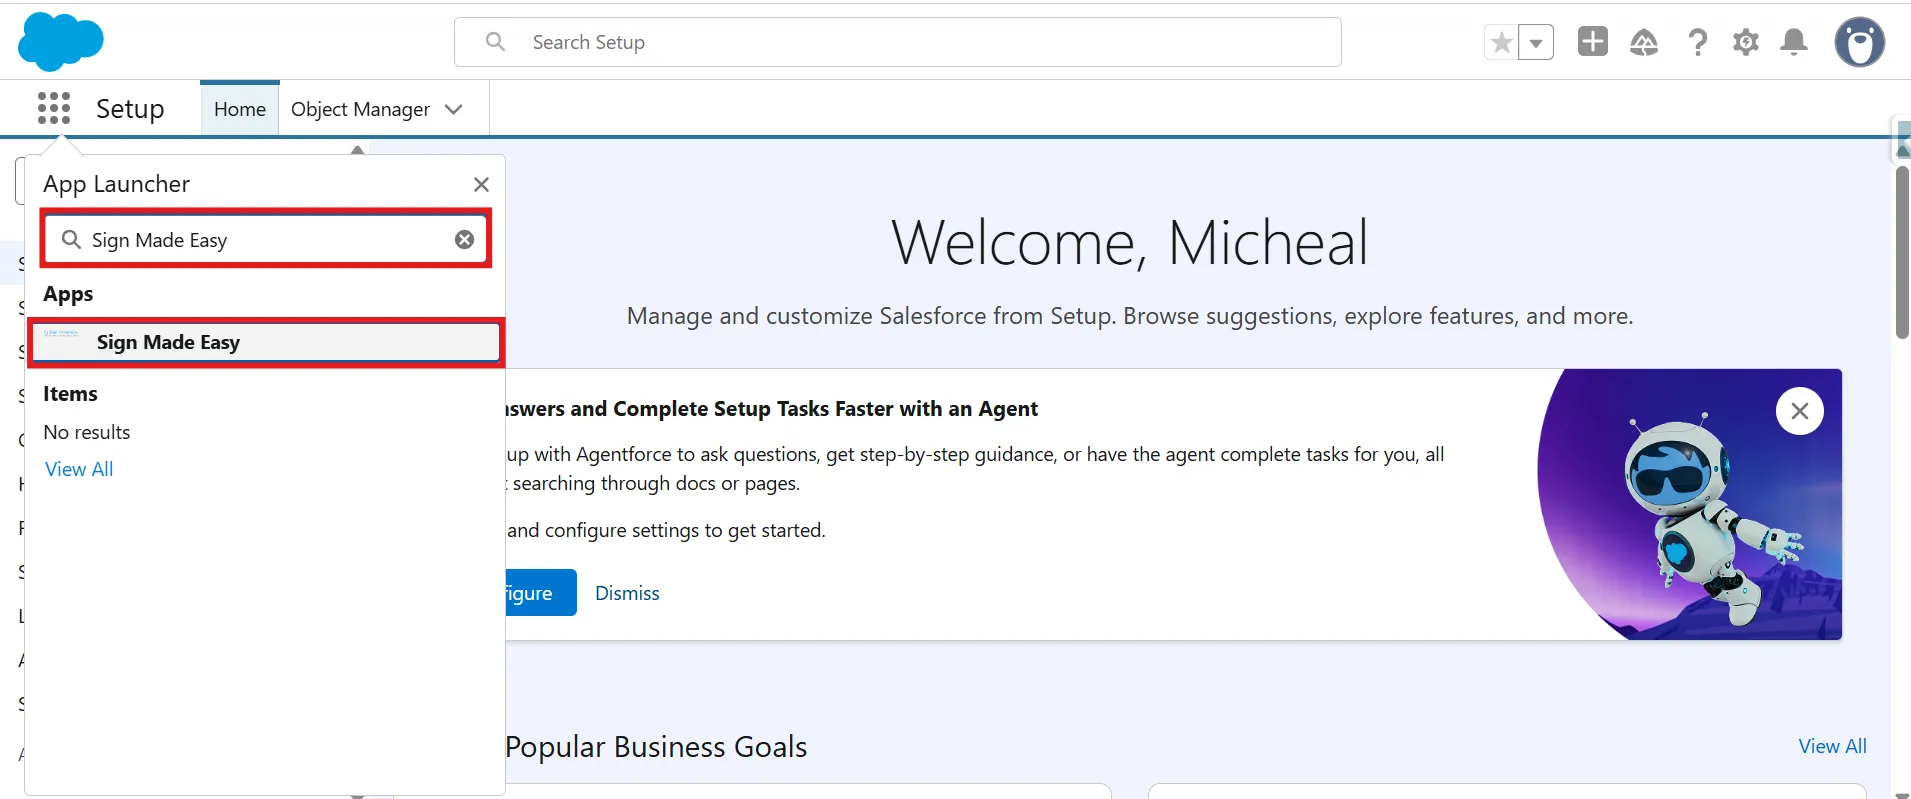
Step 1: Open Sign Made Easy
- Navigate to the App Launcher.
- Search for Sign Made Easy.
- Select the application from the search results to open it.
Step 2: Open General Settings
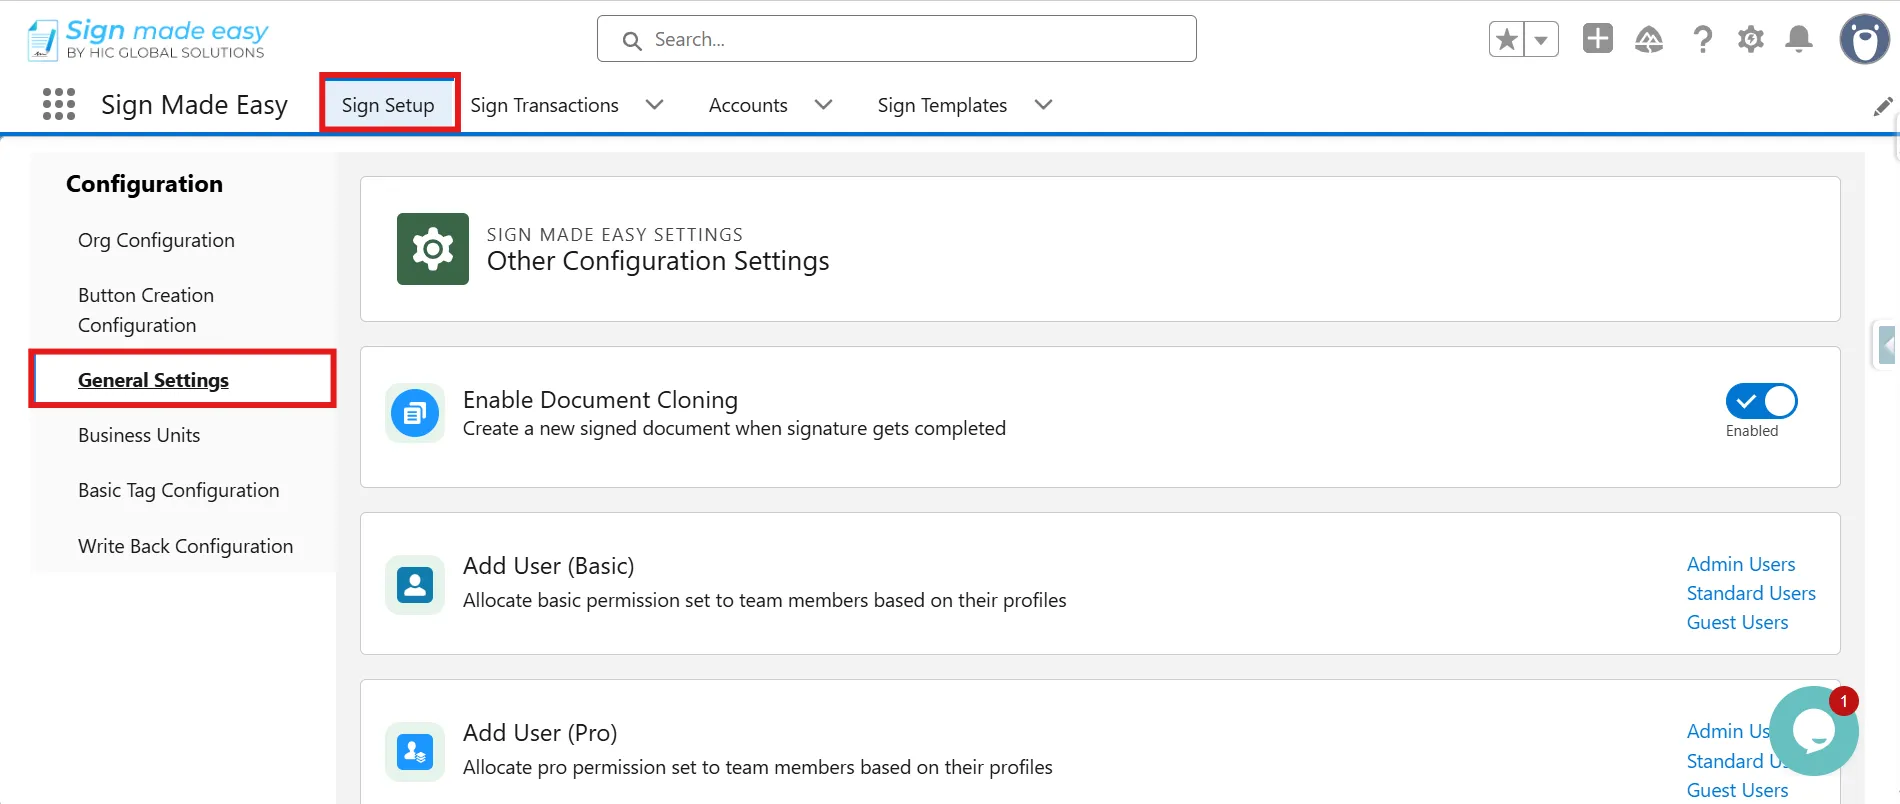
- Navigate to the Sign Setup page.
- Open the General Settings section.
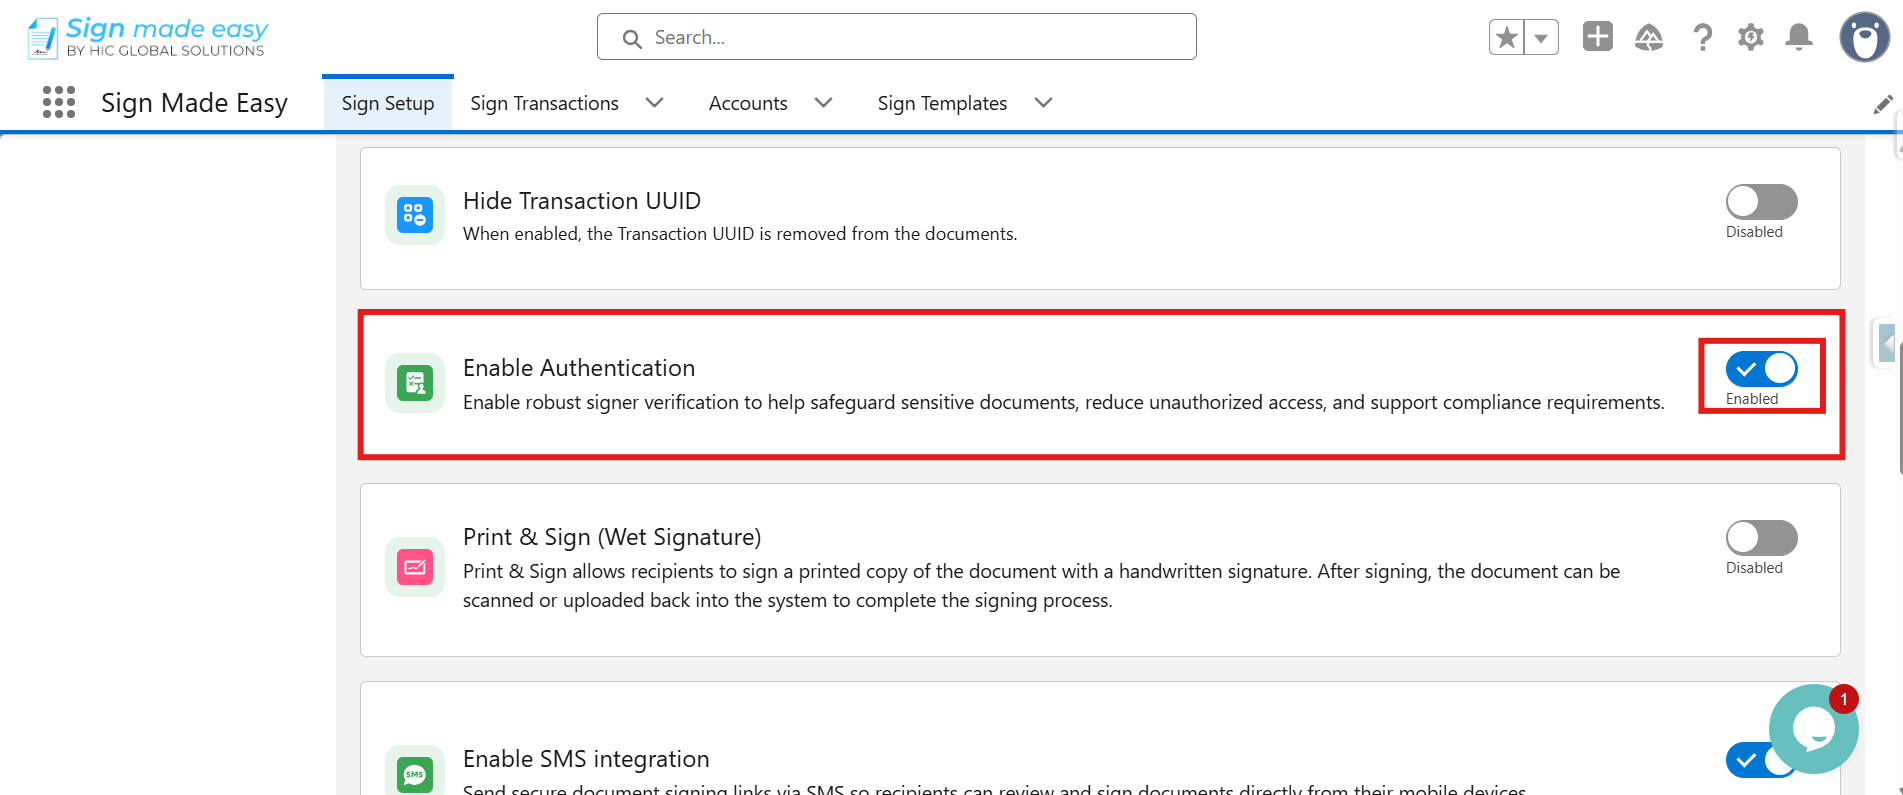
Step 3: Enable Authentication
- Enable the Authentication option to require recipient identity verification before accessing signature requests.
Step 4: Open the Record Page
- Navigate to the record page of the selected object from which you want to initiate the Sign Made Easy process.
- If no record exists, create a new one using the New button before proceeding.
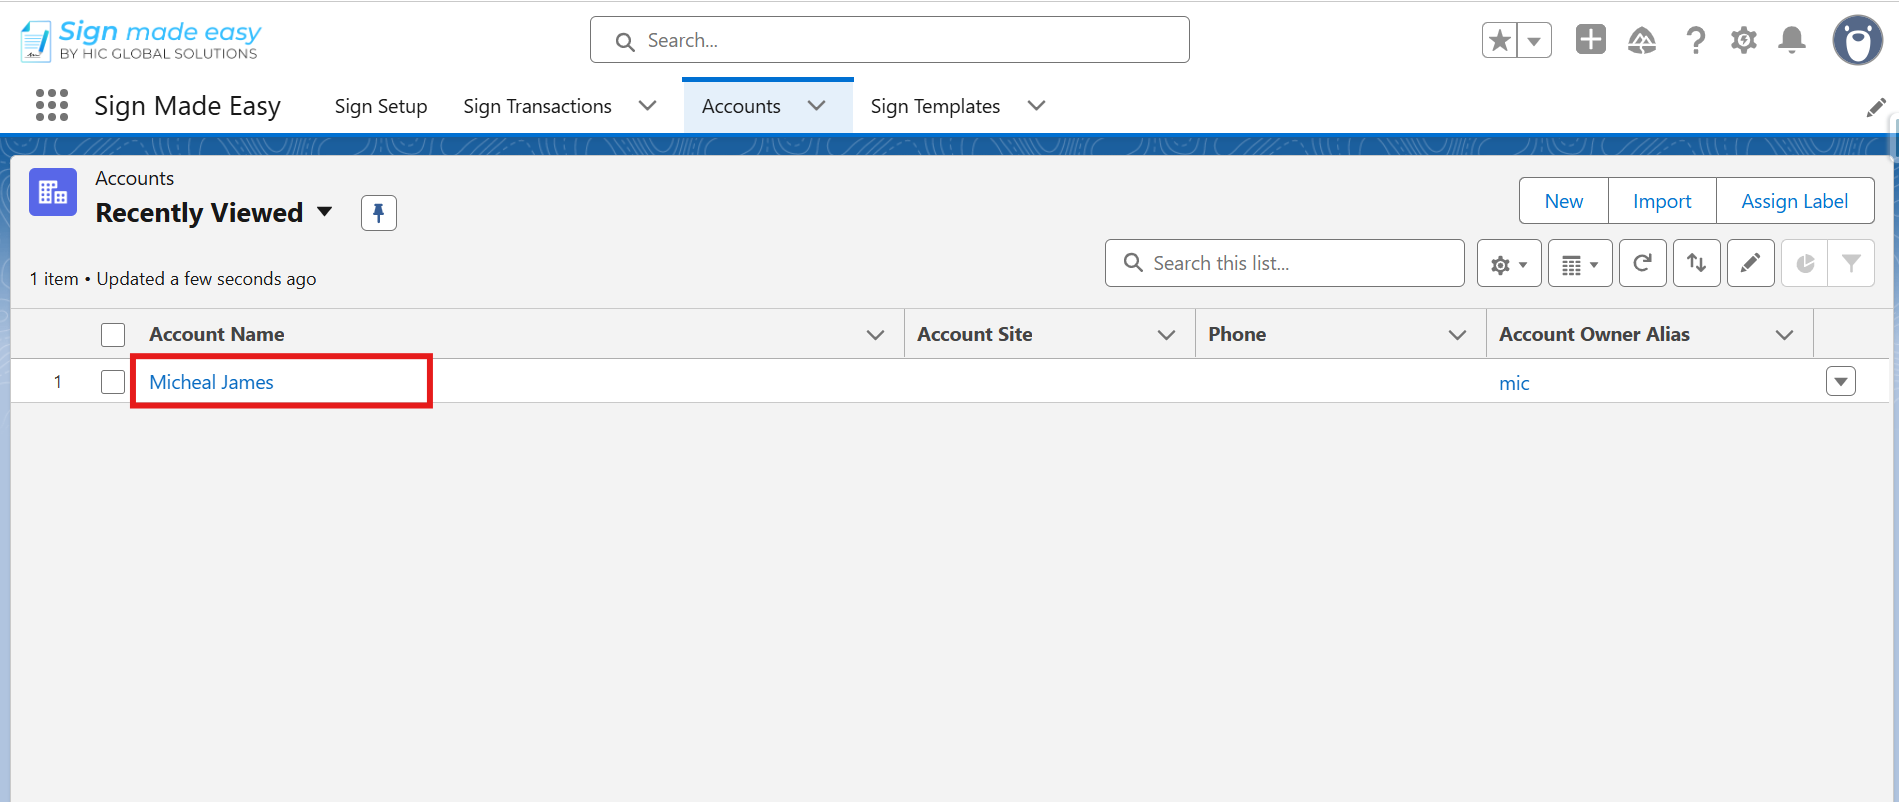
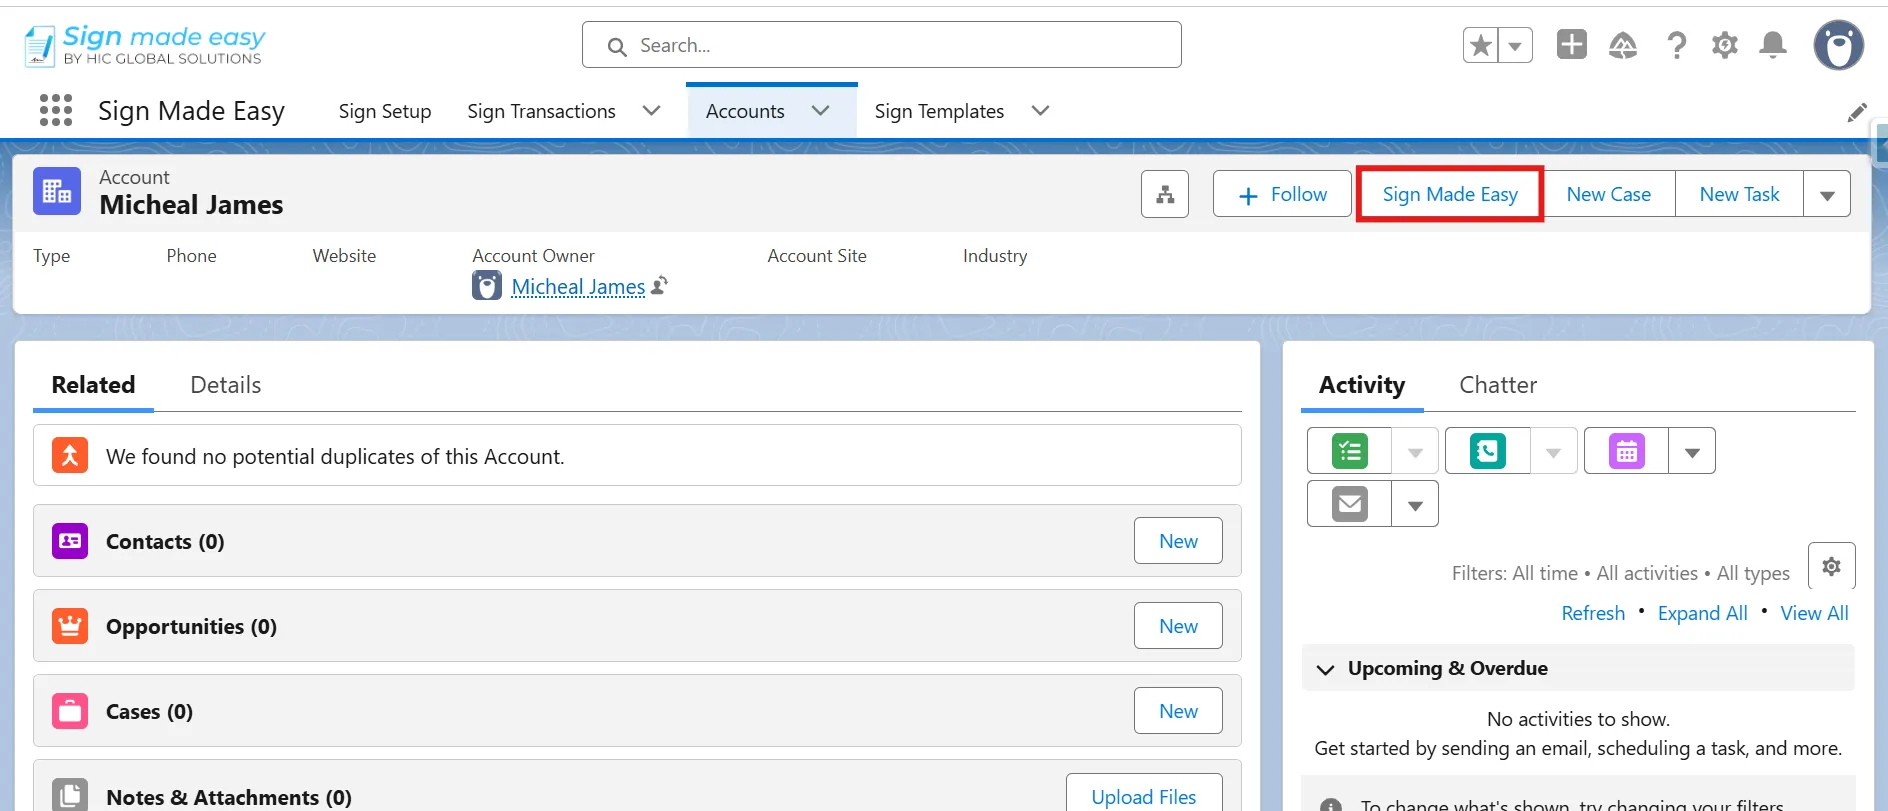
Step 5: Start a New Signature Request
- Select the Sign Made Easy button available on the record to initiate a new signature request.
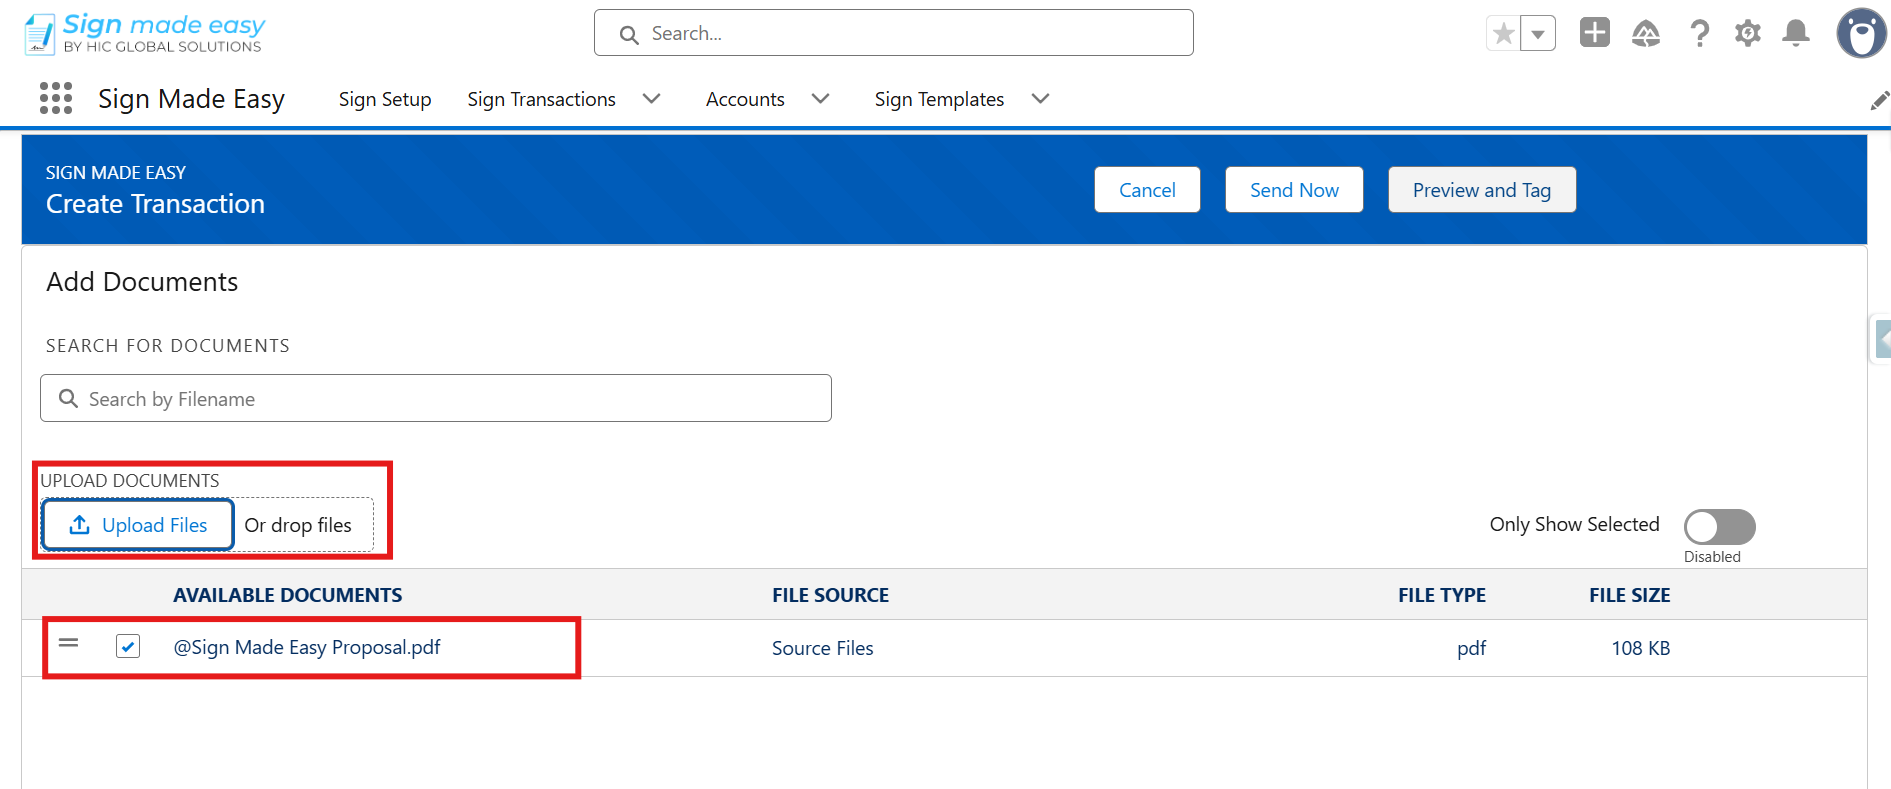
Step 6: Add Documents
- You can upload a new document or select documents already associated with the parent record’s Notes and Attachments.
- Search for a document by its name using the Add Documents search bar.
- Supported file formats include PDF, DOC, and DOCX.
- You can also add documents using the drag-and-drop functionality.
- The maximum supported file size for each transaction record in Sign Made Easy is 15 MB.
- To view only the selected documents, enable the Show Only Selected toggle.
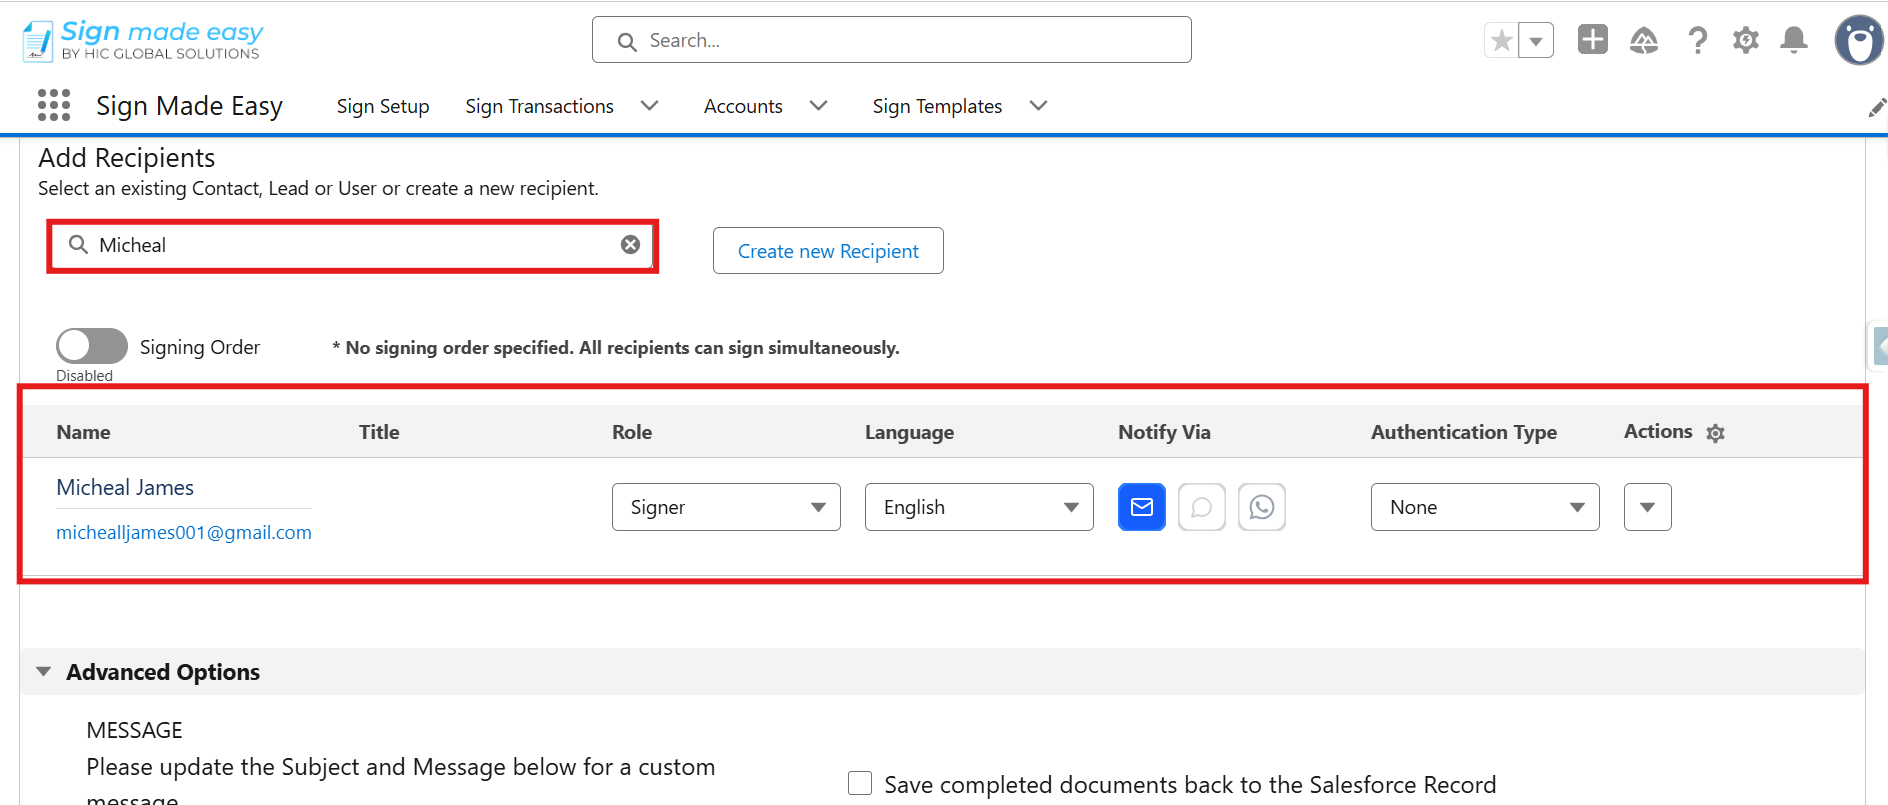
Step 7: Add Recipients
- Add recipients by selecting existing Lead, Contact, or User records through the Add Recipient search bar.
- If the required recipient does not exist, you can create a new one using the Create New Recipient button.
- The Create New Recipient button does not create Contact, Lead, or User records in Salesforce. It only creates Sign Recipient records.
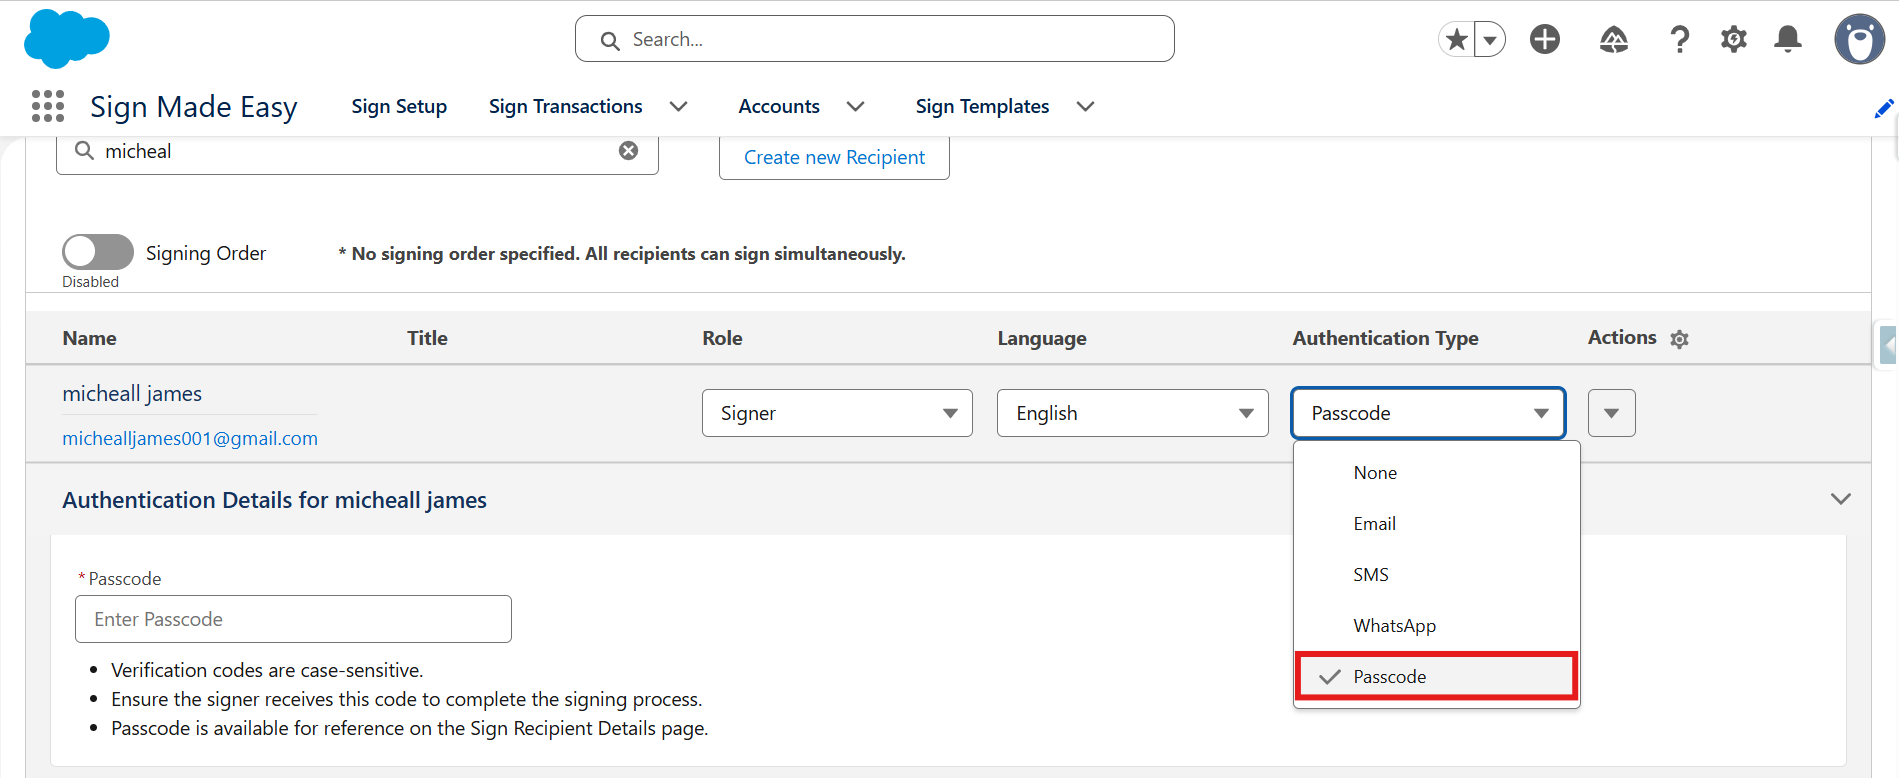
Step 8: Select Passcode Authentication
- From the Authentication Type dropdown, select Passcode to enable passcode-based recipient verification.
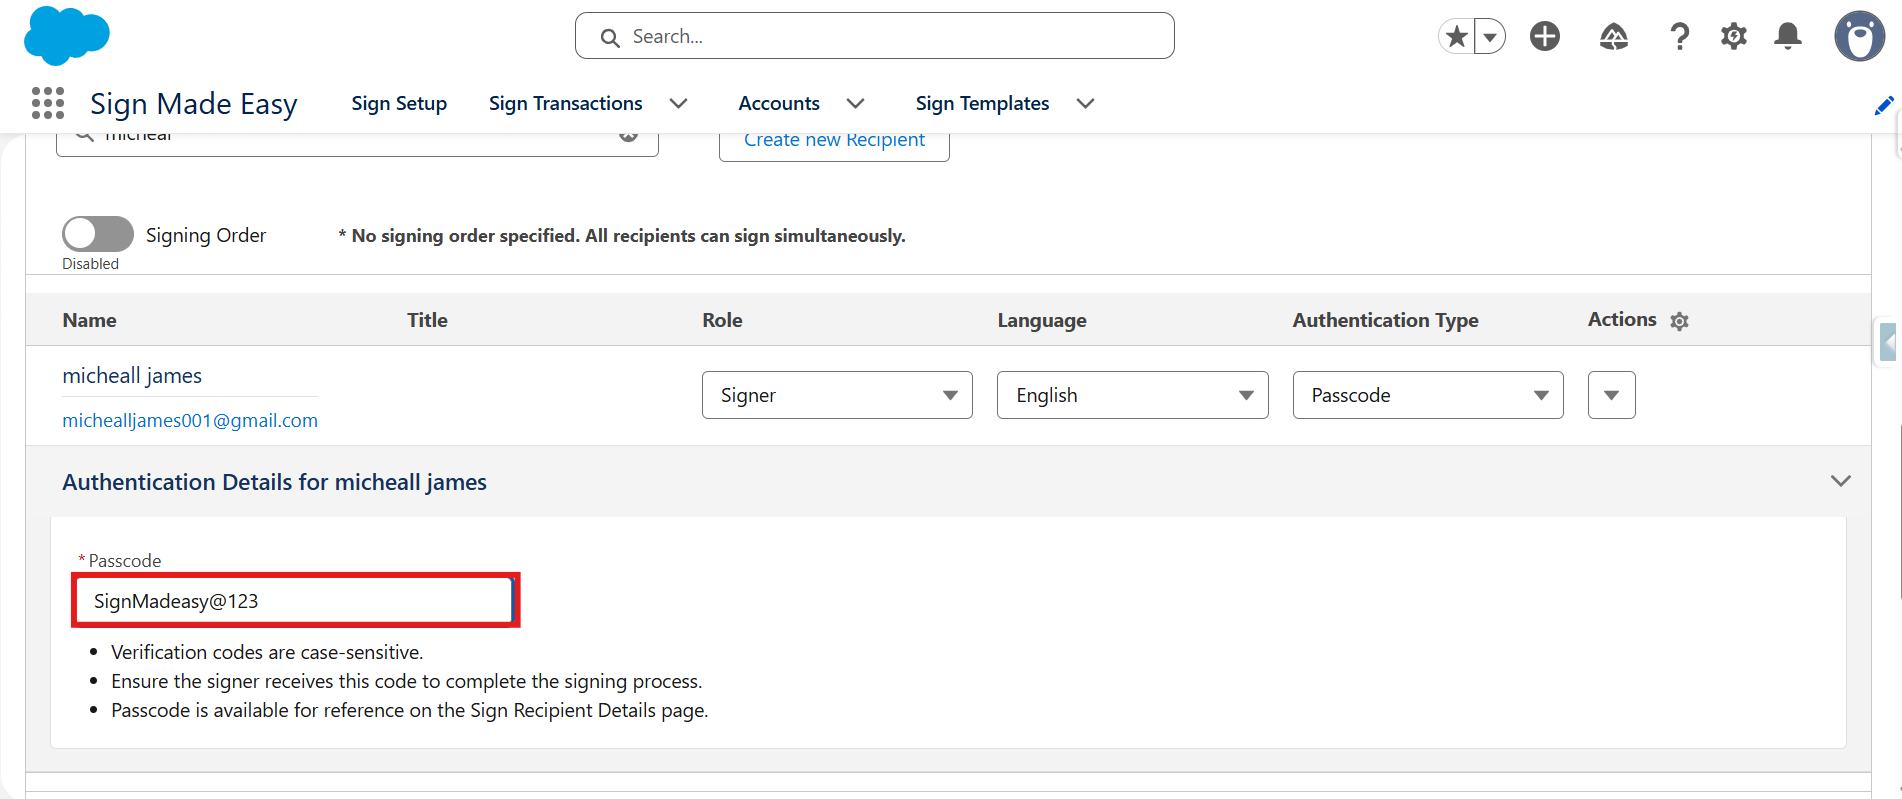
- Set the custom passcode in the Passcode field.
- The passcode is case-sensitive.
Step 9: Send the Transaction
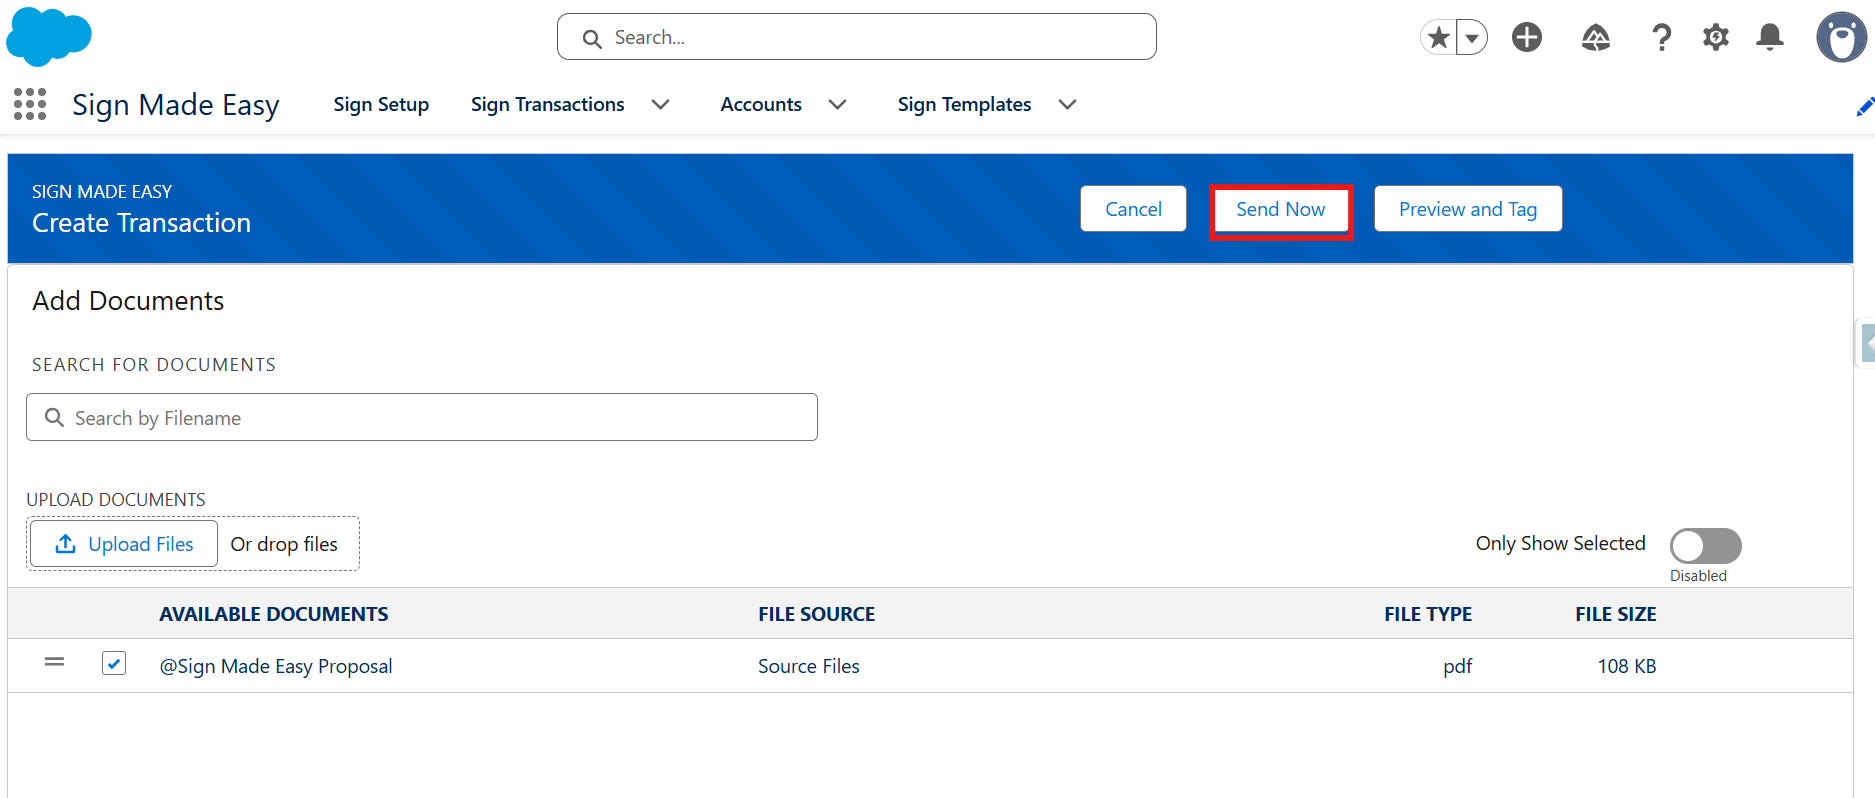
- Select Send Now to send the transaction directly to the recipient.
Note: The sender must share the passcode with the recipient separately and personally. The passcode will not be sent automatically through Sign Made Easy.
Step 10: Open the Document
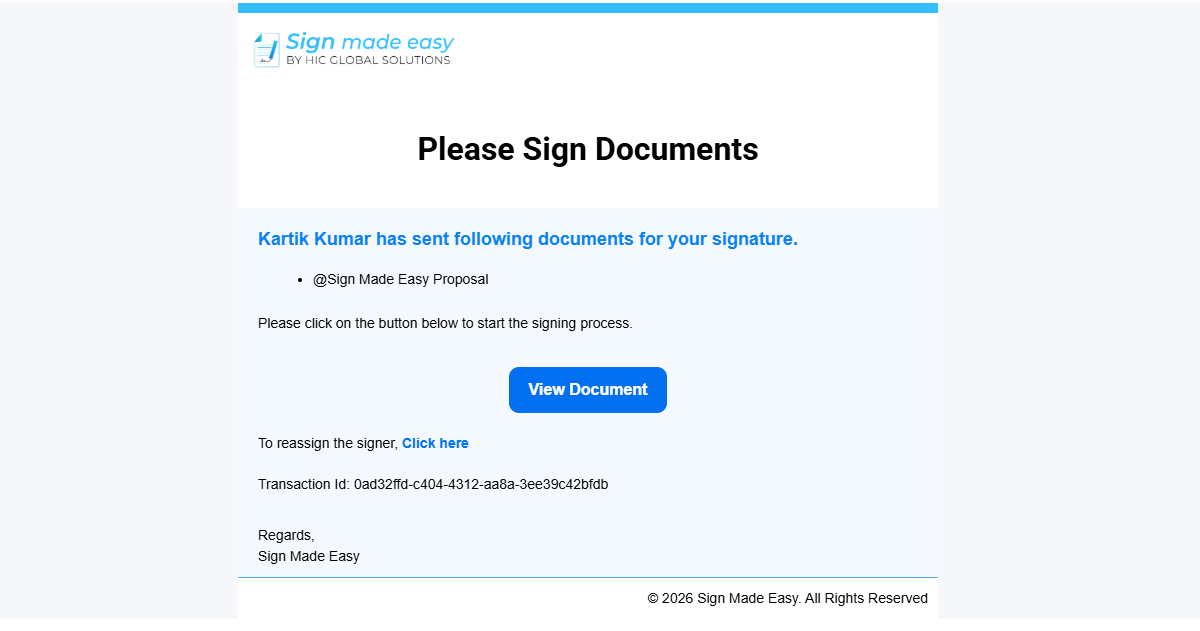
- After the document is sent, recipients will receive an email notification.
- To continue the eSignature process, they must open the email and select the View Document button.
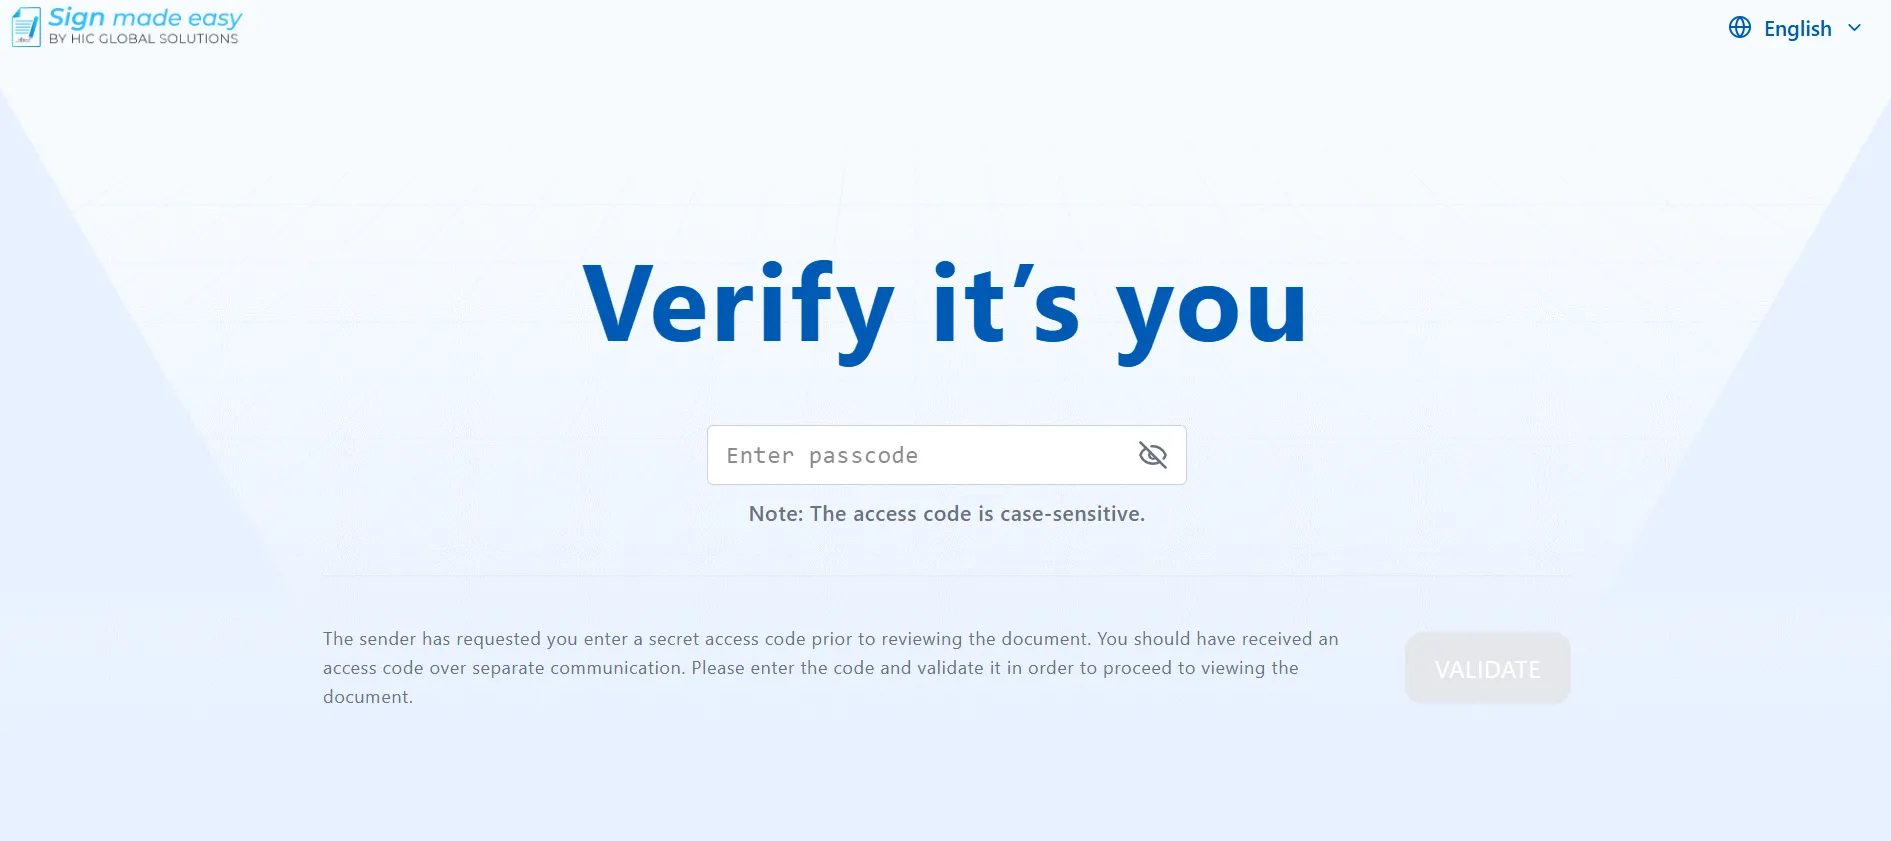
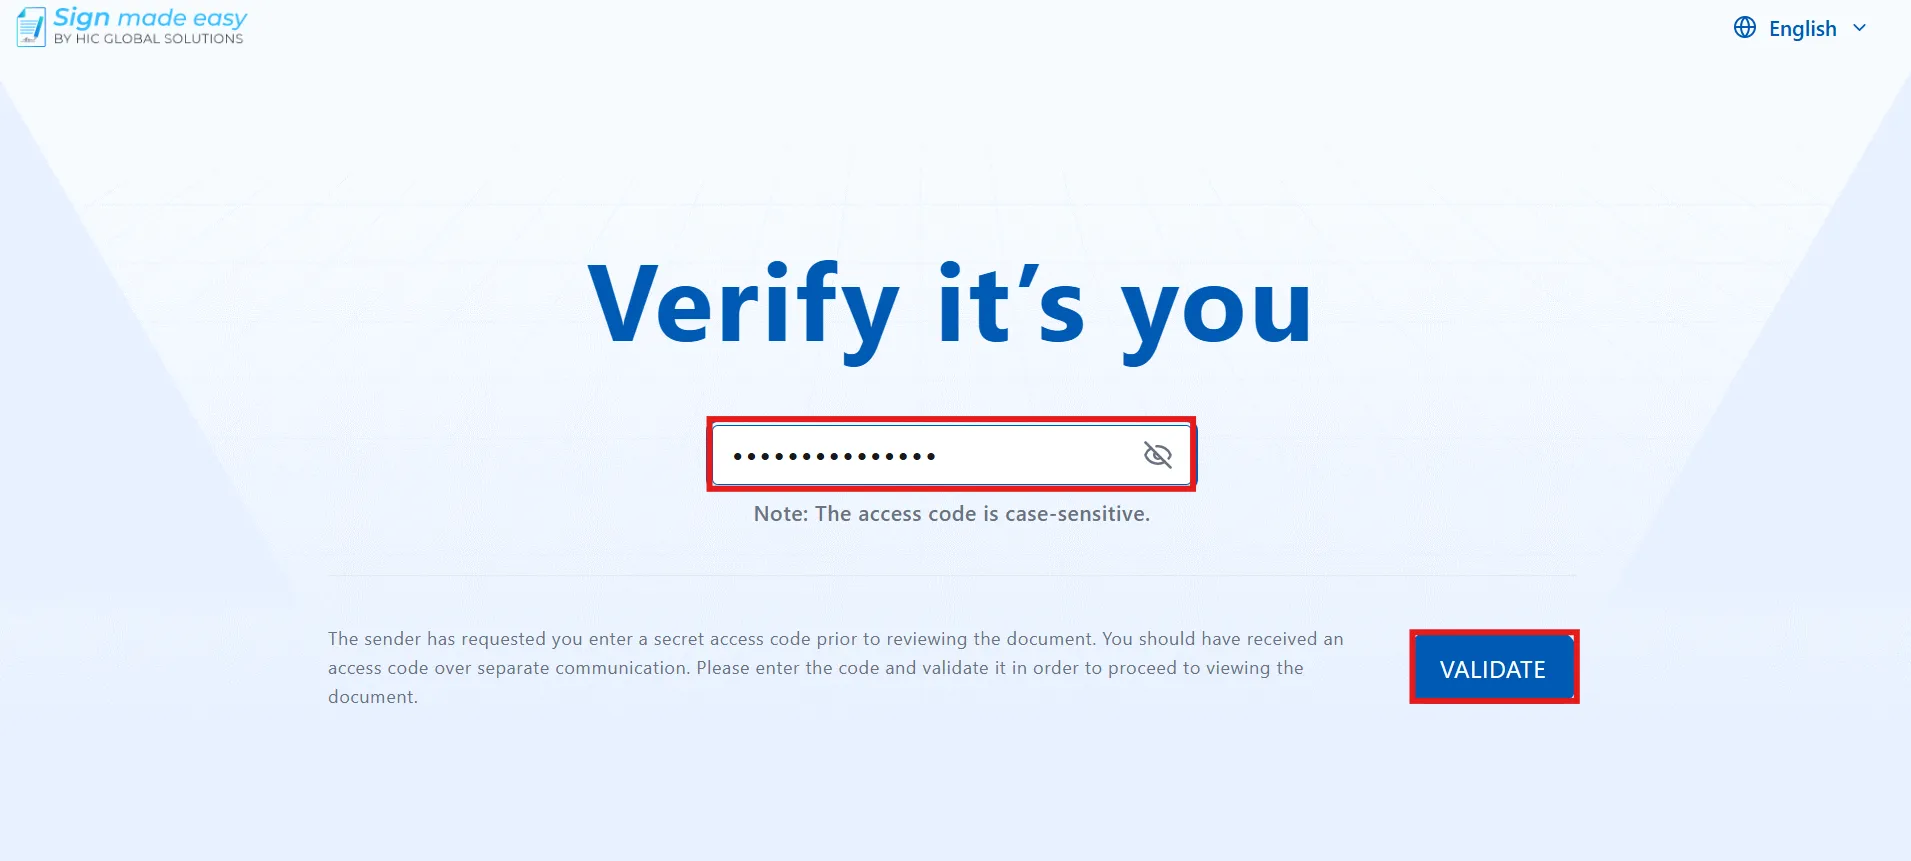
Step 11: Enter the Passcode
- To access the document and complete the signing process, the signer must enter the passcode set by the sender before the transaction was sent.
- This ensures that only the intended signer can access and sign the document.
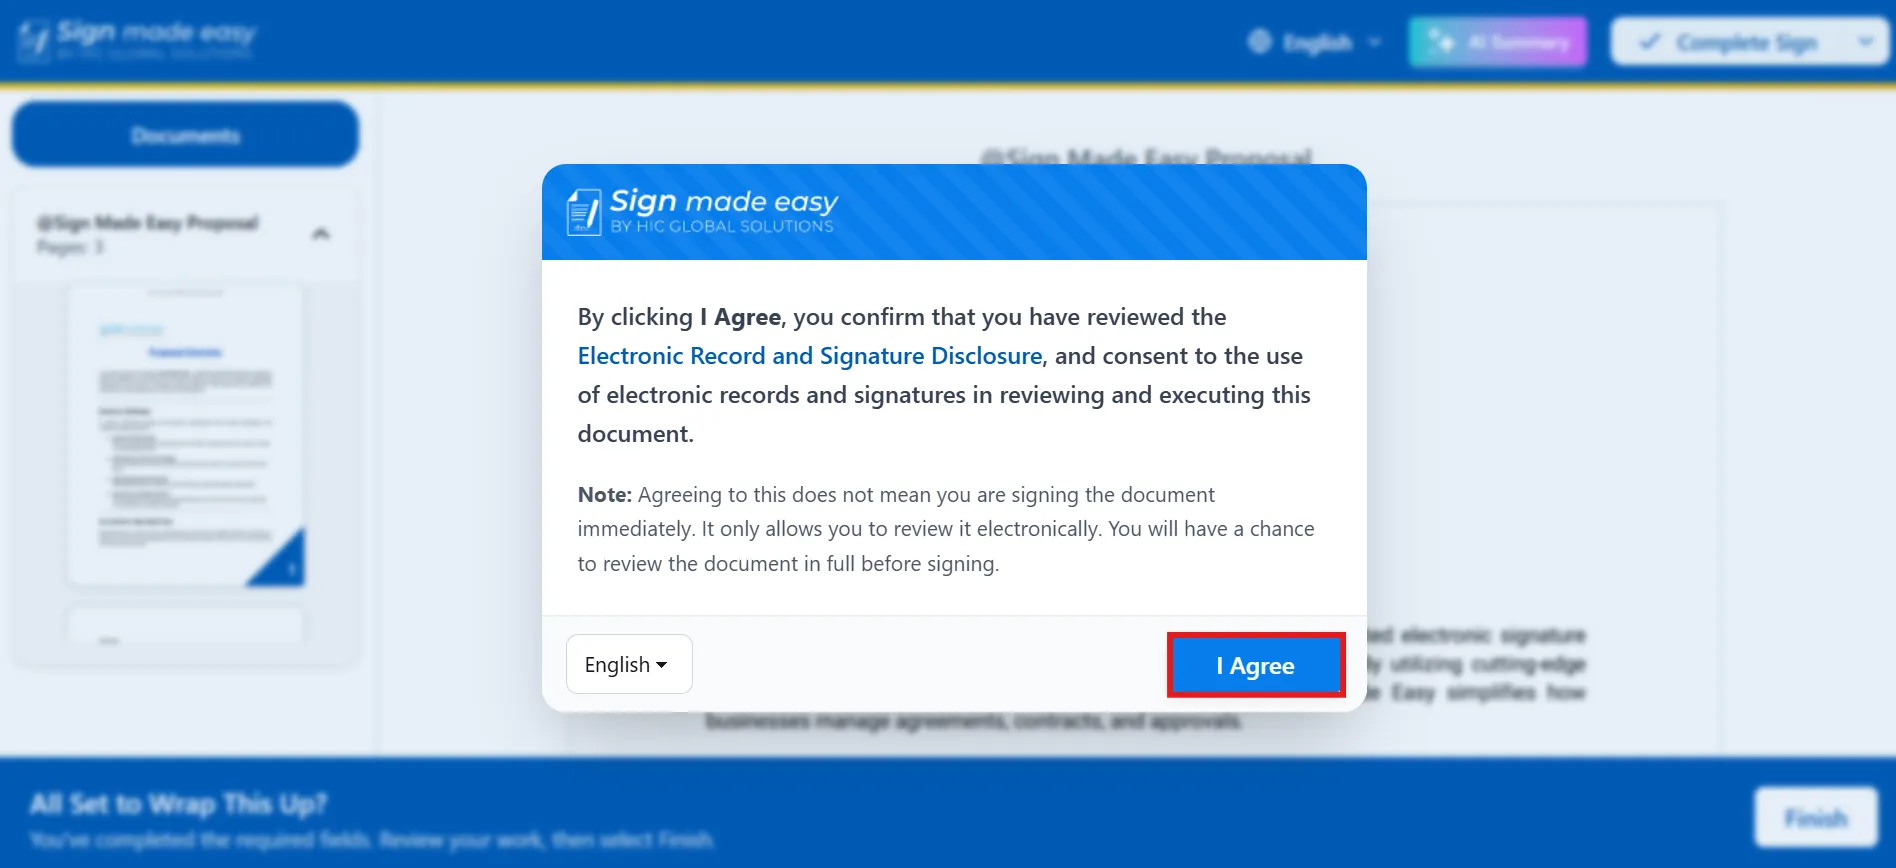
Step 12: Accept the Terms and Conditions
- Select the I Agree button to accept the terms and conditions.
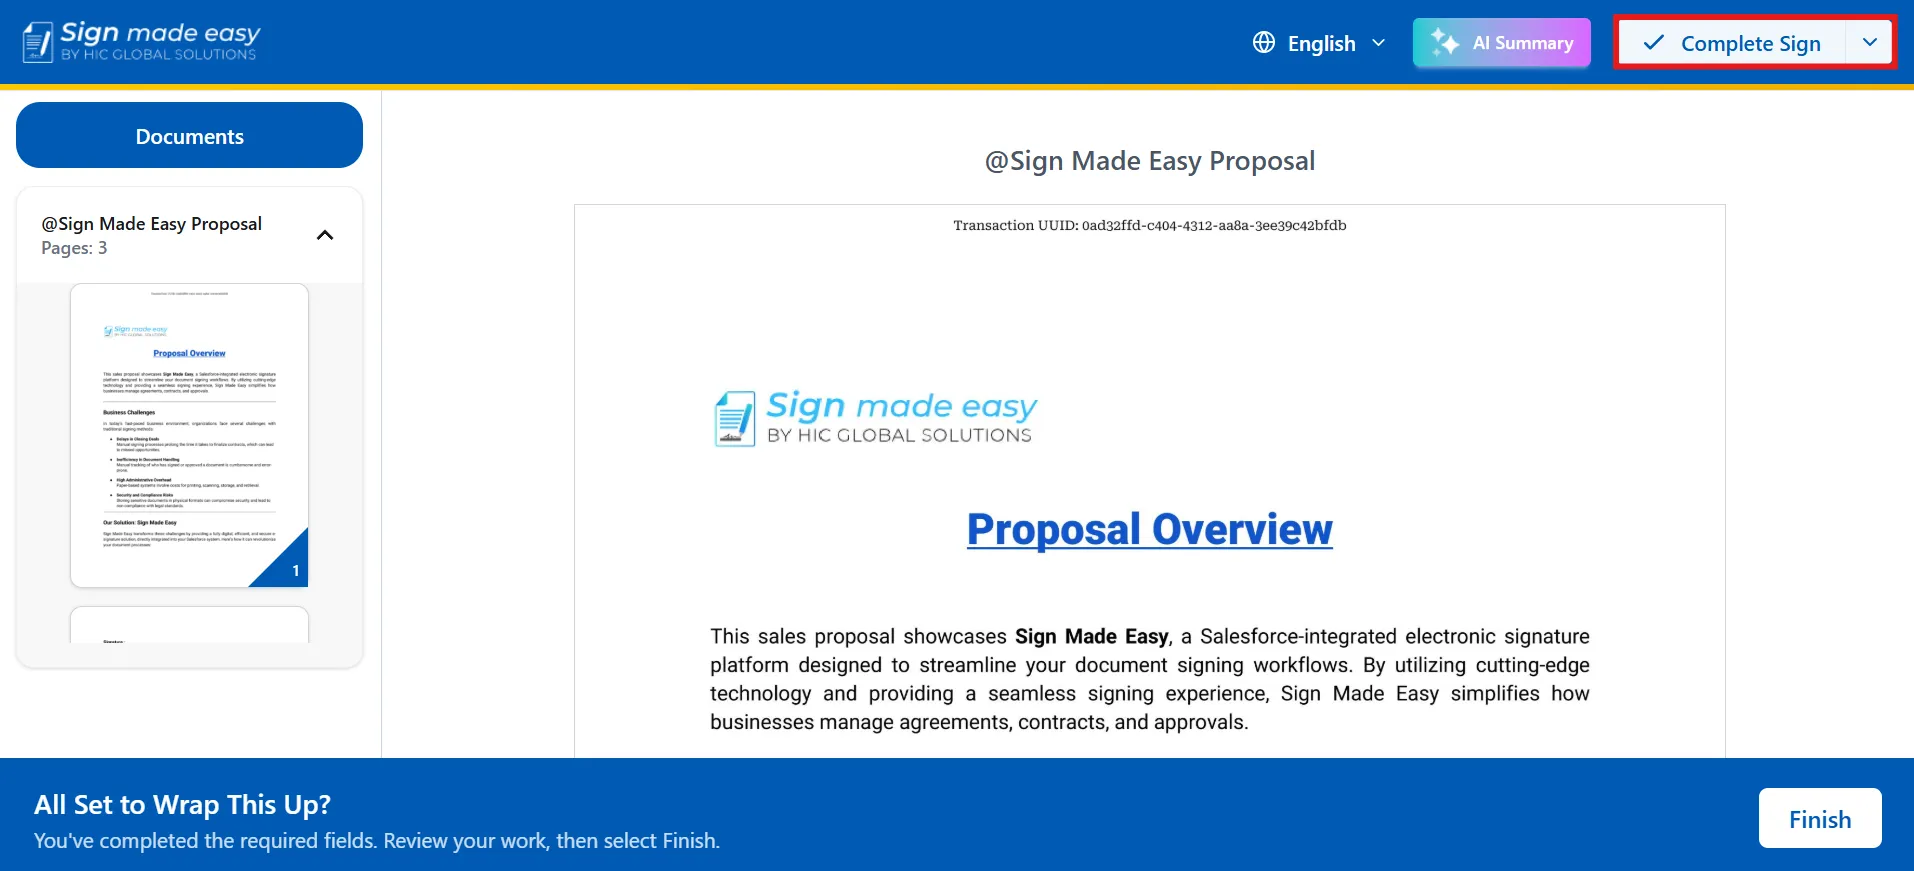
Step 13: Complete the Signing Process
- Complete all required signature fields.
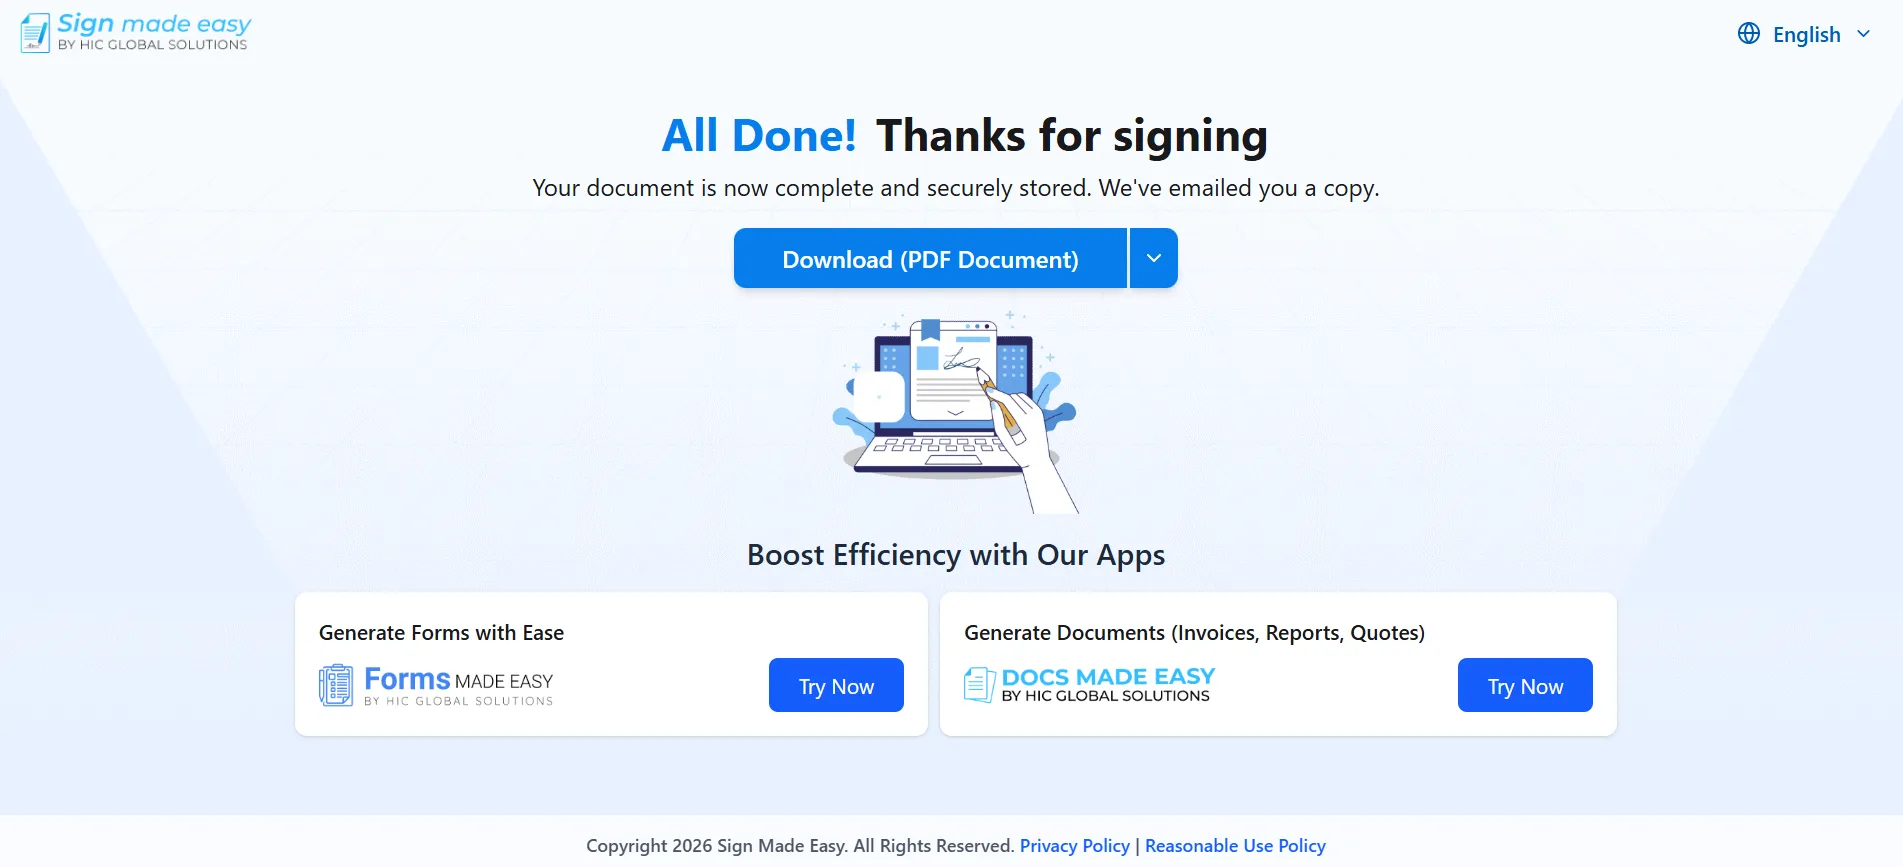
- Select the Complete Sign button to complete the signing process.
Conclusion
With Sign Made Easy, adding an extra verification step to your document workflow is simple. Once the passcode is configured, the sender can securely share it with the intended recipient, who can then verify their identity before signing.
This approach can be especially useful when documents contain sensitive or important information. Thus, businesses can use an eSignature Solution that adds more control to the signing process while keeping the eSignature for Salesforce experience simple and connected to their existing Salesforce workflow.