





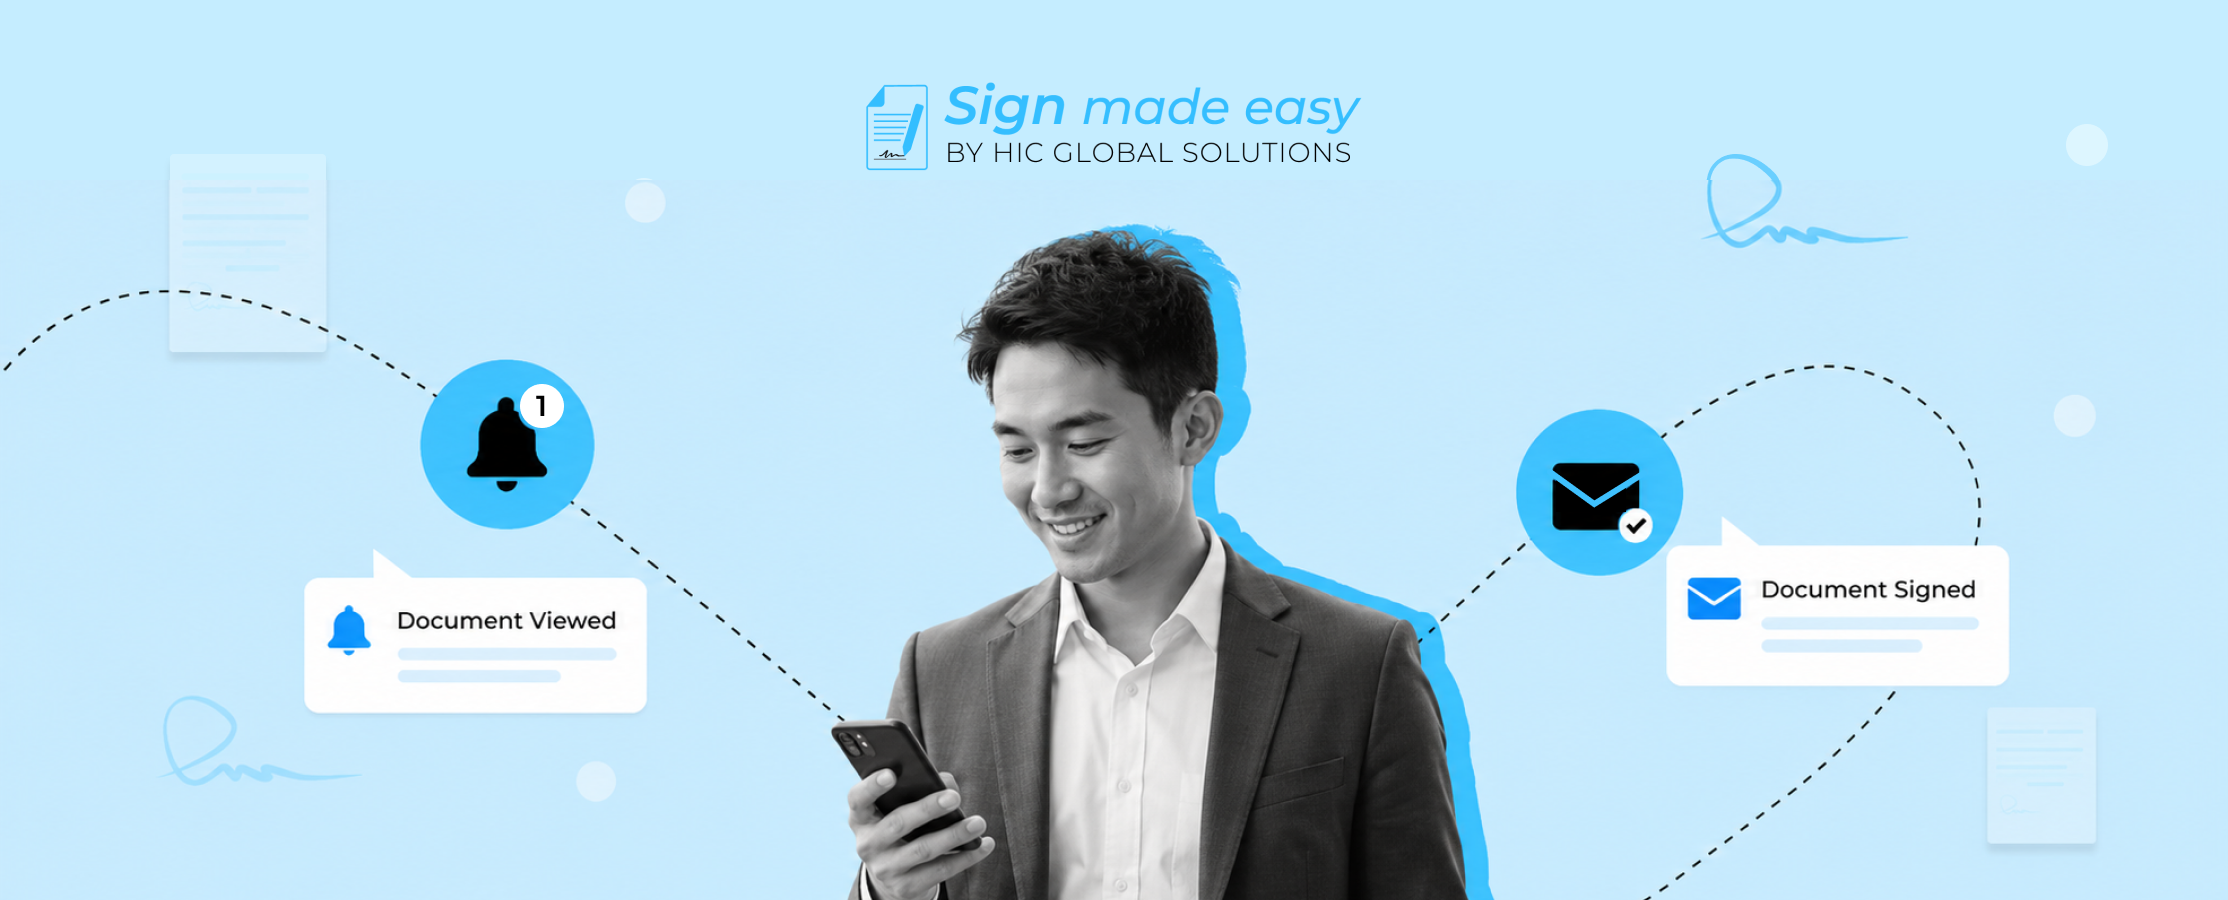
When you’re sending documents for signatures, staying updated on every step of the process is just as important as sending the document itself. Knowing when a recipient opens, signs, reassigns, or cancels a document helps you take timely action and keep the signing process moving without unnecessary follow-ups.
If you’re using Salesforce eSignature with Sign Made Easy, you can easily enable notifications for recipient actions. Once configured, you’ll receive email notifications throughout the document signing process, giving you complete visibility into every stage.
Step-by-Step Guide to Get Notified About Recipient Actions
Here are the steps to begin, and make sure the Sign Made Easy configuration is completed and the required permission sets are assigned to the user based on their profile.
Note:- To ensure that the current organization user receives notifications regarding recipient actions (such as when a document is sent, viewed, completed, canceled, or signed), ensure that the following requirements are fulfilled.
- The SME configuration is completed, and the appropriate permission sets are assigned to the user according to their user profile.
- The “Notify the User” toggle checkbox is enabled on the Sign Setup page.
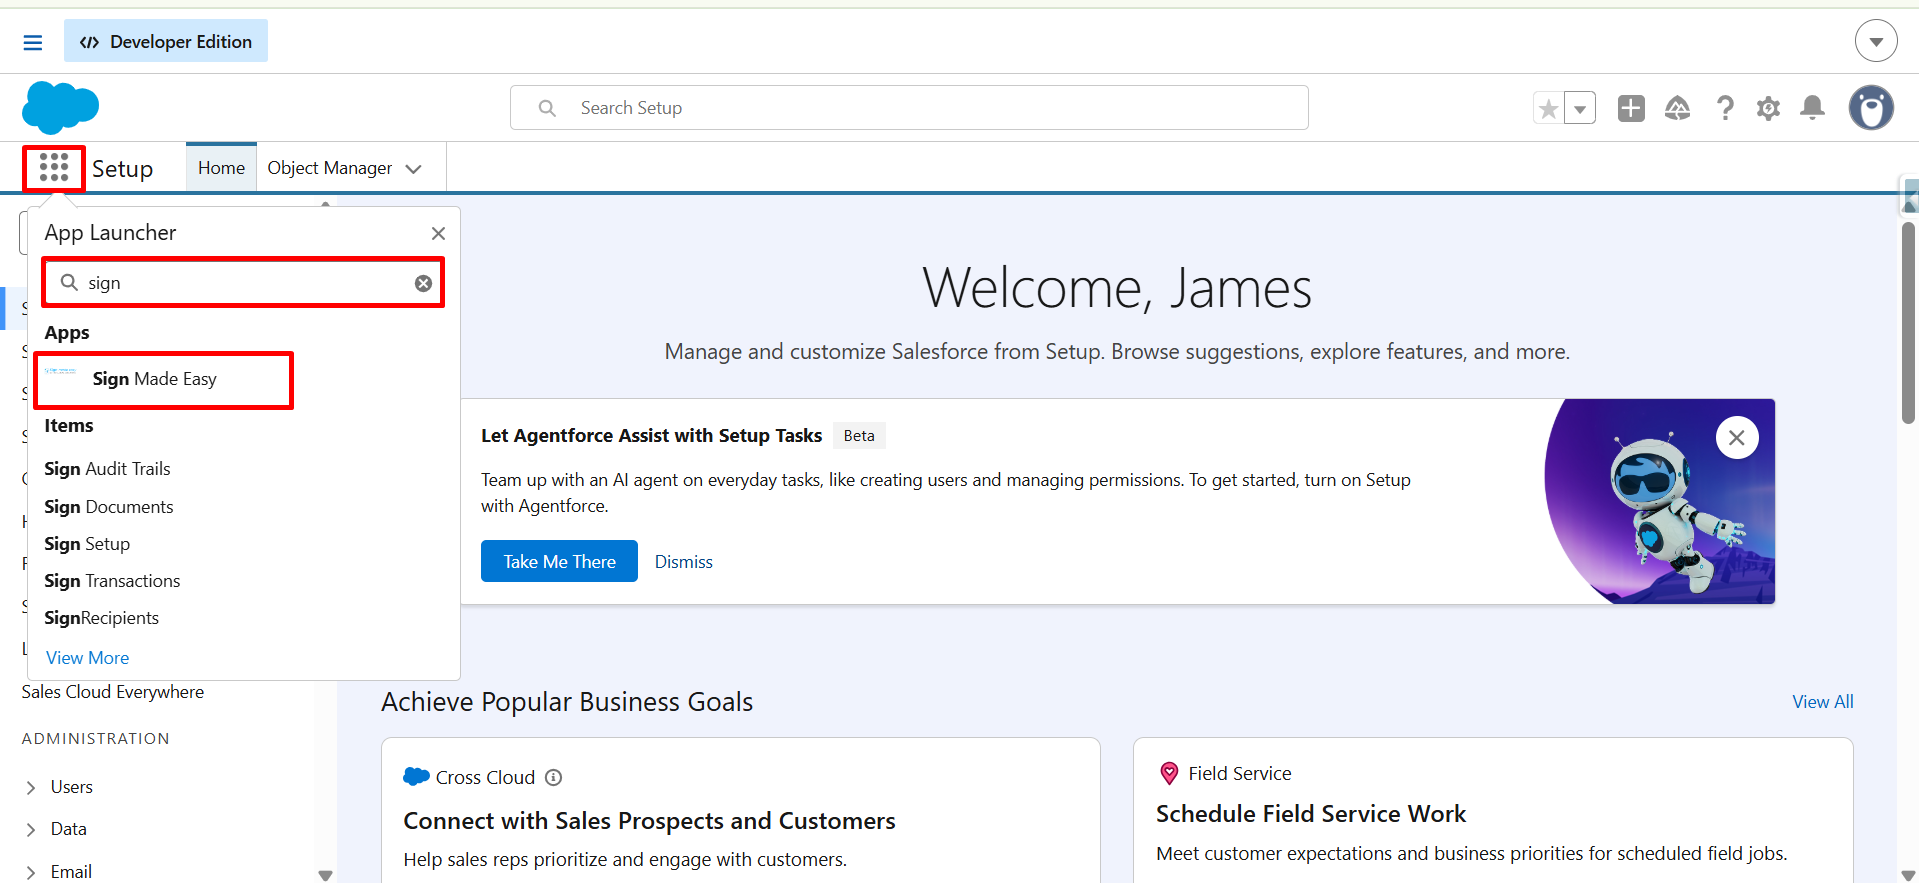
Step 1:- Navigate to the App Launcher, enter Sign Made Easy in the search bar, and open the application from the search results.
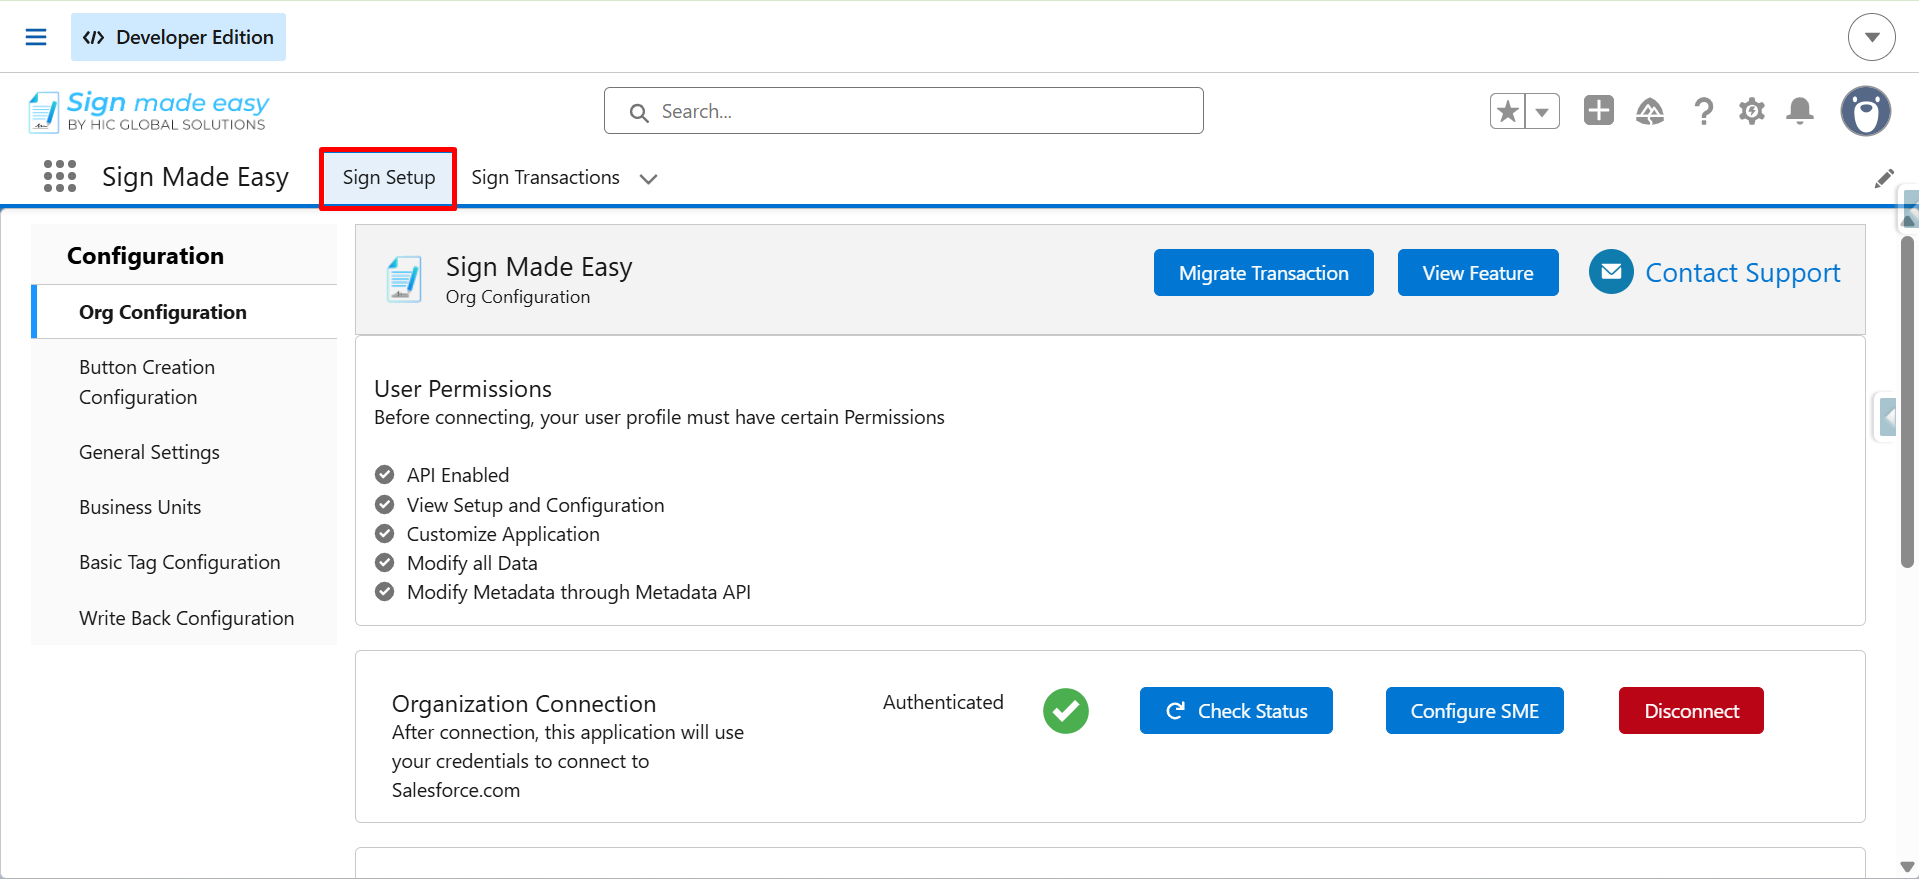
Step 2:- On the Sign Setup page, locate the “Notify the User” toggle checkbox.
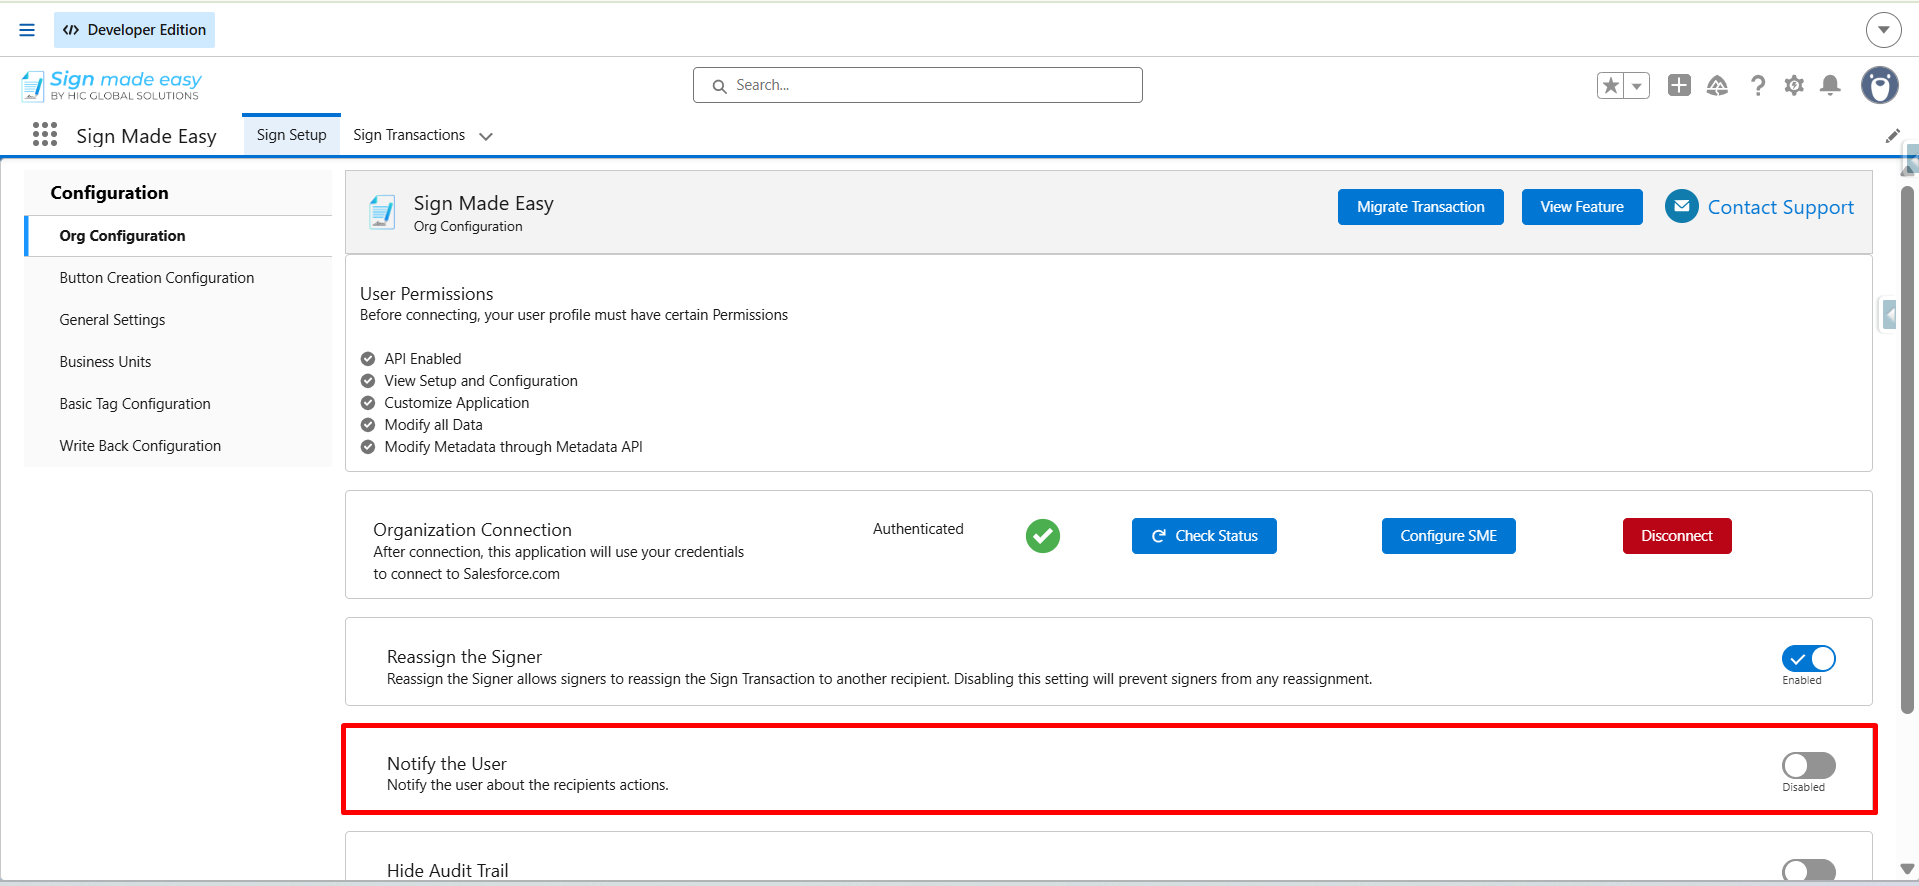
Step 3:- Enable the “Notify the User” toggle checkbox.
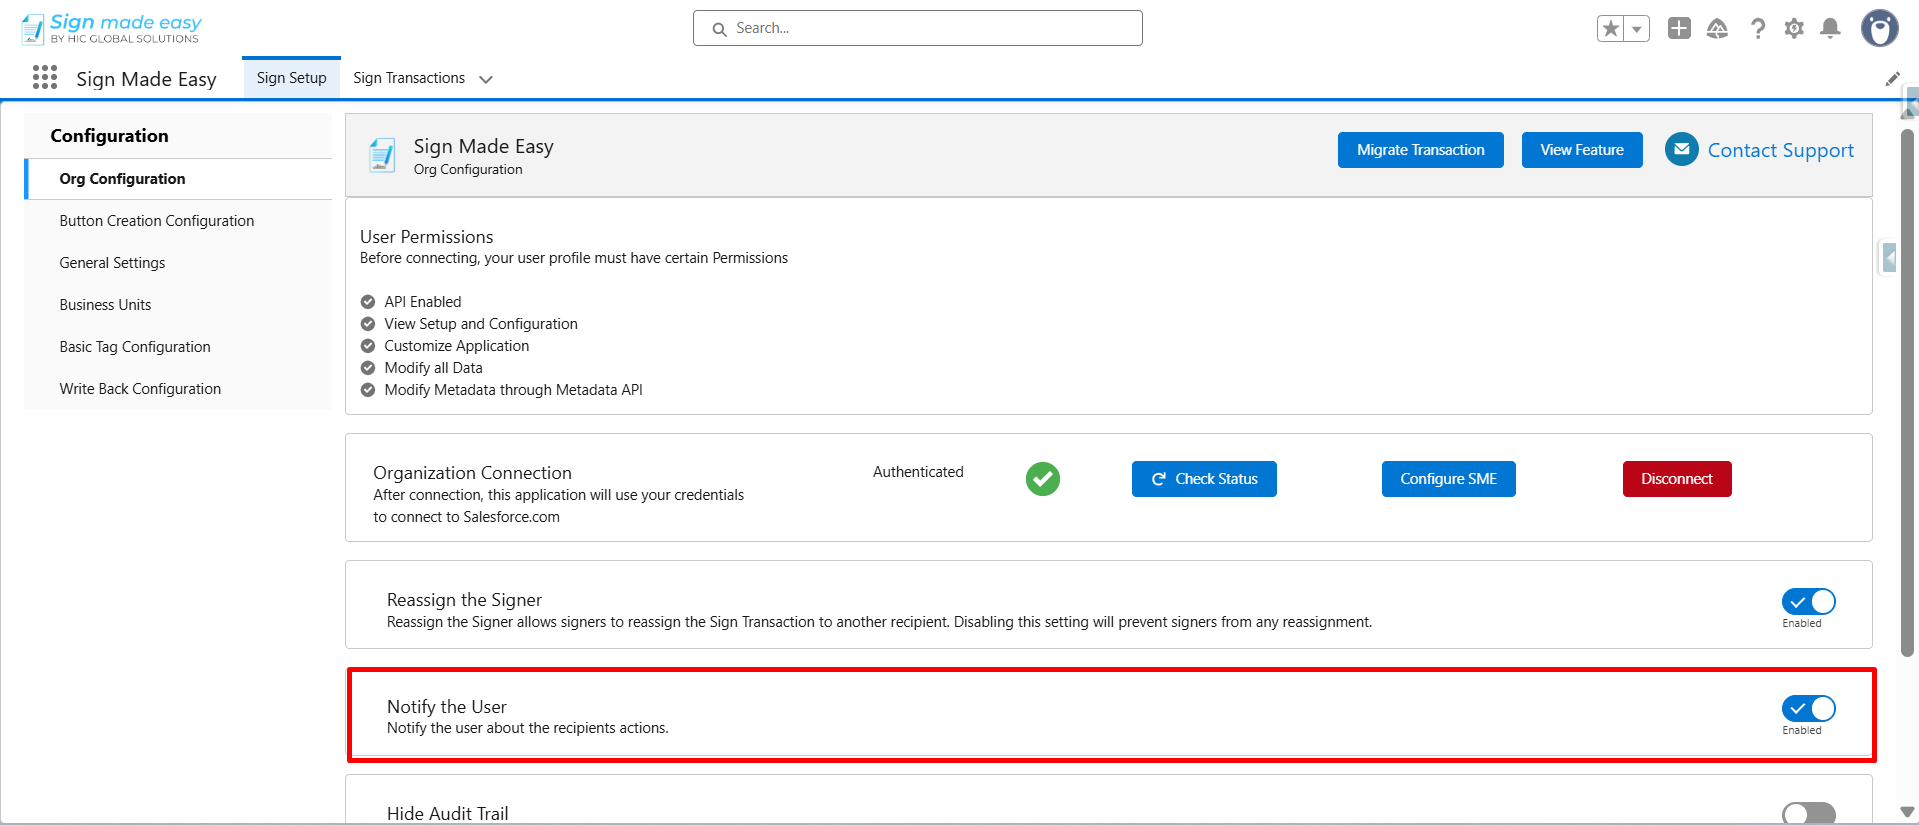
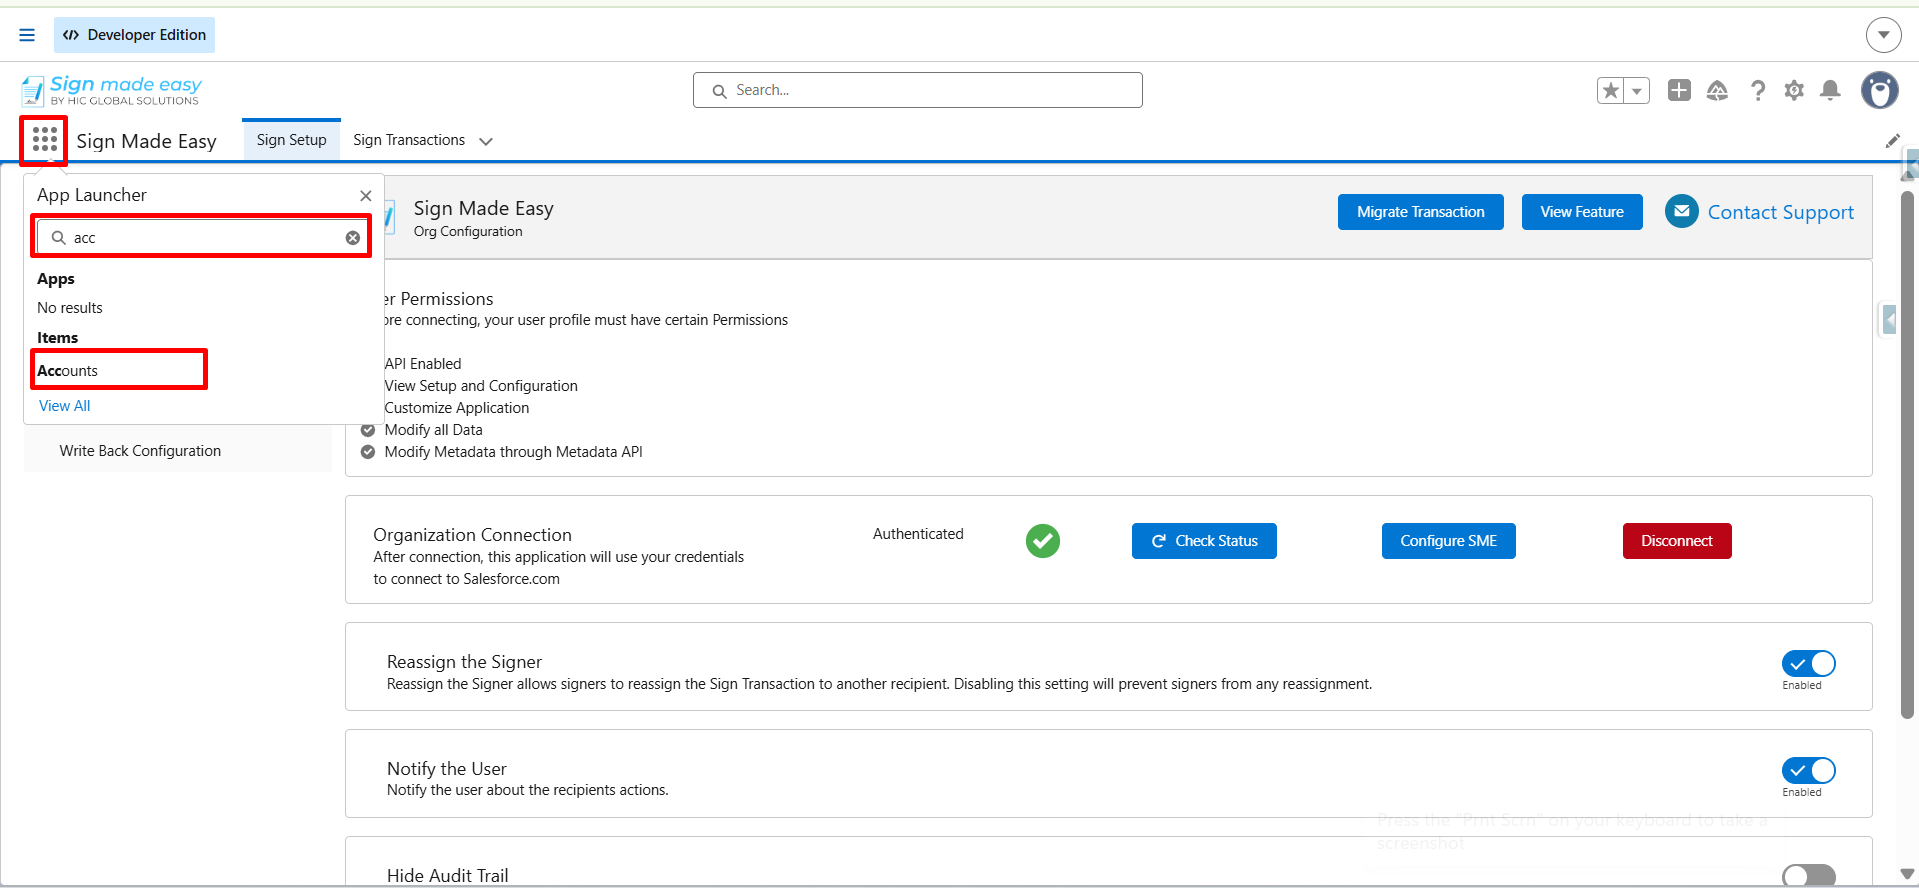
Step 4:- Navigate to the App Launcher, search for the object on which the SME button is configured, and open the required record to send documents to recipients and receive notifications regarding recipient actions.
Note:- For instructions on creating the SME button, refer to the following guide: How to Create Custom Button.
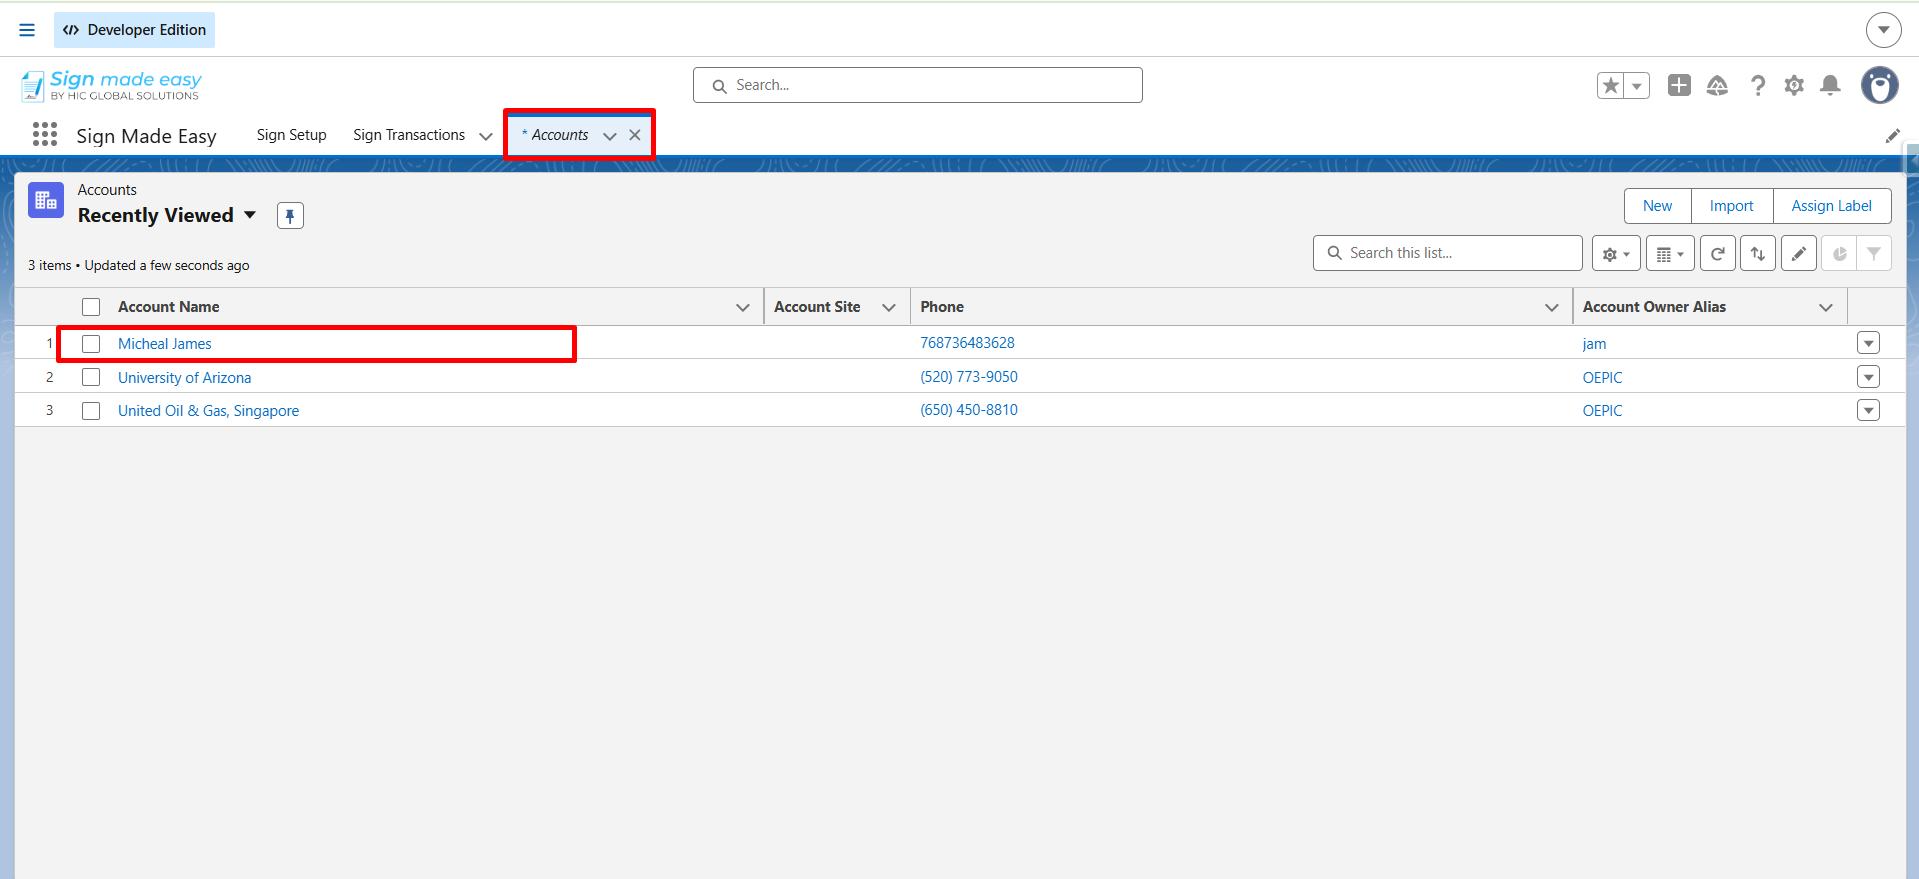
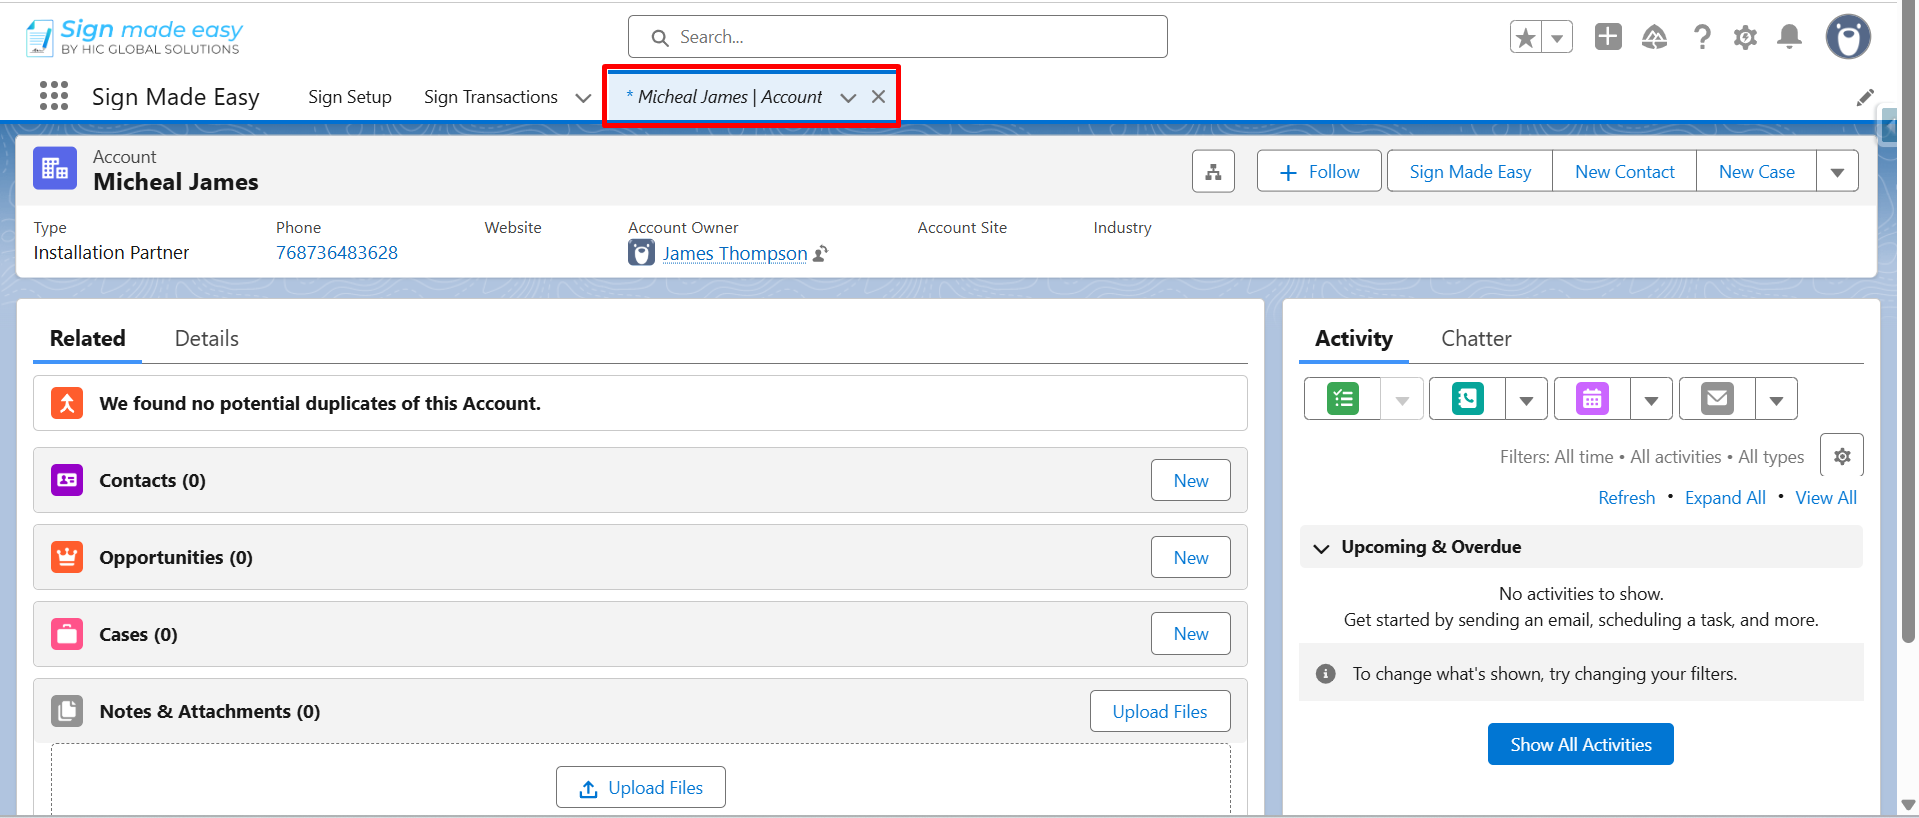
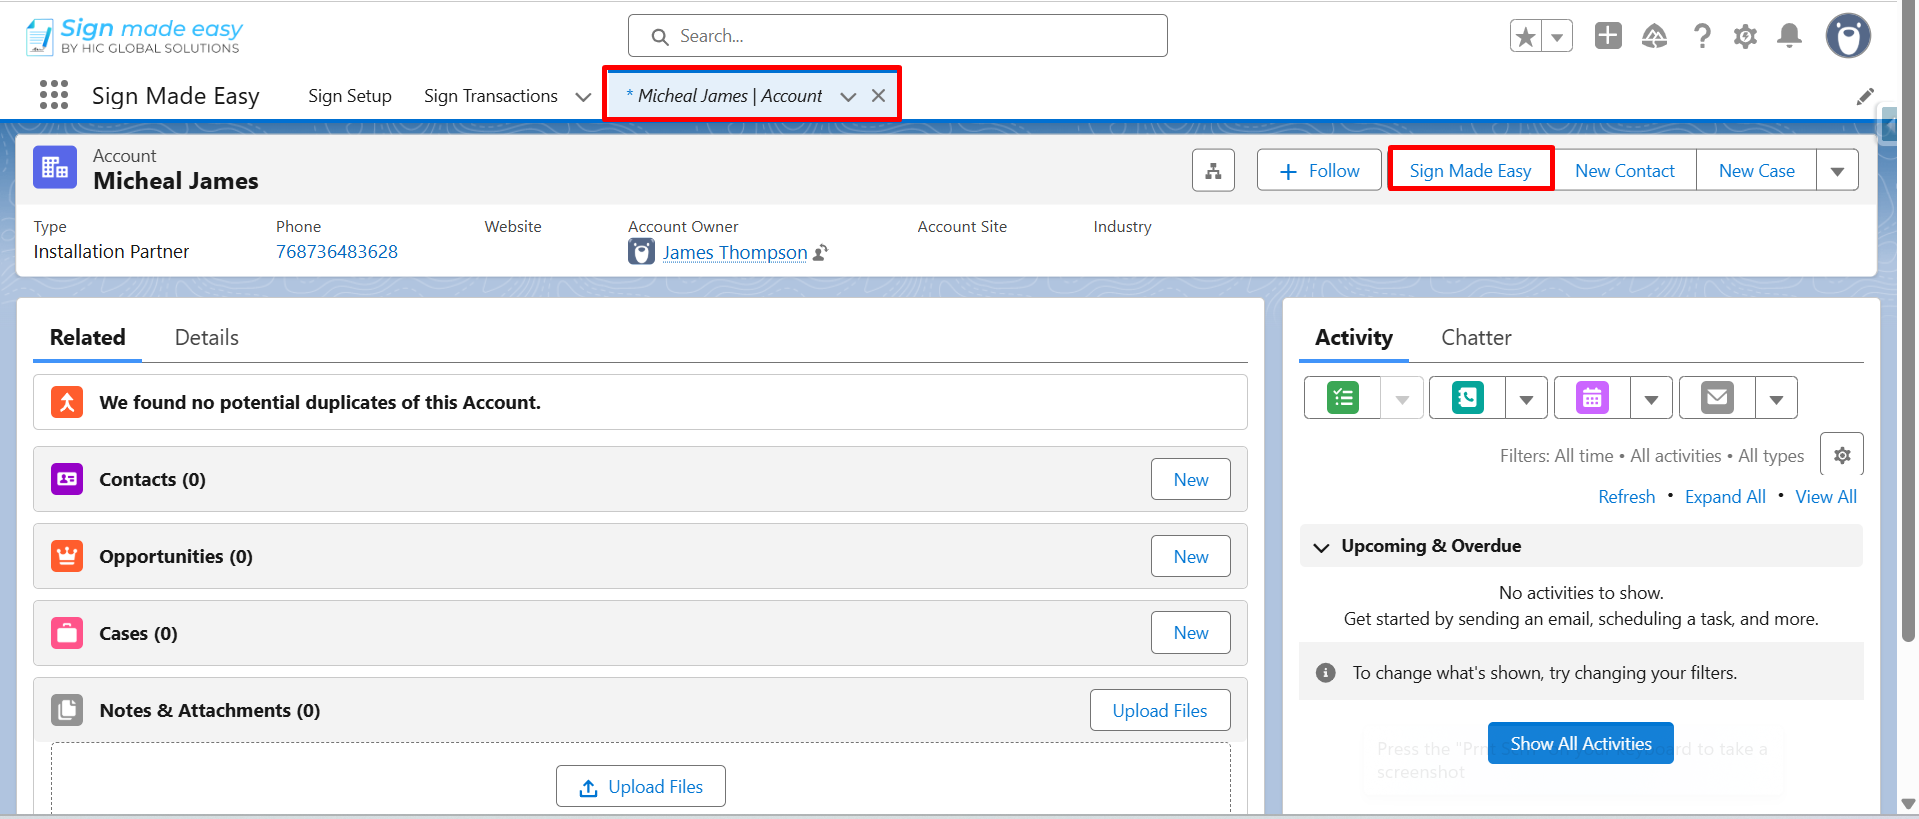
Step 5:– Now, click the Sign Made Easy Button that you have created.
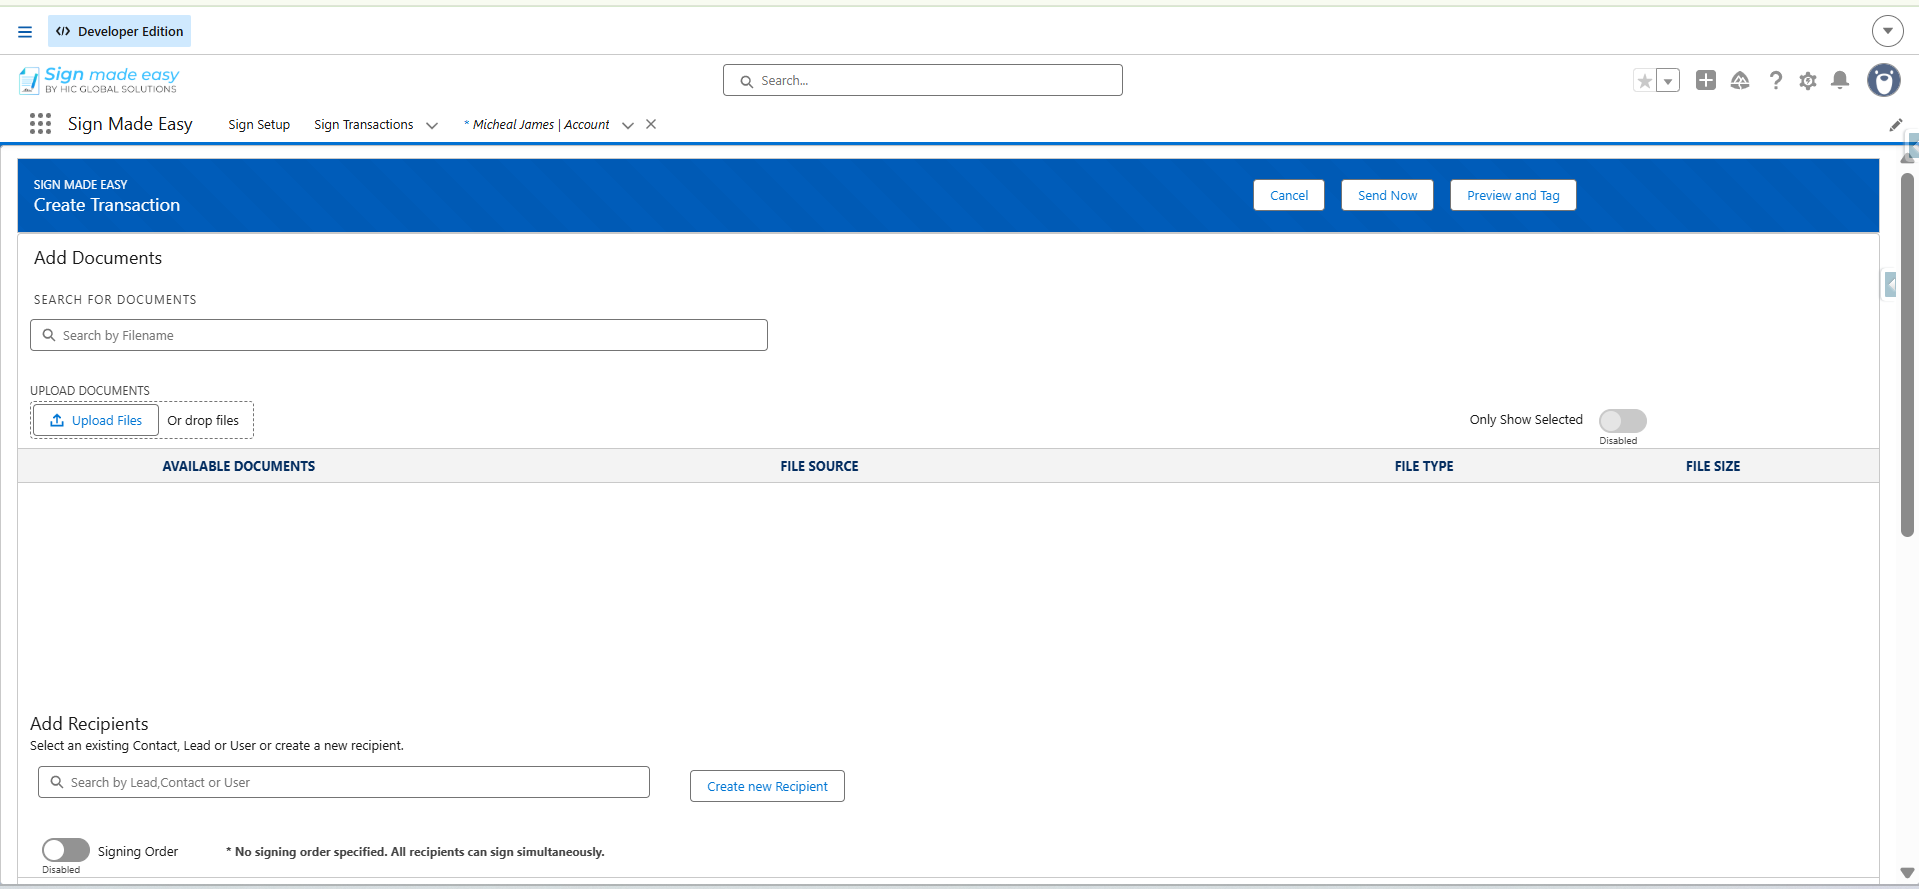
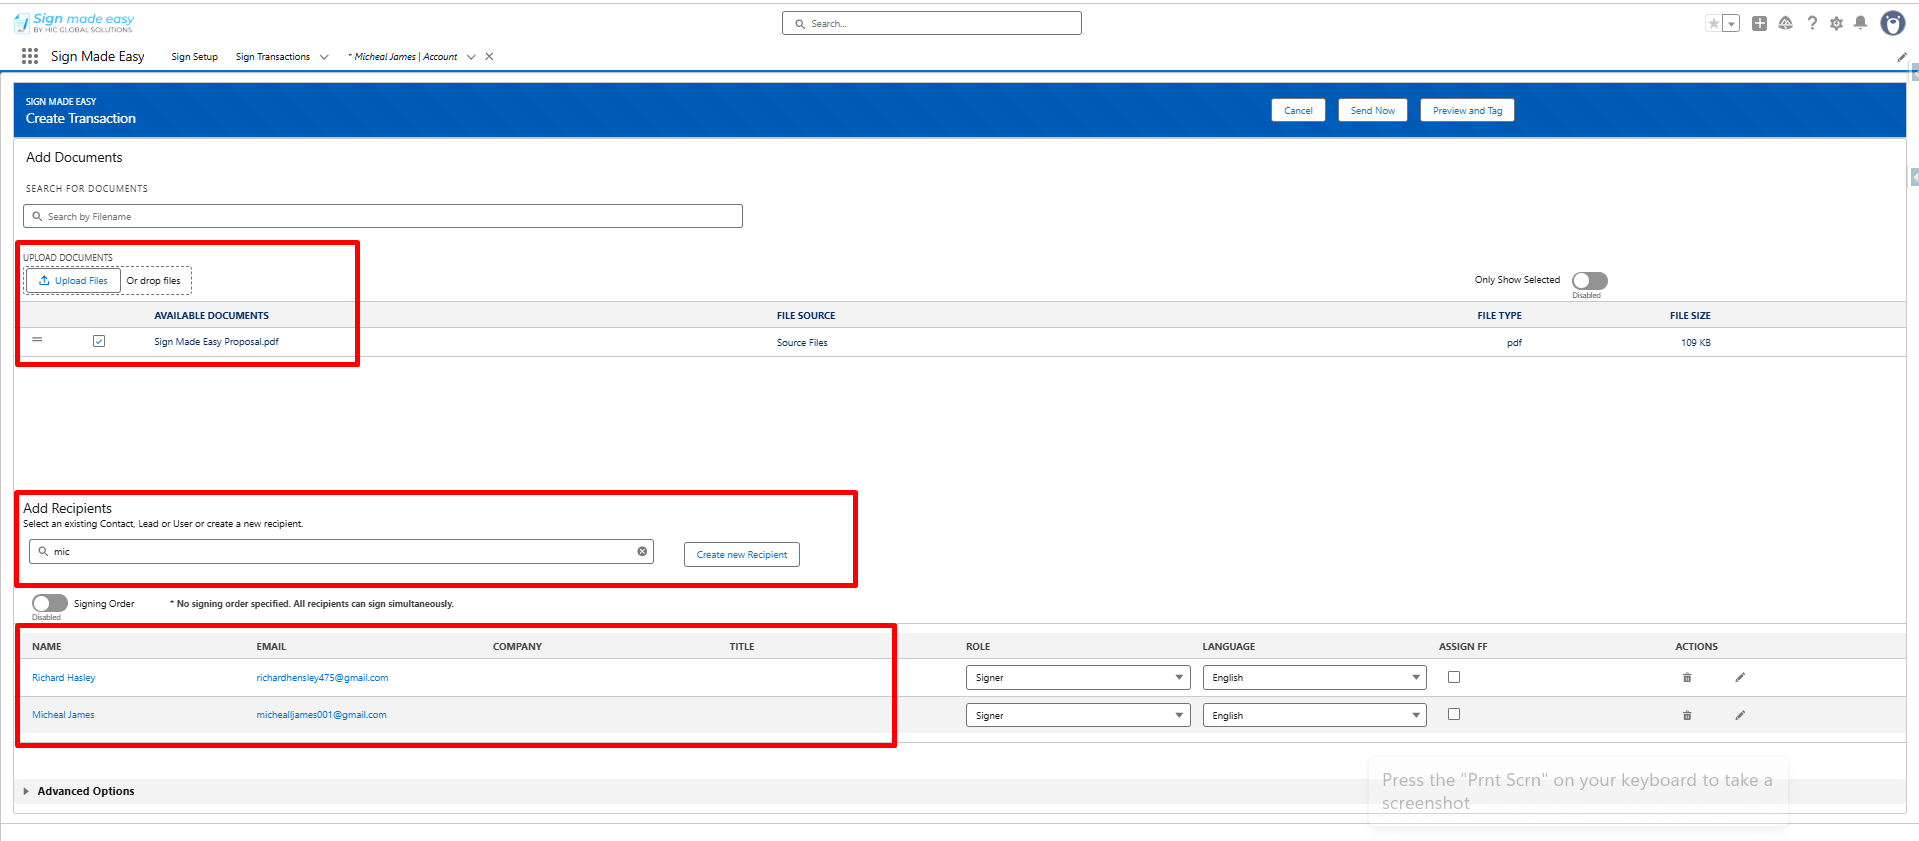
Step 6:- Now, Add Recipient and Documents for sending Email for the e-signature process.
Note:- For detailed instructions on sending documents for e-signature, refer to the relevant E-sign document sending guide.
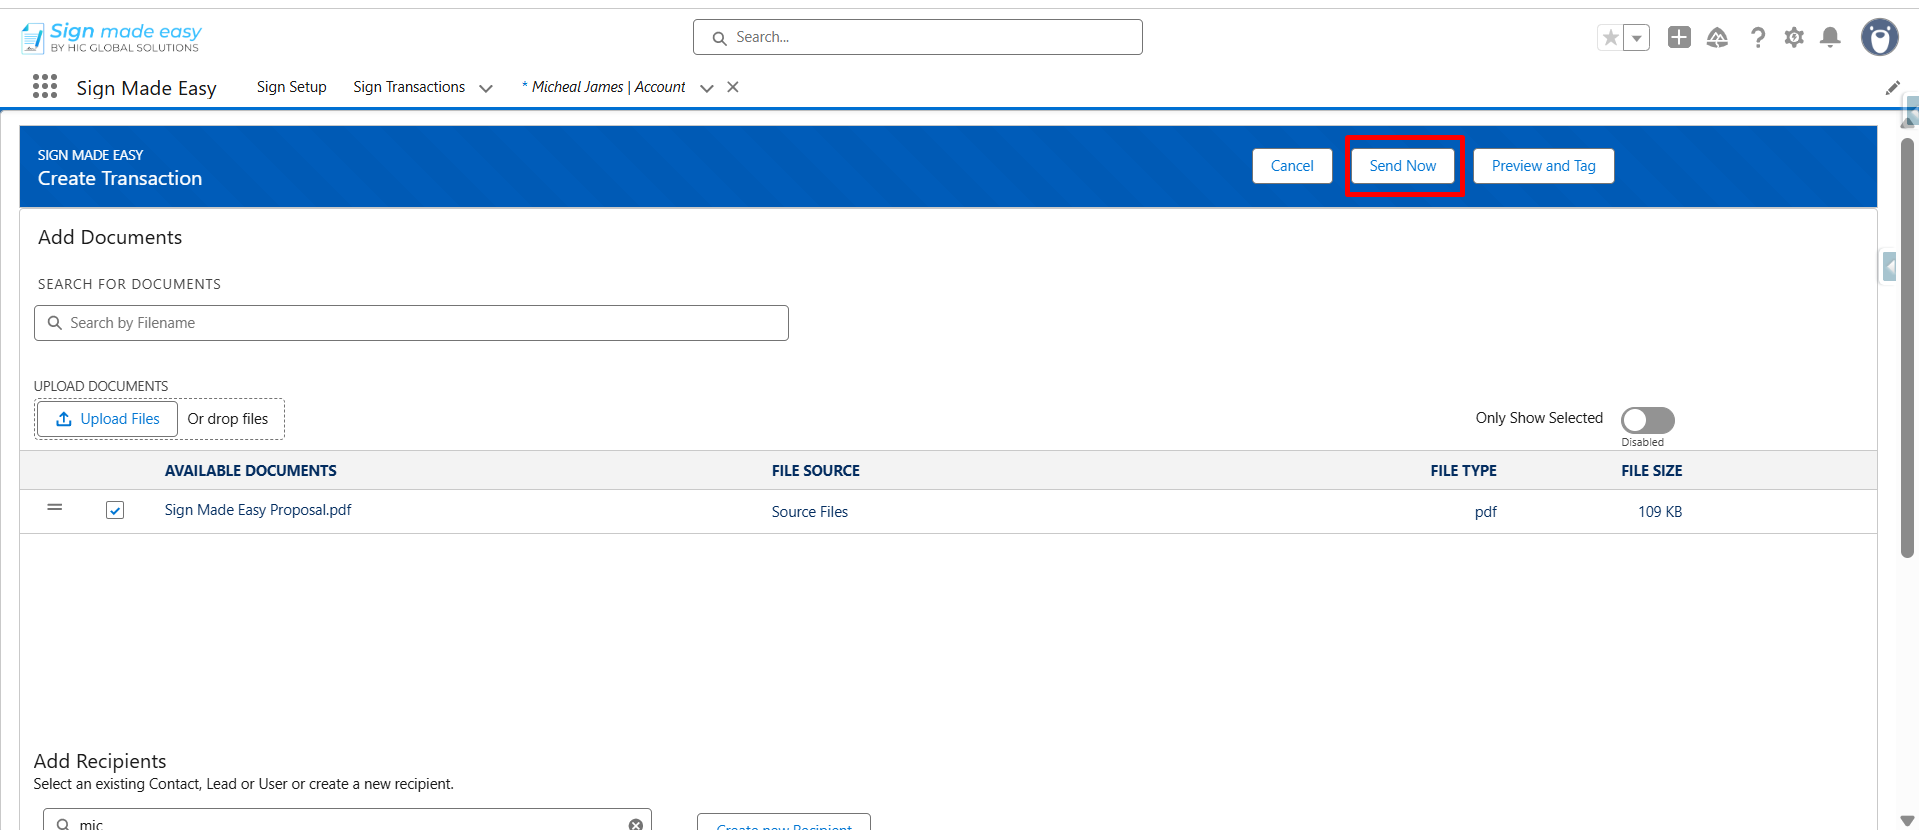
Step 7:- Now, click on the Send Now button for sending mail directly.
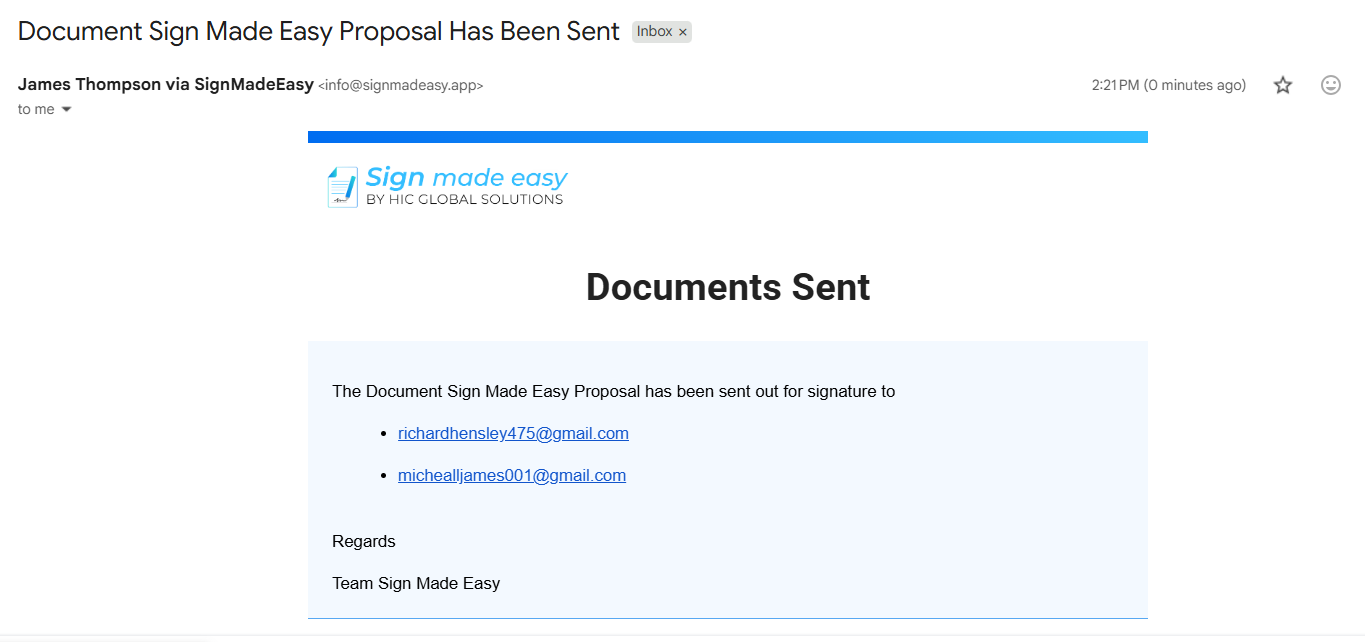
Step 8:- Once the document is sent, the current organization user will receive a Document Sent email notification.
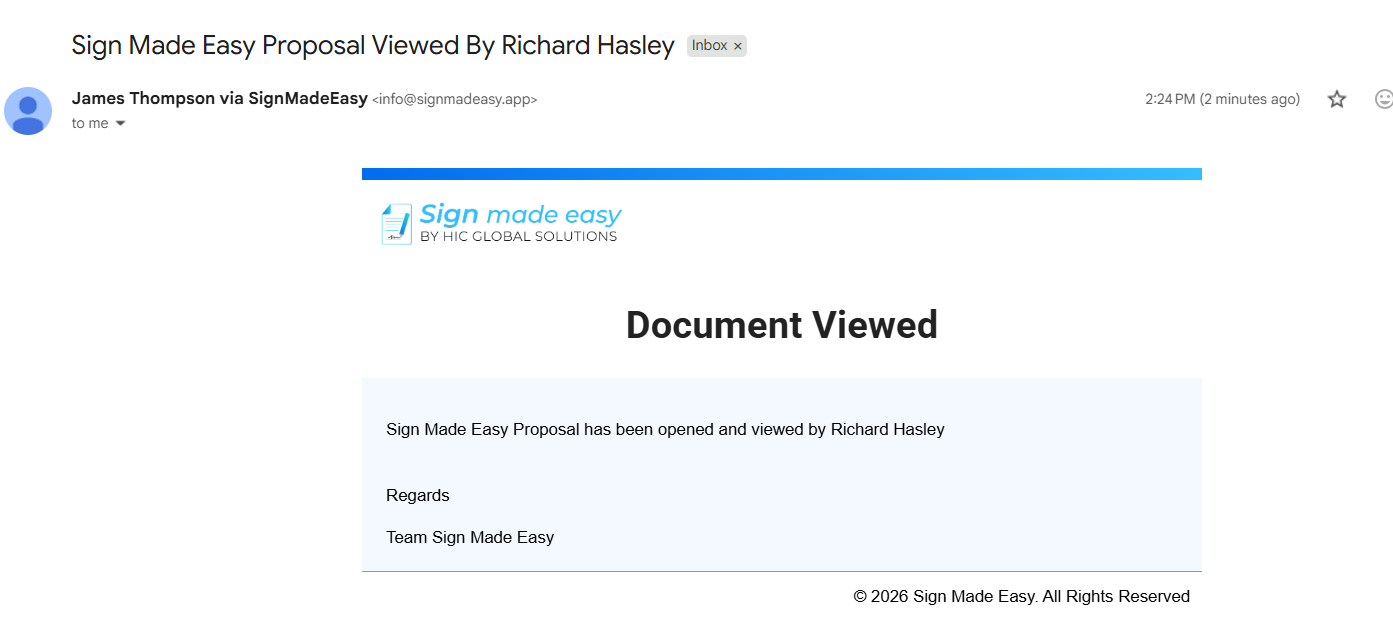
Step 9:- When the recipient views the email to begin the e-signature process, the current organization user will receive a Document Viewed email notification.
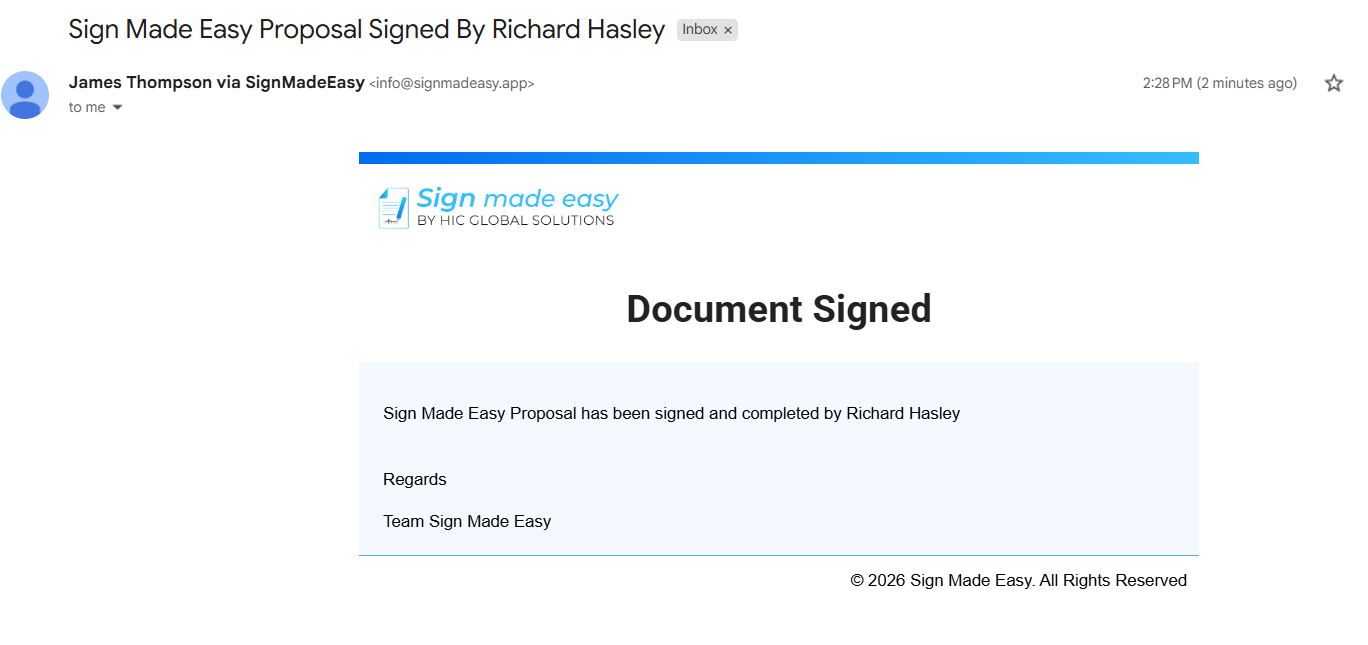
Step 10:- So, when the recipient completes the e-signature process, the current organization user will receive a Document Signed email notification.
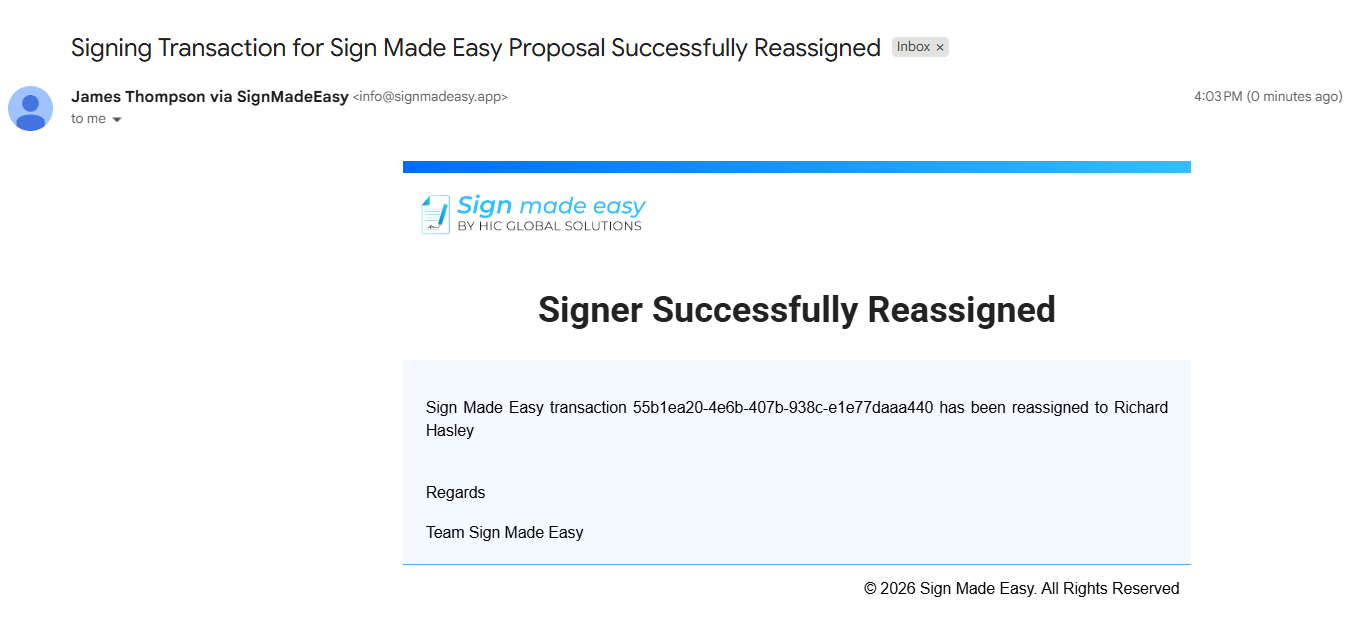
Step 11:- If a recipient reassigns the e-signature process to another authorized recipient due to availability or authorization requirements, the current organization user will receive a Signer Reassignment email notification indicating that the signing responsibility has been reassigned to another recipient.
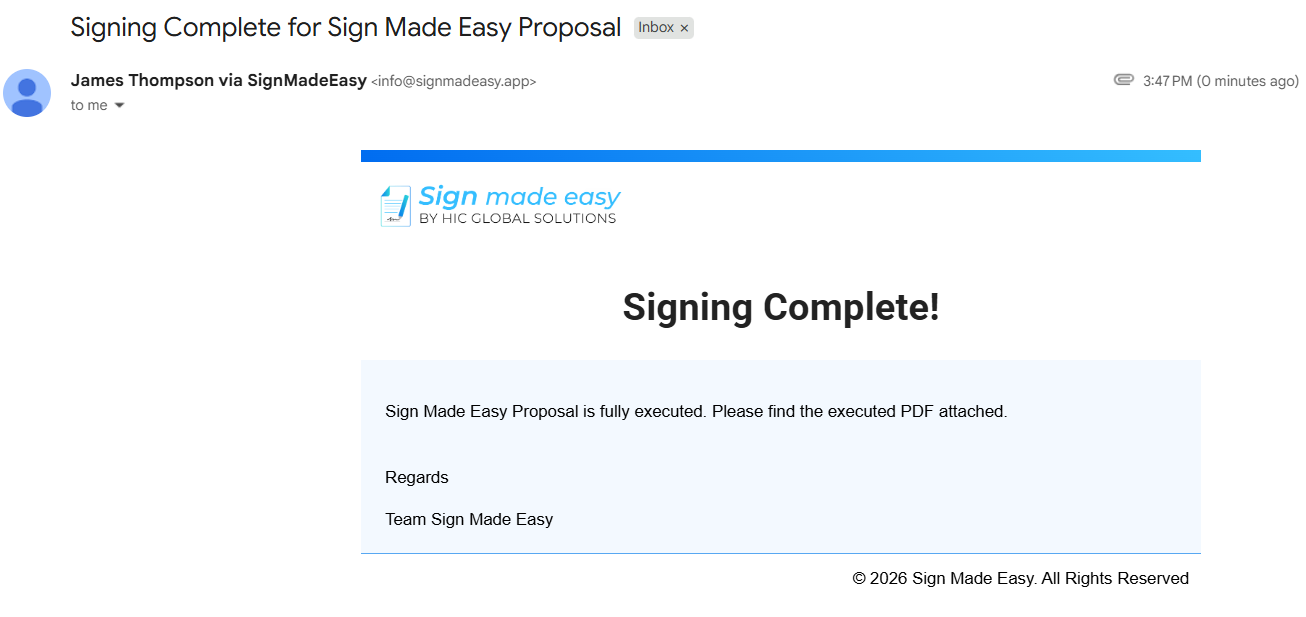
Step 12:- After all recipients have successfully completed the e-signature process, the current organization user will receive a Signing Completion email notification confirming that the e-signature process has been completed successfully.
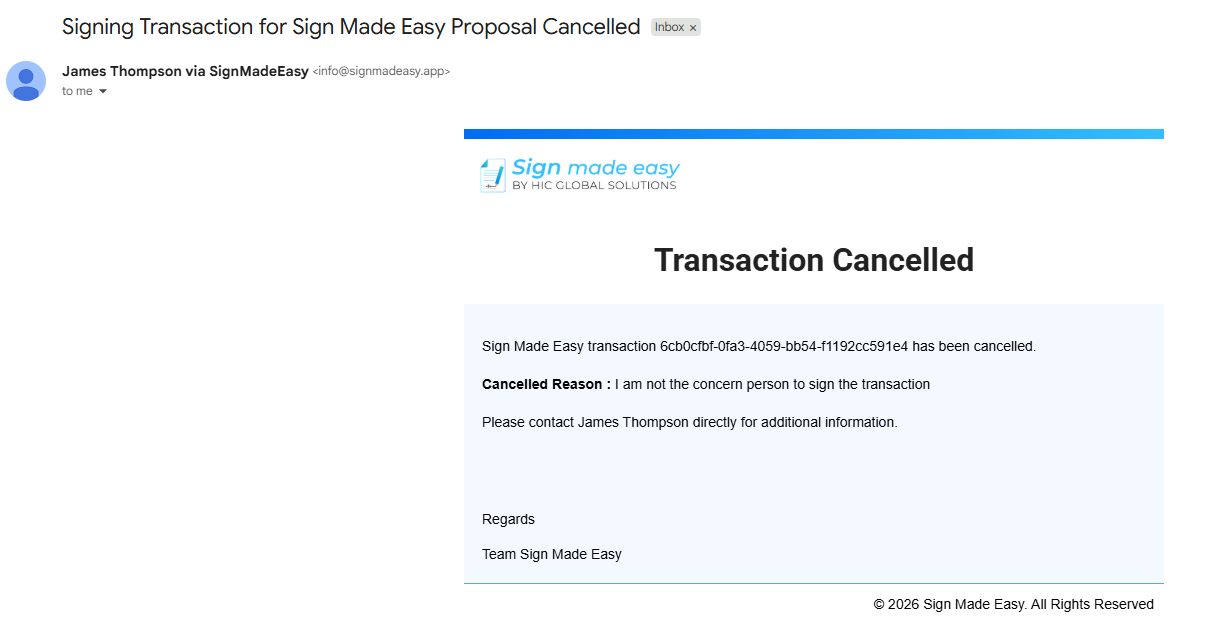
Step 13:- If any recipient encounters an issue during the e-signature process and cancels the transaction, the current organization user will receive a Transaction Cancelled email notification informing them that the transaction has been cancelled.
Conclusion
Keeping track of recipient activity helps you stay informed throughout the signing process without having to manually check the document status. By enabling the Notify the User option, you can receive timely updates whenever a document is sent, viewed, signed, reassigned, completed, or cancelled.
These notifications make it easier to monitor every document signing request, respond quickly when needed, and ensure a smoother Salesforce eSignature experience for both your team and your recipients.