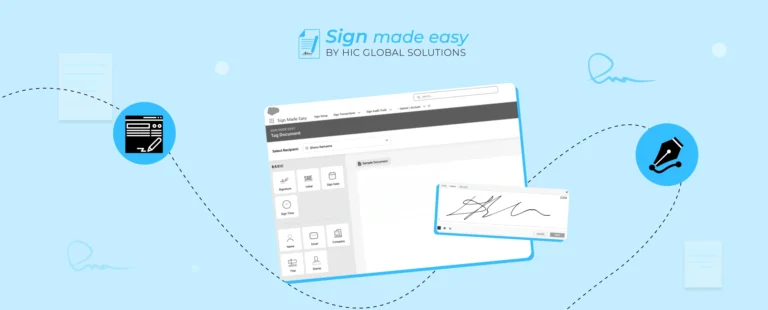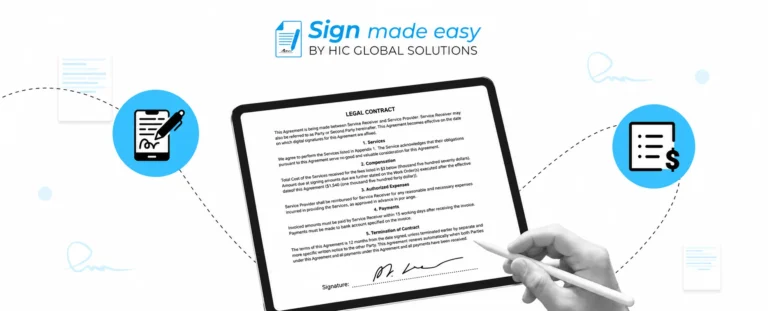


Sending documents to existing Salesforce records becomes much smoother when standard recipients are added automatically using Sign Parameters. This guide will provide quick steps to perform the task with Sign Made Easy. This approach reduces manual steps and helps teams streamline approvals with built-in automation powered by Salesforce digital signature capabilities that enhance overall workflow accuracy.
With this method, you can quickly trigger signing requests while keeping your process aligned with eSignature for Salesforce best practices. It also ensures faster routing, cleaner transactions, and a more dependable Salesforce eSignature experience without needing extra configuration every time.
Standard Recipients:- If the records already exist in Salesforce, you can easily send emails to those recipients by using the standard recipient parameter to add them
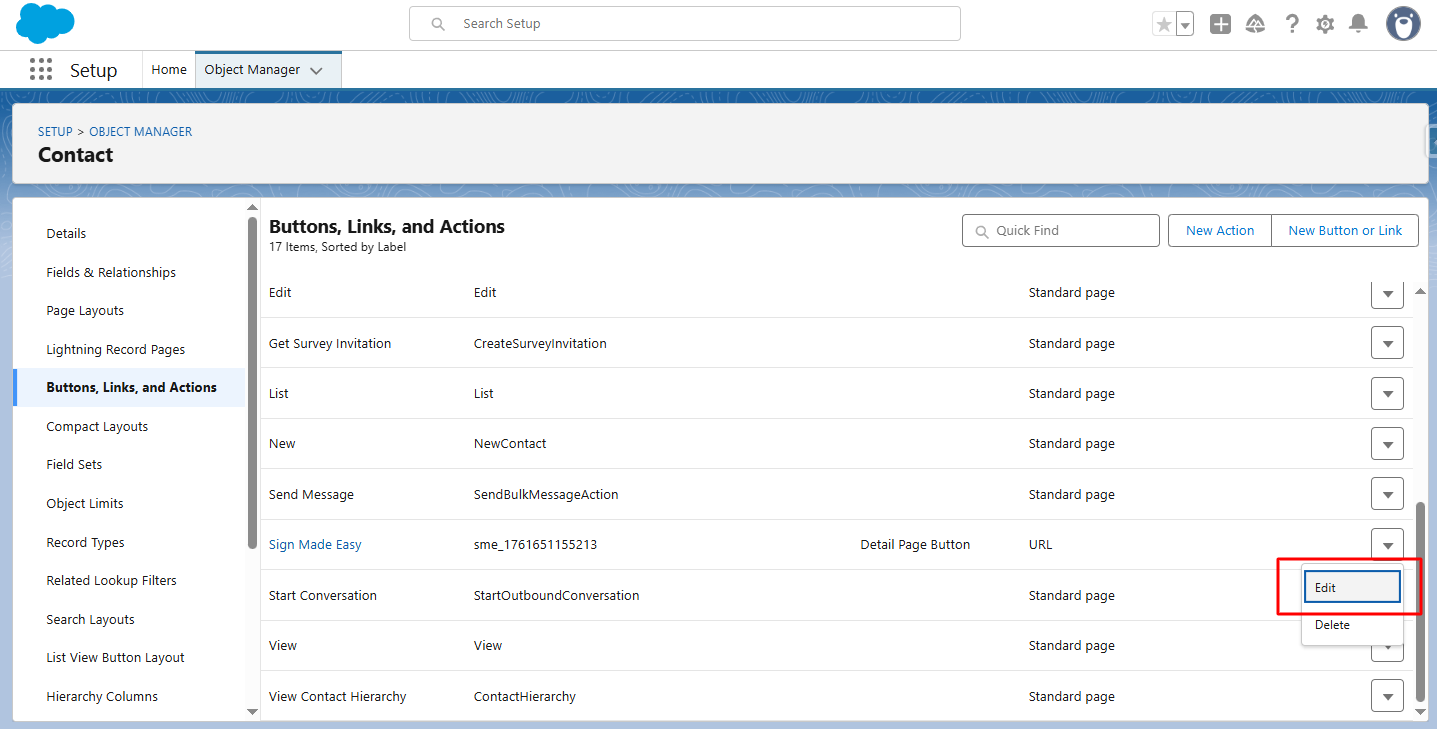
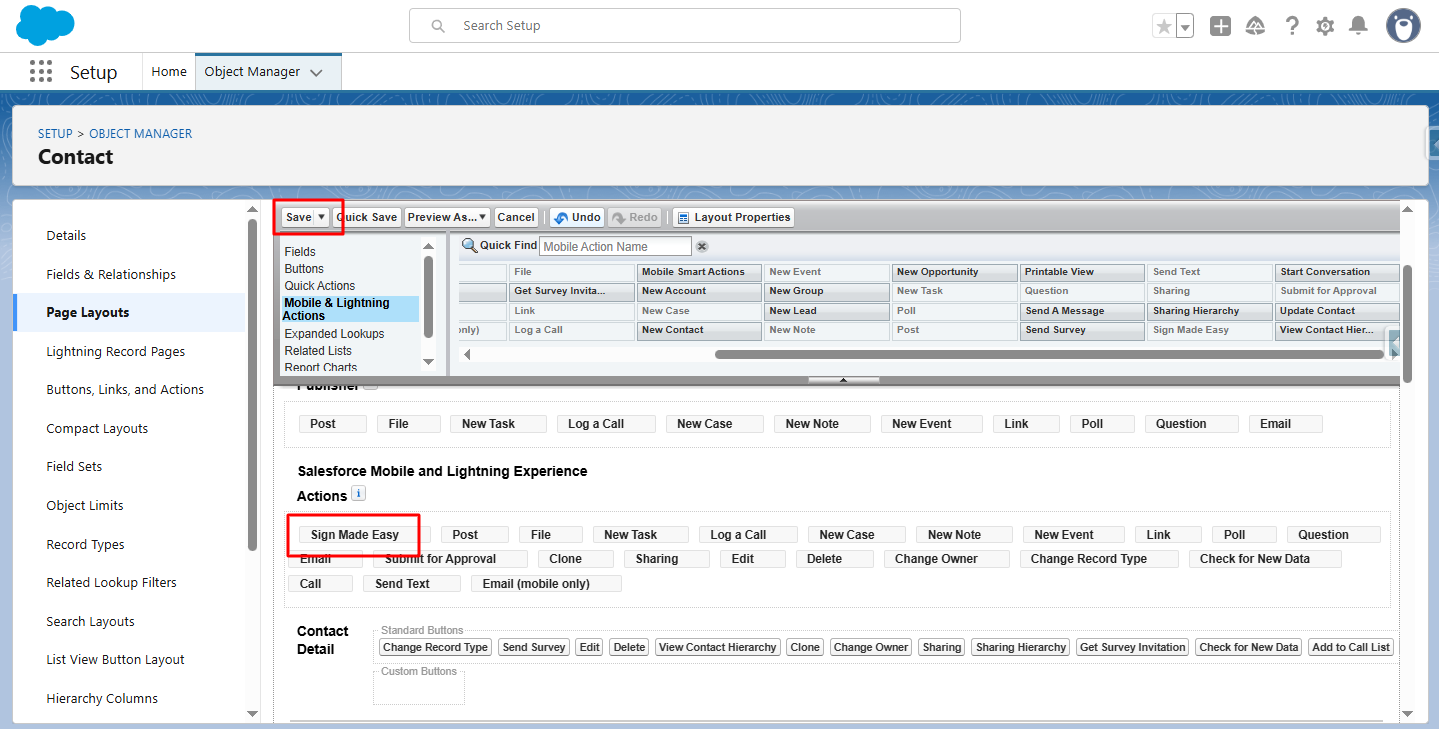
Step 1:- After configuring the SME, navigate to the ‘Buttons, Links, and Actions’ page and select the newly created button to view its details.

Step 2:- Click Edit.
Step 3:- To add the Standard Recipient Using Sign parameters, edit the button link in the Custom Button or Link Editor.
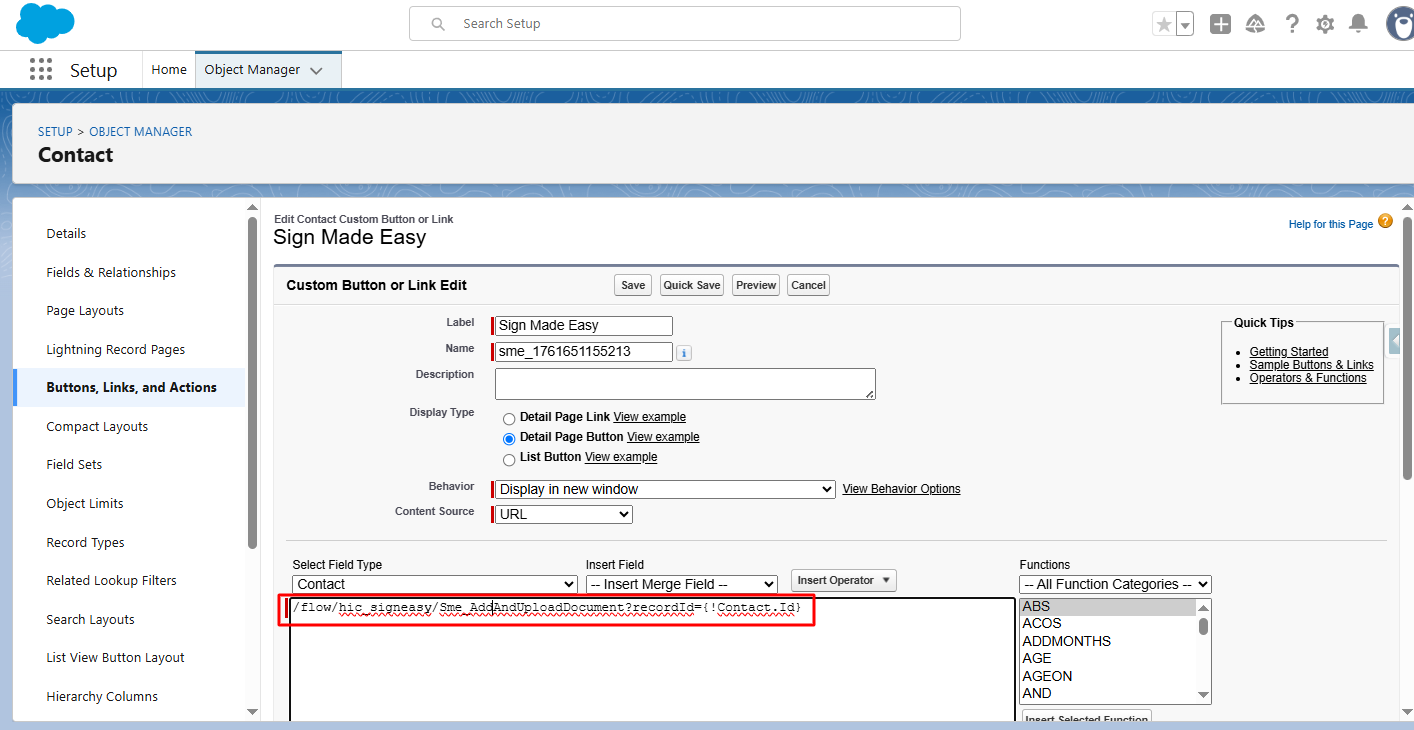
Step 4:- Add Standard Recipient Using Sign Parameters.
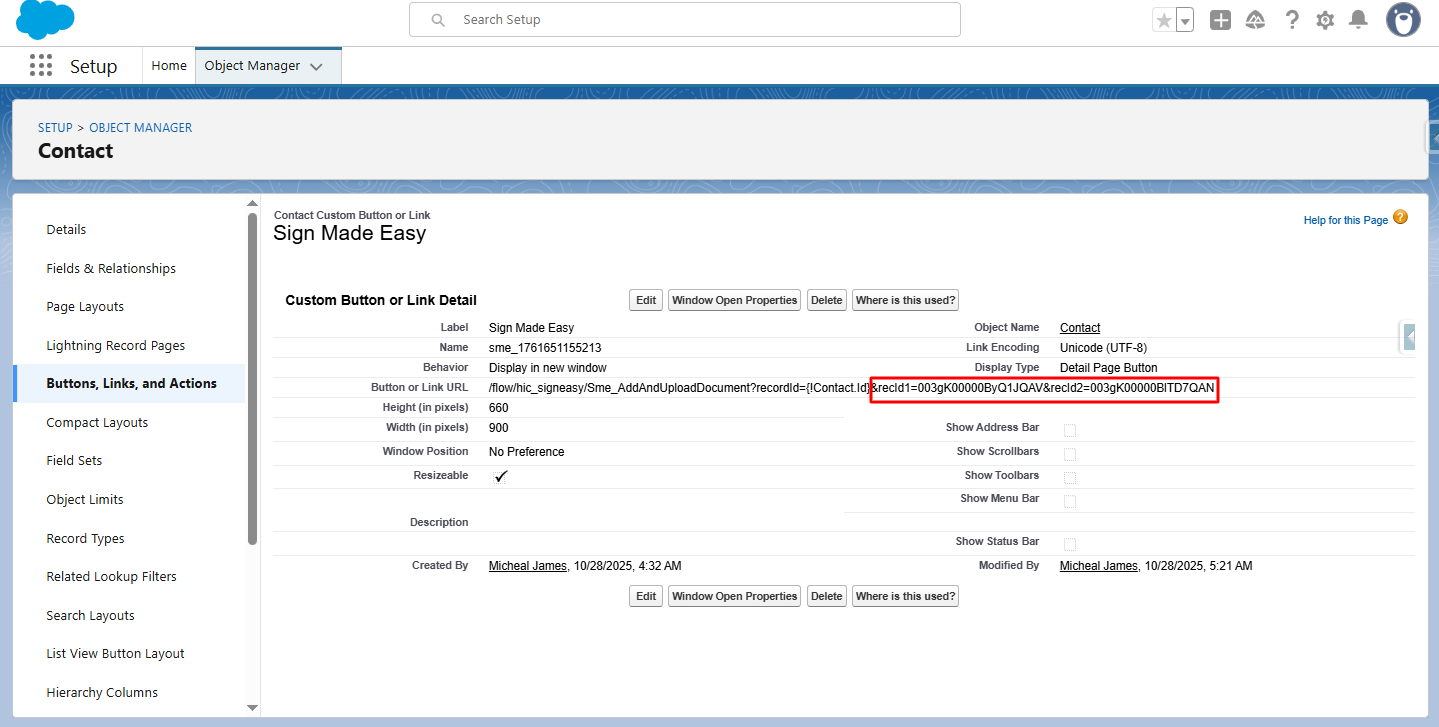
Parameter: &recId
Description: Automatically selects one or more recipients on the screen (up to 5).
Example: &recId1
| Note: Use sequential numbering for multiple recipients (e.g., &recId3=a0C5j000008lYC |

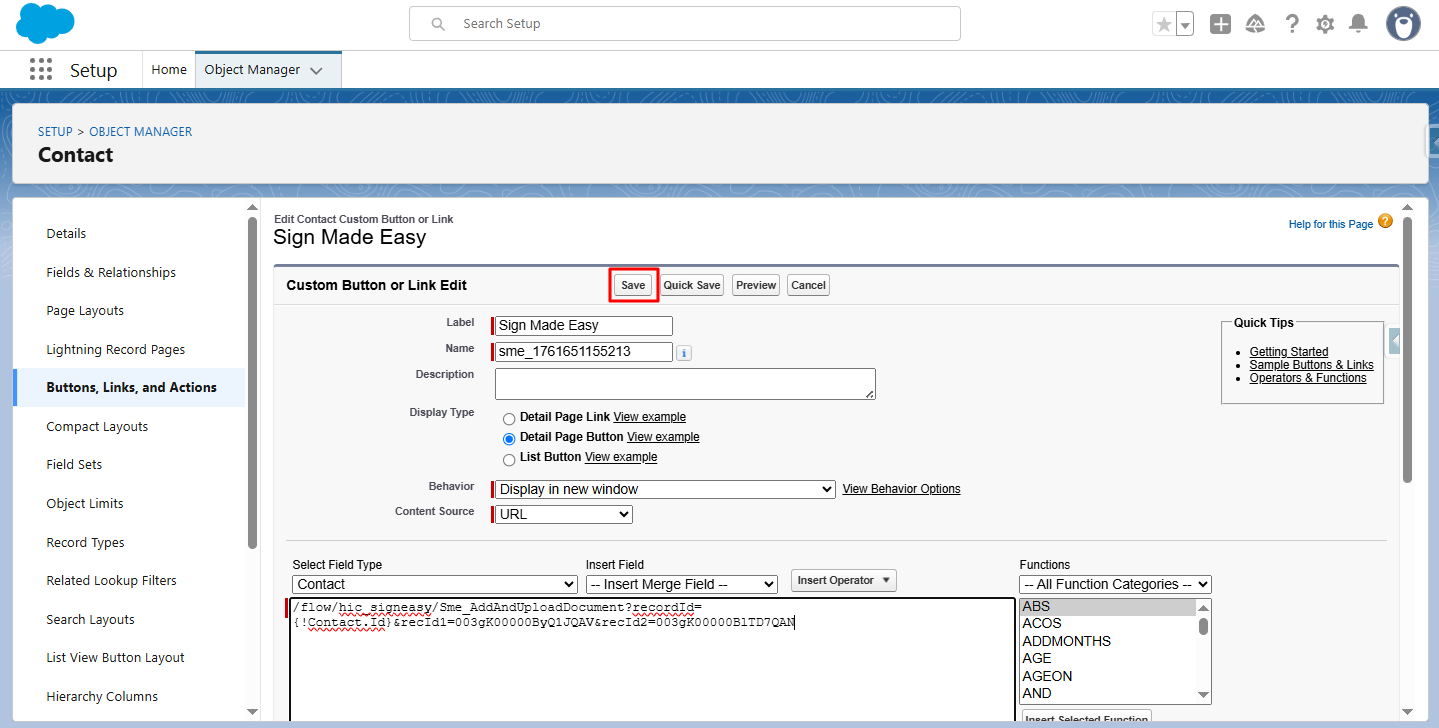
Step 5:- Click Save.
Step 6:- In Page Layout, drag the created button from Mobile & Lightning Actions to the desired section.
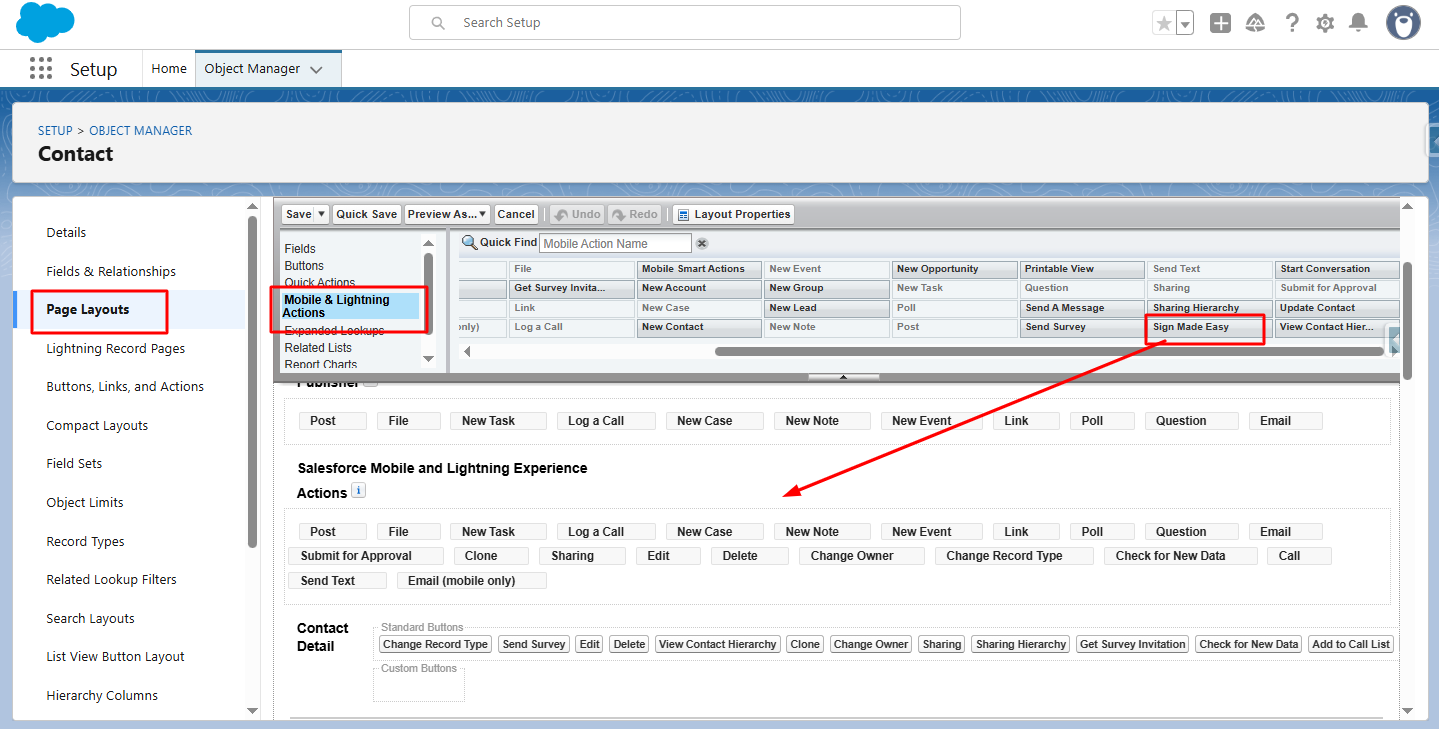
Step 7:- Click Save.
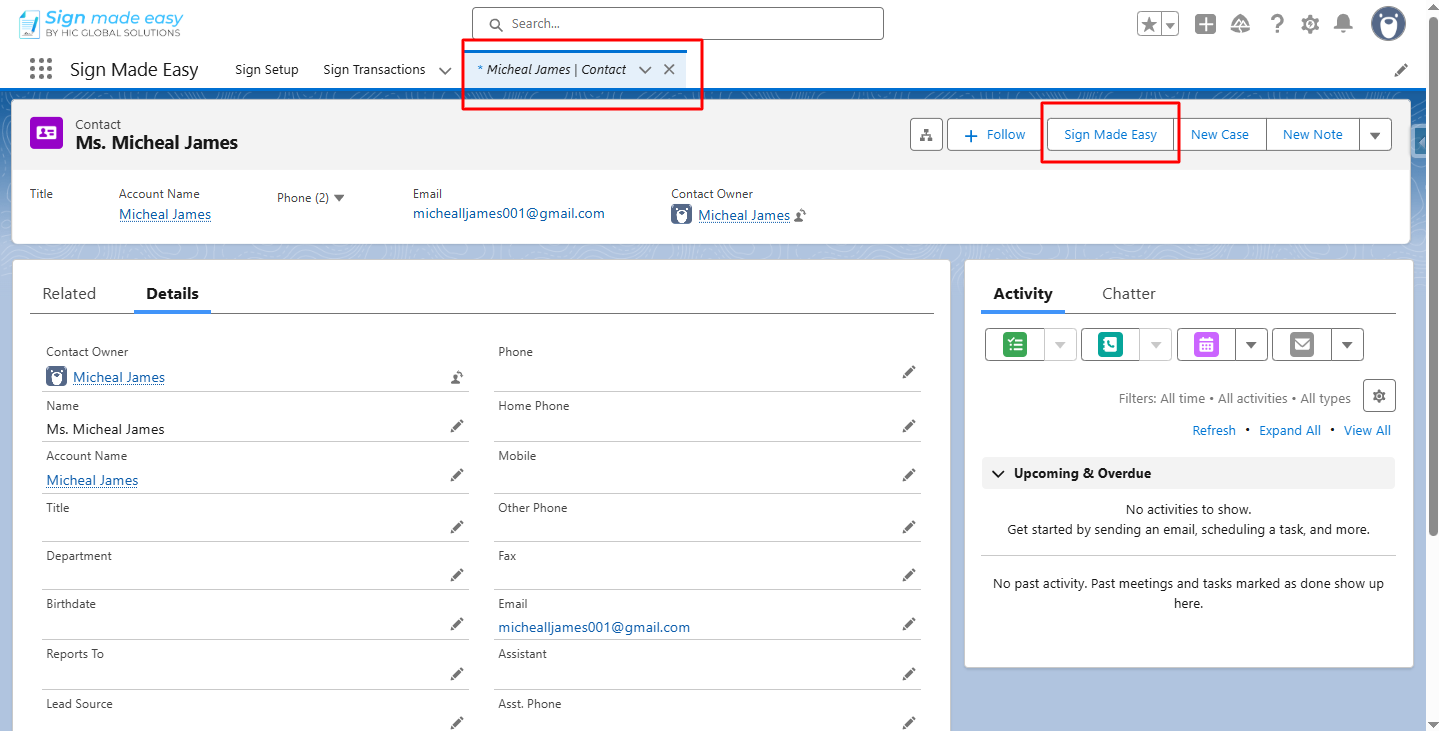
Step 8:- Go to the object’s record detail page and click the button you created.
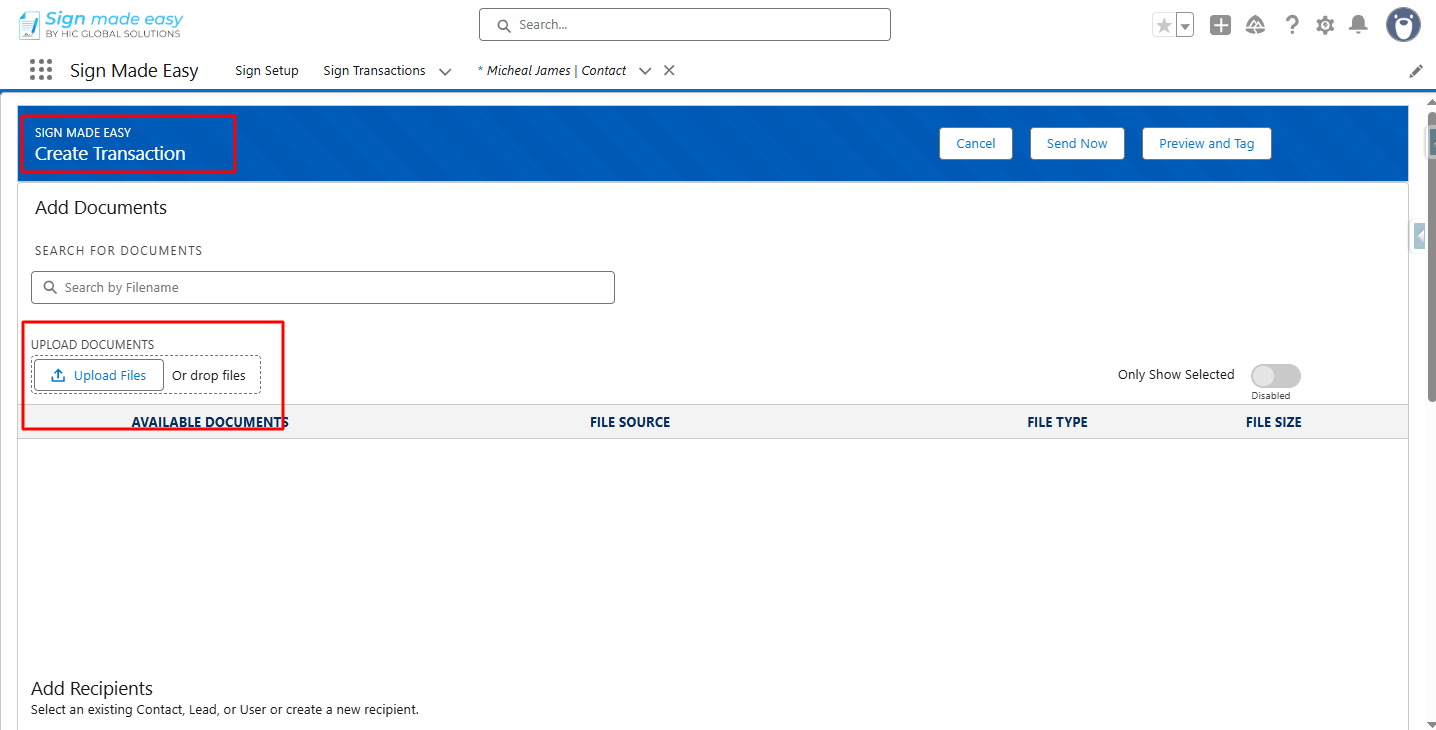
Step 9:- The Create Transaction page is launched. Upload the document.
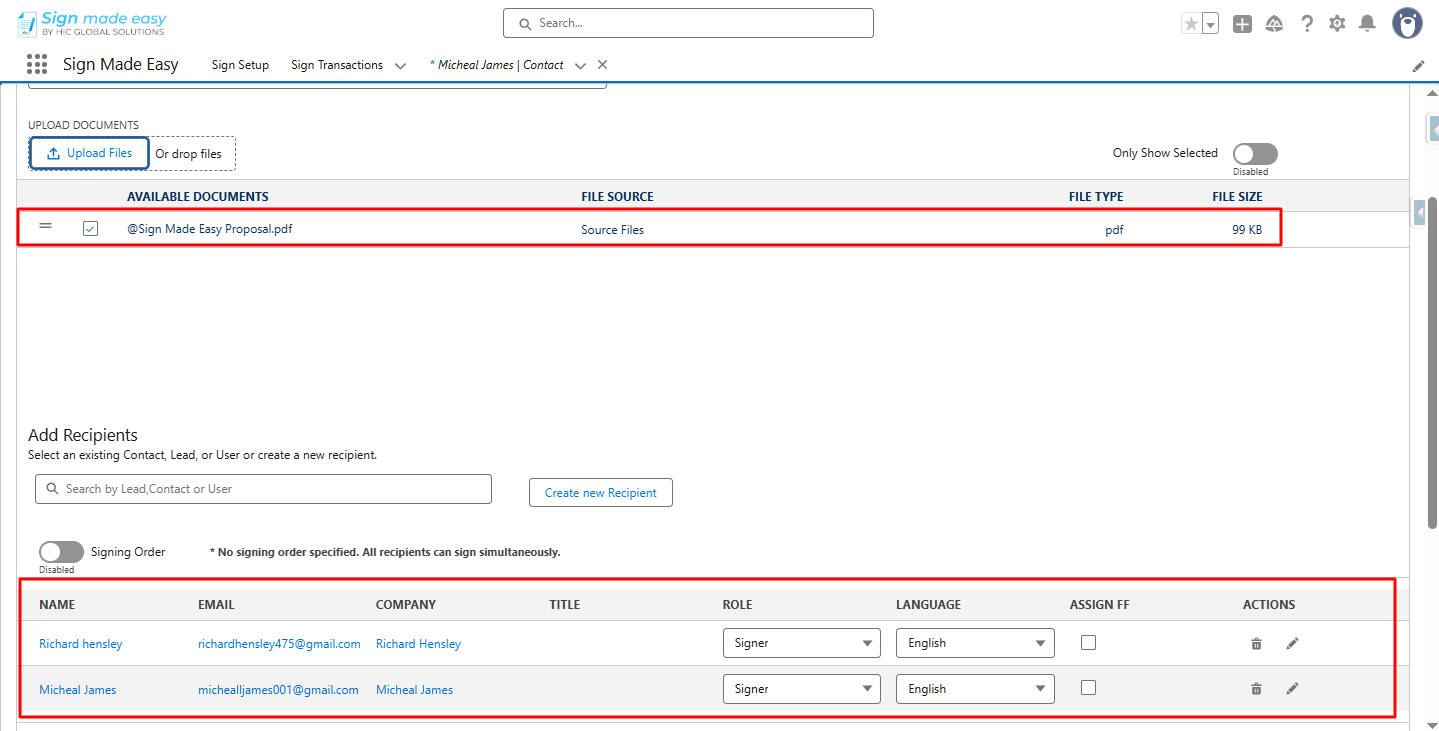
Recipients added through parameters are also visible.
Step 10:- Click Send Now.
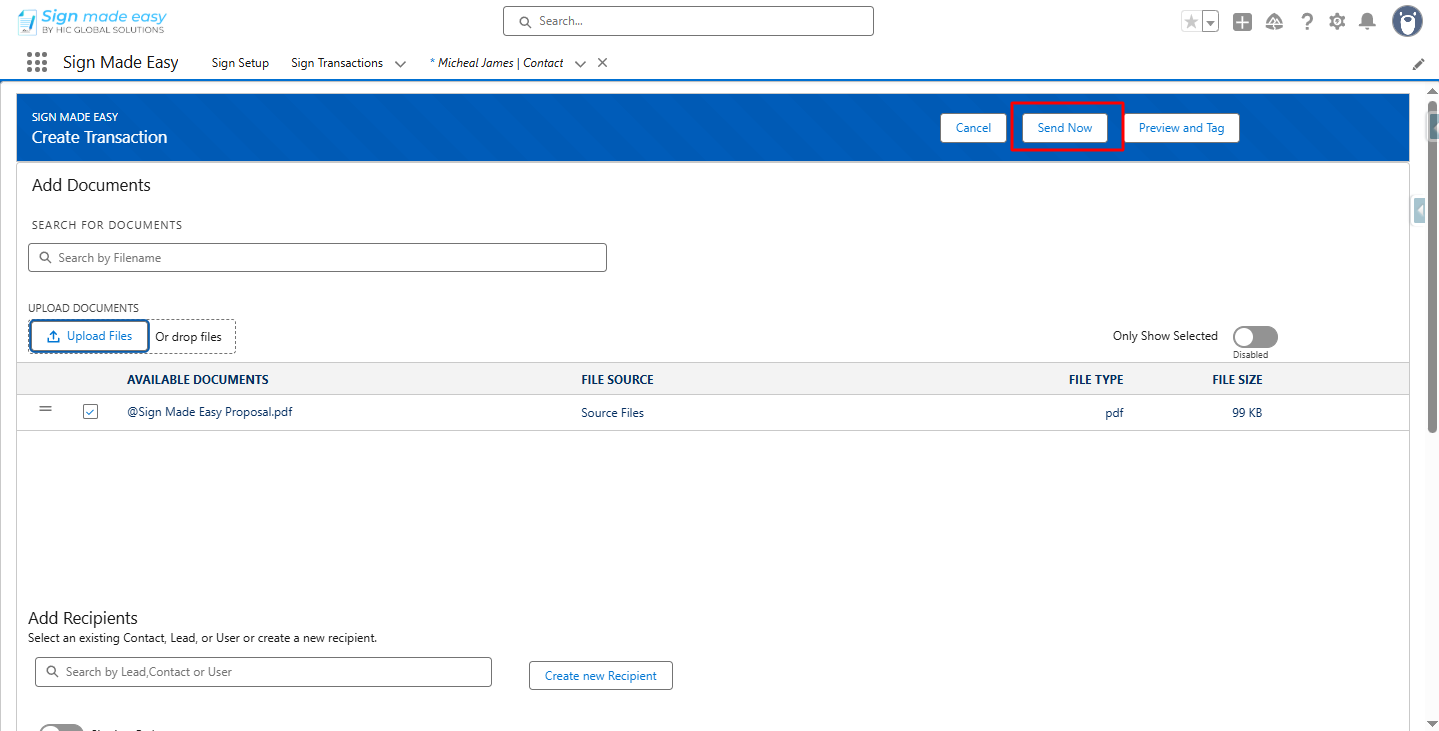
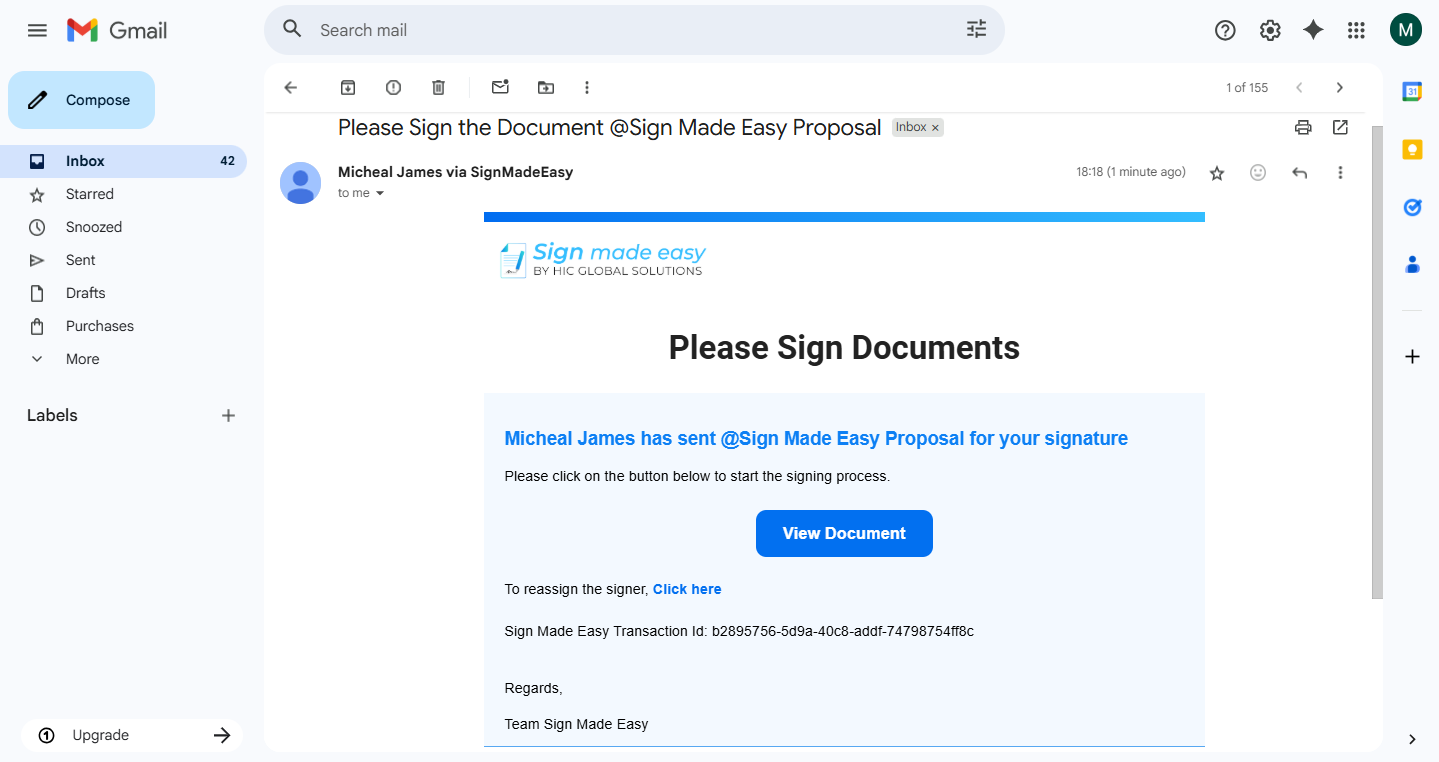
Now, the email is sent to the selected recipients.
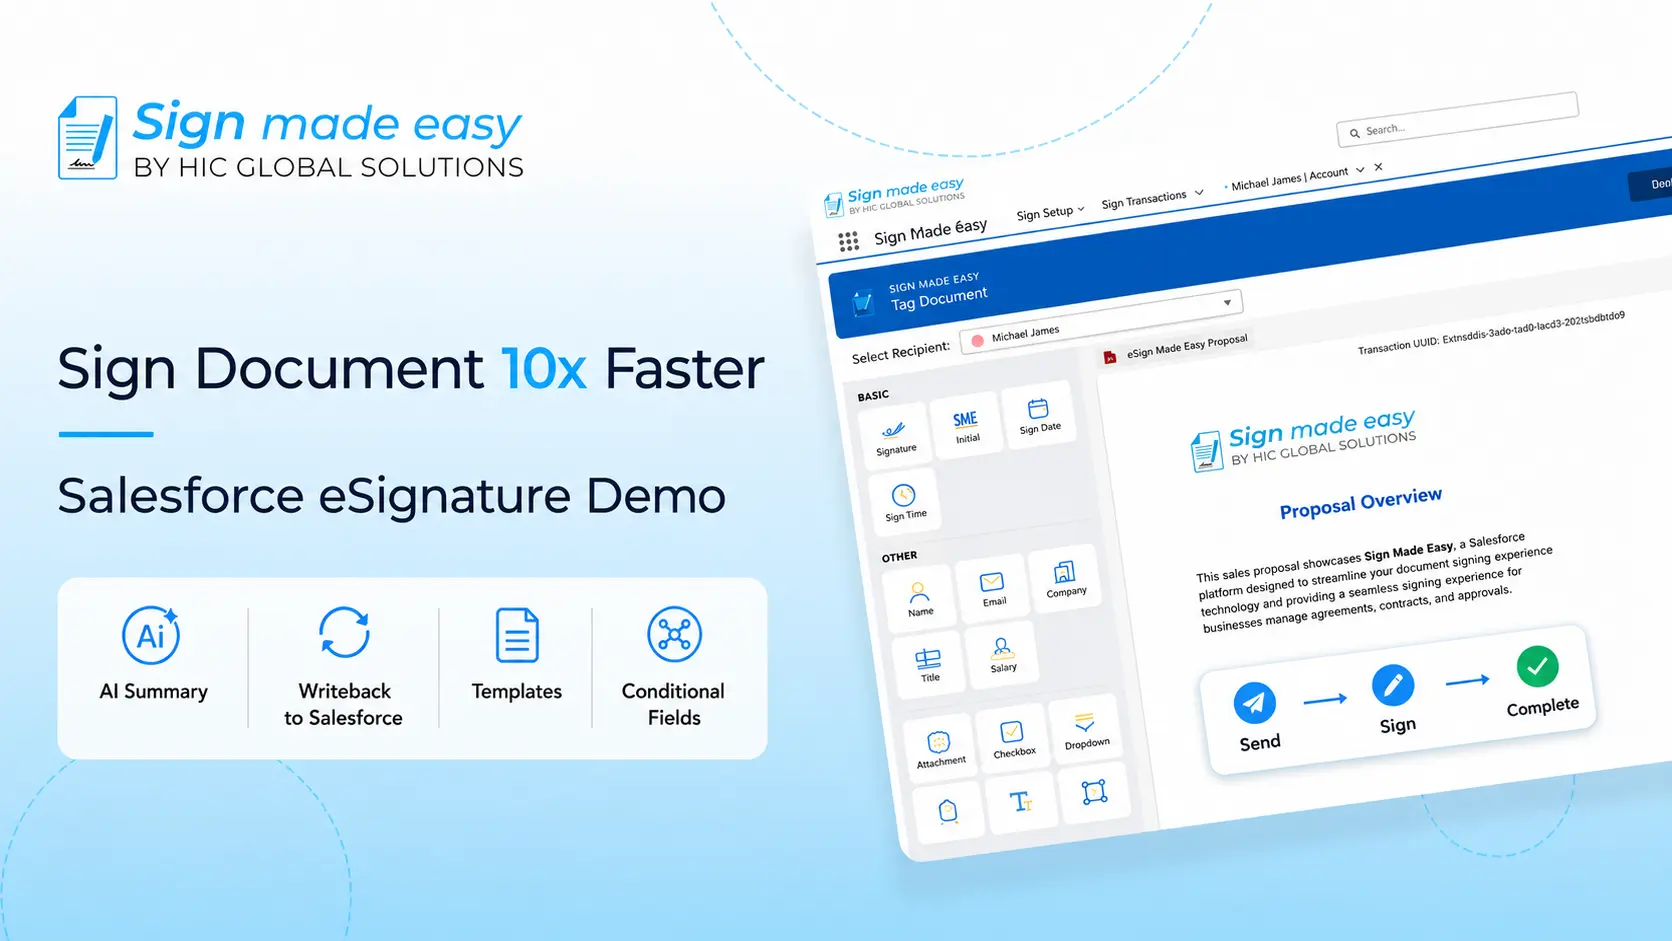
Conclusion
With sign parameters, adding standard recipients becomes a seamless part of your Salesforce eSignature workflow. This ensures quicker document routing, fewer manual steps, and a smoother digital signing experience. Whether you’re using Salesforce electronic signature or eSignature for Salesforce, recipient selection becomes faster, accurate, and fully automated.
With SignMadeEasy, you can monitor your agreements with real-time document status updates, so you’re always in the loop, without waiting for manual follow-ups.