




When multiple people are involved in an e-signature process, keeping everyone updated can quickly become difficult. Instead of relying only on the person who sends the document, you can set up notifications for another user to stay informed about important recipient actions.
In this guide, we’ll walk you through how to set up Salesforce eSignature notification settings in Sign Made Easy, so a designated user can receive updates when a document is sent, viewed, signed, reassigned, completed, or canceled. This helps your team maintain better visibility throughout the secure signing process.
Steps to Set Up Notifications for Recipient Actions in Sign Made Easy
Note: To ensure that other users receive notifications regarding recipient actions (such as when a document is sent, viewed, completed, canceled, or signed), ensure that the following requirements are fulfilled:
1) The SME configuration has been completed, and the appropriate permission sets have been assigned to users according to their user profiles.
2) The SME Pro package has been successfully installed, and the SME Pro feature has been enabled.
Please follow the steps below to configure the required settings to send notifications about recipient actions to another user.
Step 1: Navigate to the App Launcher, enter Sign Made Easy in the search bar, and select the application from the search results to open it.
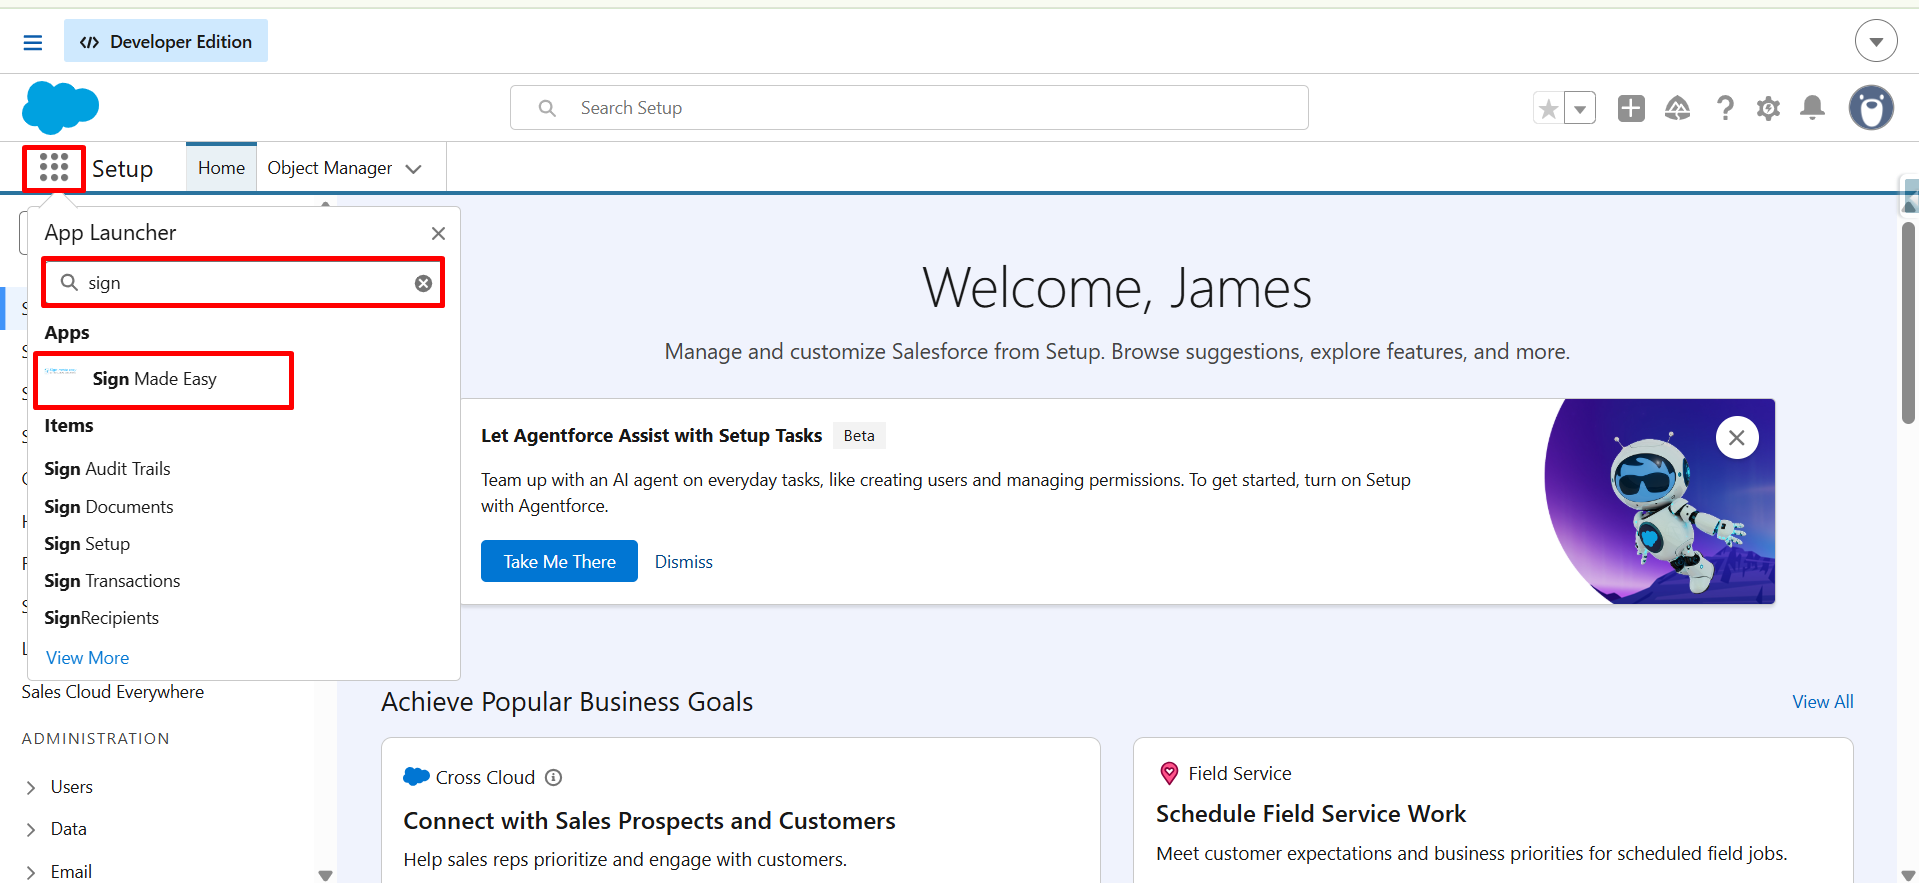
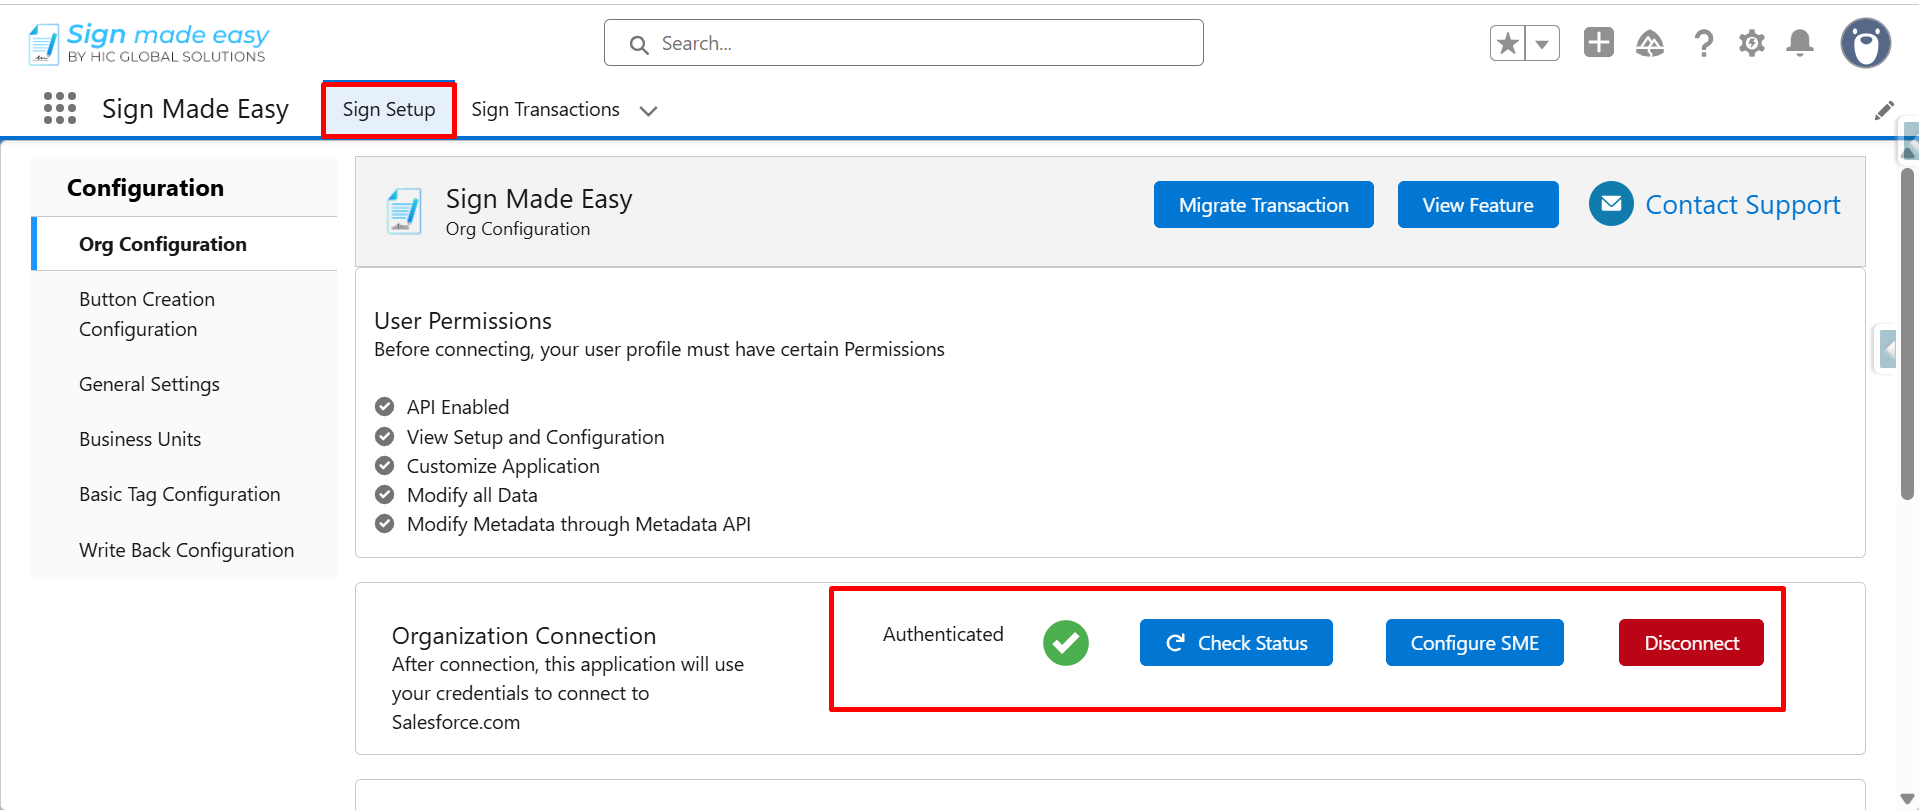
Step 2: Navigate to the Business Units.
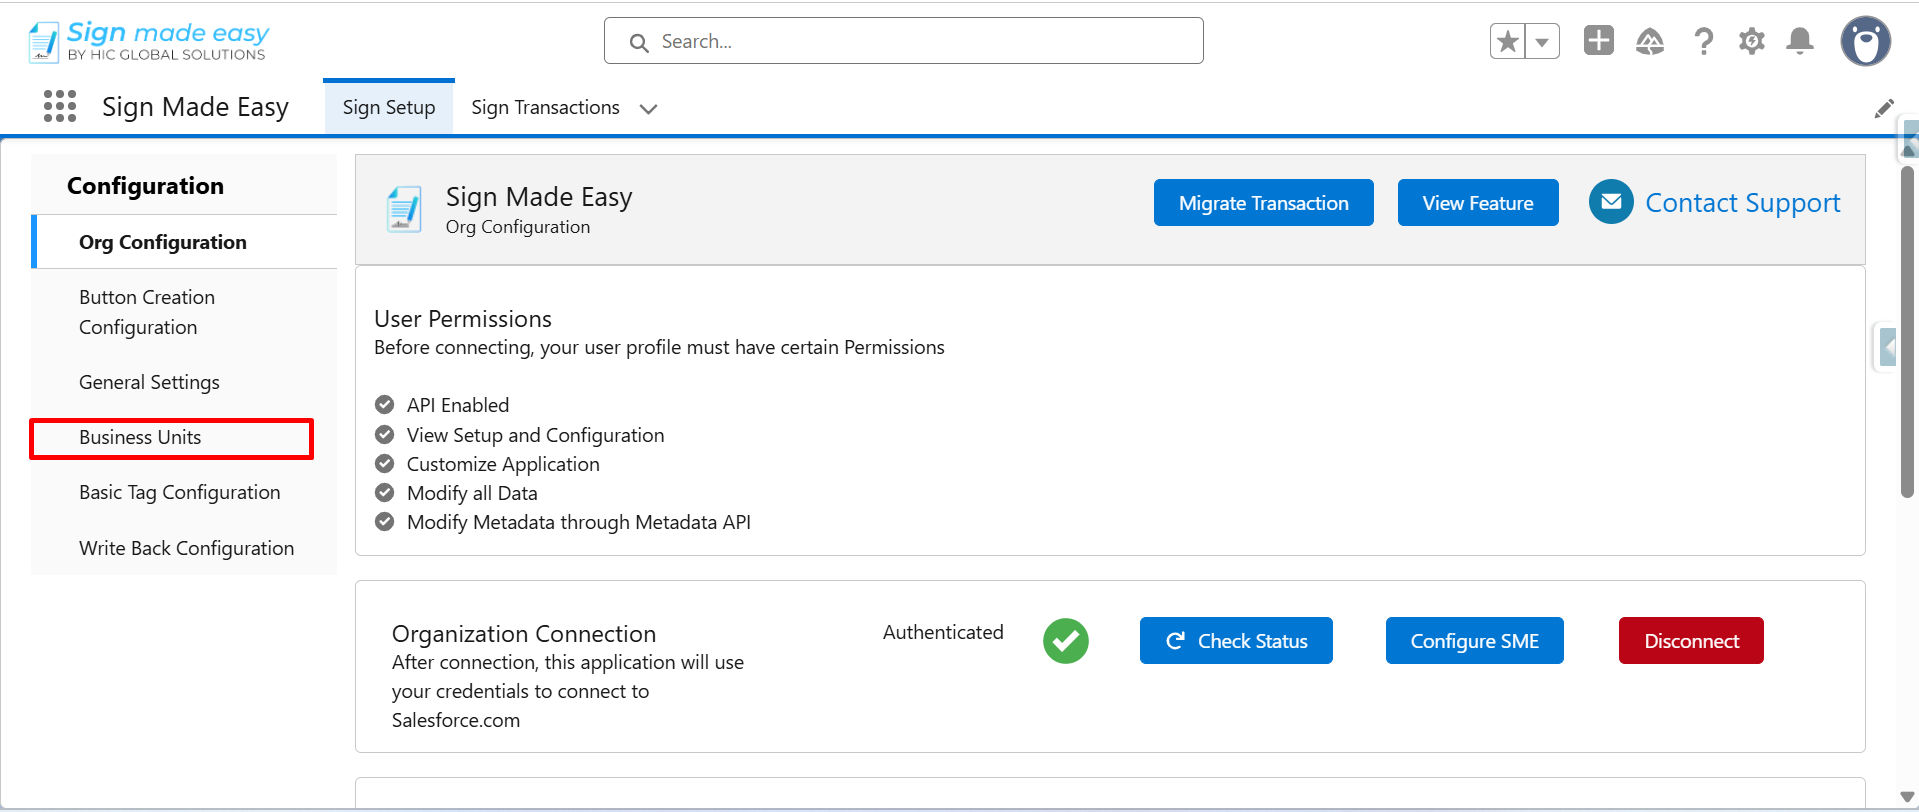
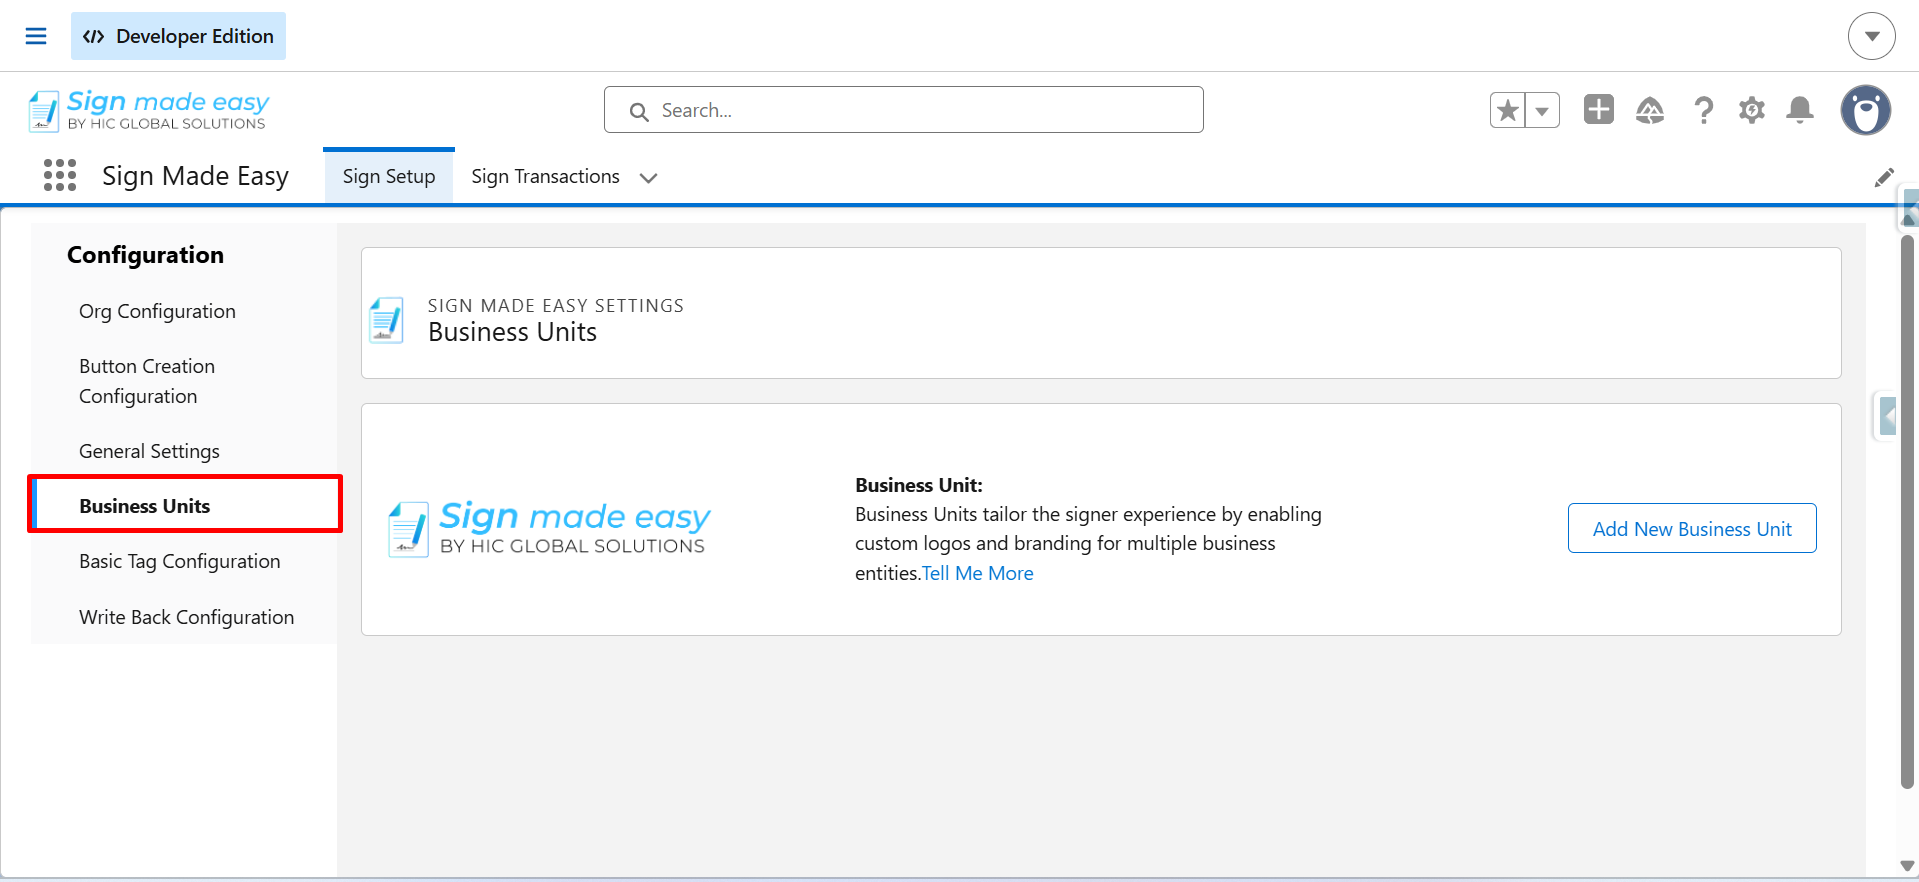
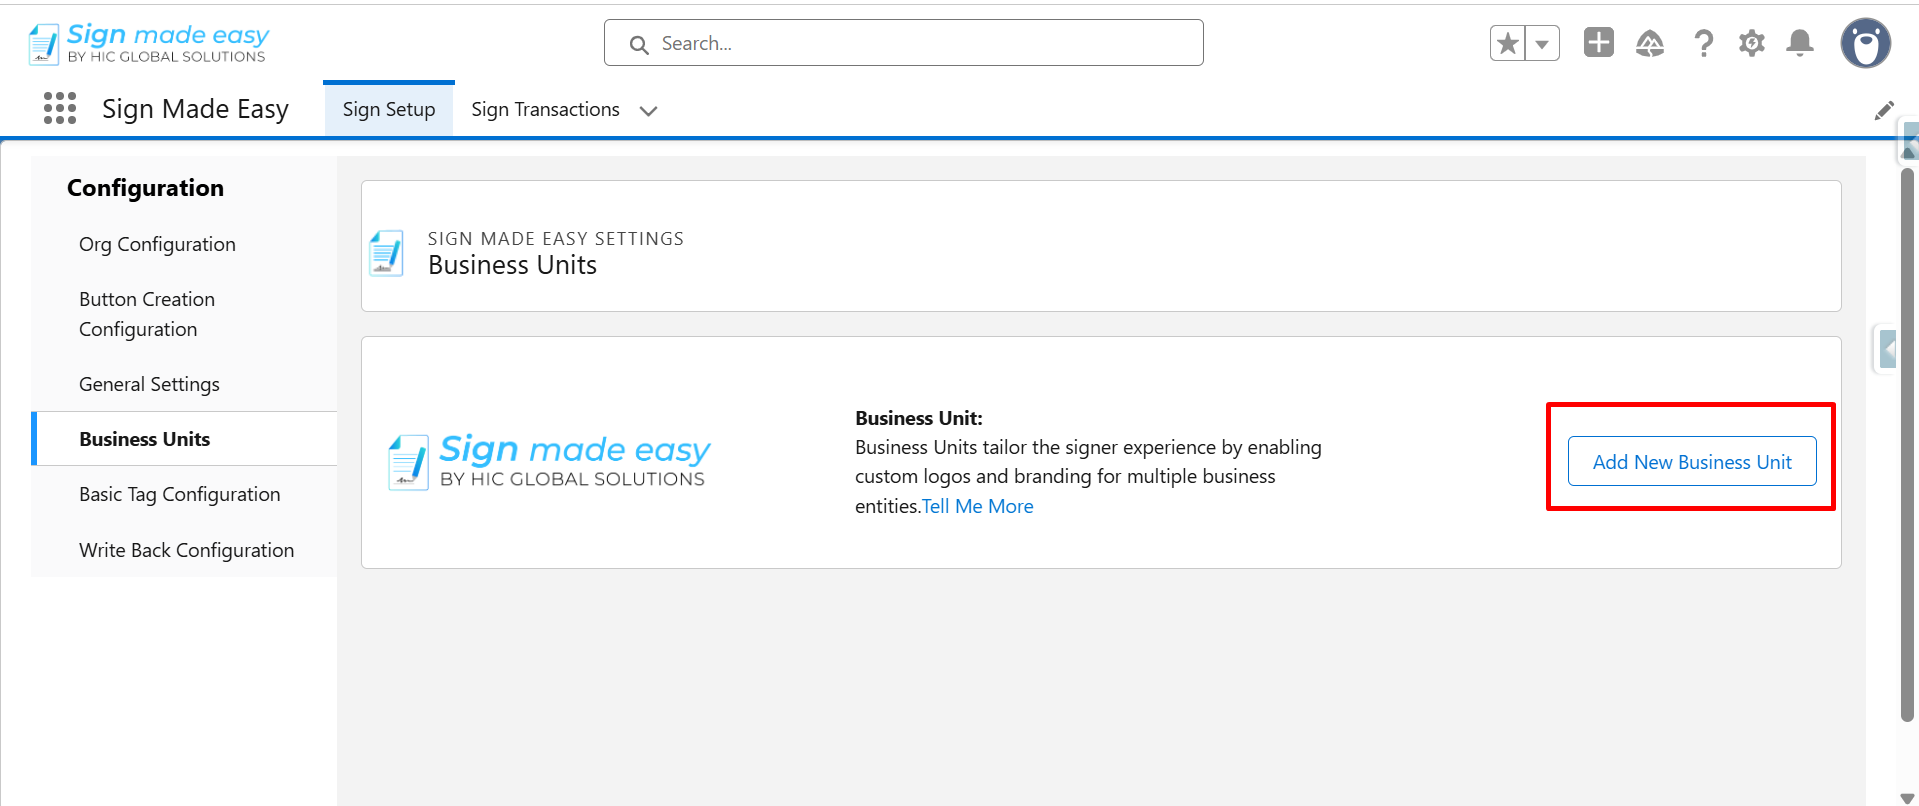
Step 3: Create a new Business Unit record. If a Business Unit record already exists and you want to use it, open the existing Business Unit and click the Edit Business Unit button to modify the record. Otherwise, click the Create New Business Unit button to create a new record.
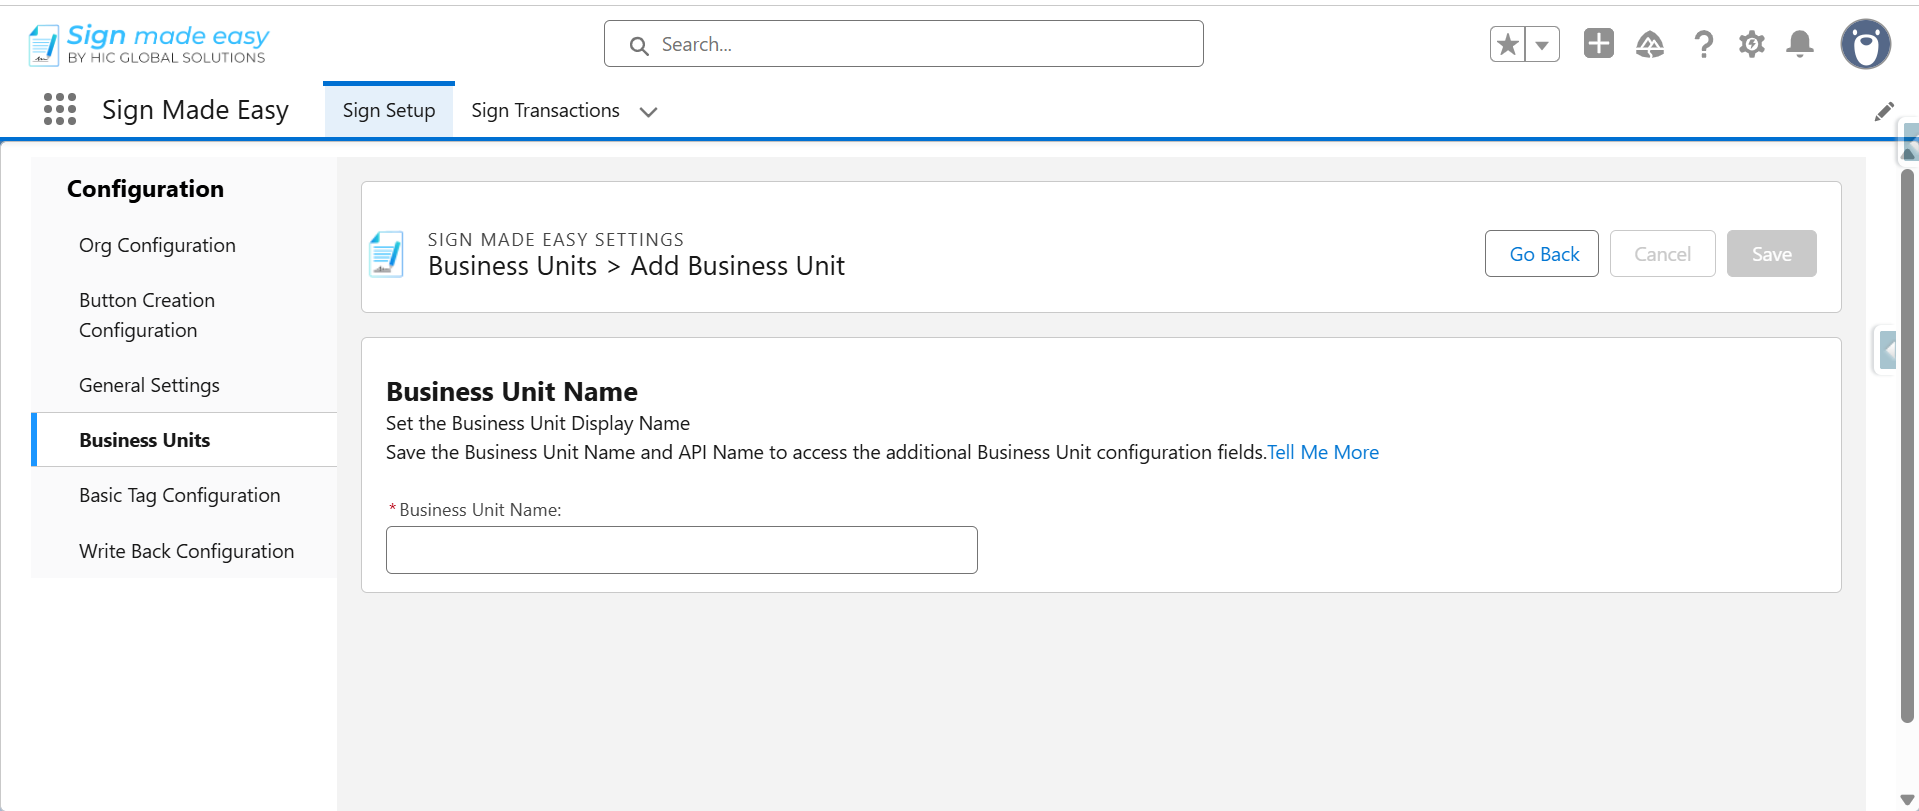
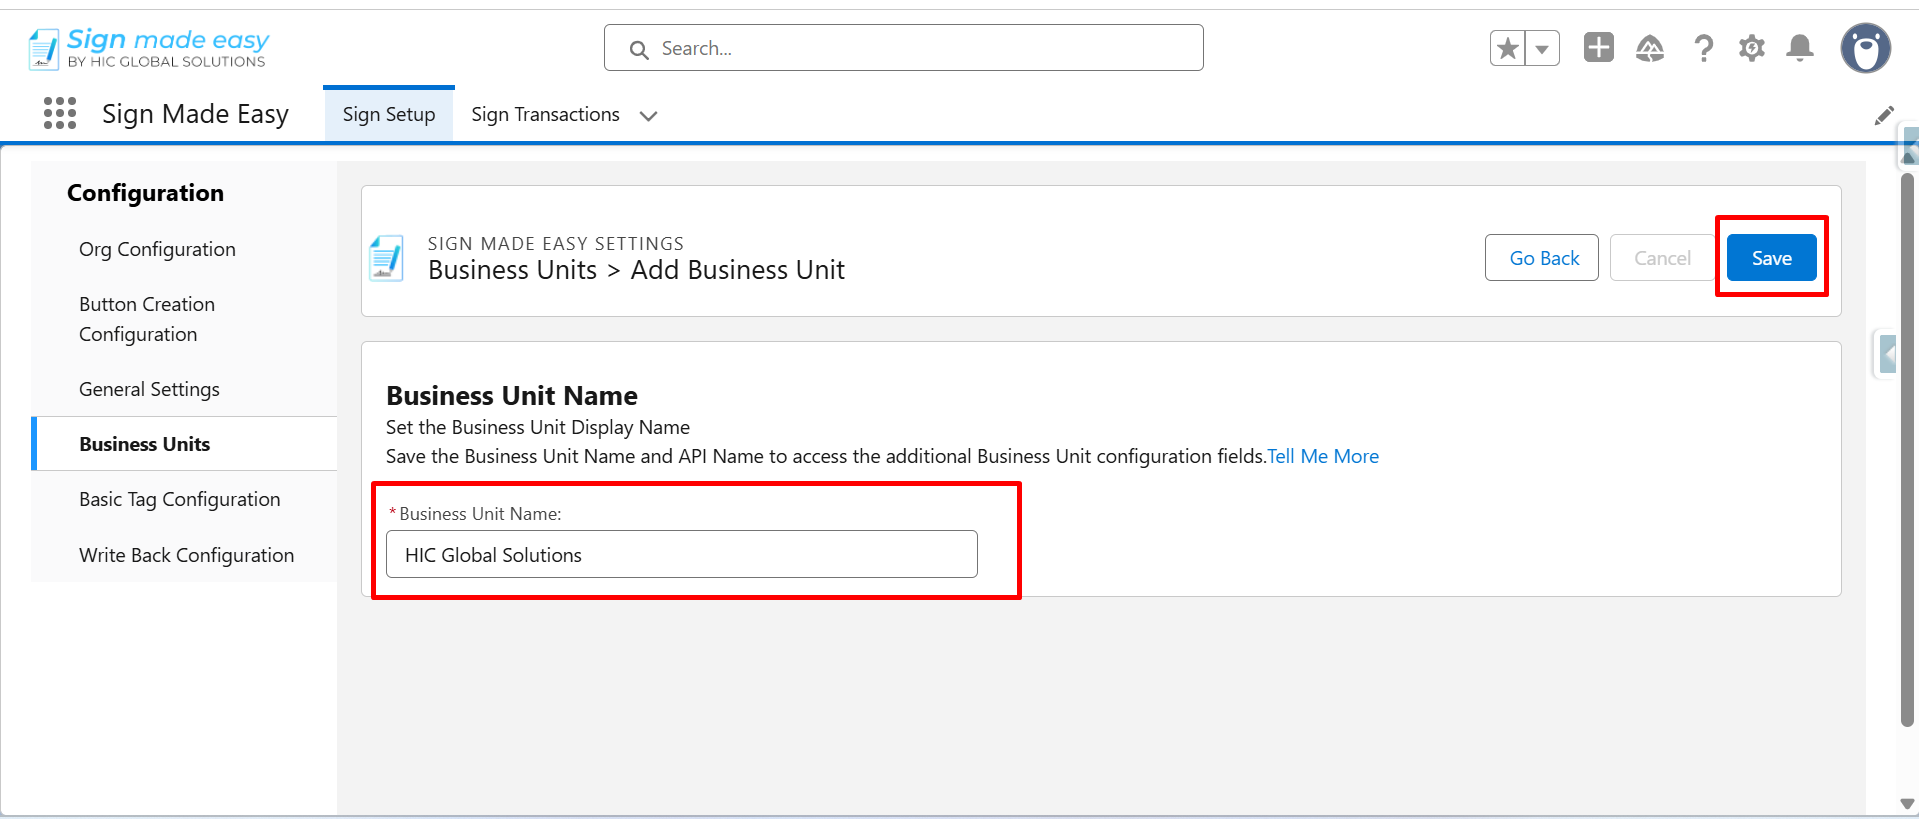
Step 4: Enter the desired Business Unit Name if you are creating a new Business Unit record, and click the Save button.
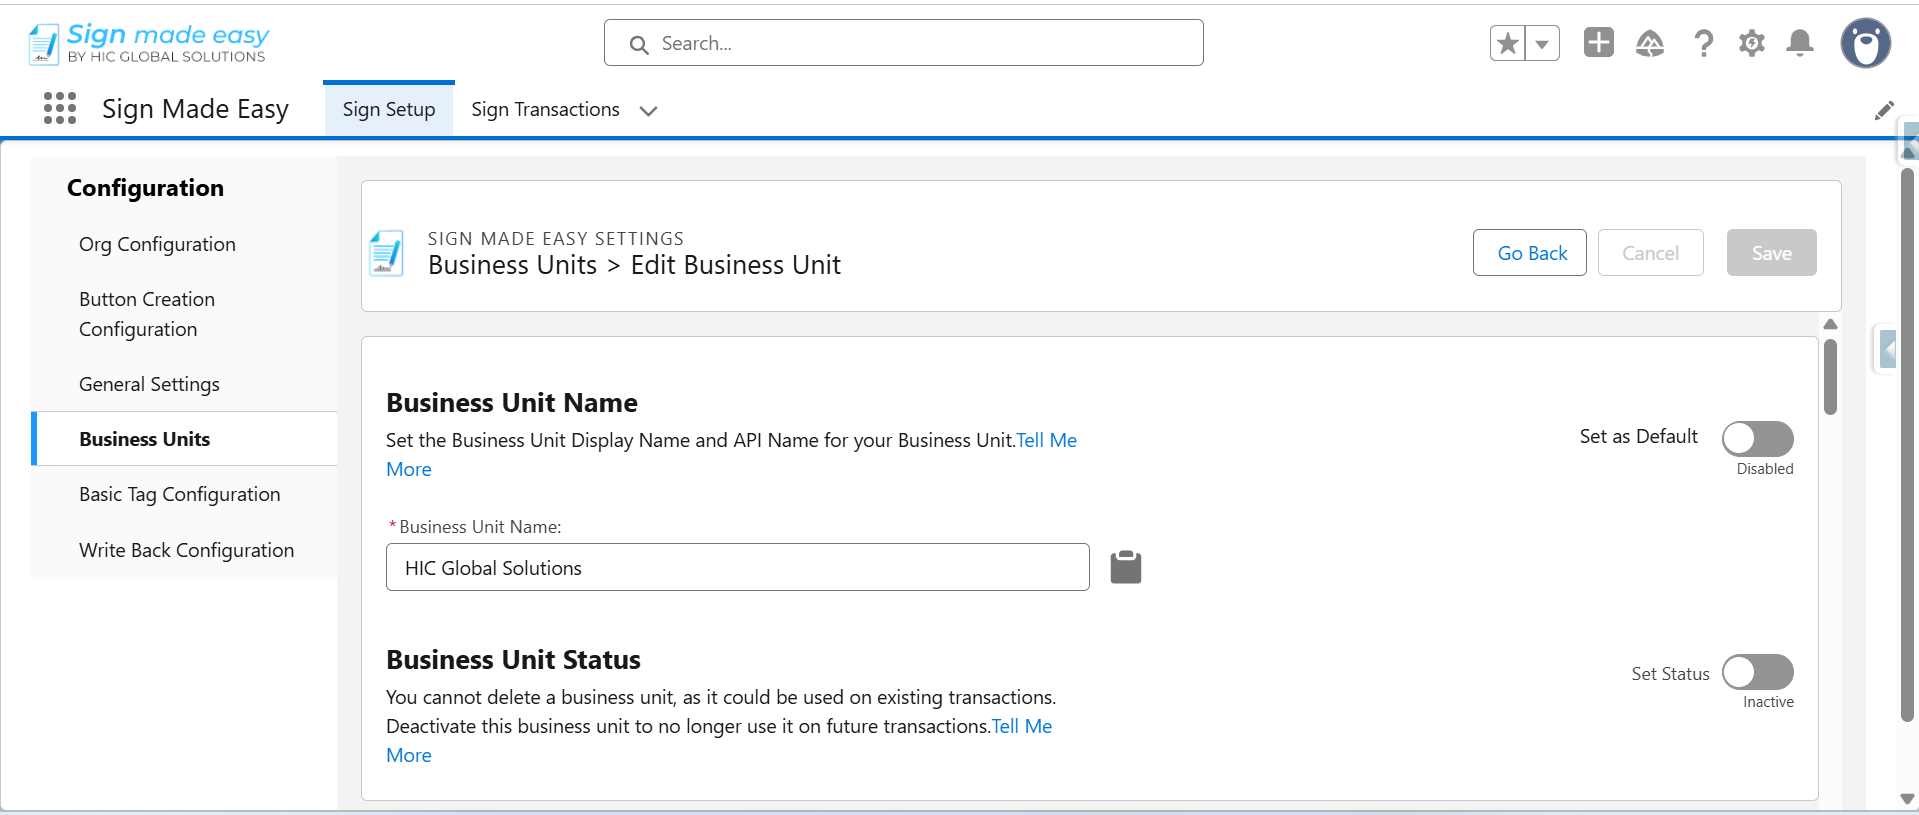
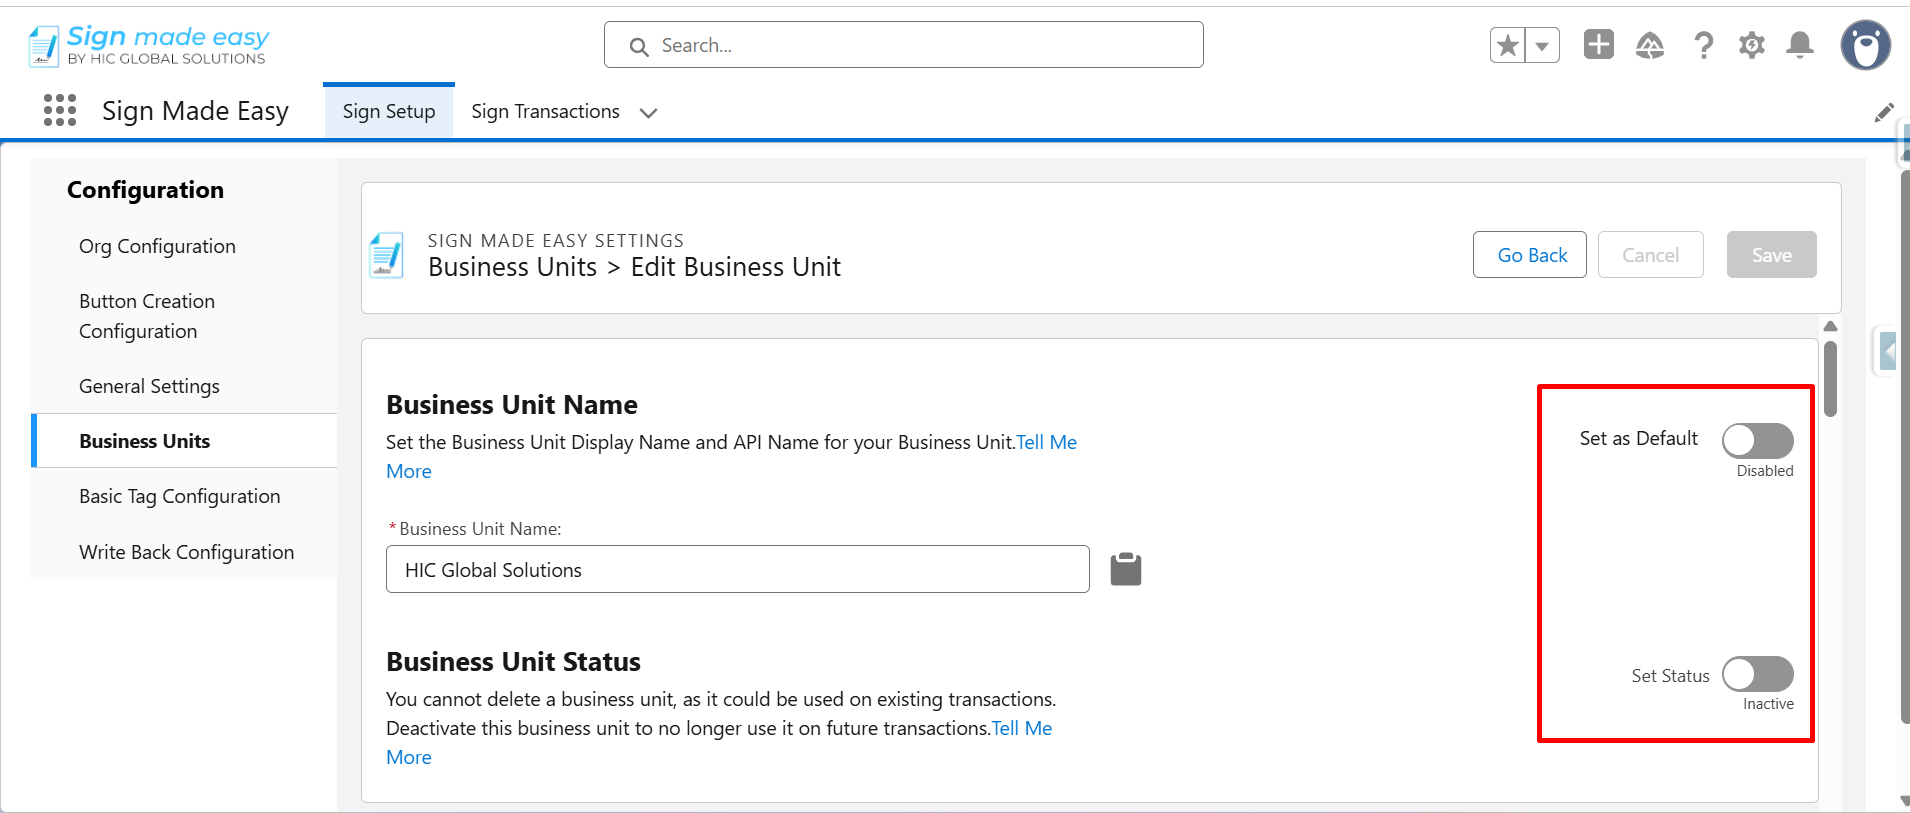
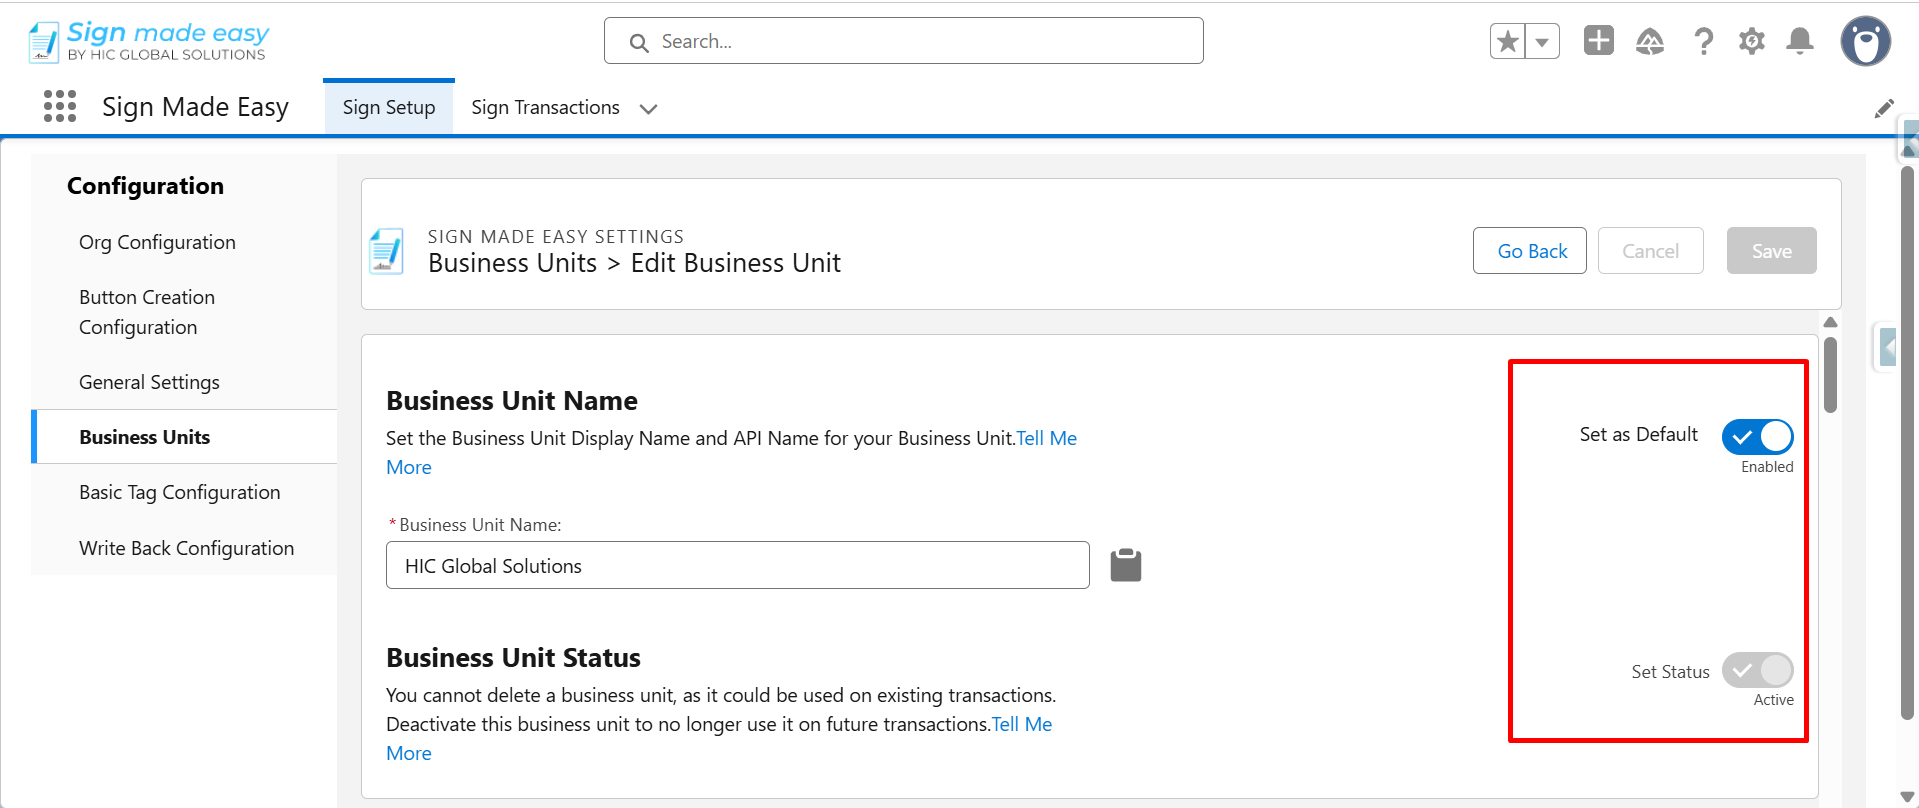
Step 5: Enable the Set Status or Set as Default toggle, depending on your requirement.
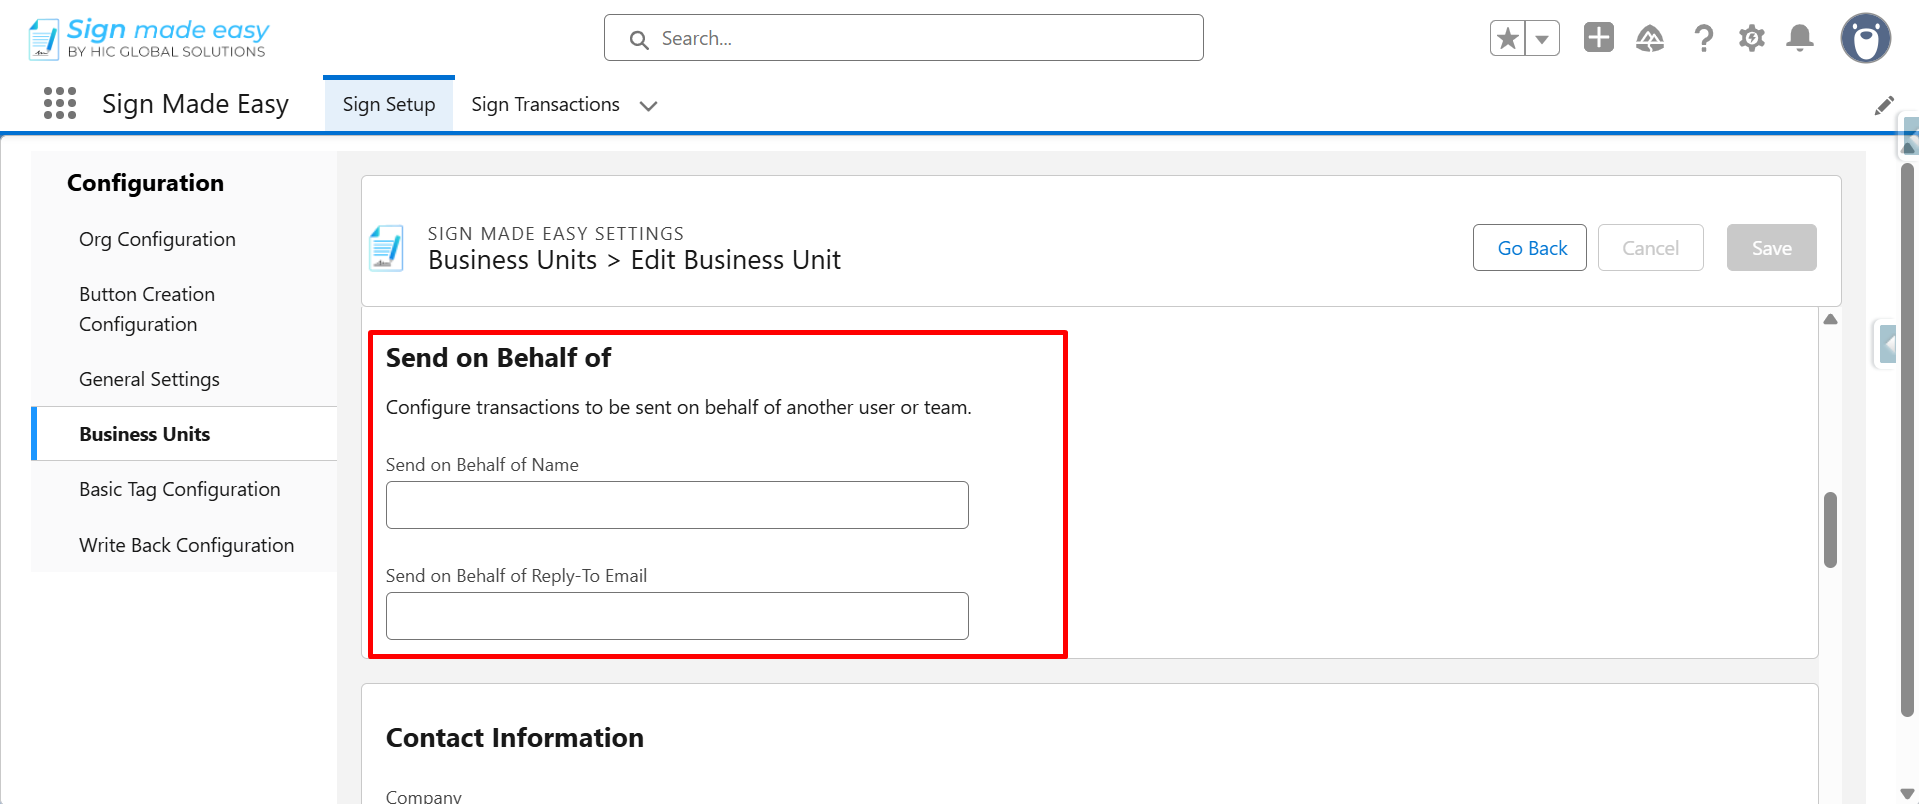
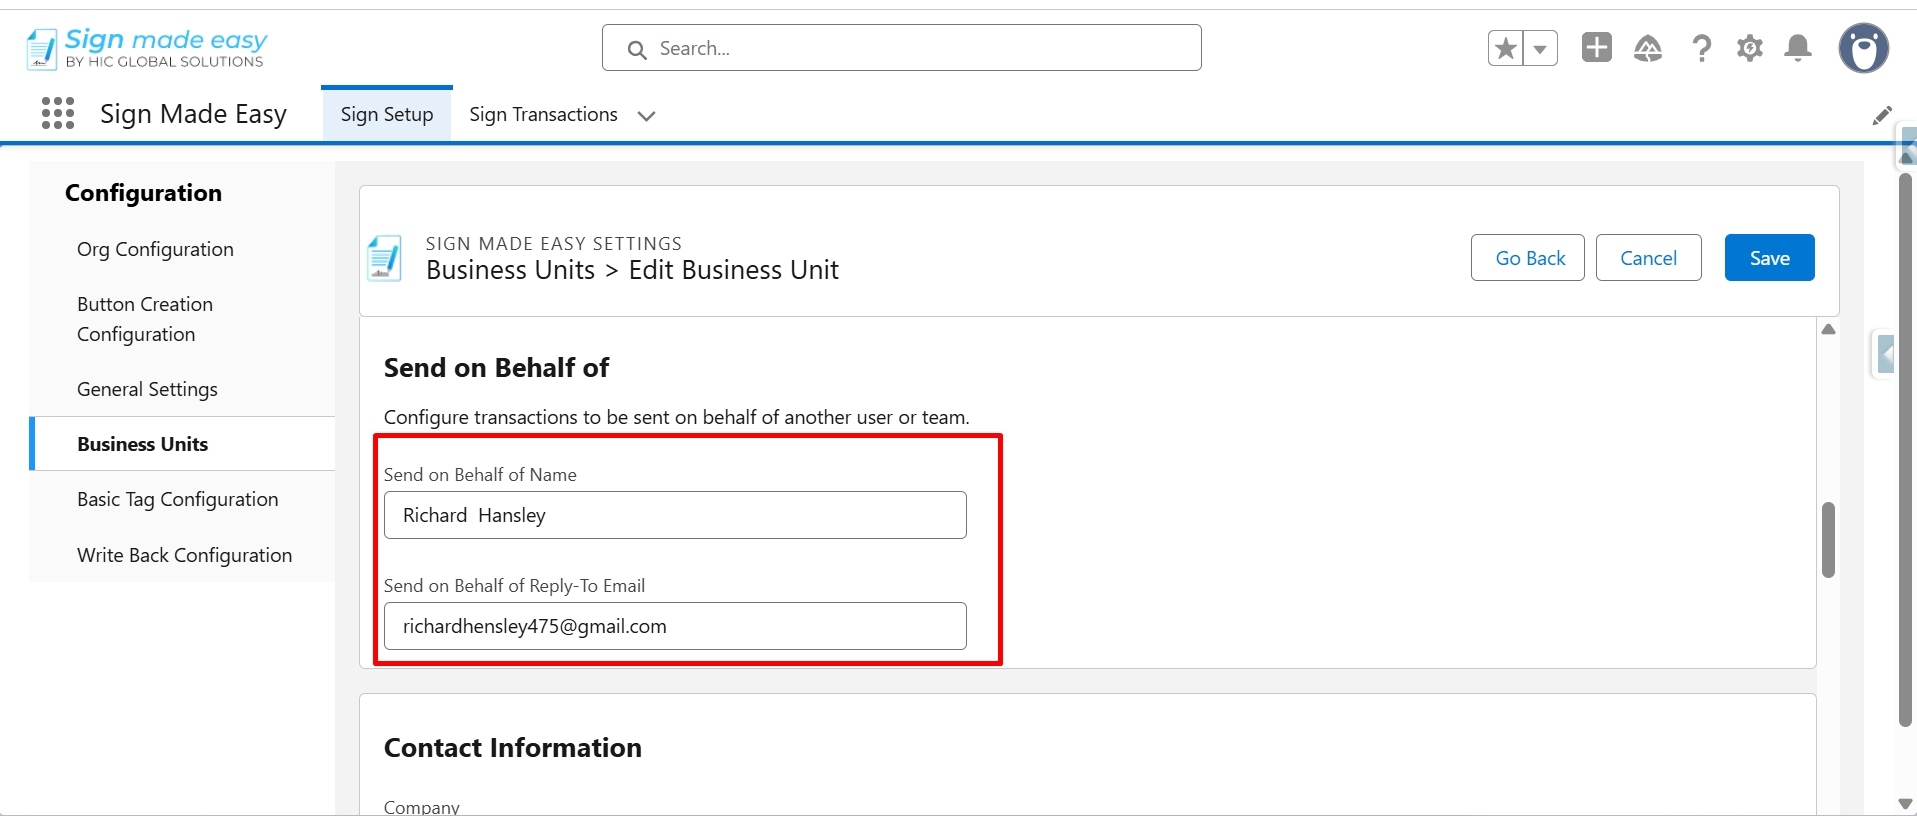
Step 6: In the Send on Behalf of section, enter the User Name and User Email Address to receive notifications about recipient actions.
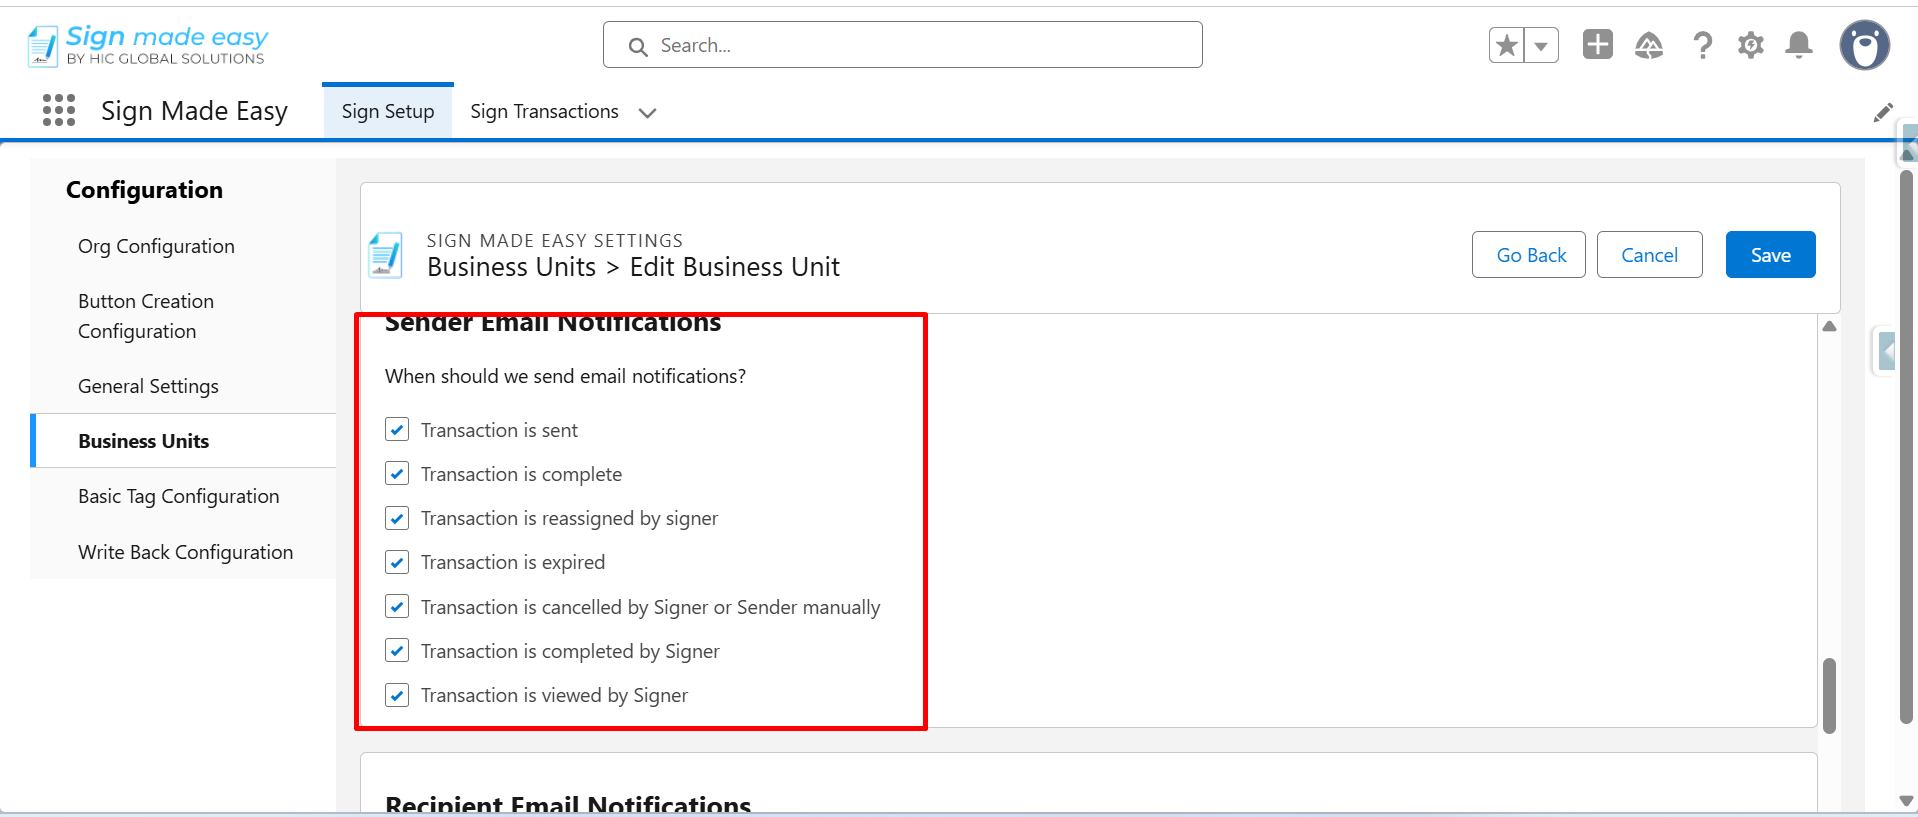
Step 7: Enable all Sender Email Notifications options, if they are not already enabled.
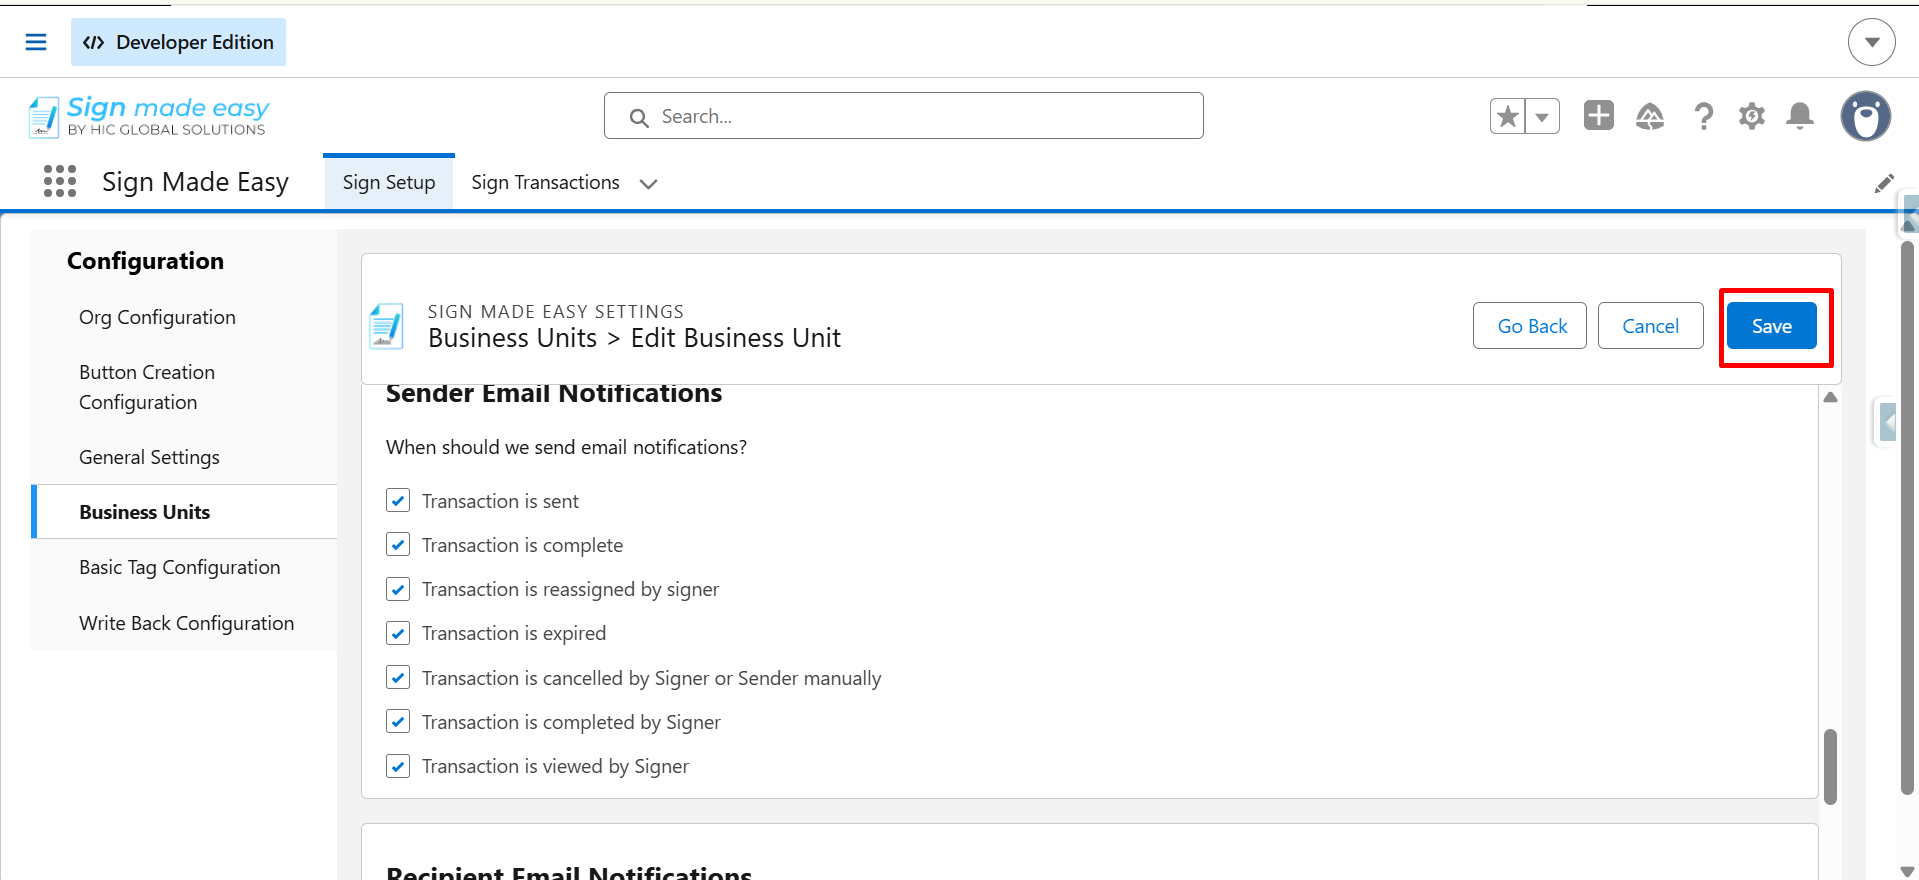
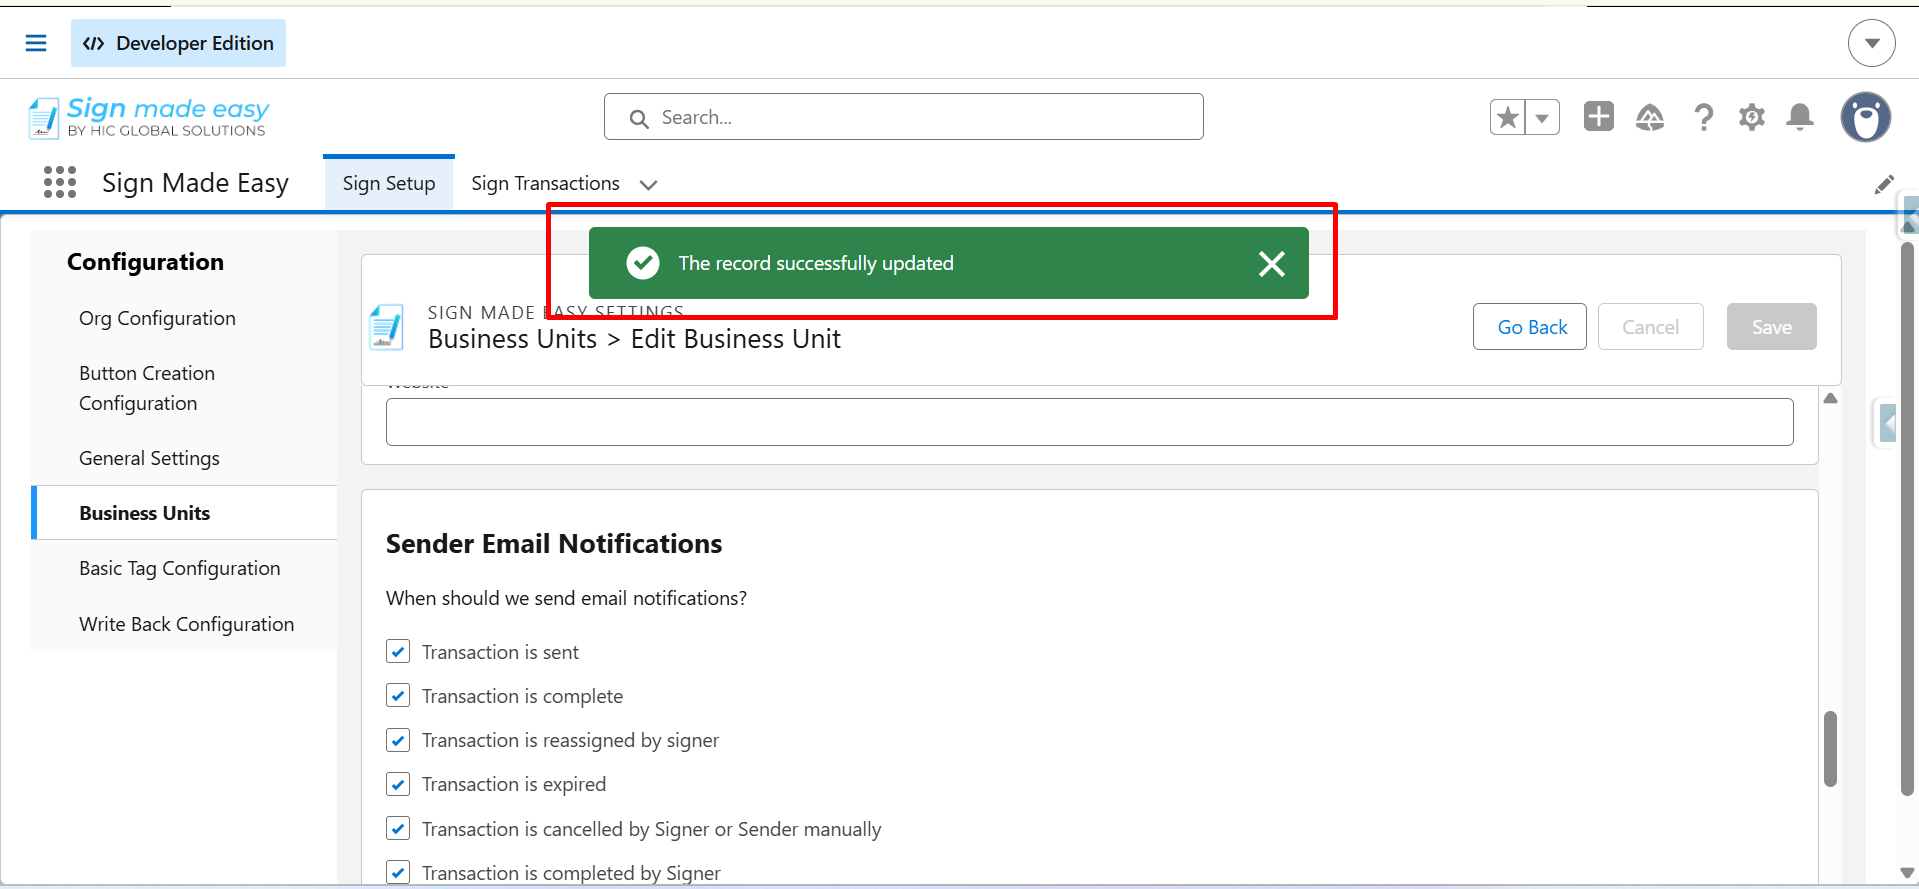
Step 8: Click the Save button to save the configuration. For more details about the Business Unit record configuration, refer to the Business Unit documentation.
After completing the configuration, send a document for e-signature to verify that the recipient action notifications are successfully sent to the configured user.
Step 9: Navigate to the App Launcher, search for the object on which the SME button is configured, and open the required record to send documents to recipients and receive notifications regarding recipient actions.
Note: For instructions on creating the SME button, refer to the following guide: How to Create Custom Button.
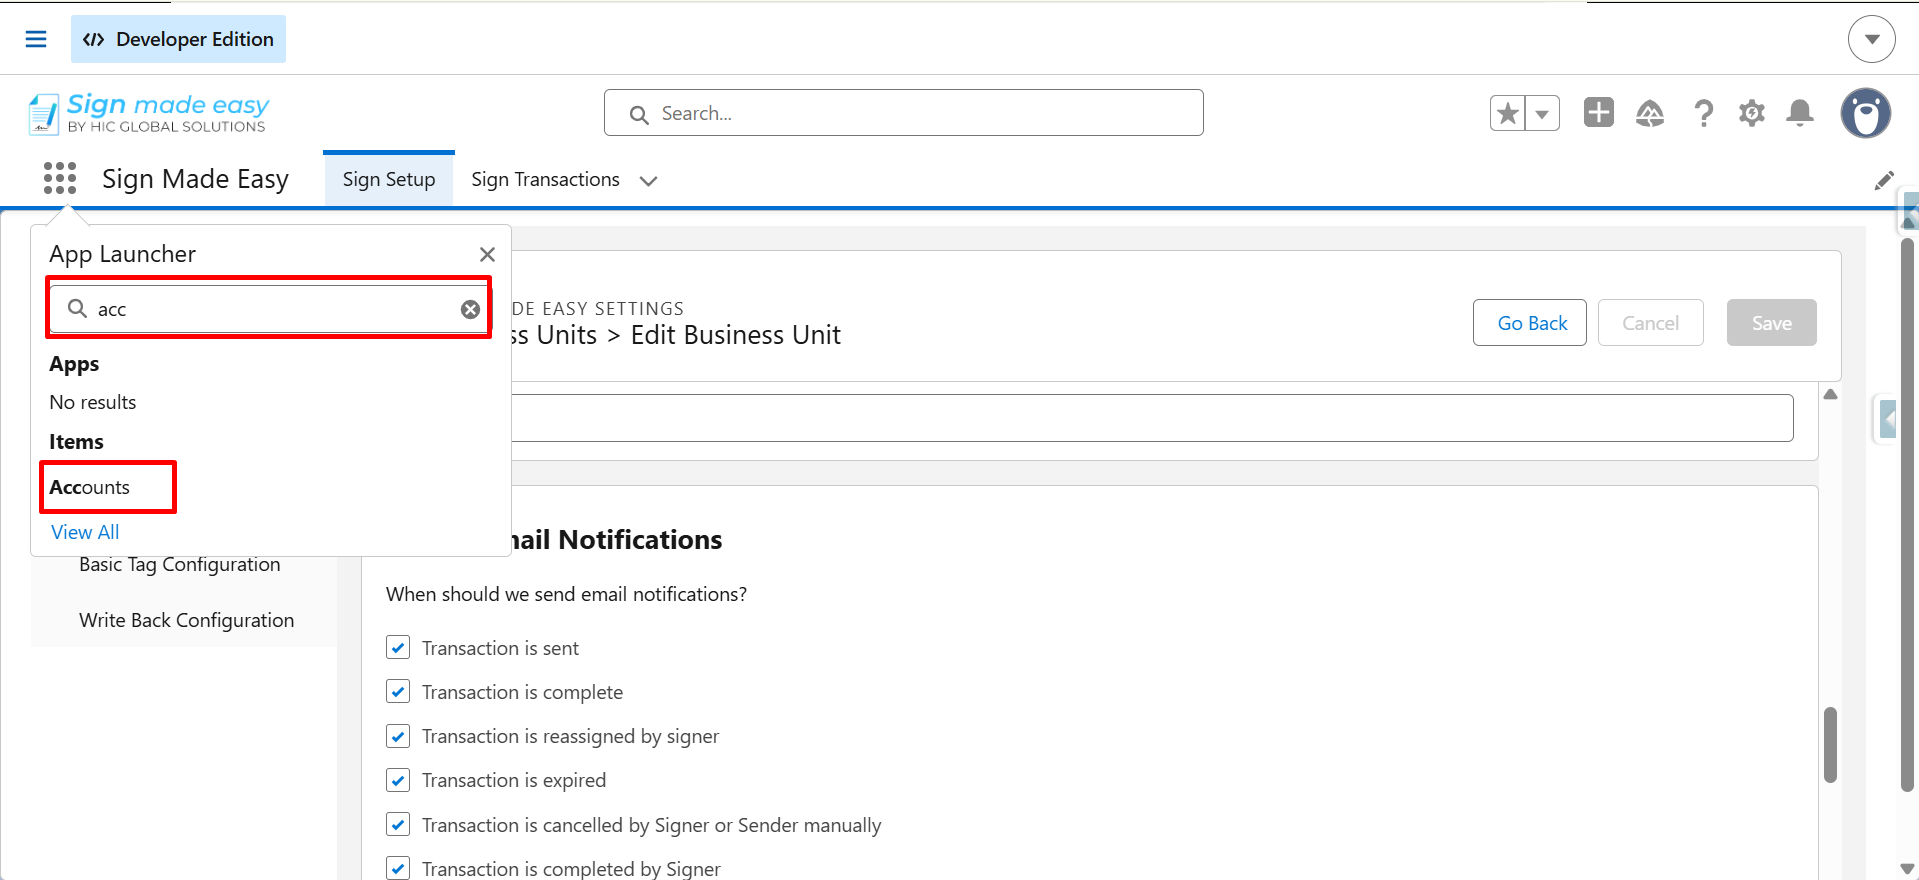
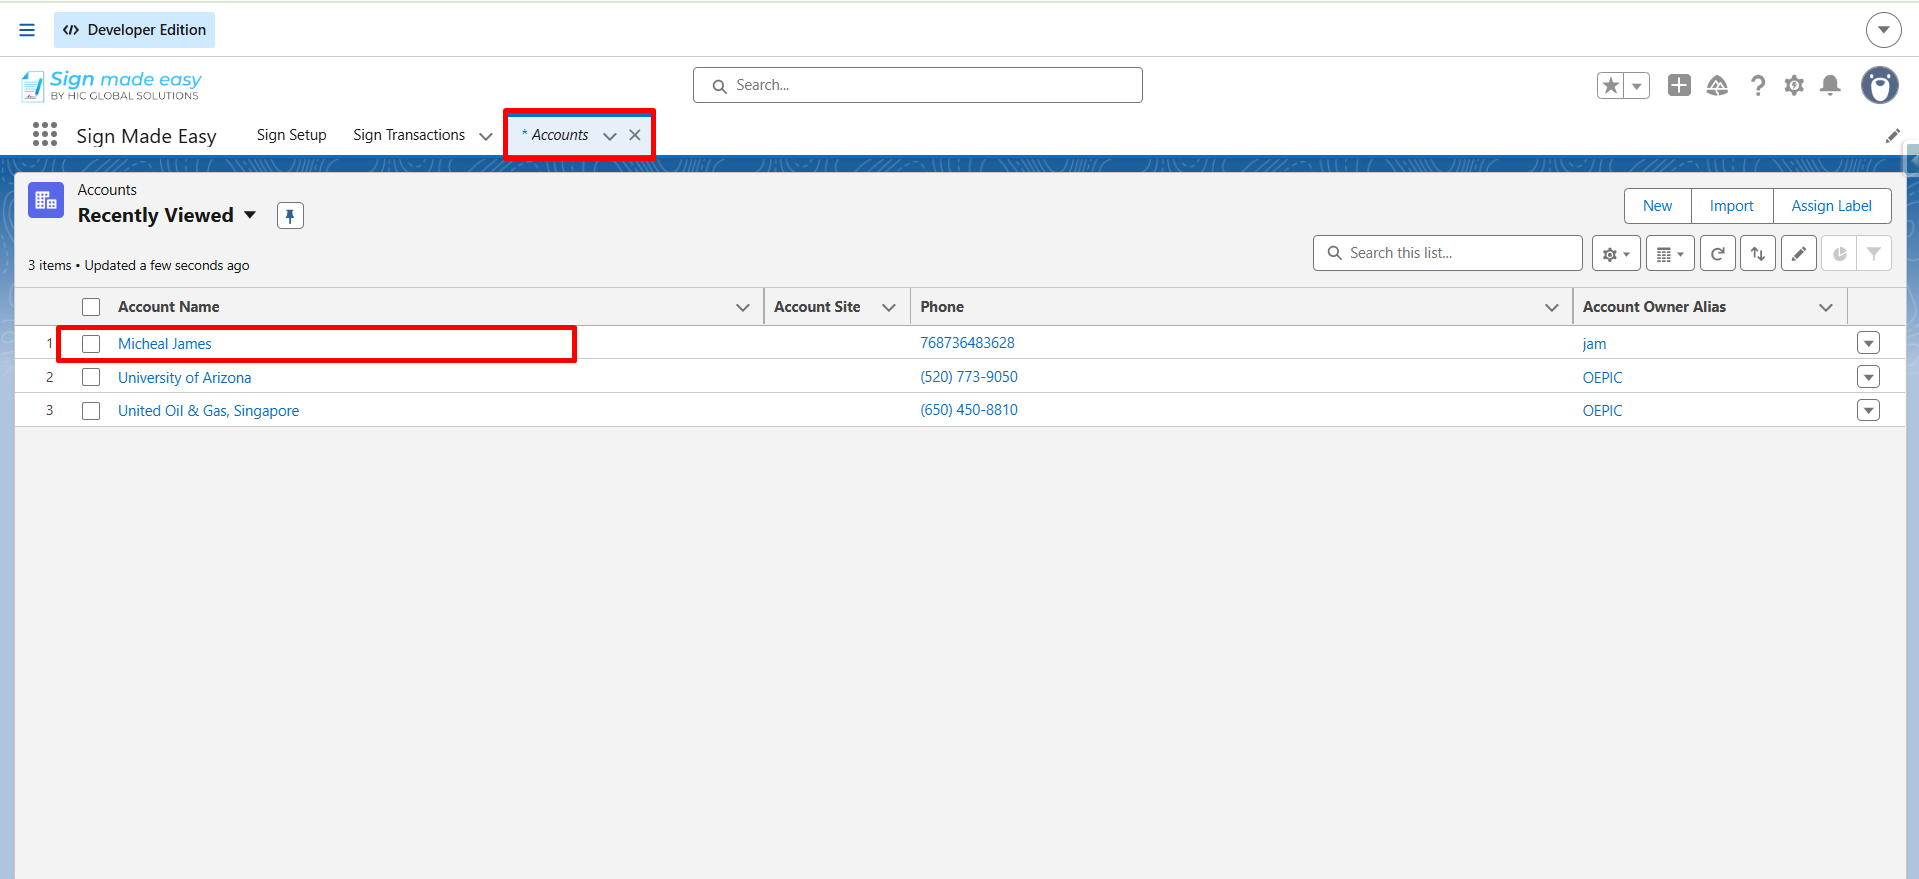
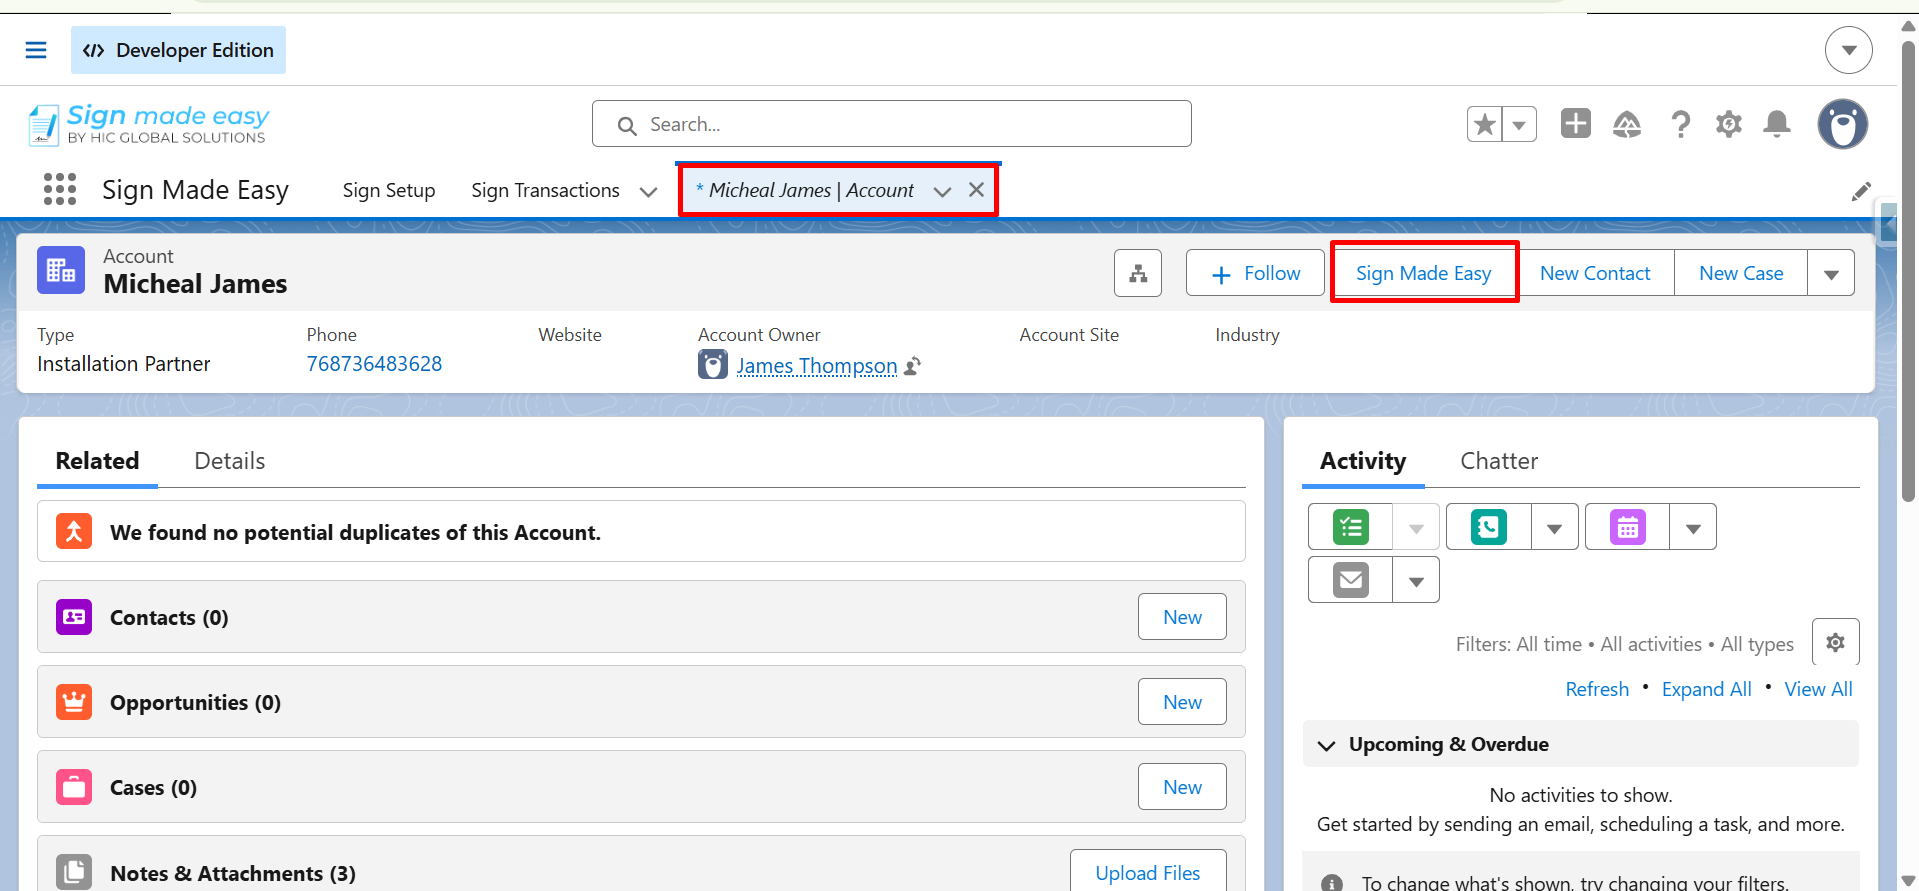
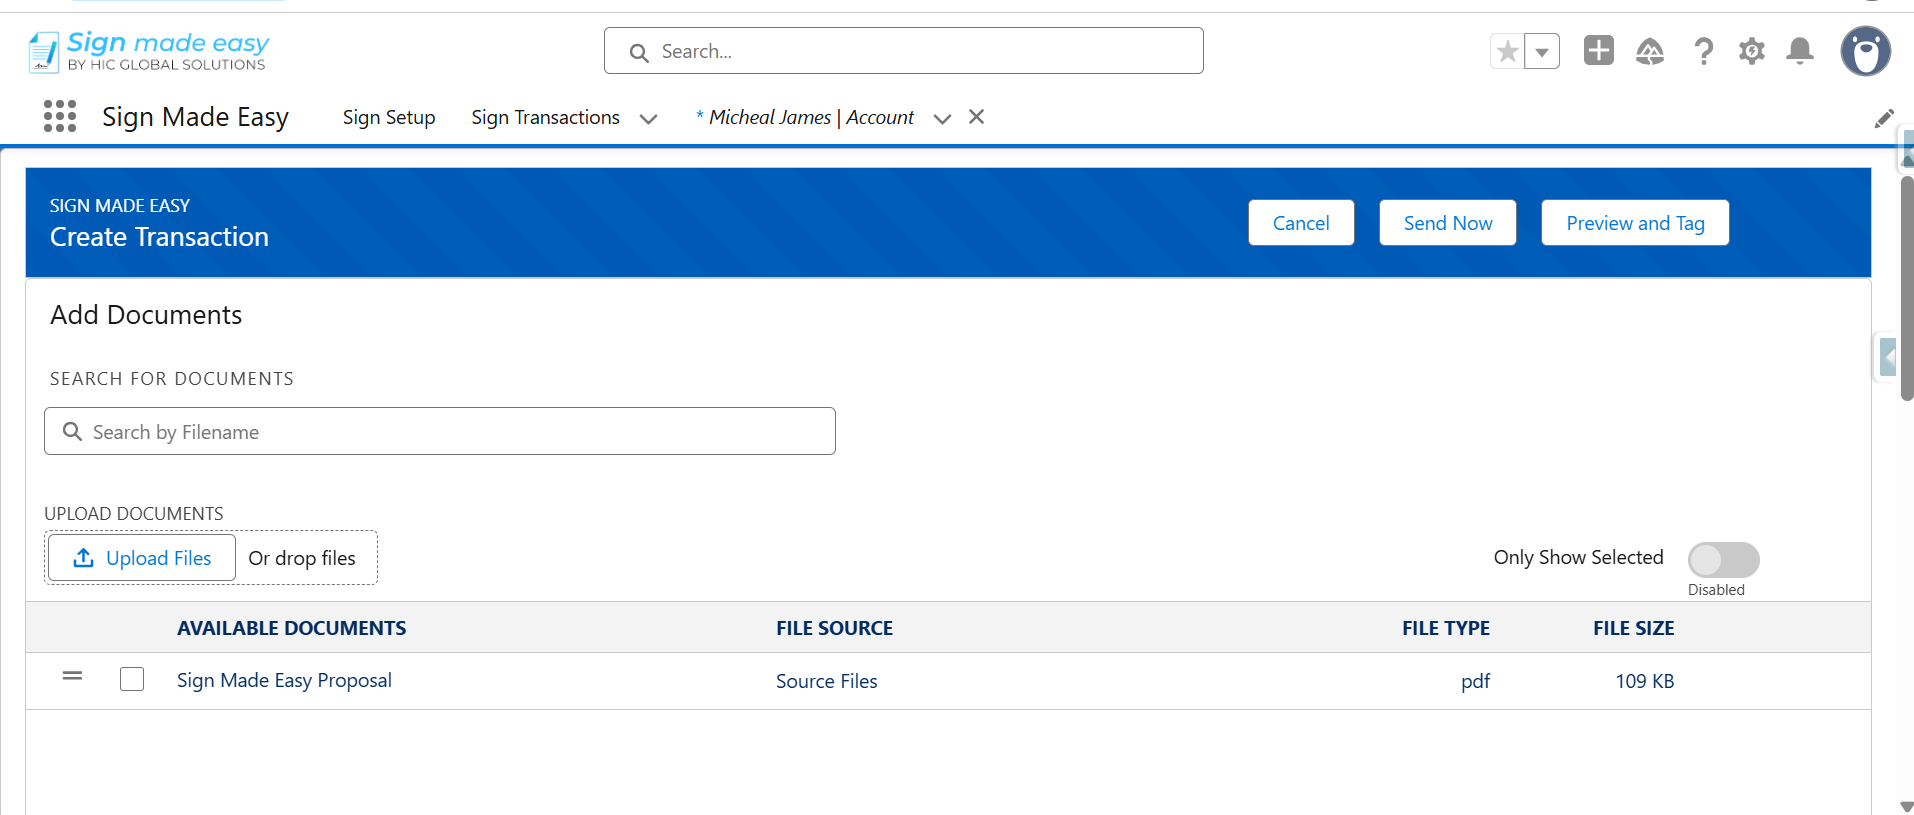
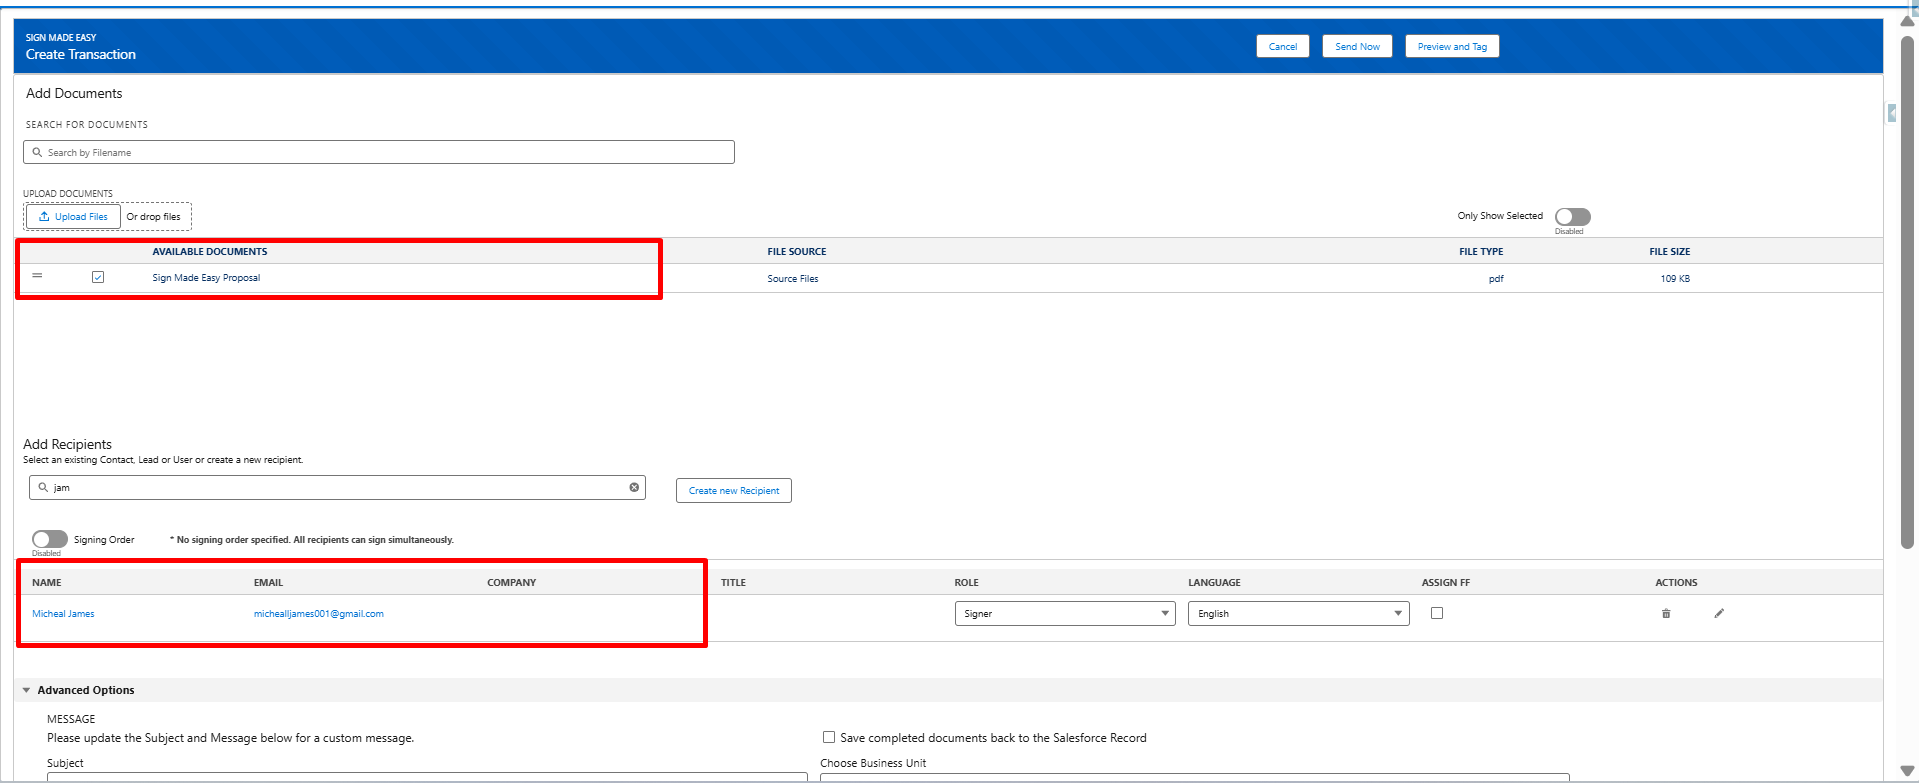
Step 10: Add or select the Documents and Recipients for the e-signature email.
Note: For detailed instructions on sending documents for e-signature, refer to this step-by-step: E-sign document sending guide.
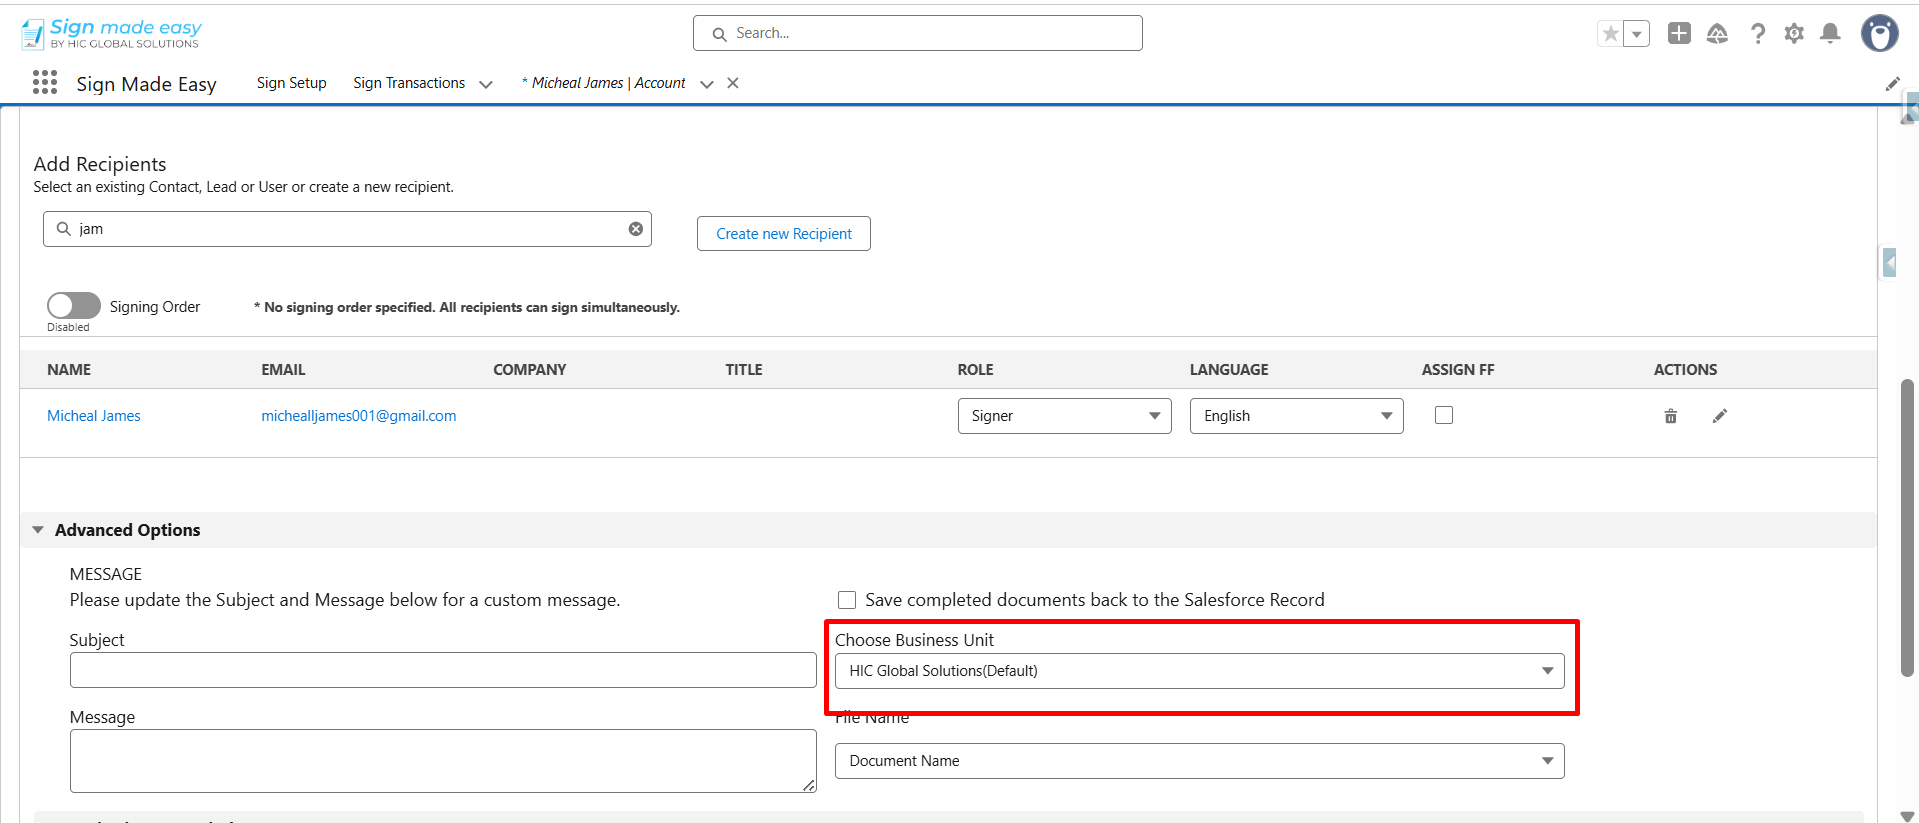
Step 11: Select the Business Unit where you added the user details for receiving recipient action notifications, if it is not already set as the default.
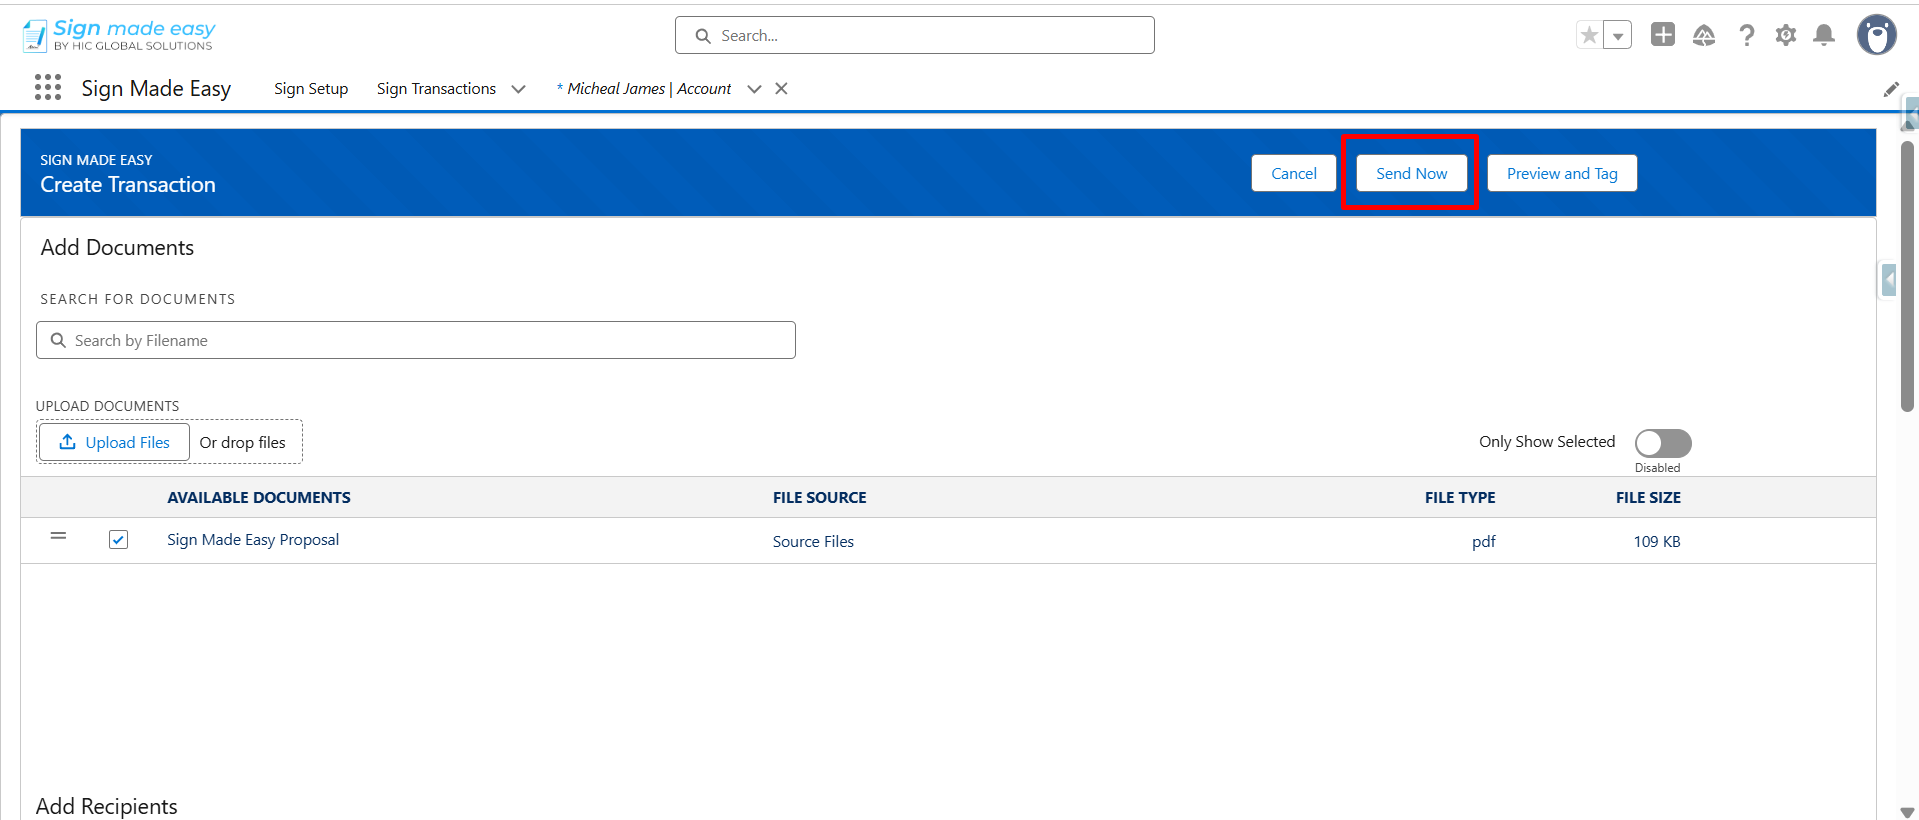
Step 12: Click the Send Now button to send the email directly.
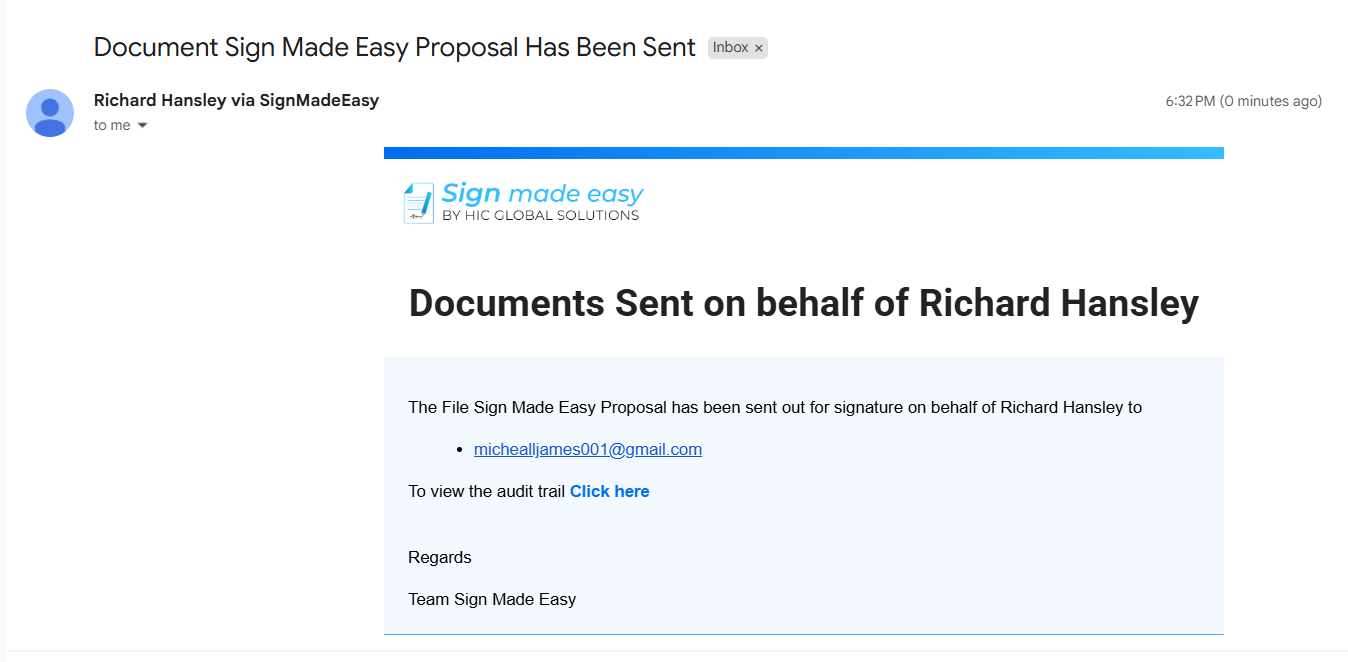
Step 13: Once the document is sent, the configured user will receive a Document Sent email notification.
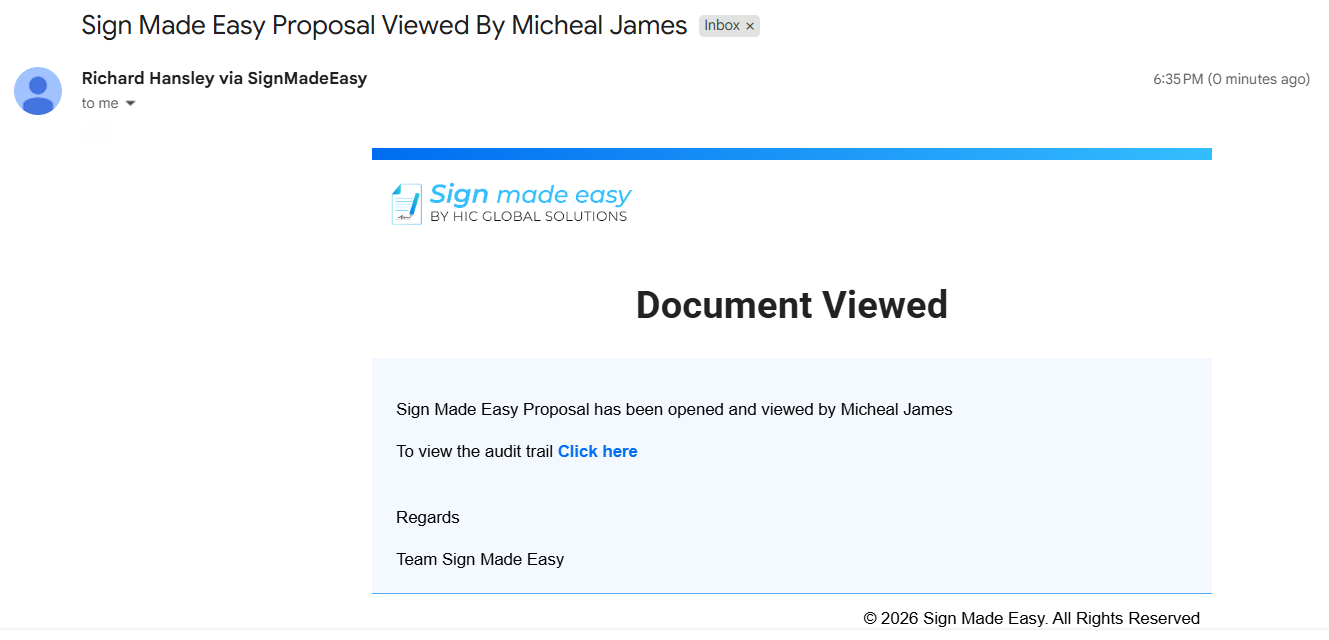
Step 14: When the recipient views the email to begin the e-signature process, the configured user will receive a Document Viewed email notification.
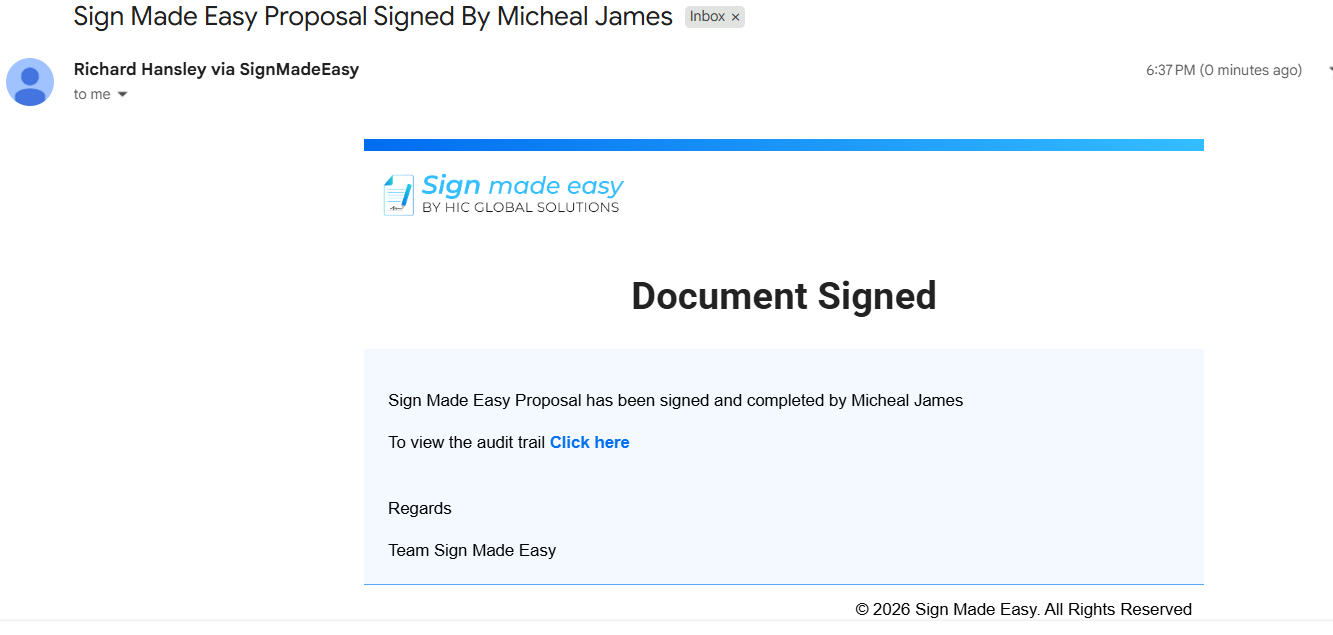
Step 15: When the recipient completes the e-signature process, the configured user will receive a Document Signed email notification.
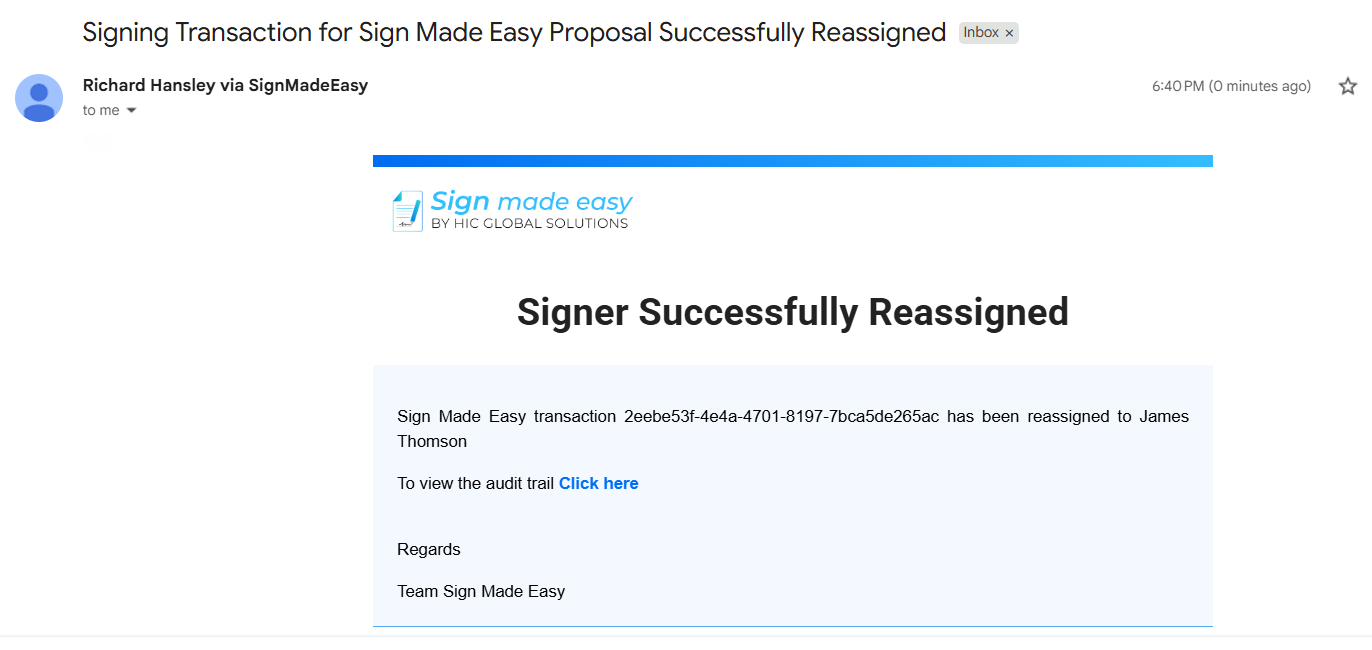
Step 16: If a recipient reassigns the e-signature process to another authorized recipient, the configured user will receive a Signer Reassignment email notification. Indicating that the signing responsibility has been reassigned to another recipient.
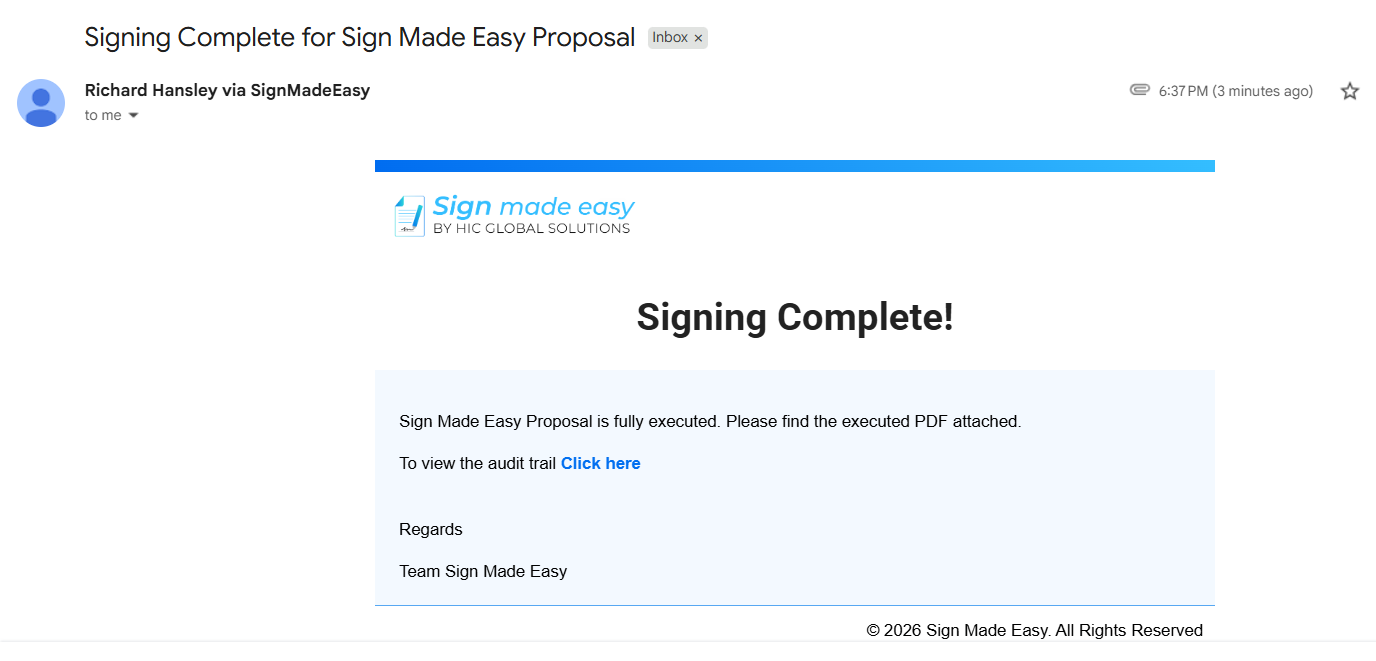
Step 17: After all parties have successfully completed the e-signature process, the configured user will receive a Signing Completion email notification confirming that the e-signature process has been completed successfully.
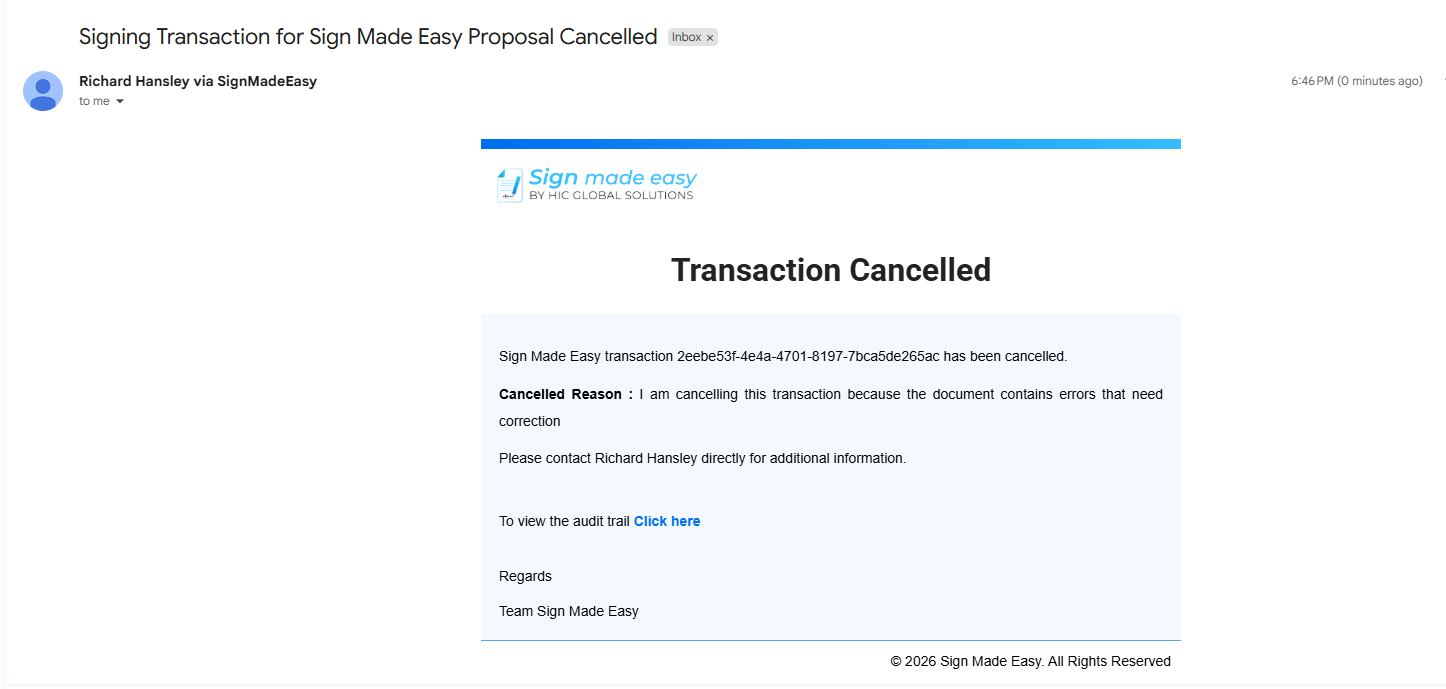
Step 18: If any party cancels the transaction during the e-signature process, the configured user will receive a Transaction Cancelled email notification informing them that the transaction has been cancelled.
Conclusion
By following the above steps, you will successfully set up recipient action notifications and ensure that the designated user receives updates at each important stage of the e-signature process. This helps enterprise teams maintain better visibility and keep document workflows on track.
It also reduces the need for manual status checking and ensures that important recipient actions are communicated to the right users. For further queries, please contact us at Support@signmadeasy.com.