




How to Redirect Recipients to an External Website After Completing an eSignature in Salesforce

Share article via
Posted on July 28, 2026
By Team Sign Made Easy | 2 Mins Read
TL;DR
TL;DR: After recipients complete the signing process using Sign Made Easy, a Salesforce eSignature solution, organizations can configure a redirect URL to guide them to a specific webpage, enhancing the user experience. To set this up, navigate to the Sign Setup page in the app, enter the desired Redirect URL, and follow the steps to send documents for signing. Once the recipient finishes signing, they will see a Thank You page and be automatically redirected to the configured URL. This feature streamlines the signing journey and keeps it aligned with business workflows.

Once recipients complete the signing process, organizations may want to guide them to a specific webpage, such as a confirmation page, company website, or next-step resource. Sign Made Easy, a Salesforce native eSignature for Salesforce solution, allows you to configure a redirect URL so recipients are automatically moved to the desired location after signing.

Here are the steps to configure the redirect URL after completing the signing process.

Note: Redirect to Other Site after signing, the organization user must configure a Redirect URL in the Sign Setup page.

If this URL is not configured, the recipient will not be redirected to any external website after completing the signing process.

Step 1: Navigate to the App Launcher, enter Sign Made Easy in the search bar, and select the Sign Made Easy application from the search results to open it.
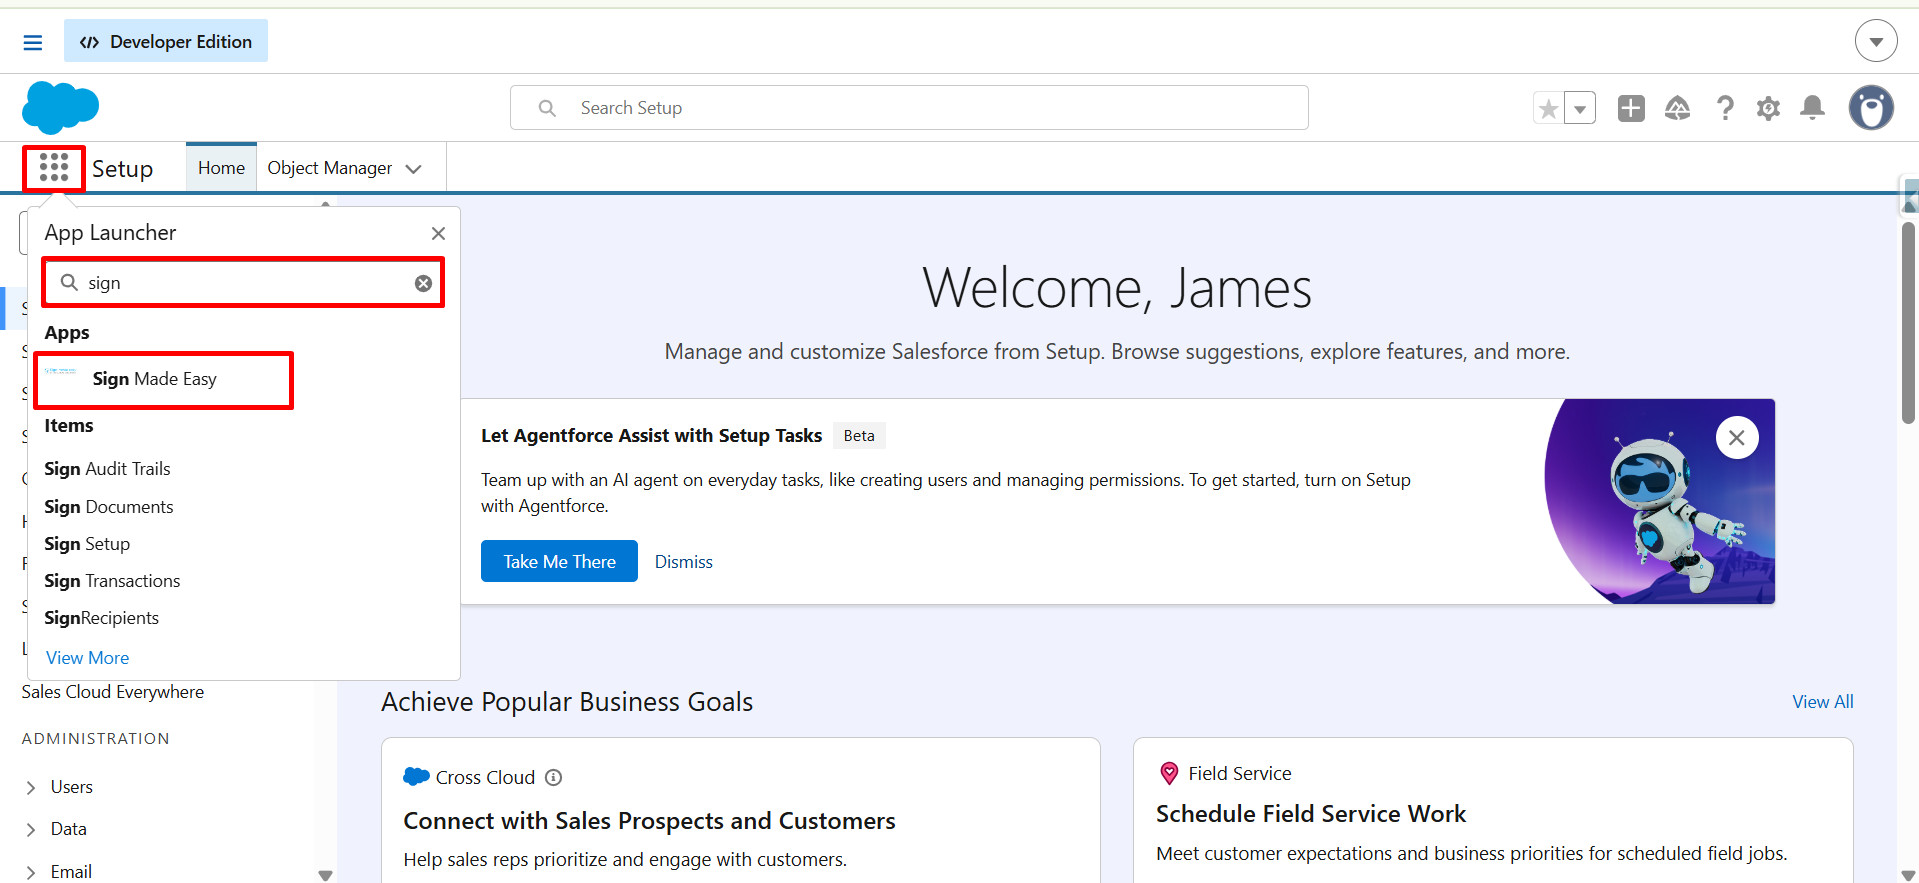
Salesforce App Launcher showing the Sign Made Easy app search result in Developer Edition.


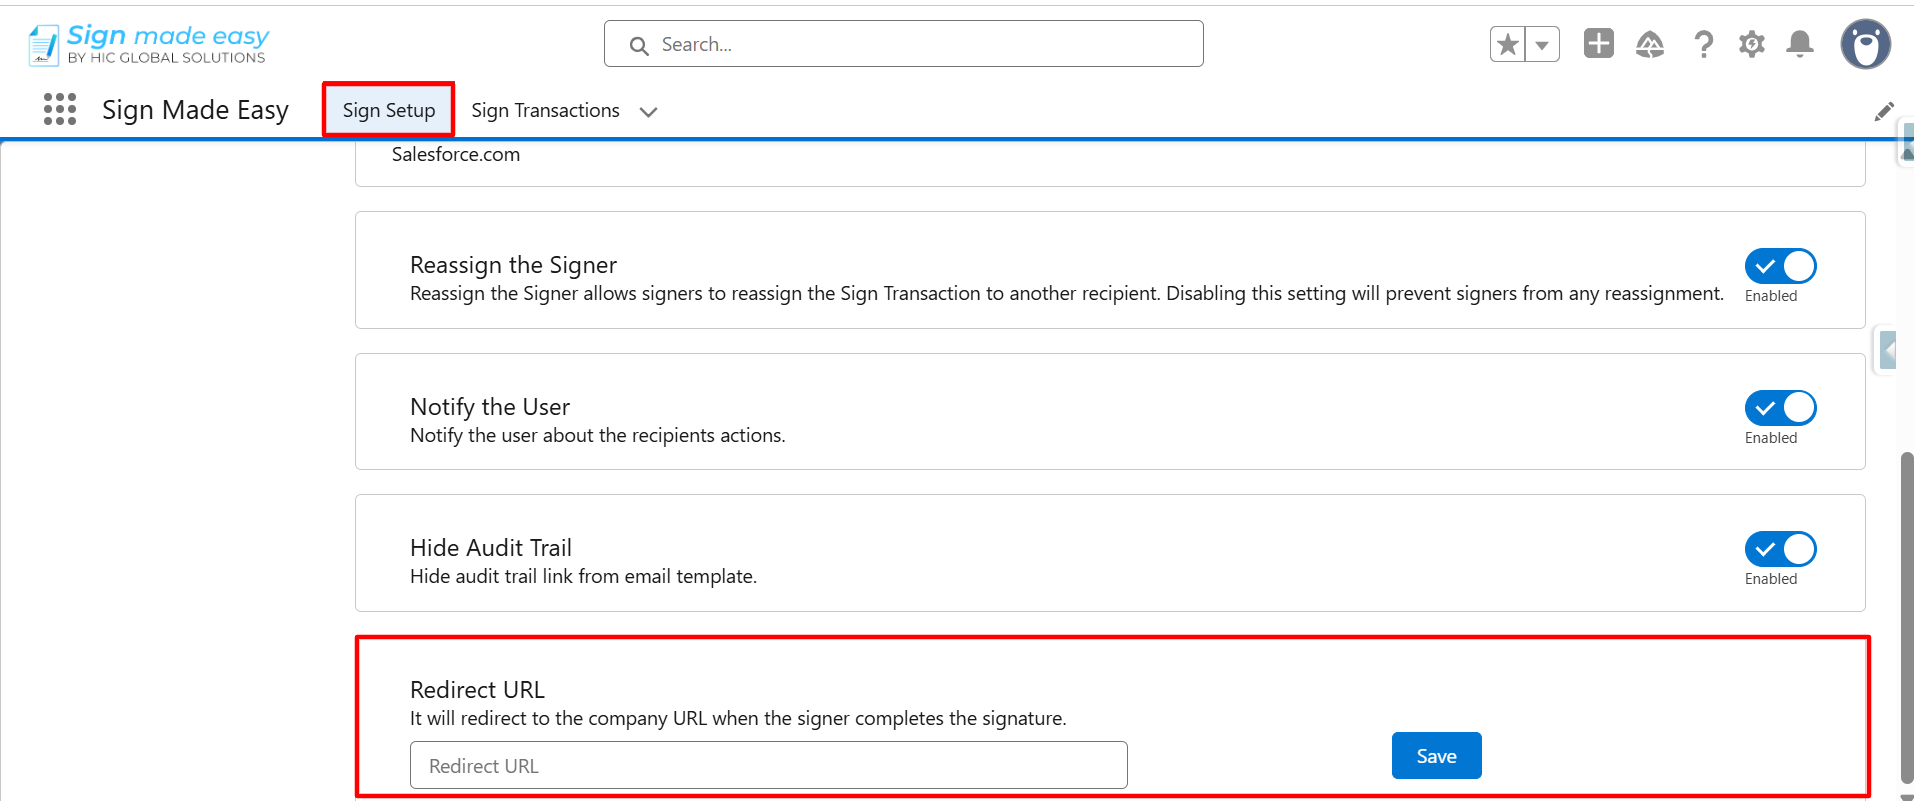
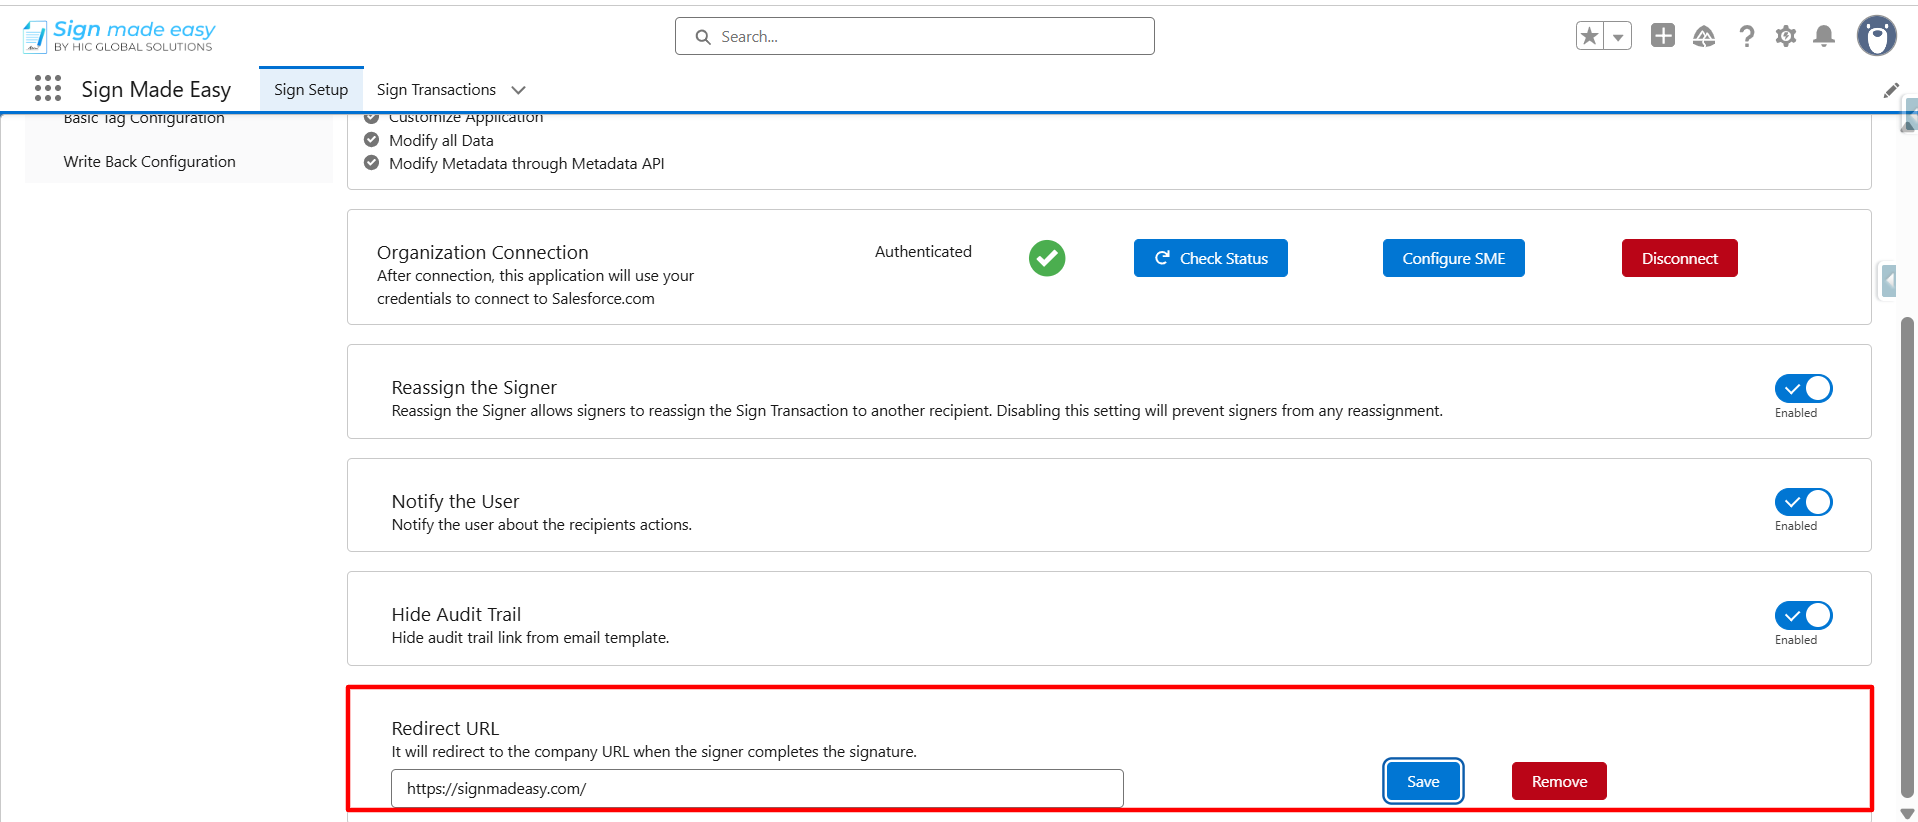
Step 2: Navigate to the Sign Setup page and enter the desired Redirect URL.
This is the destination where recipients will be redirected after completing the signing process.
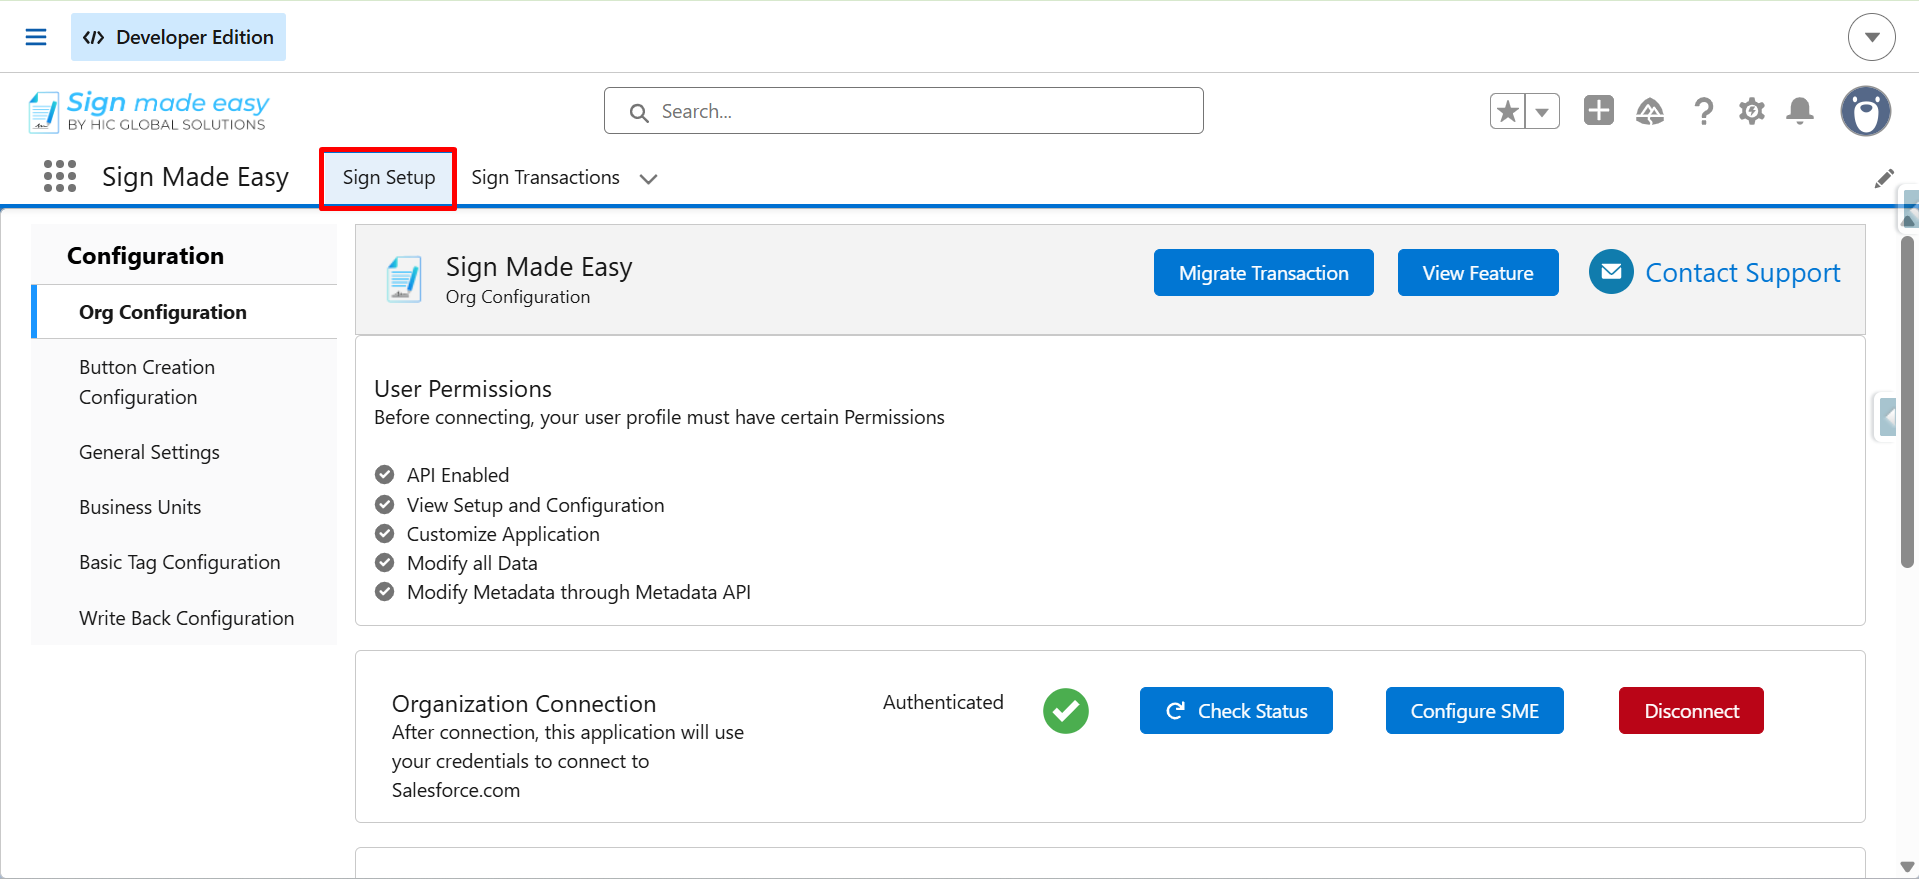
Sign Made Easy configuration dashboard in Salesforce with user permissions and organization connection status.

Sign Made Easy Salesforce settings page displaying Redirect URL configuration with an empty URL field and Save button.

Sign Made Easy Salesforce settings page showing Redirect URL configuration with Save and Remove buttons.

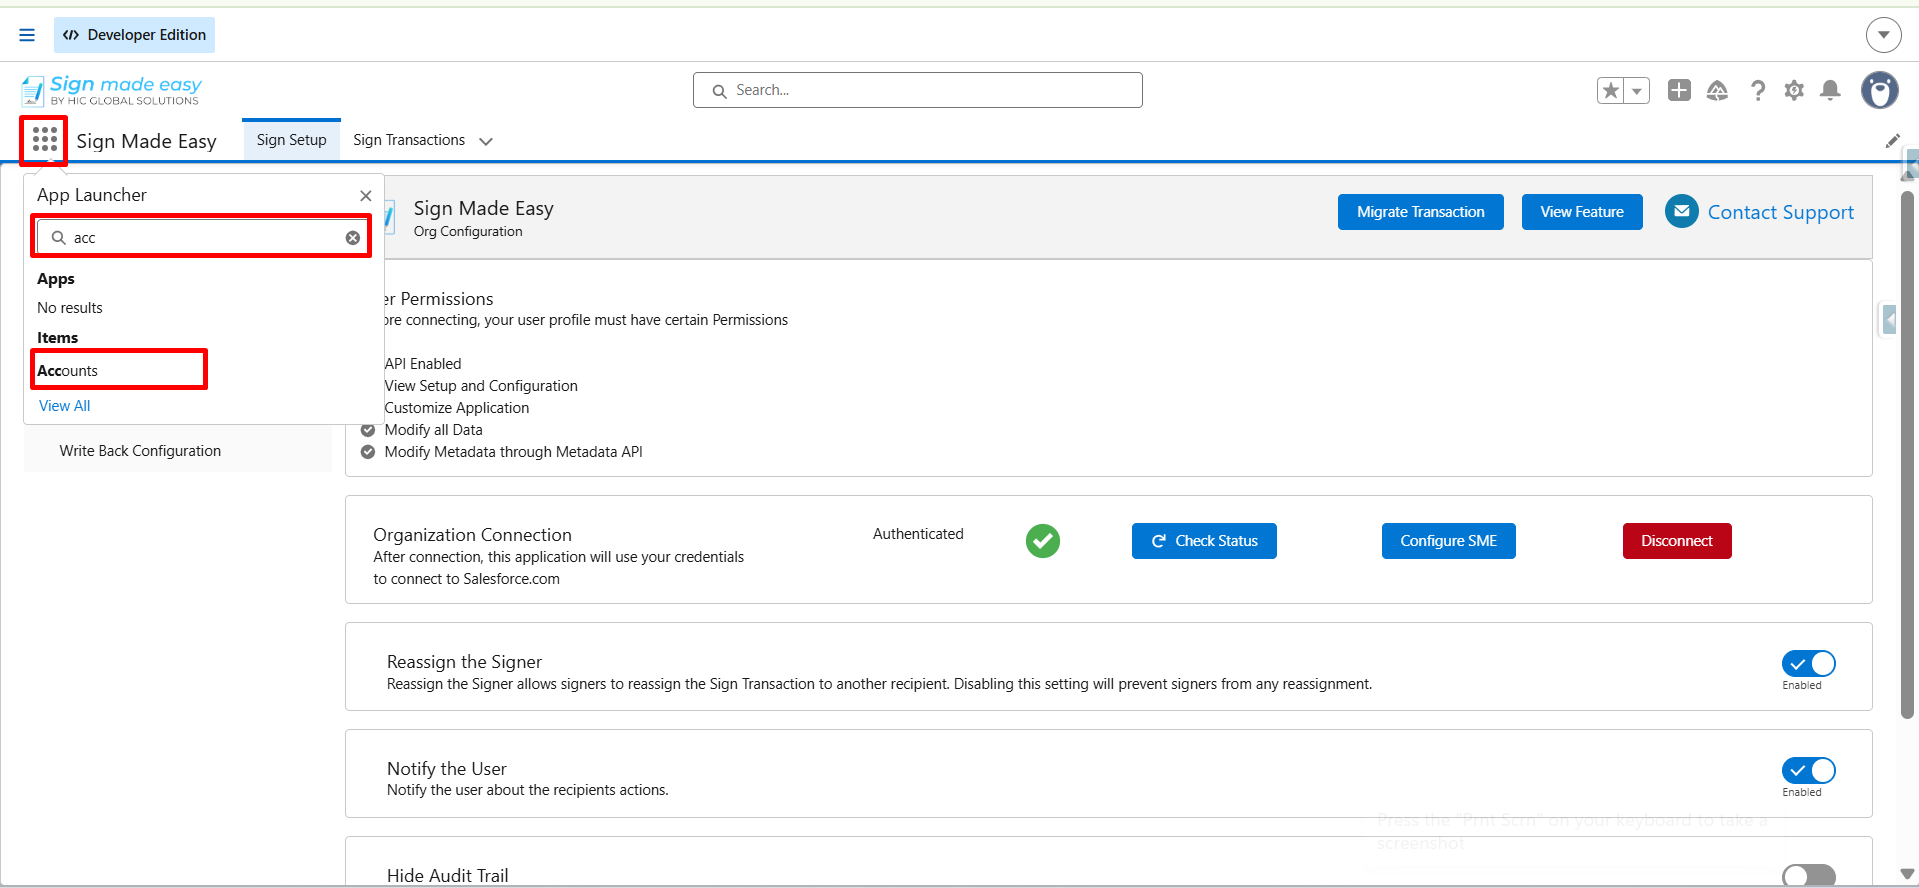
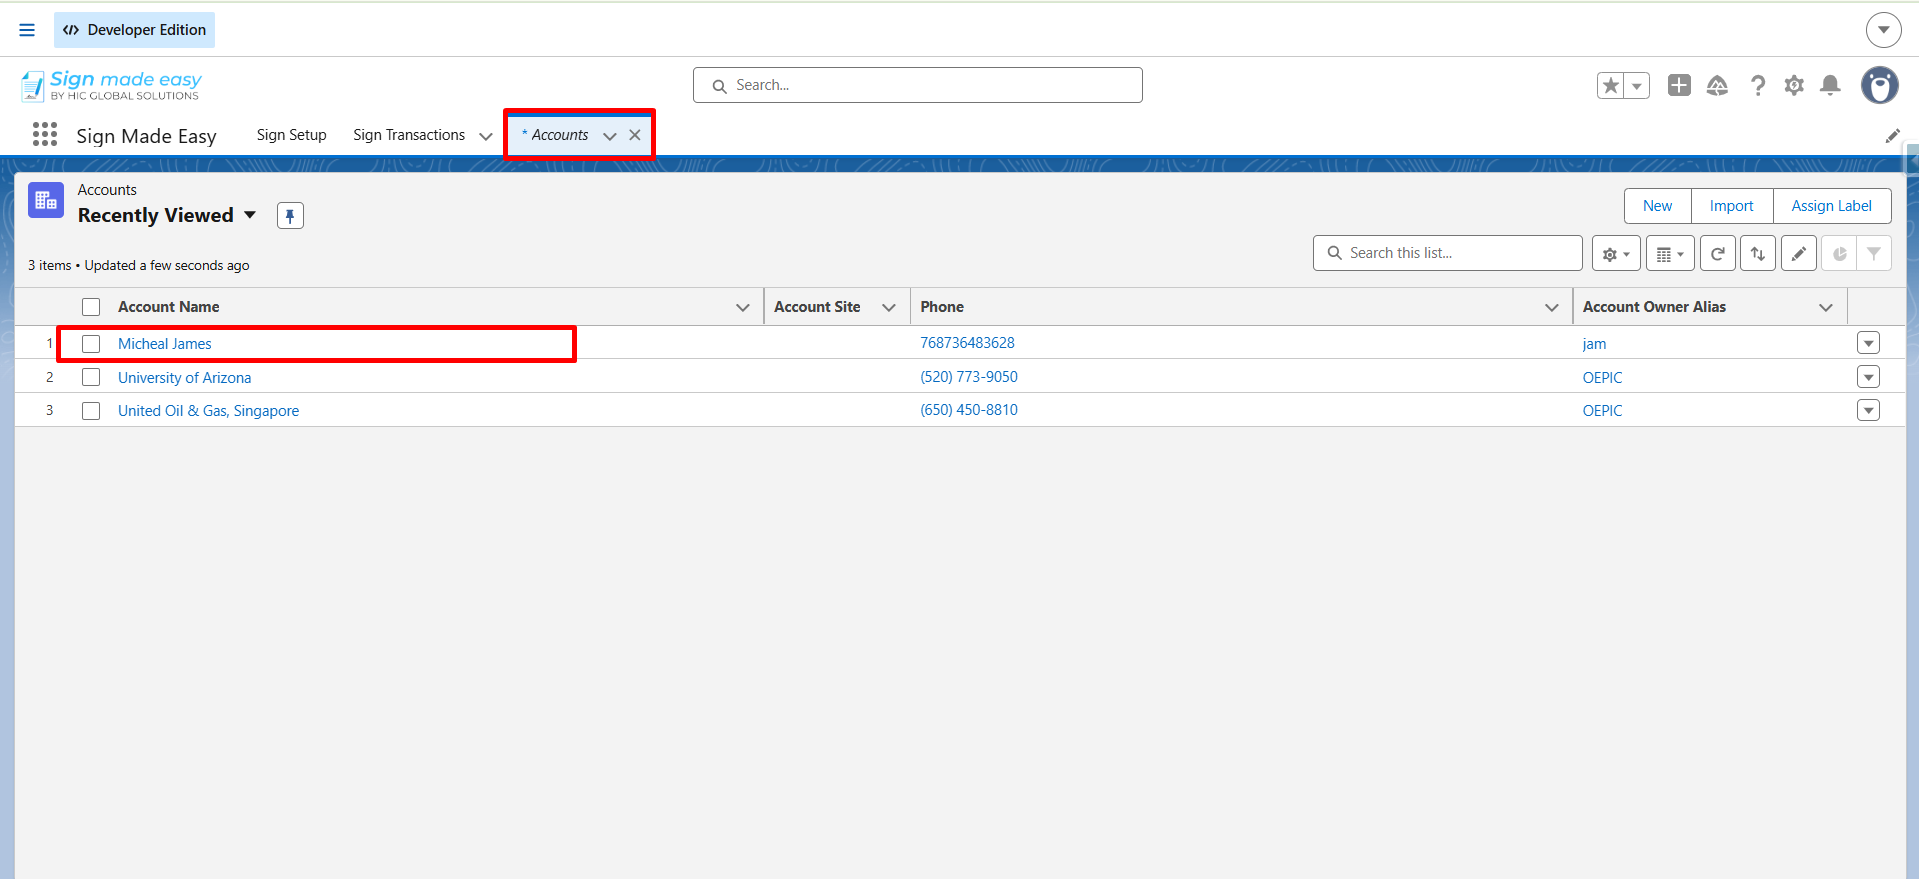
Step 3: Navigate to the App Launcher, search for the object on which the SME button is configured, and open the required record to send documents.

Note: For detailed steps on creating the SME button, you can refer to this guide:
How to Create Custom Button

Salesforce App Launcher search showing the Accounts object while using the Sign Made Easy application.

Salesforce Accounts list view showing recently viewed accounts with Michael James selected in the Sign Made Easy application.

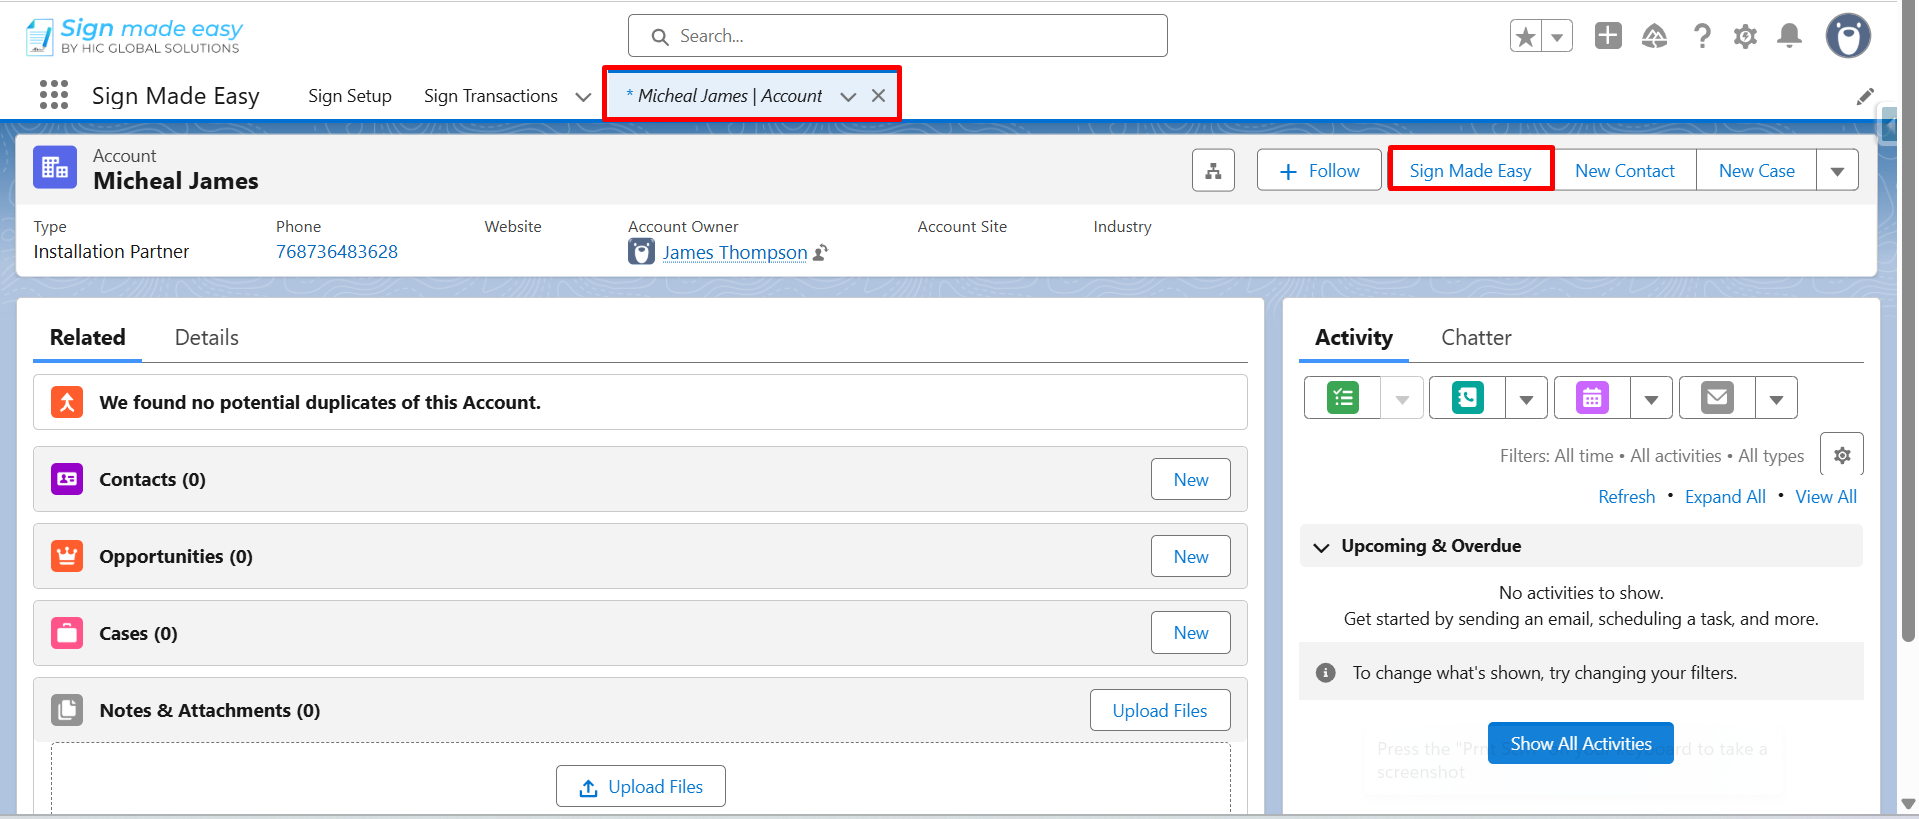
Step 4: Now, click the Sign Made Easy (SME) button you created. 

Salesforce Account record page showing the Michael James account with the Sign Made Easy custom action highlighted.

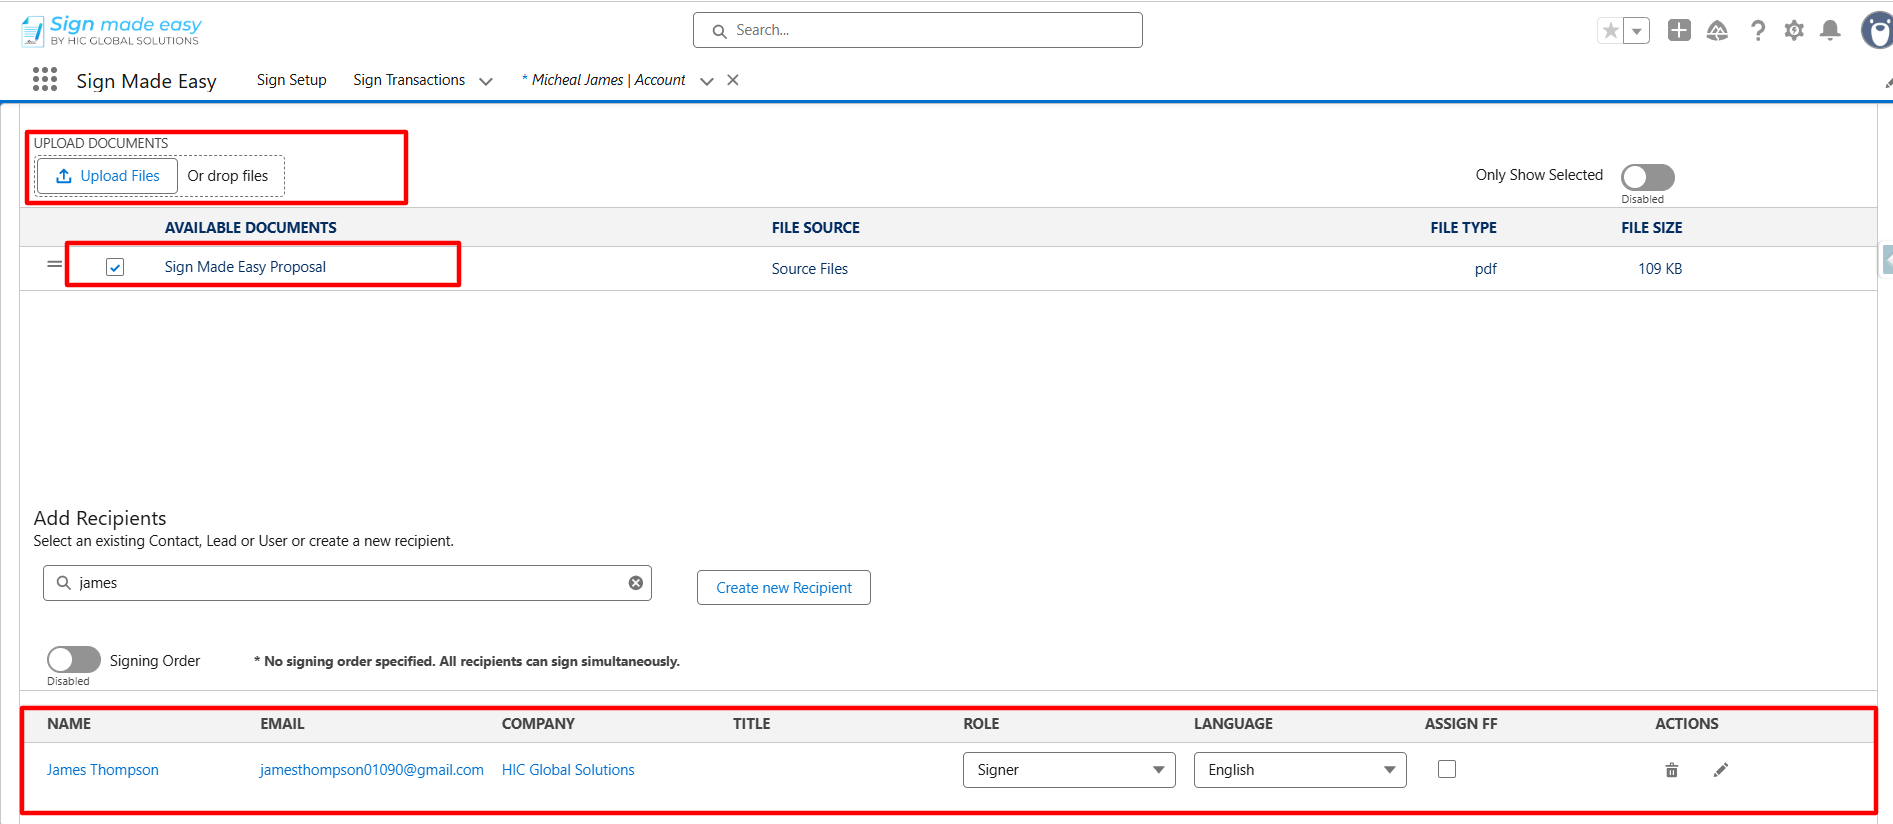
Step 5: Now, add Recipient and Documents to send the email for the e-signature process.

Sign Made Easy document signing screen in Salesforce showing document upload, selected proposal, recipient details, and signer configuration.

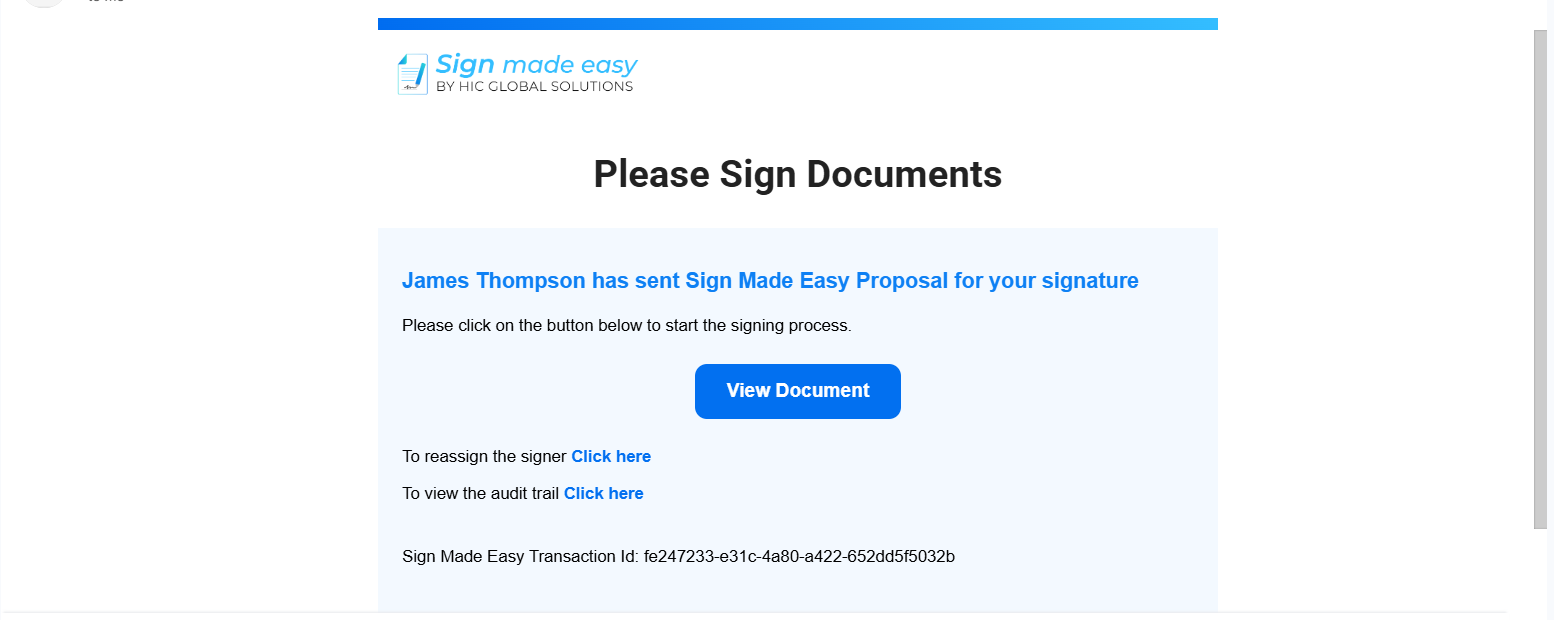
Step 6: Once the transaction is sent, the recipient will receive an email notification containing the document for signing.

The email will include a “View Document” button. By clicking this button, the recipient will be securely redirected to the signing interface, where they will be able to review and complete the eSignature process.


Sign Made Easy eSignature email notification prompting the recipient to review and sign the document with a View Document button.

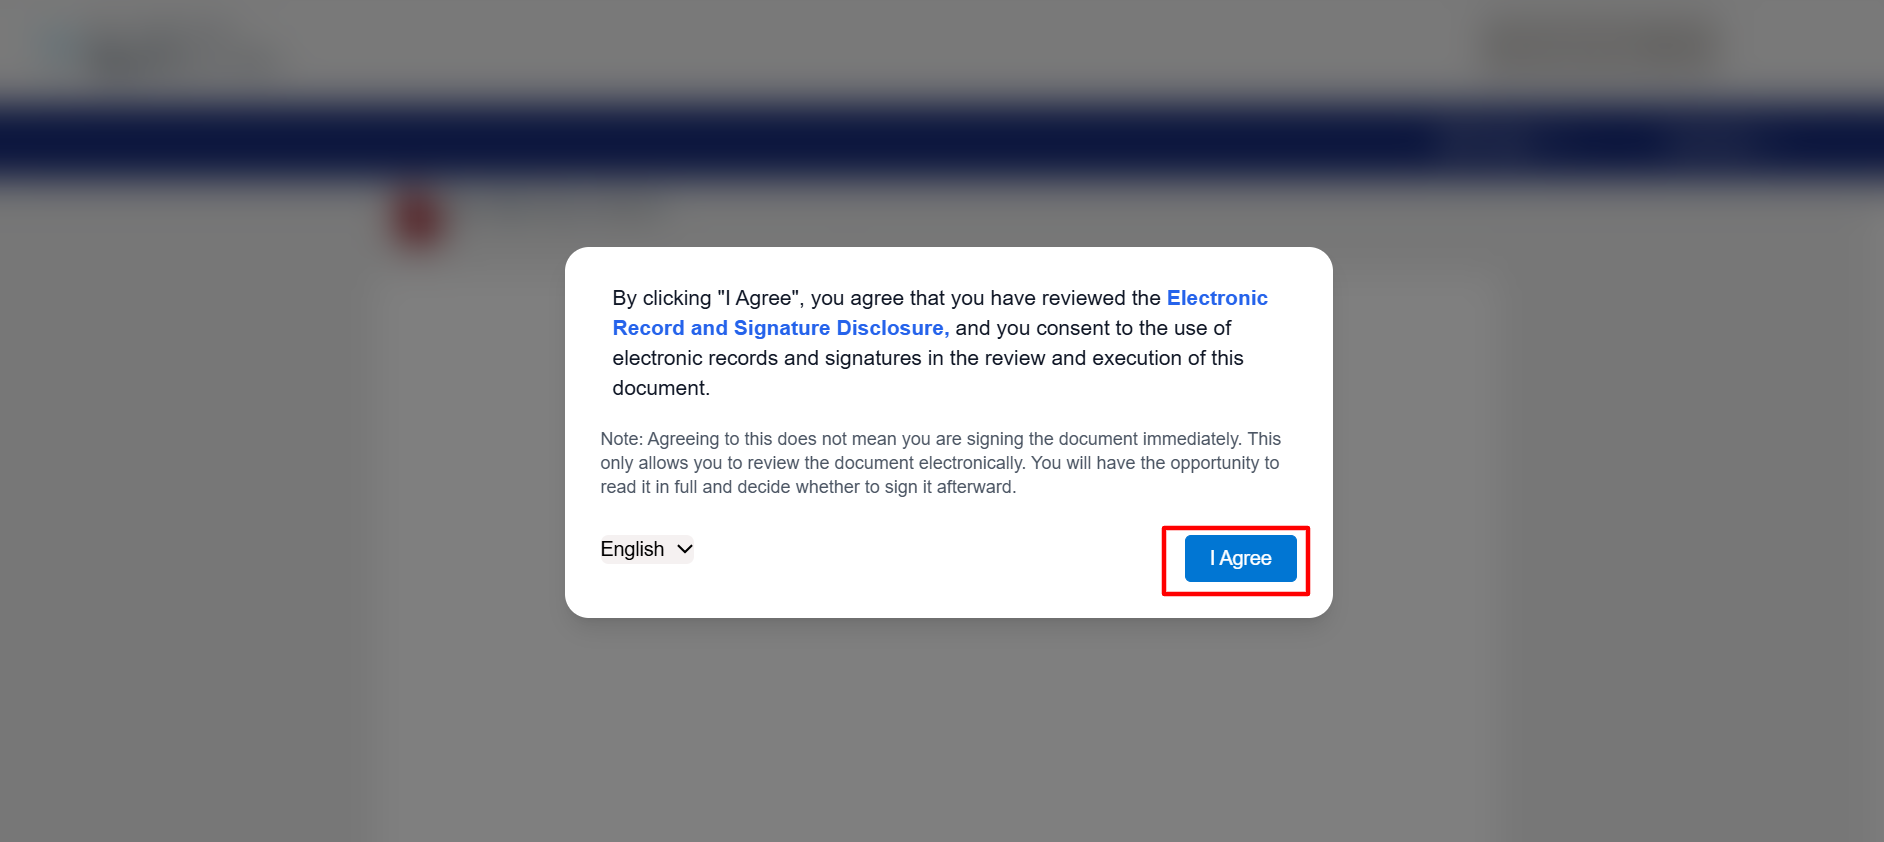
Sign Made Easy electronic signature consent dialog displaying the Electronic Record and Signature Disclosure with an "I Agree" button.

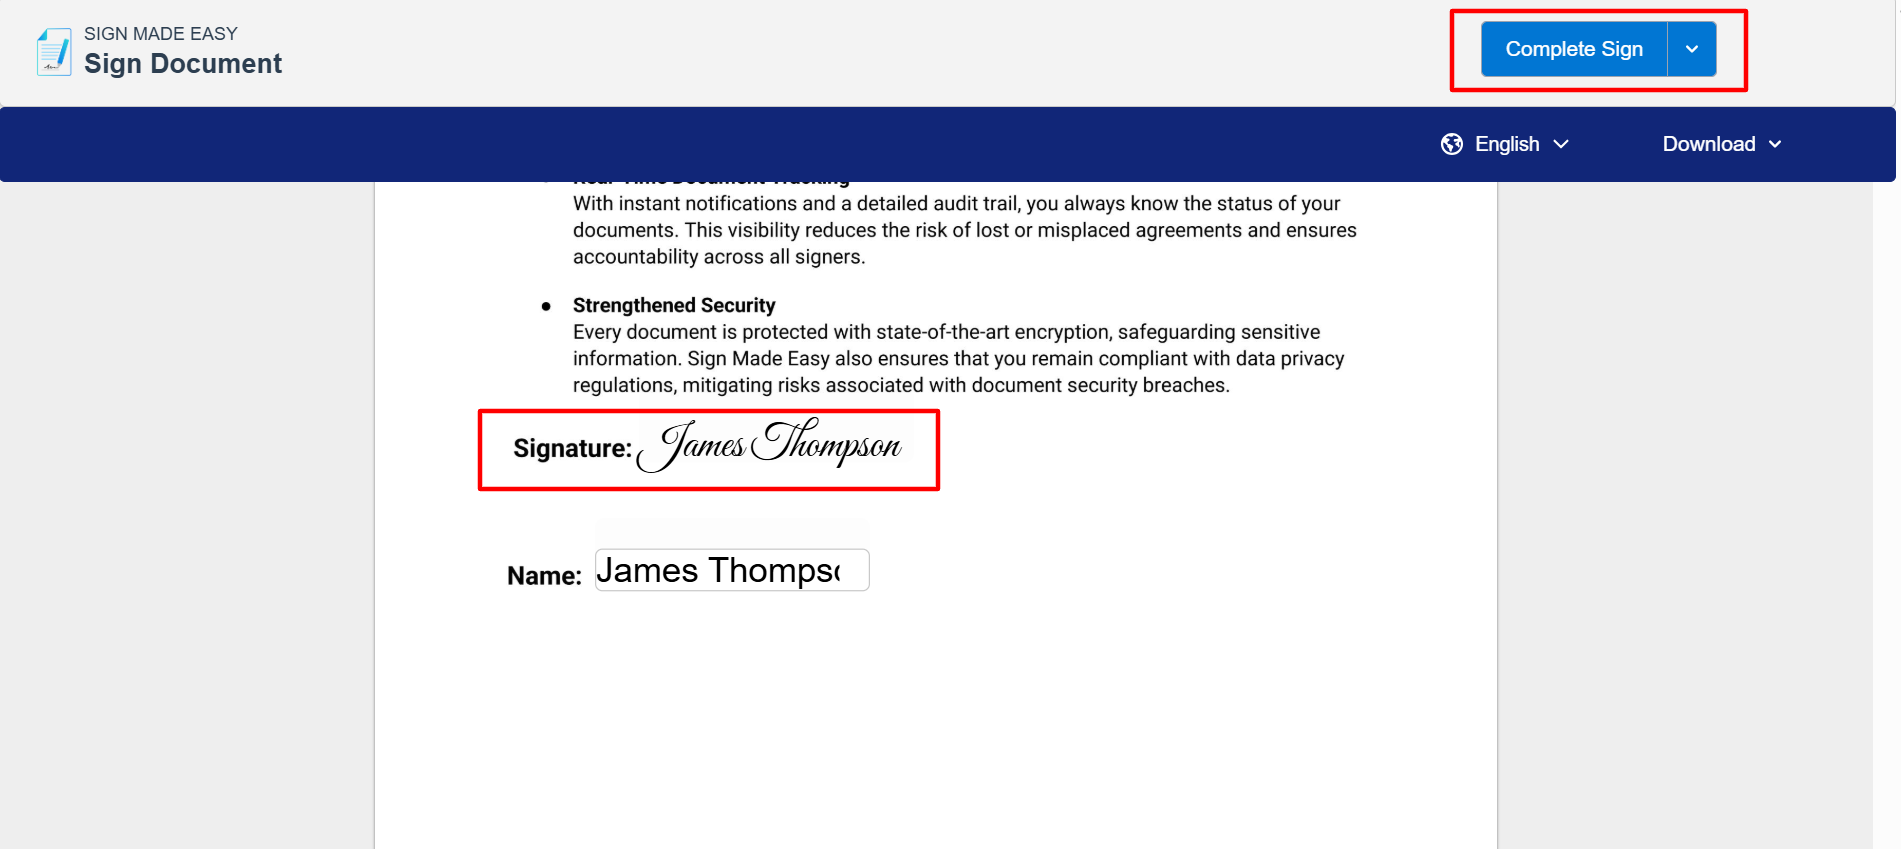
Step 7: The recipient can review the document and complete the required signature fields.

Sign Made Easy document signing page showing an applied electronic signature and the Complete Sign button in the eSignature workflow.

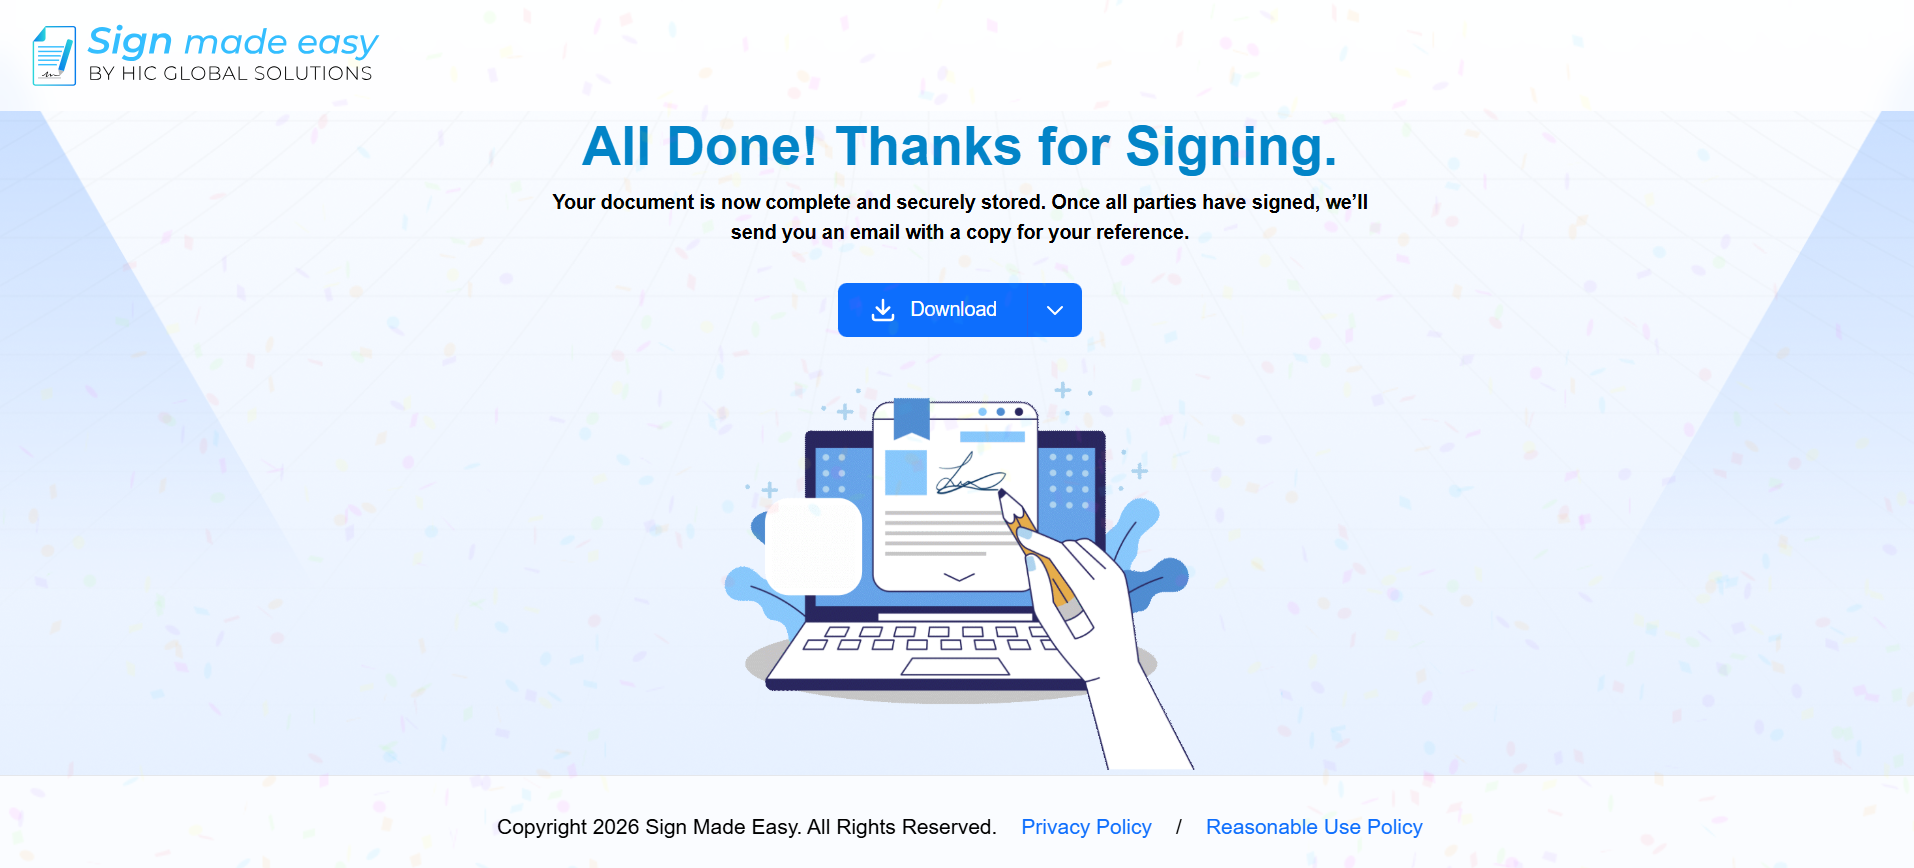
Step 8: Once the signature is successfully completed:

  • A Thank You page will be displayed to the recipient.
  • Immediately after, the recipient will be automatically redirected to the configured website.

Sign Made Easy confirmation page displaying a successful document signing message with a Download button for the completed document.

Salesforce-native eSignature app for creating, sending, and managing secure digital signatures within Salesforce, featuring trust badges and integration highlights.

Conclusion

Setting up an external website redirect after signature completion helps create a smoother experience for recipients and keeps the signing journey connected with your business workflow.

With eSignature for Salesforce, Sign Made Easy makes it simple to manage post-signature actions and ensure recipients reach the right destination after completing the signing process.

Frequently Asked Questions

You can redirect recipients to a confirmation page, company website, customer portal, or any custom URL after they complete the signing process by configuring a Redirect URL in Sign Made Easy. Once enabled, recipients are automatically taken to the specified webpage after signing.
Yes. Sign Made Easy allows administrators to set up automatic redirection after a document is signed. After the recipient completes the eSignature process, they are shown a Thank You page and then redirected to the configured external website.
The redirect URL can be configured from the Sign Setup page within Sign Made Easy. After saving the desired URL, every completed signing transaction will automatically redirect recipients to that destination.
If a redirect URL is not configured in Sign Made Easy, recipients will successfully complete the signing process and see the Thank You page, but they won't be redirected to any external website. Adding a Redirect URL ensures a seamless post-signing experience.
Automatic redirection helps guide recipients to the next step, such as viewing a confirmation page, accessing additional resources, making a payment, or visiting your company website. Sign Made Easy makes this process simple by allowing Salesforce users to configure post-signature redirects without complex setup.